It will not be difficult to purchase a mirror in our time. The goods are not scarce and affordable to everyone. In addition, you can choose this interior item to your taste and color. But if your imagination requires new experiments, then why not make a mirror with your own hands. This is new knowledge and pride in their work. Only before you make a mirror with your own hands, stock up on rubber gloves and remember the school course of chemistry, in particular, the execution of silvering mirror surfaces.
Content
Complex silvering
To create a mirror, this method will require a large set of tools:
- a piece of glass;
- distilled water;
- glucose;
- filter paper;
- nitrogen acid;
- nitrogen silver;
- ammonia;
- detergent;
- plasticine;
- sodium hydroxide.
To correctly make a mirror with your own hands, clearly follow the instructions of the master class. To protect the skin of the hands, put on gloves, for the eyes - glasses and start work.
- Rinse the prepared piece of glass with a detergent and remove fat and other smallest particles from its surface as much as possible. You should choose even glass, without bubbles.
- Wipe the surface, or better dry with a hairdryer. Then, along the edge of the glass, create even and uniform sides of plasticine 3 cm high.
- Try not to touch the surface of the glass and not leave fat traces on it.
- Then prepare the working solutions. Use only chemically clean substances. For the first solution, mix 11 g of silver nitrogen with distilled water (210 g). The second solution is caustic soda (8 g) and 210 g of distilled water. In the third solution, connect 210 g of distilled water and 11 g of glucose in its pure form.
- If there is no chemical dishes, then use ordinary glass. Pour the first solution into the glass. Then add ammonia into the glass with a pipette and actively shake the solution. At first he will become clouded. Add the ammonia by drop until the sediment disappears at all. When the solution became transparent, add 4 drops of silver nitrogen. After that, the liquid should slightly cloud and acquire a yellowish tint.
- Pour a second prepared solution with caustic onfire to the resulting substance. Shake continuously. You will get a precipitate that must be dissolved by adding a few drops of ammonia. As a result, you get a yellow-brown solution, which is filtered through filter paper.
- Next, you need to take a third prepared solution with glucose and pour it onto a glass surface. Gently distribute on the surface.
- Pour the liquid with nitric silver onto the surface, where it mixes with a glucose solution and changes its color to black. Leave the future mirror in this state for 10 minutes.
- Then carefully drain all the contents from the surface of the glass, rinse it with distilled water and dry it.
- Take the sides of plasticine. On the side where the silver layer apply several layers of black paint. The mirror is ready.
External silver of glass
Thanks to silvering this method, a flat and strong surface of the mirror is obtained. In order to start work, rinse the glass in warm water and dry.
Next, follow the instructions:
- Smooth the dry surface of the glass with a solution of caustic potassium. Then wipe the glass with a solution of bite tin (1%) and immerse in distilled water.
- Take out of the water and dry the glass. Immediately after that, pour the substance for silvering on its surface.
- To prepare a solution for silvering, it is necessary to combine 300 g of distilled water with 5 g of silver nitrogen. Then, with intense shake, add a few drops of ammonia solution. When the substance becomes transparent, add 4 more of silver nitrogen -acid to it. The substance will become muddy. Pour a caustic soda to it, the color of the solution will become coffee. Grind him with ammonia again. Mix everything and add distilled water so that 1 liter turns out.
- The glass will darken at first. Then, when a dark sediment (silver) falls out, it will brighten.
- There are times when dark traces remain on the surface. They must be removed with a two -head tin. After that, pour a solution for silvering on the glass again.
- After 10 minutes, gently drain the liquid from the surface and pour another layer of the mixture.
- When it passes for 20 minutes, rinse the surface with water. In order for all layers of silvering to be firmly fixed, the glass must be placed in an oven and left for 2 hours at a temperature of 130 degrees.
- Steam the dried mirror with several layers of paint on the back.
- Wipe the front side of the mirror with a gauze swab with hydrochloric acid. The mirror is ready.
You can see in detail about how to make a solution for silver mirror silver on the video.
Mirror decor
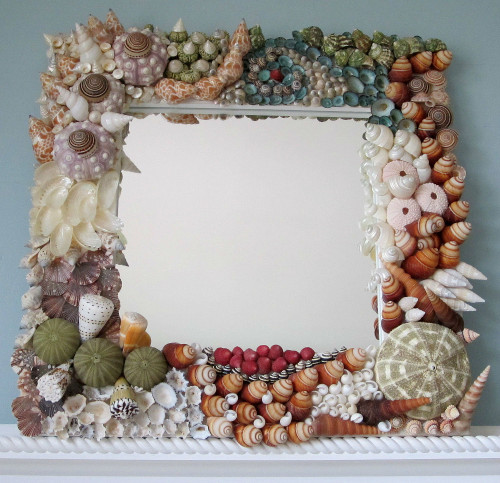
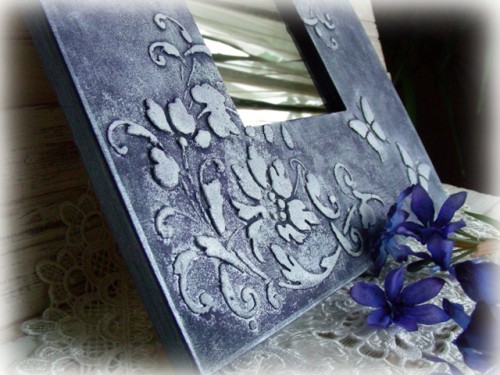
To complete the image of your home mirror, it must be decorated. It can be a stylish frame or braid along the edge of the mirror. You can use the decoupage technique, apply patterns through a stencil, decorate the mirror with all kinds of small details.
Makaron mirror decor
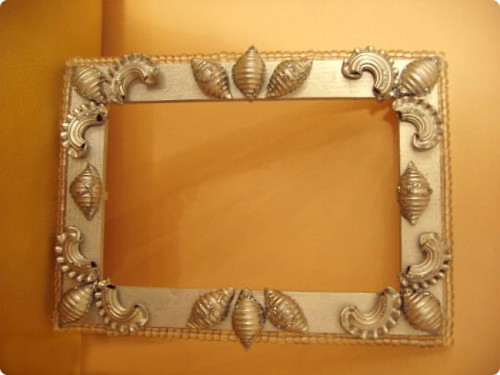
The original and non -standard solution is to decorate the mirror with pasta. Ordinary edible "shells" harmoniously look and are able to give the mirror a completely unusual and creative appearance.
Before starting decoration, stock up on curly pasta, brush, glue and any paint. Also plan on paper an approximate future pattern on the mirror.
- Lay the pasta on the table in the form of a future frame.
- Wet the brush in glue and apply to pasta. Gently glue them so that the glue does not smear the mirror.
- When glue the last pasta, let the composition dry. Then cover the frame with the paint. In order to avoid falling paint on a mirror surface, clog with paper.
Wait until the frame dries and attach the mirror to any suitable place.
Decor of a round mirror
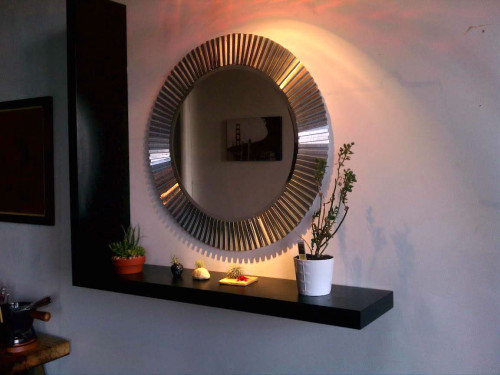
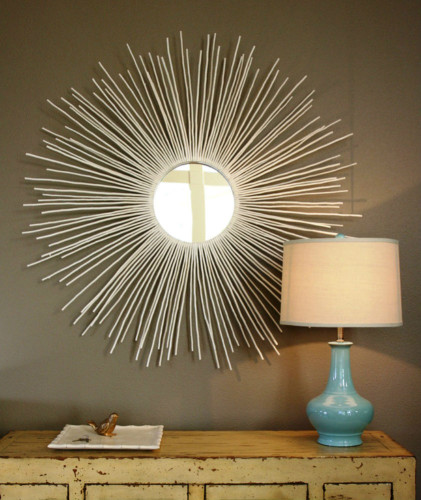
If you managed to make a rounded mirror, it can be arranged in the form of the sun. We offer to use bamboo skewers as rays. Also purchase a brass ring according to the diameter of your mirror.
- First of all on paper, draw a sketch of the future frame. Make a circle of 24 equal sections. Inside the large circle, draw a smaller circle, retreating from the edge by 3 cm. This sketch must be transferred to a cardboard template that corresponds to the diameter of the mirror.
- Distribute bamboo sticks to 4 parts so that each has 24 sticks. Thus, in the end, 96 rays should turn out.
- Leave the rays from the first part in this form (30 cm each). And the remaining sticks of 2, 3 and 4 parts are shortened by 8, 11, and 14 cm.
- Get sticking sticks, use the glue-pistol for this. First, glue long rays (24 pcs) on the cardboard surface on the lines.
- Glue the wands of the smallest length from the boundary of the inner circle. Place these sticks on the right side from each second long beam.
- By the same principle, glue sticks from the third and fourth part.
- When everything is glued, let the rays dry out and then paint them with a golden shade.
- Next, take your mirror and glue it to the cardboard with already fixed rays. Then fix the ring from the brass.
- The mirror with the rays is ready. On the back, attach the device for attaching to the wall.
Stylish mirror frame
To creatively arrange a home mirror, use the following tools:
- acrylic paints;
- wax;
- stencil with any pattern;
- varnish, glue;
- silver or gilded sheets (Potal).
Production process:
To make the frame for your mirror more original, try to use a stencil with an unusual pattern. Conditionally determine the boundaries of the frame at the mirror and paint it in any color.
- Apply a prepared stencil on a painted frame and paint a golden color.
- Leave the mirror for a while to dry well. Then selectively apply a special glue for gilded sheets (pitch) to the pattern.
- Put the mirror again for half an hour again.
- On a slightly sticky glue, apply the rubbish. Smooth it with a brush and fix it in this way.
- The next step will be the processing of the edges of the mirror by office wax for gilding. It dries very quickly and gives the surface a fashionable effect under the old days.
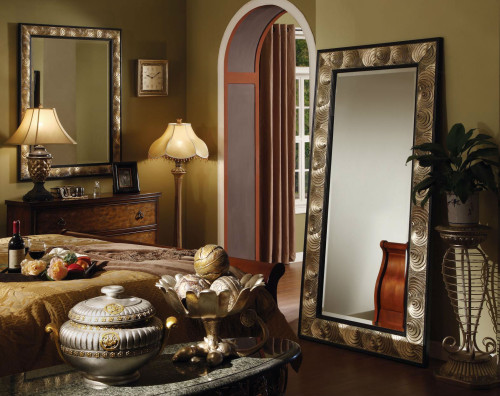
- When the decor is completed, fix all the layers with protective varnish. In this case, it is better to use acrylic varnish.
