Mirrors are an interesting element of the interior that can visually improve the space of the room, but can also ruin the design with improper use. In this article, we will try to understand the features of mirror wall decoration, consider options for using such surfaces in rooms for various purposes.
Content
What are mirror walls
The mirror wall is called the vast area of \u200b\u200bthe vertical surface, finished with reflecting material. In this case, mirrors can be an almost whole seamless canvas, but can be a series of individual elements. Mirrors are attached in different ways: using glue, special clamps or a pre -created frame. We will figure out in more detail what interior detail can be called a mirror wall:
- a composition of several mirrors enclosed in or without frames;
- surfaces trimmed with mirror tiles or pasted with mirror wallpaper;
- doors of wardrobes, screens;
- walls decorated with mirror panels;
- mirror columns;
- facades of furniture, walls of cabinets or racks trimmed with mirror material.
Mirrors that are used in interior decoration differ in appearance. For example, the surface of such a material can be clean, or it can have a sandblasting pattern, can be corrugated or smooth. There are mirrors with or without obstruction effect, individual elements are enclosed in frames or are a homogeneous surface from tightly fitted parts.
As for the material, the modern decoration is presented on sale with ordinary glass mirrors or flexible, made of acrylic.
When creating a mirror wall in the room, you need to take into account the curvature of the working surface. If the base is even even, then a special glue is used to mount the cladding. It is better to install a mirror on a curve wall of the mirror using fasteners or mounting a frame in advance.
Mirrors in the interior of the room
Visual expansion of space
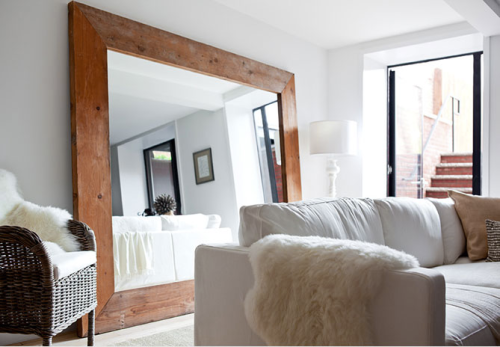
Many people know that the reflective surface can visually expand the area of \u200b\u200bthe room and make it lighter. This is especially true for owners of small apartments or narrow rooms. In this case, a well-located mirror wall can become a real “lifting stick”, which, although it will not add extra square meters to the room, will probably make the dwelling more comfortable and not so constrained.
Tip: To make a small room lighter and more spacious, the mirror should be located so that the window is reflected in it. It is advisable to arrange the room itself in a light color scheme.
Mirror surfaces involuntarily attract the eye, sometimes it causes some discomfort. In this case, reflective materials are recommended to finish the upper parts of the walls. This will be enough for visual expansion of space, at the same time the reflection will not be evident. You can design the wall from the ceiling to the floor, for example, behind the back of the bed, chair or sofa, in the hallway or in the corridor.
Interior addition to interesting details
In bright and spacious rooms, there is no need to resort to tricks and visually increase the area. Nevertheless, even in such a situation, the mirror will not become an extra element of the design. Separate small details will give the interior grace, sophistication, a touch of luxury. In this case, you can use special mirror stickers on the wall or simple mirrors enclosed in frames.
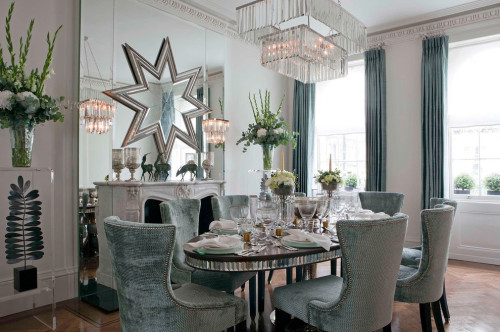
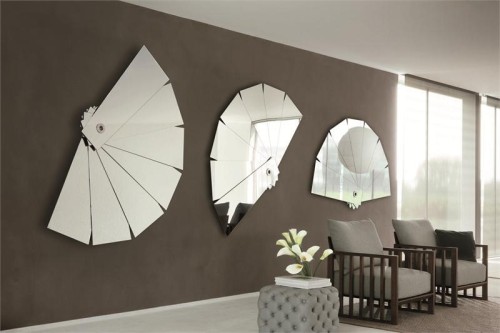
Mirrors of unusual shapes decorated with drawings or ornaments look spectacular as accent details. When designing an interior in this way, it is important to remember that the minimum amount of furniture should be reflected in the mirror surface, otherwise the mirrors will act irritably on the psyche. It is better to use them in rooms where the number of interior items is minimal, and the walls themselves have a discreet finish and matte texture.
The effect of crushing
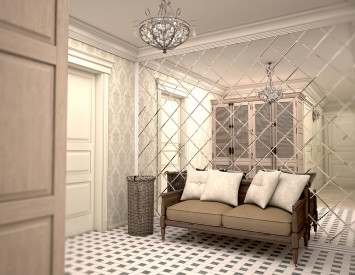
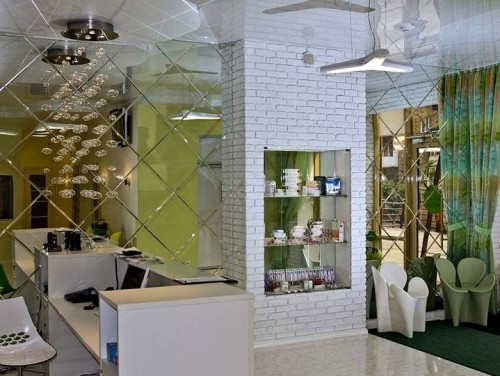
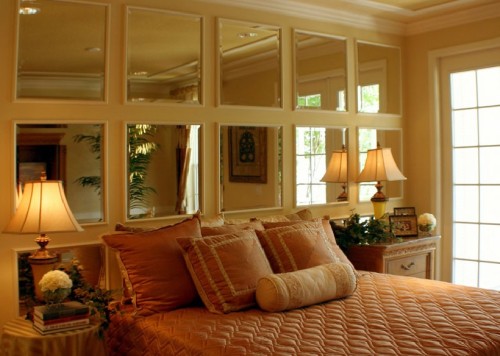
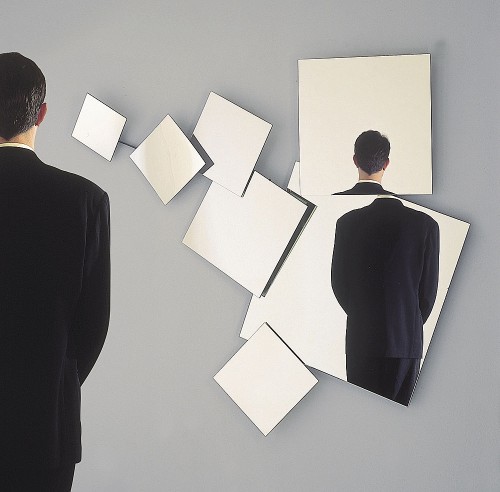
Mirror elements may not be a whole canvas, but a set of individual fragments. This effect of crushing allows you to achieve a visual increase in space, at the same time, reflective surfaces will not act on residents as an irritant.
The gaps between the mirrors during such design are different. In some cases, the distances are equal to the dimensions of the mirrors, narrow gaps between wide mirrors and wide distances between narrow elements look no less impressive. For each of these options, there is a certain area of \u200b\u200bapplication. Equal gaps look successfully in small rooms, where there is a problem of insufficient space. Wide mirrors with small intervals can be placed in a spacious room, and narrow reflective surfaces located on a large distance from each other perfectly emphasize the light interior.
Having designed the wall in one of the above methods, you will create an original and unusual interior object that will have many interesting effects:
- reflect light like many prisms;
- combine coating of different textures and reliefs;
- looking original and non -standard.
Where you should not use mirror walls
Unfortunately, the mirror wall as a decoration of the room can not always be used. Consider several options when it is better to refuse such a design:
- In a narrow, long and poorly lit room, the mirror wall can only spoil the already imperfect interior. A wardrobe with mirror doors, installed along one of the walls in a narrow living room, will only reflect the opposite wall. Result: the impression of an elongated tunnel littered with furniture.
- Mirrors should not decorate the wall located opposite the door, desktop or bed. Reflection in such cases will constantly distract from work or interfere with fall asleep.
- In small bathrooms, it is also undesirable to finish the walls with mirror material, especially in the case of a combined bathroom. Firstly, looking at yourself, sitting on the toilet is a doubt pleasure. Secondly, in the wet rooms, which belongs to the bathroom, the reflective surface will have to be constantly careful, tired of it tired of it from dried drops and drones. In addition, in a dark, poorly lit bathroom, a mirror finish will not help to achieve the effect of visual expansion of space.
- The mirror wall opposite the other is the same is another example of unsuccessful use of such material in the interior. The result of such a finish will be an endless labyrinth of reflections, which after a short time will begin to act on the nerves.
Mirror wall in interiors of different rooms
Mirror finish in the bathroom
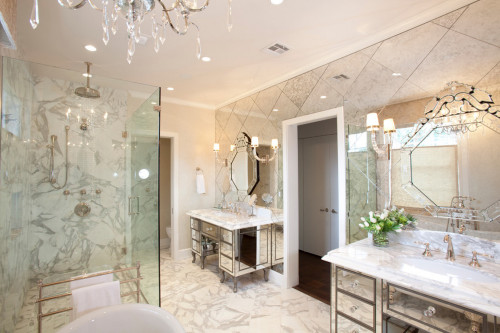
A spacious bathroom with good lighting allows you to use a mirror finish without fear. In this case, mirrors can be arranged both part of the wall and its entire surface. It is very important that there is enough light in the room, so even before the start of the cladding process, you should take care of the installation of lamps.
Mirror tiles above the sink will replace a conventional mirror. The mirror wall opposite the bath or shower, but not opposite the toilet, looks quite successful. Reflecting elements can be decorated with drawings or fatcet, which will only add a tile of attractiveness.
Remember that the mirror finish in the bathroom requires frequent care. Fortunately, it is easy to wipe the traces of spray and drops with a conventional detergent for glasses.
Mirror wall in the interior of the kitchen
Many modern designs provide for the creation of mirror walls in kitchens. The reflective surface looks beautiful on non -ceremonial surfaces. For example, mirror tiles can be arranged by an accent wall or kitchen apron.
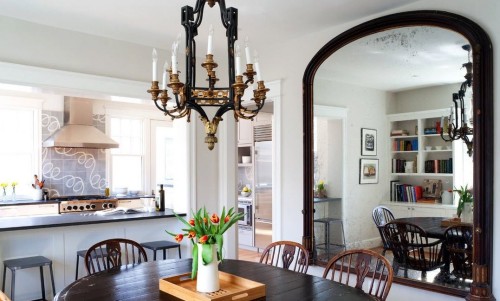
In a large kitchen, where the working area is located separately, mirrors can be used to finish the dining room. Only reflecting details are desirable to place in the upper part of the wall or where you will not see your own reflection.
To make the kitchen lighter, the mirrors must be placed where the windows will be reflected in them. As in the case of the bathroom, the reflective surfaces in the kitchen will have to be often looked after. So that the finish is not polluted so quickly, it should not be used to decorate the walls near the stove or sink.
Mirror design in the interior of the hallway
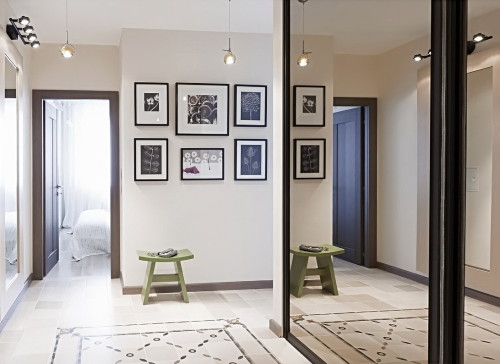
In narrow and oblong hallway mirrors should be used carefully. If you place them along the two opposite walls, you can get the labyrinth of reflections. Someone will appeal to such an effect, but many it acts on the nerves. In the corridor of this type, it is advisable to finish only fragments of the walls with a mirror material. In order to bring more light to the room, reflecting surfaces it is better to place near the lamps.
There are no need to worry about the owners of spacious halls due to improper use of mirror decoration. In this case, the reflecting tiles can be arranged entire walls, from the ceiling to the floor. In the hallway you can place a wide wardrobe with mirror doors.
In the interior of the hallway, a mirror ceiling looks very original, which not only expands the space, but also multiplies the light emanating from the sconces and lamps. The use of mirrors in the hallway is quite common, since such a decoration performs not only decorative, but also practical functions.
Mirrors in the living room
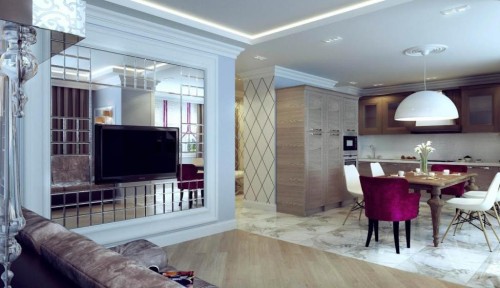
The mirror panel on the wall of the living room will perfectly refresh and decorate the interior. Facing this kind can be used in the most unusual and unexpected places. In addition to walls or ceiling, mirrors are often decorated with arched doorways, niches, columns. Designed in this way, these architectural elements rightfully become central accents of the interior. As for the finishing material itself, here you can also show imagination, for example, having completed a mirror canvas from small mosaic parts or from different in size and shape of fragments. Mirrors can be enclosed in picture frames, or may have a beautiful ornament.
Reflecting materials decorate not only architectural details, but also furniture facades. Cabinets-wardrobes, cuslings of coffee tables, doors, side walls of cabinets are far from a complete list of places in which you can use a mirror finish.
From mirror tiles on the walls of the living room you can create original panels or paintings, laying out the most incredible patterns from the mosaic.
Mirror finish in the bedroom
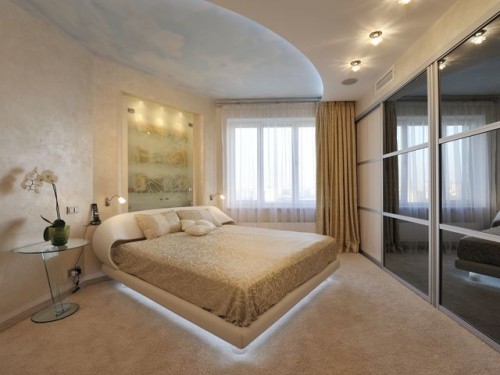
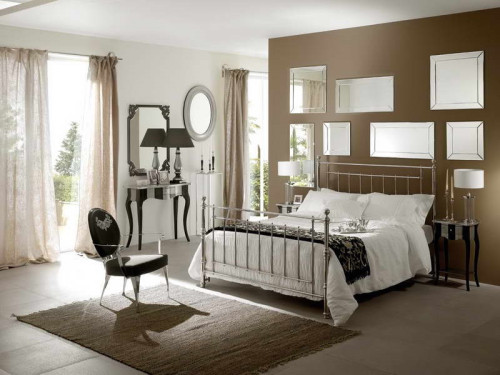
The bedroom, in the interior of which there is a mirror wall, looks luxurious, elegant and elegant. Reflective elements in such a room make the atmosphere more mysterious and intimate. And since it is in the bedroom that the original and interesting illumination is most often used, it becomes possible to play with refractiveness of rays.
Reflective surfaces are most often placed in the head of the bed or on the ceiling. In the bedroom, a wardrobe with a mirror door will also become appropriate. You can trim the wall with a tile in the area of \u200b\u200bthe dressing room or table for toiletries. Mirrors near lamps and chandeliers will also come in handy.
Types of materials for mirror decoration
Mirror tiles
For interior decoration of the premises, mirror tiles are most often used. To date, this material is represented by two types:
- Polystyrene foam tiles. The outer surface of such a cladding is covered with special paint consisting of microscopic metal particles. It is this paint that provides a mirror effect. The pluses of such tiles are considered a small weight, thanks to which the ease of installation is also ensured. For facing the surface, the material is enough to glue. The second advantage is a low price. The third advantage is that it is impossible to break such a tile. The minus of such a finish is the worst decorative qualities compared to similar glass material.
- Glass mirror tiles are considered a more expensive type of cladding. It weighs much more than polystyrene foam, so it needs to be mounted on more thorough and strong mounts. Sometimes dowels or nails are used to install glass elements, and sometimes a special frame is created. In the process of installation and operation, caution should be caused, since the glass is easily broken. But the decorative qualities of such a material are very high, the finished surface is flat, smooth and attractive. Glass mirror tiles are resistant to scratches and any chemicals, temperature fluctuations and moisture are not afraid of it, and the care of the material is reduced to simple wiping the glass with a detergent.
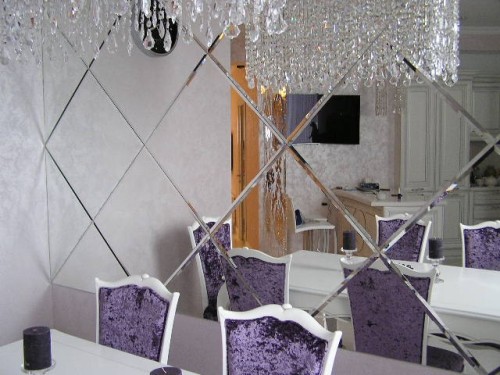
One of the varieties of mirror tiles is tiles with fatcet. Fatset is a decorative bevel along the edge of a glass part, which forms an additional line. These faces beautifully refract the light and play glare. The tile with fatcet is used as disparate elements or laid on the surface with a whole canvas.
Mirror tiles requires neat and careful styling. If the cladding is a whole surface, its individual elements must be mounted with minimal gaps. To do such work efficiently, it is better to use the services of professionals. But those who are confident in their abilities can try to perform the process on their own.
Mirror wallpaper for walls
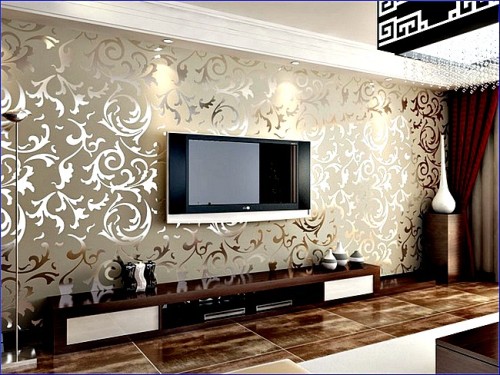
The modern construction market offers consumers innovative material - mirror wallpaper. The most important advantage of this type of facing is its exceptional decorative properties. The interior decorated in this way shines with magnificence and luxury, looks expensive, stylish and representative. One cannot help but pay attention to one more plus - no listening devices can break through mirror wallpapers.
Not everyone can afford such a finish, since the price for it is quite high. In addition, you can only glue wallpaper on a perfectly leveled wall. If even the smallest irregularities remain on the surface, the reflection in these places will be distorted, which will be very noticeable. Mirror wallpapers weigh much less than tiles, but more than paper counterparts, so they are recommended to glue on strong adhesive compounds designed for heavy wallpaper. The material does not require any departure, but it should be treated carefully, since the cladding is unstable in front of the scratches.
Mirror wallpaper is carried out by applying the finest aluminum foil on the roll base. For additional protection and greater gloss, foil is covered with transparent varnish. The advantages of such a material include its rich assortment, represented not only by a variety of drawings, but also by a color palette.
If you handle mirror wallpaper carefully, they will last for many years. Although such a finish is afraid of scratches, it is resistant to moisture and ultraviolet.
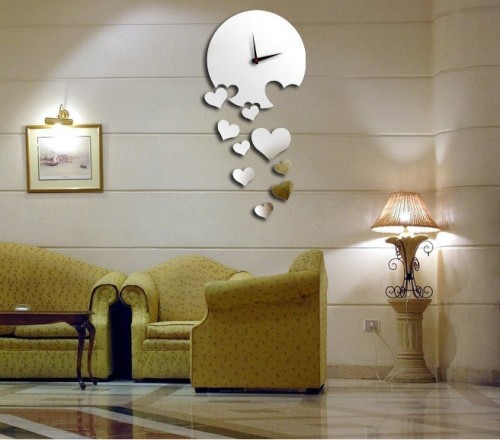
Mirror stickers on the walls
An alternative to expensive metal wallpaper can be more affordable mirror stickers. On sale, such stickers are represented by a wide variety of dimensions and shapes, and if they are used correctly, you can create a unique design that will almost do not give in to the interior with wallpaper.
Unfortunately, stickers with the reflective surface will not be able to perform the functions of full mirrors, since the reflection in them is somewhat distorted. But such stickers are no worse than mirror tiles will bring additional light to the interior and cope with the functions of visual expansion of space. The decorativeness of such a finish is also on top.
Stickers can be used in any interior of almost any room, regardless of its stylistic performance. For example, such elements of decorative decoration will look very successful in the interior of a strict classic style, where the discrepancy and simplicity of forms dominate. Mirror stickers will “revive” the room and “rejuvenate” it a little.
In the interior of the bedrooms, mirror stickers will also be appropriate, especially if you are located from the head of the bed. However, such details can decorate any corner of this room. If we are talking about a children's bedroom, for its interior you can choose stickers of the corresponding forms. On the wall in the children's room you can stick butterflies, different animals or fairy -tale heroes, marine inhabitants, etc.
No less elegantly mirror stickers will look in the bathroom. In this case, the stickers can also be selected in accordance with the theme.
The modern construction market offers a wide range of products of this kind. The most high -quality and durable stickers made of acrylic glass are considered. They are attached to the wall with a special tape and for careful circulation they serve for many years. One of the advantages of the material is that it can be glued on almost any base: plaster, wood, wallpaper, tiles, etc. Steamers from vinyl film are considered a cheaper analogue. They are not as durable as acrylic stickers, and in decorative qualities are noticeably inferior to their expensive analogue.
One of the functions of mirror stickers is the reflection of the most attractive interior details. This principle should be guided when choosing a place for the location of a mirror composition. Successfully placed stickers favorably emphasize the features and winning features of the style in which the room is decorated, complement the interior with new colors.
Wall decoration process with mirror panels
You can make a mirror wall with your own hands in the room. Consider this process using the example of the use of mirror tiles made of glass.
Preparatory work
The main requirement for the working surface is its evenness. The mirror is a unique material, because it can emphasize the defects of the base at times better than any paint or the finest wallpaper. The slightest bumps on the wall will be reflected by distorted, "broken." In addition to evenness, other requirements are also presented to the surface: dryness, purity, sufficient roughness to ensure adhesion to finishing material. Consider the step -by -step preparatory process:
- The working base is first cleaned of all the superfluous: fragments of the old cladding, garbage, dust, nails and dowels, solutions of solution, etc. After that, the surface is covered with an antiseptic and primed.
- When the primer dries, the wall is aligned with black plaster. After solidifying the solution, the base is again equal to putty and polished until smooth.
- All the dust formed in the process is removed, and the wall is again primed. If it is impossible to align the surface for any reason with plaster, it is better to use drywall sheets for this purpose.
When purchasing mirror tiles, you need to take into account a small supply, since chips and cracks can form in the process on the glass, and the possibility of marriage is also not excluded. Even before the installation, the mirror tile should be laid out on the floor as it will subsequently be attached to the wall. Since individual parts can differ from each other by 1-2 mm, adjusting the tiles on the floor, they need to be installed on the wall in exactly the same sequence.
A set of tools for laying mirror tiles includes the following:
- diamond glass cutter or tile cutter;
- glass drill;
- construction level;
- plumb line;
- toothed spatula;
- rubber spatula;
- ruler and square;
- bilateral tape and painting tape.
Choosing glue and installation of mirror tiles
To finish the walls with glass mirror tiles, ordinary tile glue is not suitable, since Amalgam darkens from it. Fortunately, on sale you can find special adhesive compounds based on silicone or epoxy resin. Among their components there is no acid that spoils Amalgam. Cement adhesive mixtures, as well as universal sealants for wall cladding, cannot be used with mirrors.
The installation process of mirror tiles we describe step by step:
- First, a glue is applied to the wall with a layer of up to 1 mm and leveled with a gear spatula. The area of \u200b\u200bapplication should be equal to the size of one tile. If liquid nails are used as an adhesive composition, then the glass from the back should be glued with double tape.
- After applying the glue to the wall with the same composition, you need to cover the back of the tile, and then sprinkle it with a thin layer of sand to provide the best adhesion of the facing material with the base.
- The first row in this case always fits horizontally. The evenness of the masonry is checked by the construction level. Smooth seams are observed between the individual elements, which are made using plastic crosses. If the surface is perfectly even, tiles can be laid closely without gaps, but if there are small irregularities on the wall, it is better to make the seams wider. This will help to break the reflection into fragments and the distortion will become inconspicuous.
- If the glue dries quickly, the tile can be laid in several rows at once. But if the mixture freezes slowly, for example, if you use liquid nails, then before installing the next row you need to wait for the previous one.
- For cladding of those places where whole tiles will not enter, the material can be cut to the desired size. For this, diamond glass cutter is best suited. The resulting edges should be polished by a bar or fine -grained sandpaper.
- The glue dries completely after about 4-5 days. After that, the inter -seams must be filled with sealant or colorless silicone. When performing this work, the gaps between the tiles are first sealed with painting tape, then furrows are cut in it, and then filled them with sealant. After that, the tape is peeled off, and the tile is cleaned with a rubber spatula and a rag.
