The veranda is a traditional element of a country house. If earlier it was considered as a small extension that performs the role of the corridor or utility room, then modern verandas perform much more functions. They can be used as summer canteens, winter gardens or places for relaxation.
Content
Types of veranda
Structurally, verandas are divided into 2 types:
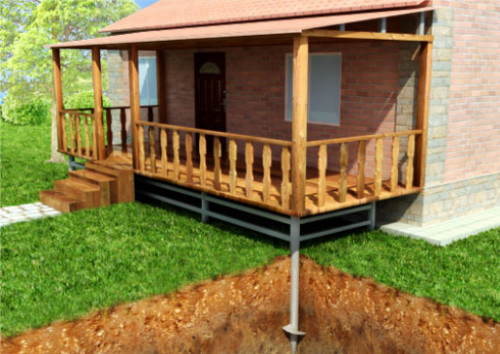
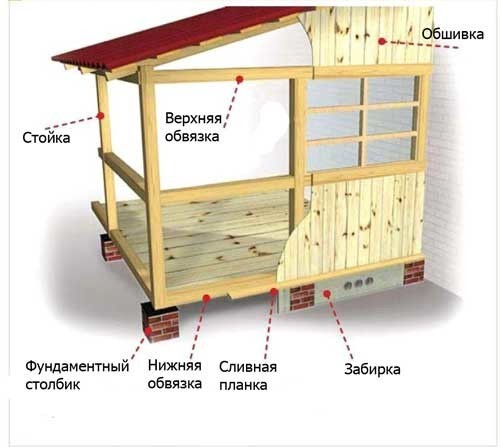
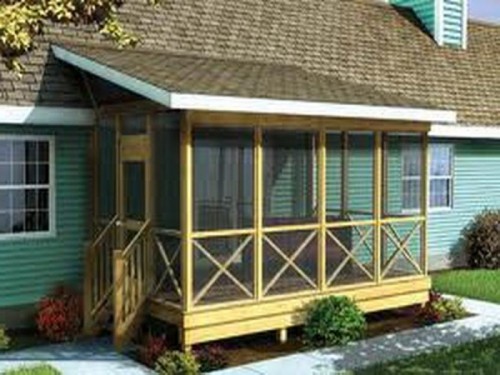
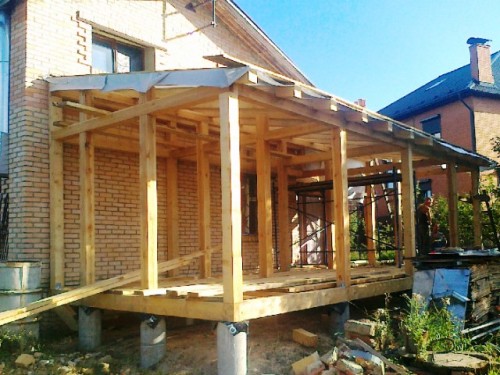
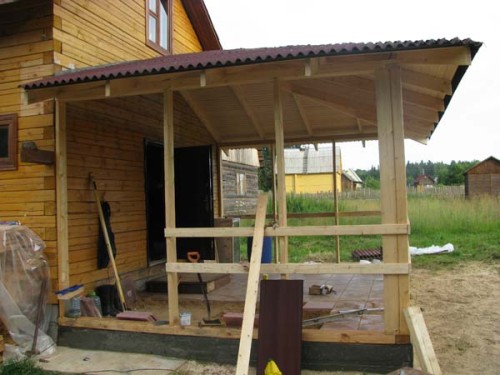
- Open. Some are supports installed on the foundation base on which the roof is attached. Close such verandas only up to half a small sewing.
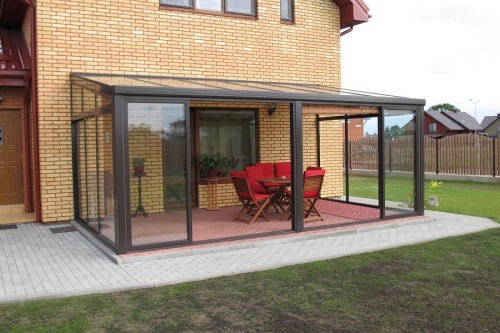
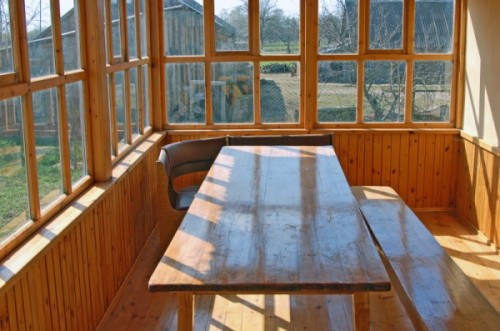
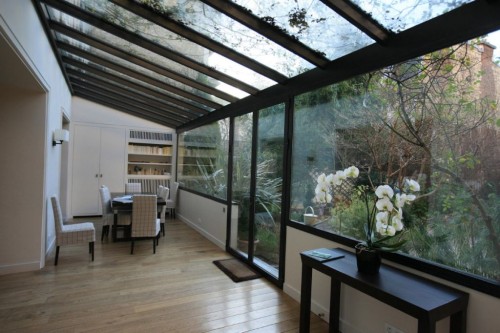
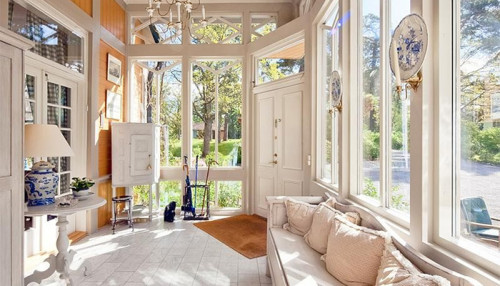
- Closed. They differ from the first type only in that they have completely closed walls. In the gap between the selection and the roof, window frames are installed. Such an extension with careful insulation can even serve as a dwelling. A closed veranda can serve as a kind of buffer between the street and the main room. Thanks to her, the temperature in the house will be several degrees higher, even if there is no heating.
About how to make a closed veranda with your own hands - further.
Preparation of work
The initial stage of the construction of the veranda should be design. The difficulty of this segment of the work lies in the fact that the veranda will be built separately from the entire house. When the buildings are built comprehensively, it is much easier to withstand harmony between them. In the same case, you need to try so that the veranda looks like a single house. From a technical point of view, the complexity lies in the linking of the structural elements of the extension: foundation, walls, roof.
When planning the construction of the extension, it is necessary to remember one important aspect - documentary examination. The construction of even a small extension of the open type is nothing more than amendments to the construction of the house, which should be testified in the technical passport of the house. Otherwise, any operations with this real estate, namely, donation, sale, exchange, will be impossible. In order to legalize the construction, you must contact the design organization for the preparation of the project. The projects of closed verandas are made according to the sketches of the customer and on the basis of the technical passport of the house. You can provide them with a photo of a closed veranda that you would like, this will be an excellent starting point in design.
Further, with a finished project, it is necessary to get approval for work. To do this, the registration organization is submitted:
- project,
- statement,
- real estate documents,
- documents of the owner.
Only after receiving a building permit can be started. Even when drawing up a project by specialists, all work on the construction of the veranda can be performed with your own hands.
When developing a project of a closed veranda to the house, it is necessary to make an estimate of construction. This must be done for planning and purchasing materials. It is better to buy everything at once. Firstly, this will save time, especially if the construction is carried out in rural areas, and secondly, it will save financial resources, because sellers of building materials usually provide a discount on a large order.
The foundation device
As a rule, simple column structures made of concrete and brick are used to arrange the foundation of the veranda. Their great advantage is that they are not expensive in construction and rather reliable. The disadvantages include their openness. After all, a constant influx of cold air will cause cooling floors in the room, and will reduce to “no” all attempts to heed it. Without reliable and expensive floor insulation, it will be simply impossible to live in the veranda on the column foundation in winter. Therefore, it is best suited if the room is planned to be used only in the warm season.
For a winter garden or a “warm” veranda, the most suitable option is a strip foundation. After its construction, the entire volume of the trench is filled with clay and expanded clay, which significantly reduces heat loss through the floor.
The procedure for arranging the foundation:
- The device of the columnar foundation of the closed veranda to the house begins with markings. The number of pillars depends on the size of the structure. The distance between them should be no more than 2 m. This will allow the floor to reliably maintain any load. Mandatory is the presence of pillars in the corners of the building.
- Pits of the required size with a depth of at least 1 m with a depth of at least 1 m are dug under the poles. A gravel-sand pillow is laid on the bottom of each of them, which is carefully compacted.
- Then a layer of waterproofing is laid. It is better for her to use roofing material.
- The next step in the pit is poured with a concrete layer 15-20 cm thick. After the solution cools, the surface of the concrete is leveled and waterproofing is laid.
- The final step is made of brick masonry, thanks to which the height of the column is achieved the desired parameters.
- The height of the foundation pillars is calculated so that the floor floor level is about 30 cm lower than the main building. In this case, at the same height of the room, it will be possible to achieve the desired angle of the roof.
The arrangement of the frame
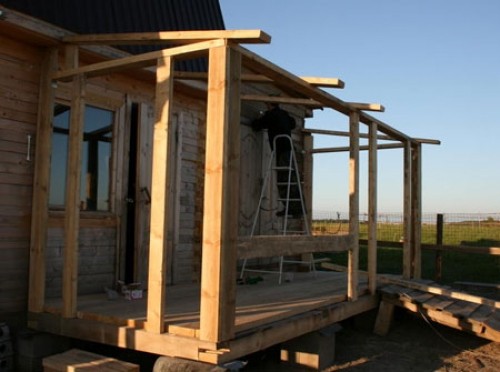
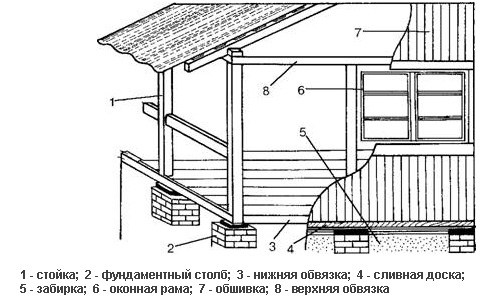
The frame is constructed from a looped log with a diameter of at least 120 mm or timber with a section size of at least 150x150 mm. The upper and lower strands, as well as vertical racks, are made of them. The connection of structural elements occurs using a "direct" lock. For a novice builder who has never dealt with a tree, such a castle will not become wisdom. It is done quite simply:
- It is necessary to measure the segment of the beam from the end, which is equal to its width. You will get a small square.
- Then, along the drawn line, a hacksaw is made with a depth of equal half of the thickness of the beam.
- From the end using an ax, we beat off half the beam and get a groove.
- At the end of the other timber, we make a similar groove. We connect them in such a way that the groove falls on the column of the foundation.
- We fix the connection of the strapping on the pillar using an anchor bolt.
Further procedure for the construction of the frame:
- During the installation of the lower strapping, seats are cut out for the floor lag. If the width of the veranda is not too large, then the lag is attached to the base of the house and the beam of the lower strapping. If the width is large, then they should be laid on additional foundation poles.
- When installing a strapping, it is necessary to protect the tree from moisture. At the site of contact of the strapping with a concrete brick foundation column, a roofing pad is necessarily laid.
- When installing vertical racks, it is necessary to level them in level so as not to have problems with the installation of the roof.
- All the elements of the frame are connected by bolt compounds. It is better to take fasteners from stainless steel, so it will be possible to avoid corrosion.
Construction of a closed veranda. Roof and walls installation
Since the veranda is usually used for the construction of a not too powerful frame, the weight of its walls and the roof should be minimized so as not to create an additional load on the base. So, for wall decoration, a lining or a small board is used. During installation, each of these materials has its own styling technology. The lining is nailed into the castle, tightly adjusting the strips to each other. The boards are overlapping, in such a way as to avoid large gaps between them.
A layer of thermal insulation is laid on the inside of the wall. As the latter, it is better to use mineral wool. This material has low thermal conductivity, poor hygroscopicity, and is also fireproof. On the outside of the room, the wall can be finished with laminated fiberboard.
The procedure for the construction of the roof:
- The installation of the roof begins with the installation of the rafters. They are attached to the upper strapping. The angle of inclination of the rafters should provide a normal precipitation from the surface of the roof.
- After the rafters are installed, a plank crate is laid on them.
- When choosing roofing material, it is necessary to take into account what the main building is covered. In order for the whole house to look harmonious, usually the veranda is covered with the same material as the roof of the house. The most reliable and relatively inexpensive material is slate. When laying it, it is necessary to take into account the angle of inclination of the roof. The smaller it is, the greater the width should be overlapping.
- Quite often, the roof of the veranda is made from roofing material. The advantage of this material is the simplicity of its installation. Due to low weight, it easily laid and does not create an additional load on the supporting structure. For laying roofing material, the plank floor is mounted very tightly to minimize the gaps.
- Then the roofs of the roofing material rolled over the overlap must be vertically. The overlap should be at least 15 cm. The layers of roofing material are attached using galvanized nails, after which the joints are additionally pressed with wooden strips.
Installation of windows
Windows in a closed veranda are a necessary element. To improve the maintenance of heat in the room, it is better to mount metal -plastic double -glazed windows. The advantage of such systems is that the hollow profile from which the window frame is made has low thermal conductivity, which favorably affects heat loss. In addition, metal-plastic windows are equipped with 2 and 3 chamber double-glazed windows, which similarly poorly pass heat.
When installing the window, it is necessary to take into account the properties of a wooden frame. It can expand when moisture is absorbed. Therefore, the window is installed with a technological gap. Otherwise, he will simply skew him.
The window is installed on the frame using anchor bolts. The gap between the frame and the window is filled with mounting foam.
Flooring
The most optimal option for the veranda closed is the flooring of a floorboard 30 mm thick and a width of up to 120 mm. The board on the lags with a gasket made of thermal insulation material is laid. Before the flooring, each of the boards is carefully treated with an antiseptic and an Oliph. After laying - open with varnish or painted.
