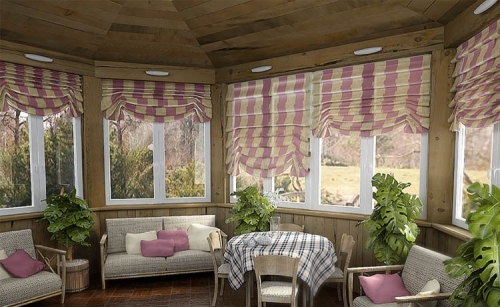
In suburban houses, very often a small room, which is called a veranda, is often built in front of the front door. It is simple and unheated, increases the space of the house and makes it cozy.
Content
The beginning of work
The veranda is built for many reasons, most often this desire to expand the living area, having attached another room to the house. In it you can meet guests in the warm season, and the extension this additionally insulation of the house and especially the front door.
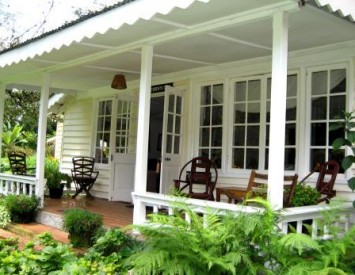
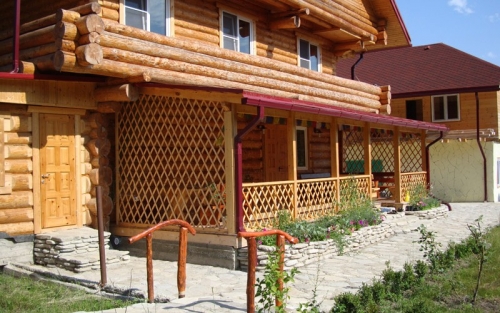
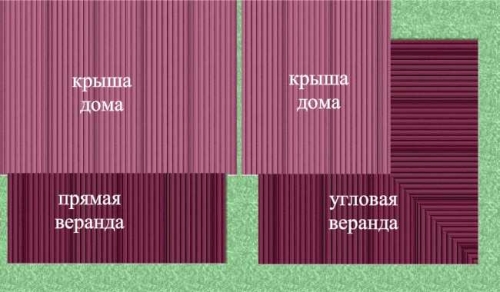
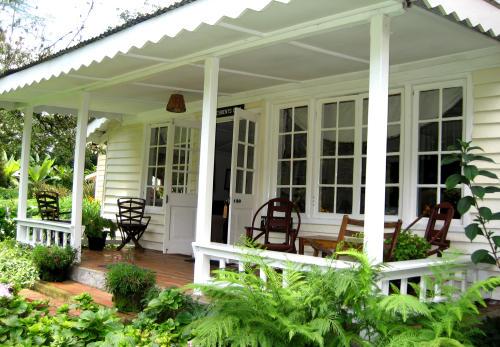
The veranda is usually built near the end side of the house, the front door is located indoors. As a building material, a beam or log is perfect, you need to build a frame method. You can use other construction options, but they need carpentry skills. Examples of the veranda from the beam can be viewed in the photo.
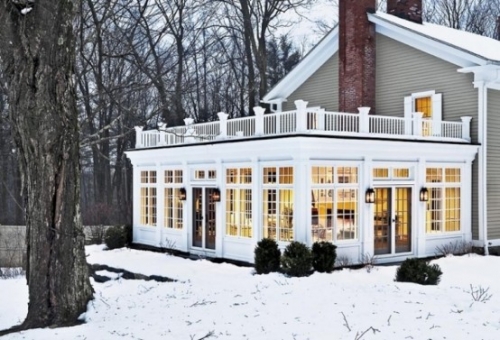
Before building a veranda from a bar, you need to draw a project of the future room. In it, indicate the dimensions of the materials that will be needed. The main part of the construction is windows, and on their size, it depends on what kind of veranda it turns out.
In preparatory work, an important stage is to determine what depth to make the foundation. To do this, take into account what type of soil at the construction site.
Necessary materials
Use standard bars if you want the veranda from the beam to have an affordable price. It is best to build a columnar foundation in which the base consists of brick. In addition, you will still need the following materials:
- gravel;
- broken brick;
- concrete;
- bitum is hot.
For the roof of the veranda from the beam, you need to select a material that will fit under the roof of the whole house. Or choose any modern coating. In addition, you will need:
- wound boards (for the construction of the grate);
- reiki (for fastening).
For windows, it is better to choose single frames. And in order to mount the frame will come in handy:
- hammer, sledgehammer and ax;
- bulgarian;
- shovel;
- trowel;
- corner (from steel) and level;
- roulette and nail;
- electric saw;
- nail, screw;
- antiseptic;
- building lining, dry pacly, gypsum solution.
The foundation of the veranda
The depth of the base of the structure should coincide with the depth of the foundation of the whole house, in this case the veranda will not “depart”. As experienced builders recommend, it is better to make a column foundation under the veranda, but you do not need to attach it too hard to the house. Pillars must be laid under the corner rack, and if the structure is large enough, then also under the intermediate.
Code construction of the foundation:
- Make a marking where the foundation columns will be located.
- Dig pits under the columns to a depth of 1 m.
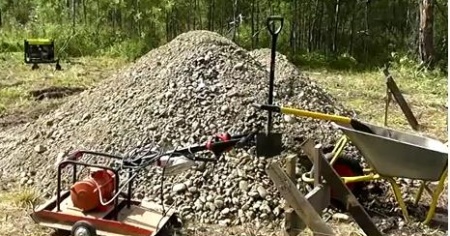
- Pour 20 cm thick into the pit with a thickness of 20 cm. In sandy soil, instead of sand, pour crushed stone, 10 cm thick layer.
- Pour hot bitumen into the pits.
- Make a concrete base so that the sawn -off shotgun is strictly horizontally.
- After the concrete froze, lay out brick pillars. Half of the veranda should be 20 cm lower than the level of the house.
- Process the poles with bitumen and fill in crushed stone.
- Fragments of bricks need to be laid in the middle of the pillar. Instead of brick, gravel can be used.
- Between the supports, make a wooden or brick clog. Make sure that the surface looks homogeneous outside.
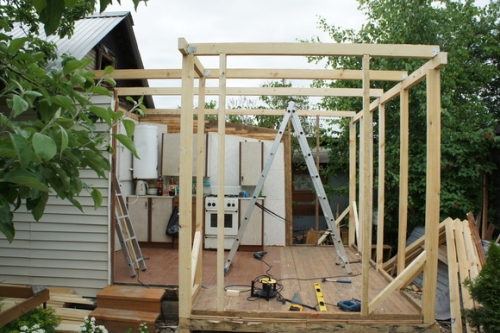
The frame of the veranda
To build a frame, bars with a section of 100x100 and 80x120 mm are wonderful.
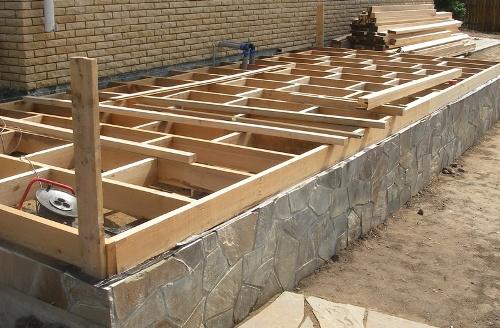
- Put the lower strapping on the foundation pillars. In the corners, the connection should take half a tree and a straight lock.
- The double bandage from the bottom must be performed so that the lags are crashed. The floor will be laid down in the future.
- In the strapping, you need to put the racks and strengthen with the help of nails, so the connecting nodes will increase.
- The strapping on top should be put on the racks and attached with spikes and nails.
- Place the rafters, attach their upper ends to the beam, which is located under the roof of the house.
- Using anchor bolts, pull the run and racks that are next to the living room. Beams with supporting rafters must be thoroughly attached in the wall.
Today, more and more often, sliding walls are used in the construction of a veranda from a beam. In addition to the fact that it is very beautiful, it is also convenient. Thus, from the veranda you can get a summer terrace. And in inclement or cold weather, the walls are closed, and a cozy room is obtained. The sections of this wall are binded by metal loops. When opening the wall, they gather in an accordion. When they are closed, they must be fixed to metal hooks, moving one side to the other.
The roof of the structure
The roof of the veranda must be made a gentle relative to the roof of the residential structure. Of the materials, it is worth giving preference to the one from which the main roof of the house was built, so the construction will look harmonious. You need to cover along the crate, laying the planks horizontally. They can be placed, both closely and with intervals, for example, it is better to put a rolled material on top of a continuous flooring from the boards, the roofing material is attached to them with nails, the hats of which should be drowned in a tree.
The course of work:
- Put the material in rolls on the flooring, smooth and nail it with a nail.
- NEW REKs fixing roofing material.
- Cover the rails with a cut roll on top, use nails for this.
- Bend the roof under the crate for 7 cm from below and beat with nails.
If the roof is steel, then the course of work is as follows:
- Install a continuous or sparse crate.
- Combine steel sheets with a falsifier seam and fix it to the crate using nails.
- If the roof is wavy, then the overlap should be on the wave, and the sheet that is lower should overlap the upper by 15 cm.
Windows on the veranda
To install the window, you need to perform a number of work:
- At an altitude half a meter from the floor, fix the window board for the windowsill. On the veranda, window sills will be lower than in an ordinary house.
- The distance between the strapping and the windowsill must be hidden under the lining or under wooden shields.
- Since this structure is not insulated, the sheathing of the veranda must be carried out outside.
- Experts recommend alternating the windows, let some sash be tightly closed, while others have to open. Since the room will not be heated, there will be enough frames with one glass.
- Window blocks must be installed in this way: insert the finished block into the opening and attach it in the corners with wedges. Next, attach a window box with nails. All the cracks that remained, you need to fly dry Pacley, but not to the end, leaving a third part of the lumen for the pack, which was moistened in a solution of gypsum. It remains only to close the closed gaps with wooden platbands.
Flooring and stairs
Paul in the veranda should be laid in this way:
- The floor should look like a coating from boards in a row.
- The boards need to be put on the lags that are between the two crowns of the lower binding.
- On top, both boards and lags need to be treated with an antiseptic.
- On top of the antiseptic, apply paint or varnish.
- On the porch, the upper step should visually continue the floor.
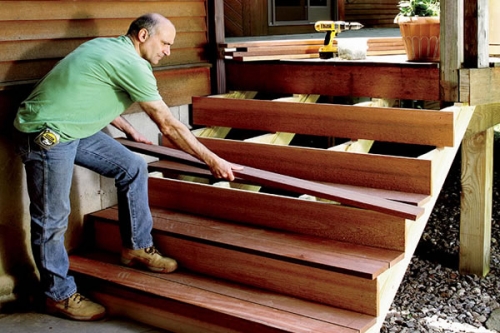
After the floor of the veranda is ready, the turn will come to install the staircase:
- At the same level with the floor, you need to build the upper step.
- In two bowstring, which are a little at an angle, you need to attach parts of a straight staircase.
- The lower step should be at the ground level, and its ends fit tightly to the aunt and attached with a nail.
- Now you need to install the inserts, they are cut out according to the template, they are similar to the outline of the side board. They are also attached to aunt.
- Between the inserts there should be approaches and a supporting board, it will hold a click on itself from above.
The arrangement of the room
The main points of the arrangement:
- The door to the veranda can be installed on any side where it will be convenient for you, it will have to be included in the drawing, so that during construction, leave a place for it.
- When choosing a finish material, you need to pay attention to the finish of the whole house. Well, if the materials coincide, so the whole structure will look very organic. Do not forget to go through all wooden elements with an antiseptic.
- If it is important for you that the veranda is warm in any weather, you might think about additional thermal insulation.
- The veranda can be designed in different styles, the village and eco-style looks good.
- Due to the fact that the verandas are usually built small, you need to carefully consider where to put the furniture. Since several windows are placed on almost every wall, you need to put cabinets and the shelves must be hanged by a deaf wall.
- Support for sliding furniture is well saved. You can combine a table with a windowsill, put folding chairs or a sofa against a wall without windows.
- Be sure to buy curtains, blinds or sunscreen, so that in the summer you are saved from the heat.
In a hot period, relaxing in a veranda from a beam built with your own hands is a pleasure, it is not as high temperature in it as in the rooms, so many owners even move there with an overnight stay. In any case, if you do not regret your strength and material, you can create a cozy place for relaxation with your own hands.
