An important element of the design of the dwelling is the decor of the window. It is almost impossible to perform it without a cornice. The choice and installation of cornices must be approached with all responsibility, since only one or two centimeters of the unsuccessfully located curtains or curtains can ruin the general view.
Content
Before installing the cornice, we will get acquainted with the views to decide on the choice.
Types of cornices:
- round;
- profile;
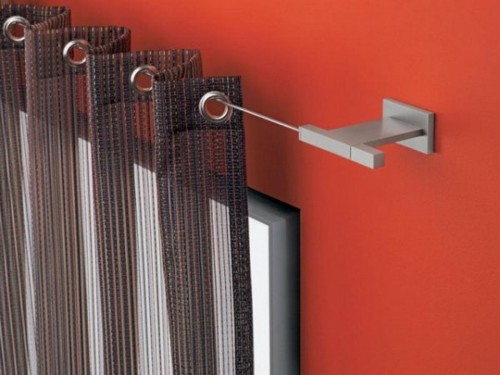
- on the string;
- baguette.
Each type of fastener is divided into ceiling and wall.
The choice of fasteners
First, consider the device and the principle of fastening the cornice on the ceiling. It consists of two elements: rails and profiles. The movement of the curtain canvas is made on hooks installed on the guide. The profile can be made of durable aluminum material or more flexible and supple - plastic.
The design of the profile can be different: string, barbell or rail. In a string cornice for the ceiling, the main suspension element is a string. The bar products consist of staging pipes installed on the brackets. Rail cornices are more practical and convenient - the fastener element moves along with the canvas along the rails.
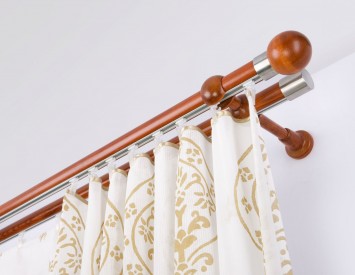
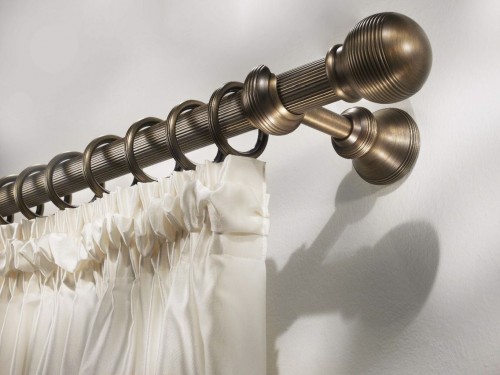
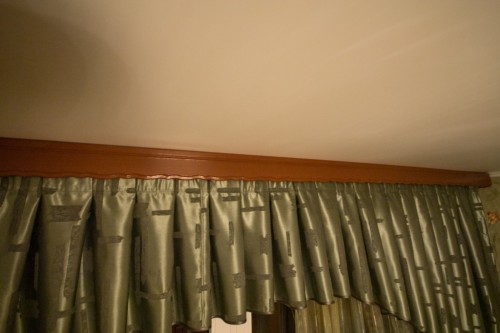
When it is difficult to decide on the choice of the type of cornice, you should pay attention to the popular wall cornice. It can be presented in the form of a pipe or bar. Materials of wall cornices: wood, metal, plastic. Depending on the type of curtain canvas, you can choose the material and color of the bar. This is the main advantage of wall cornices. For example, if you prefer light materials, you can install a plastic bar, and when you need to hang heavy long curtains, it is better to choose a strong metal cornice. In addition, you will always have the opportunity to choose a shade of the cornice, in harmony with the canvas and the general interior of the room.
Installation of a cornice for curtains
With independent installation of the cornice, such a question often arises as to strengthen the reliability of the mounting. It is clear that if the construction of the cornice is complex, then its weight will have more. The surface on which the cornice will be installed should be strong. If this rule is not observed, then the probability of collapse increases significantly.
There are two answers to the question posed: choose a lightweight design or strengthen the surface at the place of fastening. Experienced craftsmen advise preparing a hole for fastening and fill it with resin, then insert the fasteners and install the cornice. When you need to install the cornice on the brick wall, the dowel is replaced with wooden traffic jams. Now there is no doubt about his reliability.
Materials and tools for work:
- ladder;
- drill;
- screwdriver (screwdriver);
- roulette;
- pencil;
- level.
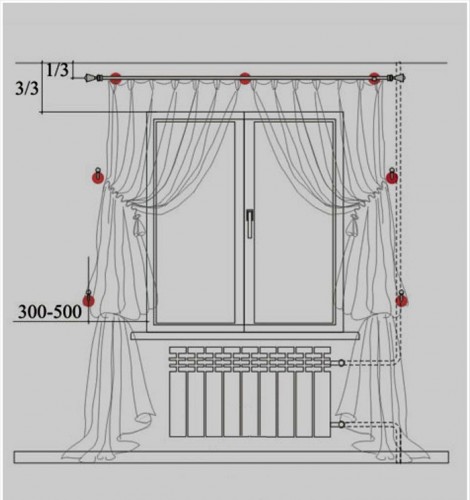
First, it is necessary to determine the place of fastening of the cornice so that when opening the window it does not interfere. In addition, when installing a cornice with your own hands, you need to adhere to this rule: so that the fabric does not touch the window sill, the protruding part of the cornice should be larger. In addition, it is necessary to take into account the width of heating devices if they are located under the window.
Mark the markup using roulette and level, take into account the same distance along the edges of the window.
For the installation of wooden and plastic cornices, the mount is performed on several screws, and if it is necessary to install a metal cornice - from 3 to 5 fasteners are used.
How to install a wall cornice:
- Drill holes for the dowel and fix them with a drill.
- Using the screws, attach the brackets.
- Before the final installation of the cornice, check the distance again and securely fix the bracket.
- Put the rings on the bar and fix it on each side of the bracket. Here you are given the right to choose: you can fix the bar so that on each side there is one ring left behind the bracket, or not leave the ring in front of the tip.
- On the edges of the rod, set the fllerons. They will not allow the extreme ring from the curtain.
Installation of a flexible cornice
For attaching curtains, the base in the cornice is a steel string. This type of baguette is not suitable for hanging heavy curtains, because pulling the cable will not work very much, still the heavy canvas will sag.
Strong baguettes are more often fixed on the ceiling. They can be with one or more strings. Together with the string cornice, fasteners are delivered in the kit: clamps, strings and dowels.
How to perform the installation of a flexible cornice:
- Holes are prepared in the wall or ceiling.
- The dowels are inserted into the holes, and the mounting of the cornice is screwed.
- They thread the string in fasteners and pull it.
- The finished design is covered with a decorative box.
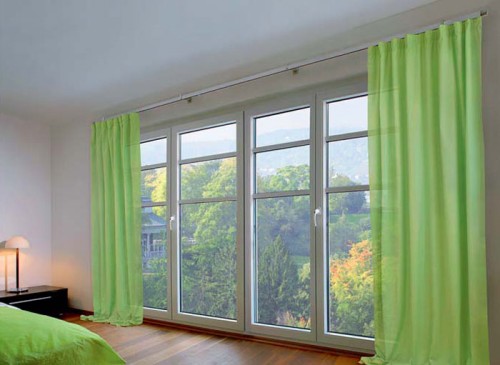
Aluminum cornices are most often attached to the ceiling to visually expand the space. With the help of cornices, you can not only perform the drapery of the window, but also do the zoning of the room.
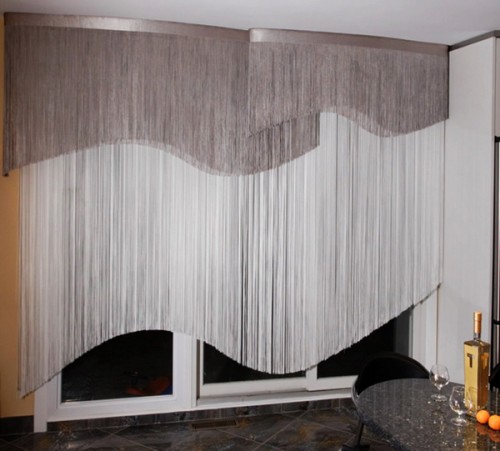
Aluminum cornices are suitable for rope curtains, when it is necessary to focus on the curtain canvas.
The installation of aluminum cornices is performed according to the same principle as the installation of a flexible cornice.
Installation of a ceiling cornice
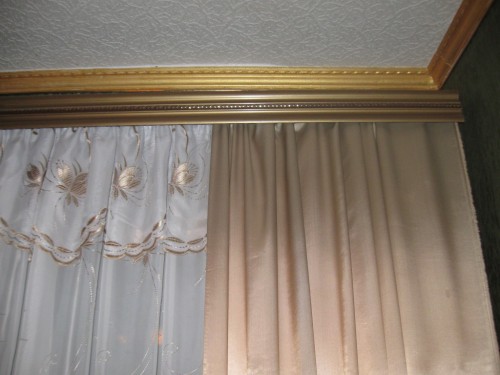
The ceiling baguette is attached to the ceiling and is suitable for small rooms. In addition, if there are drywall structures on the walls, this option will be the most acceptable.
Unlike wooden wall structures, ceiling cornices are durable and affordable, they are not afraid of temperature and moisture changes, it is easy to take care of them.
Currently, ceiling cornices are made of plastic or aluminum.
When installing a wall cornice, you need to calculate its length. According to the rules, 40 centimeters are added to the window length. This will completely open the window. If the curtains are used quite dense, which are difficult to fold, then to this length you can add 20 centimeters on each side.
To make the window easily open, and the curtains do not adjoin the wall tightly - the distance from the wall during the installation of the cornice should be at least 10 centimeters.
How to install a ceiling cornice:
- Prepare the base - the ceiling should be even, without protruding parts. If a wide baseboard adjoins the ceiling, then it can be removed at the place of fastening of the cornice.
- Mark the ceiling with the same retreats on each side.
- A decorative overlay must be put on immediately.
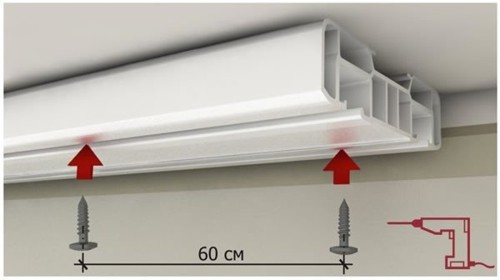
- Drill holes with a drill and install the cornice on the ceiling. Fasten it with dowels. The step between the mounting element should be 50-60 centimeters.
- When installing a plastic cornice from soft material, it is better to enhance the fastener element with metal plates. They are installed on the inside of the cornice for fastening dowels.
- Insert hooks and fix the plugs.
- The cornice is attached to drywall with special dowels. They differ in that when fastening they are revealed in drywall on the inside and provide a good connection. When installing a ceiling cornice, it is worth considering the load on the dowel - no more than 5 kilograms for the ceiling and 8 - for the wall.
Installation of the cornice on a stretch ceiling
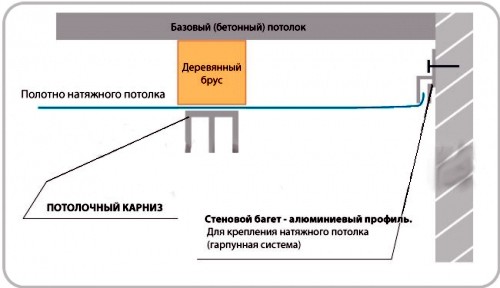
When the stretch ceiling is already installed, and the cornice is not - this represents a certain problem. The stretch of PVC film is not intended for fastening the overall object - the cornice, especially since the curtains will be suspended. Then the cornice is installed not on the PVC film, but in the mortgages, which are mounted in advance.
Installation methods:
- The baguette is fixed on the supporting wooden bars.
- The cornice is attached to the ceiling, and the canvas itself is in front of the cornice.
The first method is often used, the second is less common due to the complexity of the work.
How to perform the installation of the cornice in an open way:
- Installing the cornice is easier even before the installation of the ceiling. Therefore, the place of fastening of the cornice is first determined.
- In this place on the ceiling and along the perimeter of the room, marking is performed.
- The responsible part of the work is to attach the beam along the marking line. The tree is pre -treated with a primer to prevent the process of decay.
- A wooden beam is attached to the dowel in pre -prepared holes.
- After fastening a wooden bar, you can start installing a stretch canvas. The mount is performed to wooden bars through the PVC film.
- In the place where the mounting element passes through the film, the rings are installed, and the holes are not cut in the film, but are lost.
- If everything is done according to the rules, then the bar will not be noticeable.
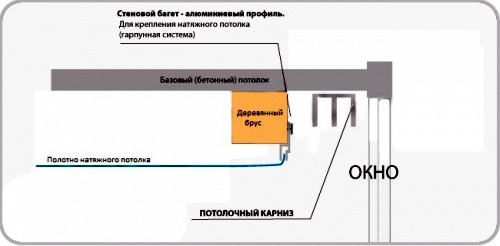
Installation of the cornice in the niche:
- This mounting method is complex, but in the end the cornice will be hidden, and the curtains will fall directly from under the ceiling.
- Even before the measurements of the stretch ceiling, you need to purchase the cornice, since its length and width will determine the depth of the niche.
- The cornice is attached to the ceiling overlap on the dowel.
- A wooden beam will be located from the ceiling cornice. It must be pre -treated with an antiseptic primer in order to exclude the reproduction of a mold fungus.
- A fixing profile of the stretch ceiling from the cornice will be mounted on a wooden beam so that the PVC film closes the wooden block.
How to install the cornice, watch the video instruction:
