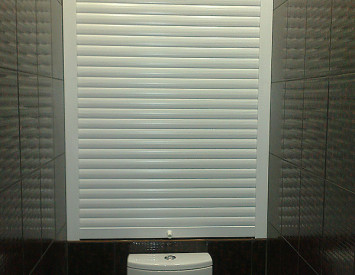
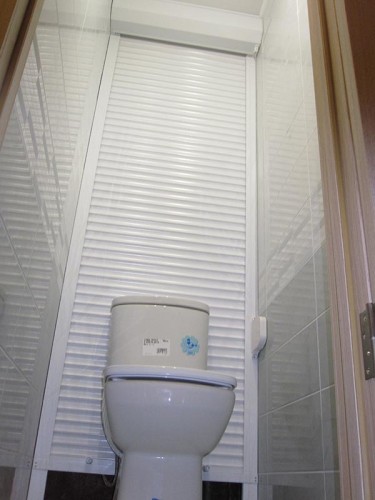
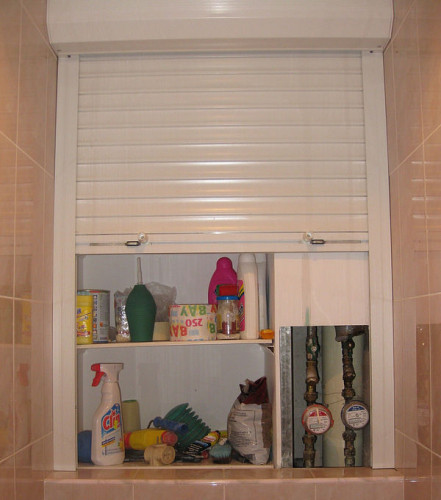
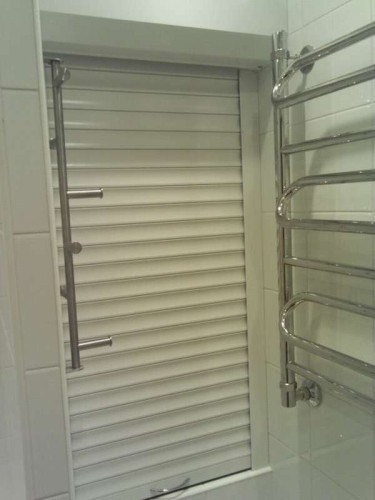
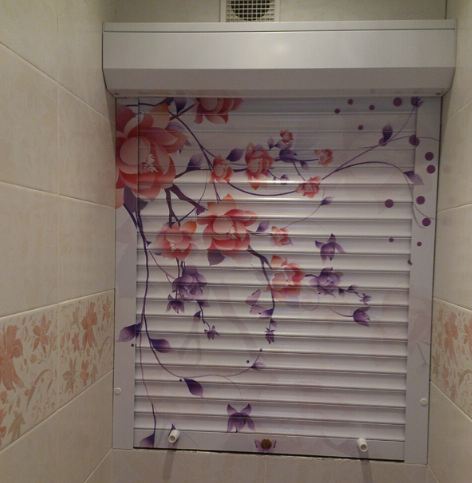
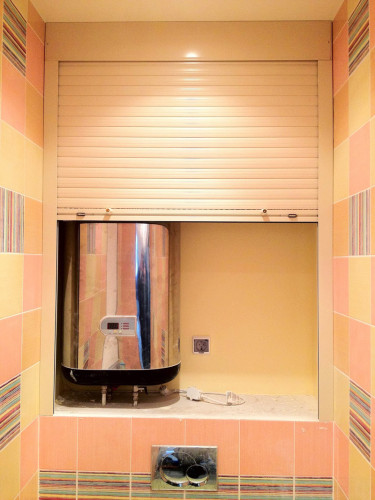
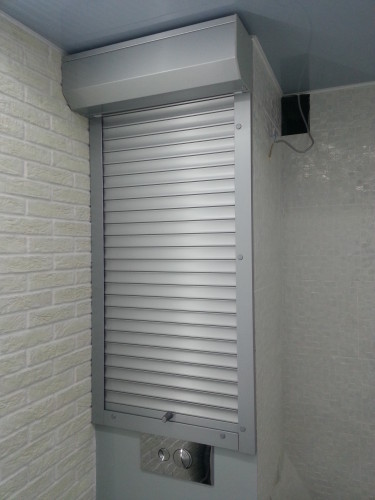
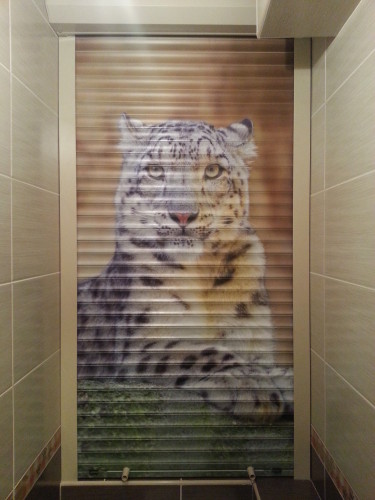
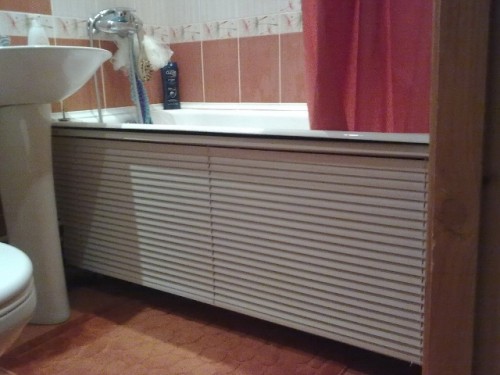
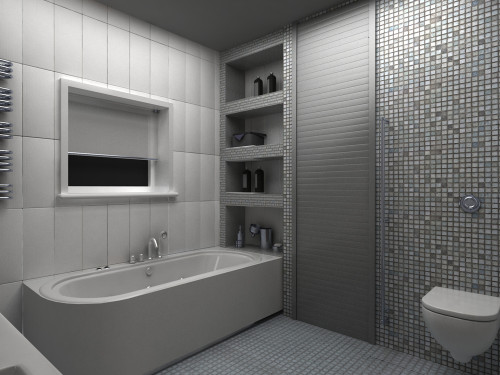
During the repair in the toilet or bathroom, everyone sooner or later faces the problem of masking open water pipes. Their rather unattractive appearance can significantly ruin the overall picture of the interior of the bathroom. In addition, open plumbing elements have always served as an excessive cause for concern, as they were one of the root causes of moisture. In the case when the pipes, cranes or accounting devices will need repairs, they often resort to dismantling, which will be unpleasant and require additional costs. A great solution to this problem will be plumbing roller shutters. They will allow you to freely get to all devices and pipes, without causing excess harm to the interior of the bathroom.
Content
What is roller shutters?
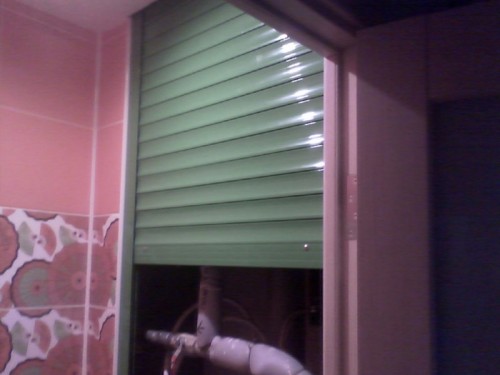
Roller shutters are attributed to one of the types of blinds. They consist of special lamellas connected to each other, wound on the shaft, which move along two guide profiles. The spring mounted in the shaft allows the canvas not to unwind if it is not fixed. The roller shutters are often located inside the plumbing cabinet made of moisture -resistant drywall, which provides additional protection against moisture, whether it is a toilet or bathroom.
Plumbing roller shutters, like ordinary blinds, are made from different materials. The following types are suitable for the toilet:
- plastic (lamps and guides are made of durable plastic);
- metal (made of painted or galvanized steel and have a fairly high level of strength);
- aluminum (made of light aluminum, have a lower cost compared to metal, while possessing approximately the same protective properties);
- wooden (provide good sound insulation and will serve as an excellent solution for a designer bathroom made in natural tones).
The advantages of rolled
The initial task for any type of home -made partitions, various kinds of boxes, holes and plastic windows is a disguise. Roller shutters allow you to combine the beneficial properties of all of the above outdated methods.
The advantages include the following:
- convenience in access to communications due to high functionality;
- the duration of the service (high resistance to moisture and corrosion due to which the water pipes are practically devoid of condensate);
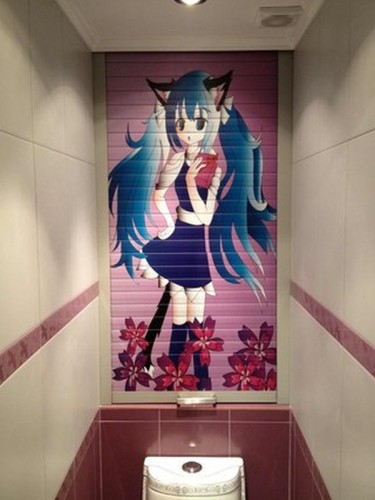
- additional opportunities in the design of the interior of the bathroom (you can cover the canvas with photo printing or cover any manually with any paint);
- good sound insulation of all drainage processes.
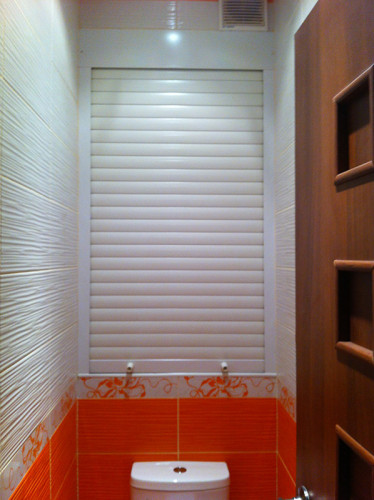
Roller shutters will also be a good choice if the toilet space is limited and there are not enough space for additional shelves and cabinets. In this case, inside the plumbing cabinet, you can hide not only water meters, taps, pipes, filters and additional heating elements, but any household items like toilet paper, air freshener, detergents or a vantuse. From the point of view of the functionality of the roller, they will serve as an excellent solution in the arrangement of the toilet, having replaced the audit hatches and other elements.
However, it is worth paying attention to the few disadvantages of this design:
- inconvenience during installation associated with a small area of \u200b\u200bthe toilet;
- the difficulty harmoniously fit the roller shutters into the overall design, if the decoration is already over;
- the relatively high cost of the structure.
Use in the interior
It is best to mount the roller shutters in the toilet immediately after the repair in the bathroom is completed, and all the necessary plumbing communications are installed or replaced. This should be done before starting the decoration of the bathroom in order to avoid unwanted consequences in the process of laying tiles to the maximum.
An excellent priority when choosing a particular type of plumbing hatch of Rolstavan will be its compactness. In most cases, the process of manufacturing the product is carried out to order in compliance with individual sizes. This allows you to get rid of attachment to standard parameters, since each bathroom is original and requires an individual solution. In addition, the entire structure functions in only one plane, which significantly saves space.
Varieties of plumbing roller shutters
Often the roller shutters are made to order. This is due to the fact that each room is individual. Rollets made according to accurate measurements subsequently allow them to be most accurately installed in a plumbing closet. For rooms with high humidity, aluminum rolls are usually chosen.
Useful advice: plastic ones will also serve as excellent protection against moisture and extra sounds, but it should be borne in mind that over time the lamellas begins to turn yellow. With independent painting, the lamellas should apply a layer of paint twice.
Additionally, you can cover plastic rolls with photo printing, but such a decoration method may require unnecessary costs.
The main function of lifting the design of the canvas is performed by the shaft mechanism. They are:
- ribbon;
- spring;
- cardan;
- electric.
For installing plumbing rooks in the toilet, a strip mechanism is best suited. It is designed for light weight (up to 15 kg). To drive the system, it is enough to jerk over the tape, which will make the canvas move up or down. One side of the tape is attached to a special wheel located on the shaft mechanism, and the other is fixed to the tape.
Useful advice: do not save on the material of the profile without the need, since the Rolstavan canvas will be most often in a closed position.
Methods for installing roller -setting in a plumbing closet
When installing a roof inside the plumbing cabinet, the accent should be placed on one or another installation method. By choosing the right one, you can greatly simplify and speed up the installation without loss of quality of work.
Below are the following installation options:
- Installation inside the opening. Before starting the installation, it should be made sure that the fully assembled design of the roller stroke will fit inside the plumbing cabinet to the required depth. This can be performed by making all the necessary measurements. The tile is put, starting from the already mounted rook, moving towards the doorway. Thus, the profile will be recessed to the thickness of the tile, while the distance between the tile and the profile becomes invisible.
Professional Hint: all measurements are usually made after the walls and slopes are leveled, but before laying the tiles begins. In the case when laying the tile has already begun, it is enough to measure the plumbing cabinet, adhering to the main requirements for such an installation method, and then start the installation of a role.
- Installation outside the opening. When communications are protruded from the plumbing cabinet or located very close to the opening, installation of a roof can be made only outside the opening. The structure is attached directly to the tile, making all the necessary measurements, and subsequently finalized.
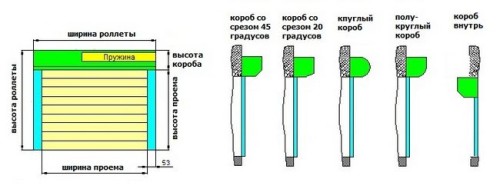
Useful advice: the tile is placed with “protruding” on the opening, based on the width of the Profile Rolstavan. When the opening size is small, it should be borne in mind that the box that closes the mechanism of movement of the canvas will “eat additional space”. This is due to the fact that in most cases the height of the box has standard values \u200b\u200b(137 mm, 150 mm, 165 mm, 180 mm, 205 mm). It is also worth taking into account that the selection of the size of the box depends on the length of the rolled canvas. The longer it is, the more the turns around the shaft will need, respectively, the box will need more.
- Installation of overwhelming. Apply in case of installation on a thin base. Only the external arrangement of the box and the presence of an additional guide profile located below are inherent in this method.
During installation, the height of the plumbing cabinet does not decrease. In this case, the height of the opening will not be reduced by the height of the box. The box is not required to be additionally attached to the ceiling. It is installed in the guides in the upper part, resulting from a rather simple and strong design as a result.
Installation of the plumbing hatch Rolstavan
Before starting the installation, the working surface should be prepared. A good assistant will be a large table. Having posted on it all the necessary components, you can make the necessary measurements and begin further actions.
Step -by -step instruction:
- First you should make sure that the walls and slopes on which the design will be attached are even. This can be done using a construction rule or level. Excess putty must be knocked out if necessary.
When the gap between the guide and the wall is large enough to use the plaster mixture. This will allow you to align the plane and subsequently avoid cracks. - If the canvas, dropping down, crosses the pipe of the plum of the toilet, you will need to additionally mount another profile. It will limit the descent of the web Roll. In this case, a hole is drilled in the profile (in the future the pipe will be inserted into it) so as not to violate the integrity of the entire structure. If you make a hole in the canvas, this will greatly affect the appearance of the roller.
- After the guides are extracted from the factory packaging, it is worth checking them for the presence and correct pressing of rubber seals. They are located inside each of the sides of the profile. If the seals have a free move, you need to additionally clamp them on both sides. You can do this with ordinary side cutters. If you do not perform these actions at once, then the system’s performance can be violated, since the seals can be wrapped on the drum while moving the canvas.
- First, measure 10 cm from the edge on each side. For reliable fixation, there is usually enough step of 40-50 cm.
- At the marked points, drill holes. This can be done using a winning drill, which should coincide in diameter with fasteners. Then decide on the place where the SHKKOLDA will go.
- Since the guide profile has a double structure, it is necessary to separate the front part from it and drill with a drill through a metal with a diameter of 12 mm. This is necessary in order to press the profile to the surface of the wall using a self -tapping hat. For the aesthetic type of structure, do not worry, since subsequently special plugs will block all visible flaws.
- Next, apply tags to the wall surface, along which the profile is further mounted. To do this, attach the guide to the wall and mark the profile mounting places. At the indicated points, drill holes and install the dowels, while not fixing the profile yet.
- On the front side of the box you need to remove the lid. To fix the box on the sides or in the back wall, drill several holes. This or that method of drilling will be applicable depending on the method of installation of roller stories.
- Then you should set special plastic transitions. They will direct the canvas from the coil located in the box to the guide profile. The transitions should be fixed as accurately as possible on the marks. This will not allow the canvas to break or wipe on the sharp edges of the profile.
- Combine the guides with the box. Try the assembled design to the installation site and then fix it with self -tapping screws.
- In the lamella, located at the base of the canvas, insert two cheekolds. To access the upper edge, drive the canvas.
- In the upper lamellas, install special holders, serving the connection with the drum mechanism in the box.
- Then the spring should be taken, wrapping the drum 6-8 times. Further, the help of another person will be required. This will allow one to hold the force with which the roof will be pulled, and the second to fix the curtain. The roof must be slowly lowered, allowing to shut up on the shaft.
- With insufficient tension, you can additionally wrap the canvas inside the box a couple of times.
- Insert the roll into the guide profiles and lower it to the end.
- Scroll the handles, set the plugs and smear all the cracks with an acrylic sealant.
As you can see, it is not as difficult to install plumbing roller shutters as it might seem at first glance. We hope that the above instruction will help you cope with this work yourself and save on the call of the master.
