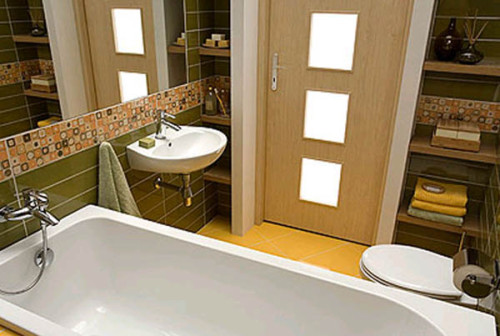
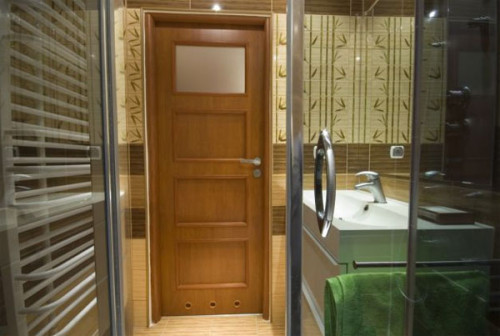
Installing doors in the bathroom is a very responsible matter. These rooms differ from others in an apartment or house, first of all, with high humidity, which leaves its mark on the choice of material. The door installation in the bathroom and the toilet should be made flawlessly. Otherwise, with an increase in humidity, the door can “distort”, and it will lose its appearance. There is nothing complicated in installing a door block with your own hands. Such work can do any person who at least once held the level and a chisel in his hands. So, about how to correctly install the doors to the bathroom and the bathroom - then.
Content
Selection of material
Today in specialized building materials stores you can find a huge selection of door models. The price of the door for the toilet and the bathroom depends on the material from which they are made, as well as on the size of the product.
Today, stores offer the following door options:
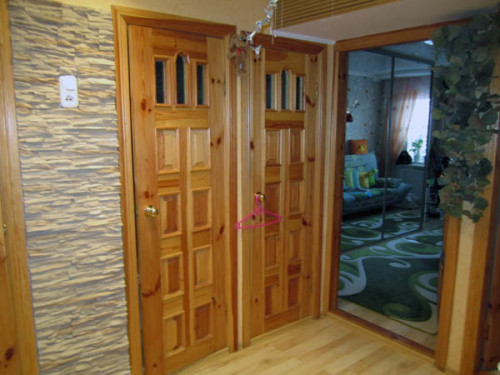
- Wooden. Natural wood doors are rarely installed in the bathrooms due to their high cost. At the same time, such doors have a very large weight, so they try not to apply them. Of the advantages of a wooden door, durability, resistance to moisture and an attractive appearance can be distinguished.
- "Canadian" - The door leaf, which consists of a wooden frame and two lining of fiberboard. This is the cheapest option for the door that can be installed in the bathroom. However, the fiberboard in an unprocessed form very poorly resists moisture, with poor ventilation it can swell and delay. In addition, this material does not withstand mechanical damage too well. When buying this option, you need to be prepared, at least, for its painting in 2 layers. Typically, such doors are sold by white -colored primer. This option can be perfect for temporary installation, when the time of repair is “settled”.
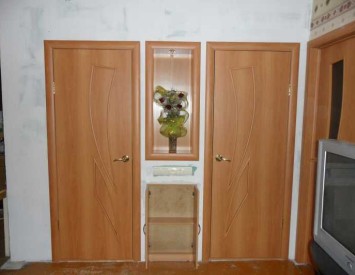
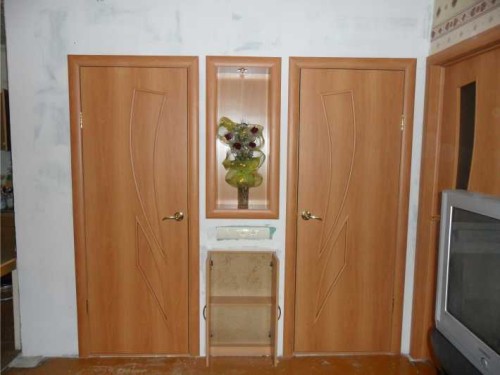
- Laminated doors and MDF. The average cost option between wood and Canadian. A special coating of the door pads allows it to maintain a presentation for more time. Such doors are easily washed, not afraid of moisture, do not require additional processing, and also have relatively low weight, which will save on too powerful curtains.
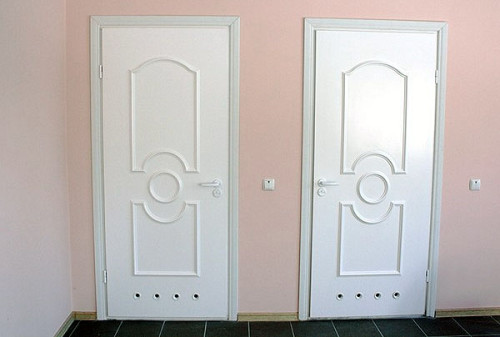
- Doors to the bathroom and PVC toilet. PVC is a very practical material. It tolerates moisture perfectly, the steam drop in temperature, is easily washed and for many years does not lose its appearance. However, for a private house, plastic doors for the toilet and bathroom will not look quite aesthetically pleasing, so they are used mainly in public places where practicality is more important than beauty.
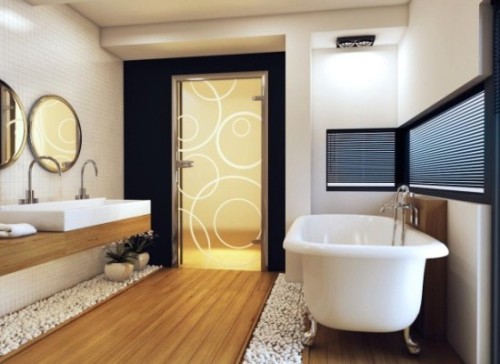
Sometimes the doors are installed in the bathroom and glass toilet. However, they have a fairly high price.
Recommendations for the selection of interior doors for the bathroom and toilet:
- When buying a door, pay attention to the models that are equipped with ventilation grilles. They will allow you not to leave the gap between the threshold and the canvas for air circulation. Otherwise, the minimum gap should be at least 20 mm.
- When carrying out repair work, you should choose the door leafs of the same color and textures that will go into one corridor.
- The bathroom box, given the high humidity of the room, should be made exclusively from wood. Now in most building materials stores, veneered boxes are sold. They do not require painting and varnishing, however, with a layer of veneers, you need to be extremely neat during work to cut the seats under the loop. The option from pressed cardboard is not suitable, because, having saved now, you will have to spend money on replacing it.
- When choosing locks and fittings, it is necessary to be guided by the golden middle "price-quality". Standard configuration of equipment for a bathroom: a handle with a latch and a lock. The first will not allow the door to open, and the lock is needed so that if you wish, you can close in the room. Experts advise installing locks with the possibility of opening outside. This will quickly open the door during a freelance situation.
- When choosing loops, you must be guided by the weight of the door. The larger its weight, the more powerful the loops should be.
- Be sure to accurately determine the size of the doorway and its thickness to correctly choose the size of the door for the bathroom and toilet.
DIY door installation
Preparation of the door block
So, the start of work on installing doors in the bathroom or toilet should begin with the preparation of the door block and its assembly. The finished block is much easier to install. Many shops that sell door leafs and accessories for their installation offer their customers the assembly of the door block with the installation of locks and loops. Naturally, having special milling machines and circular saws, you can do this in a few minutes. However, they do this far from free, so in order to save money, you can do these works yourself.
First of all, you need to assemble a box of the door block. This will need:
- electrician,
- roulette,
- screwdriver,
- electric drill,
- a set of stainless screws for a tree with a diameter of 4 mm.
Work order:
- The door box in height should be equal to the dimensions of the door plus the gap between the threshold and the canvas. We mark the height of the side racks of the box and cut them off.
- Then we lay out the racks and the crossbar on the floor and apply the canvas to them. In simple words, it is necessary to assemble the entire door block to cut the threshold and crossbar along the length.
- Between the crossbar, canvas and side racks we lay pieces of fiberboard to withstand the gap. Even if the door from moisture swells slightly, then thanks to them it will be perfectly closed.
- Having collected the block, we plan the length of the crossbar and threshold and cut it off using an electrician.
- Then we put the crossbar to the racks and drill the holes in it.
- Using a screwdriver and screws, we fasten the crossbar to the racks. Similarly, in the lower part of the box, set the threshold.
- In the collected box, it is necessary to cut the seats under the loops. To do this, putting the canvas to it, we plan a cut place on the canvas and rack with a pencil. Be sure to do this along with the canvas, so the probability of an error will be less.
- After marking, the canvas can be removed and start to cut places under the loops. Do this with a chisel. With neat tapping with a hammer according to the tool, the chisel is carried out in the direction of the fiber of the tree, thereby removing the layers of the tree. Since this tool is quite sharp, it is necessary to work with it carefully. From time to time, put the loop in place so that the cut is uniform and the curtain is “drowned” completely.
- After cutting the places under the loop, we collect the box and soak several times with an Oliphi. This must be done in a non -residential room, since the coating has a very pungent smell and can cause headaches and nausea.
- At this time, you can do the door. In the canvas, cut a hole for installing a door handle and lock. To do this, take the core of the handle and the lock and apply to the end of the door. By the attached marking, we circulate the contour with a pencil.
- Next, using a chisel, we cut out the necessary hole for installing the core. After that, install it in place. Next, mark the holes for the installation of the handle and the lock and drill them using a drill. The last thing we collect the castle and check the correctness of its work.
- On the previously applied marks, we cut out the recesses for installing the loops using a chisel. We install the loops on the canvas and fix them with a pair of screws. The canvas is ready for installation.
Installation of the door block
After the Olifa dries, the box can be installed in the opening. Before this, the walls in the opening must be cleaned of dirt and dust, as well as primed deep penetration with a primer.
Installing the box is a rather time -consuming process and it is better to do it together. For this you will need:
- Perforator (if the walls are made of reinforced concrete).
- Scurgery.
- Drill.
- Anchor bolts.
- Installation foam.
- Wooden wedges.
- Level.
Work order:
- The box in the opening is installed in such a way that the threshold is slightly higher than the floor level. This is done so that in case of flooding, the water does not go to the apartment. To do this, small wooden wedges are laid on the floor surface. Using the wedges, set the box by level and fix it.
- Then we drill a hole in the box with a drill, and in the wall with a perforator. We make 3 holes in the racks in the crossbar and threshold - 2 in the holes, we make a hide for the anchor head.
- Install anchor bolts and fix them.
- We check the level of the correct installation of the box on the planes. If everything is in order, we darken the gap between the wall and the box with mounting foam. When applying foam, you should not be too zealous, because it expands quite strongly.
- After the foam dries, this occurs no more than a day, it must be carefully removed with a wallpaper knife. After installing, the box can be painted in any color and open with varnish.
Installation of the door leaf
The door leaf on the mounted box is not too difficult to install. Supporting it with your hands or with the help of wedges, just fasten the loops to the seats in the box. First one from above, then one from below, thereby leaving the door. Try to close it. If everything is done correctly, the door will close without problems and evenly packs to the box. If not, you will need to adjust it. After installing the door, holes are cut out in the box rack, and a lining for the tongue of the handle and locks is installed.
The last step will be the installation of platbands. Before that, they are cut out using a bunker (a device for cutting the material at the installed angle), painted and varnished. Naose platbands with nails without hats, so they will be imperceptibly.
If you plan to install several doors in a separate bathroom, it is necessary to ensure that they are mounted at one level to look harmonious. To do this, mark on the wall at the doorways the height of each door, hanging it using a level.
Work on installing the door in the bathroom is not anything complicated, and if you do everything carefully and carefully, the result will be excellent.
