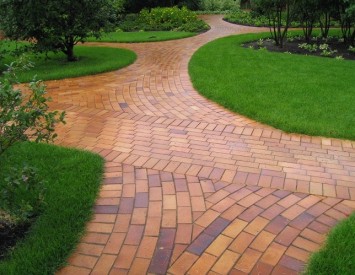
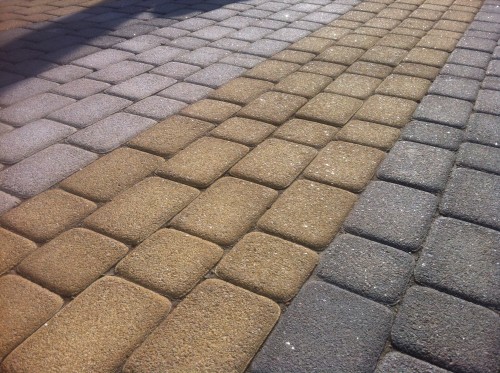
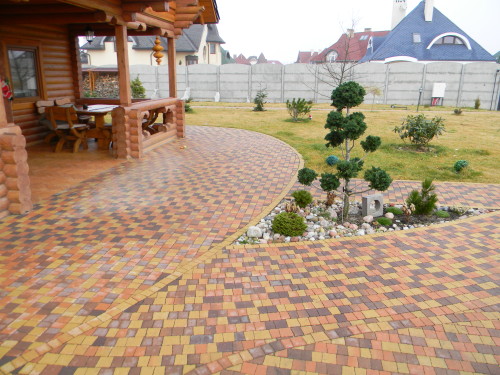
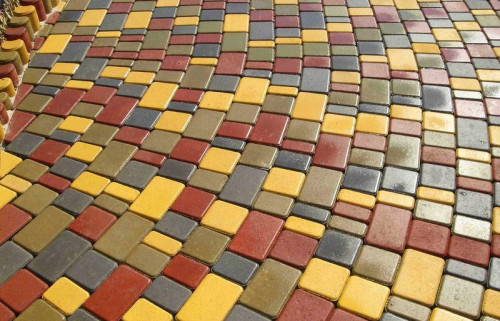
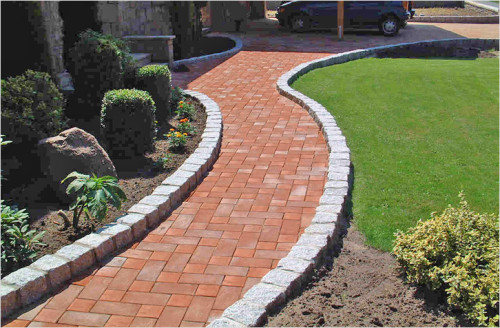
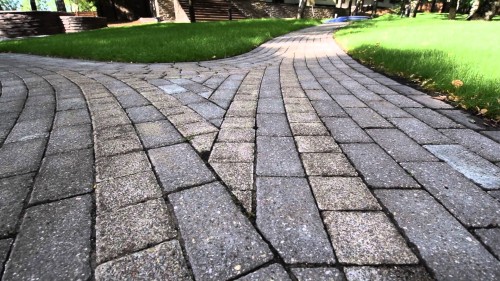
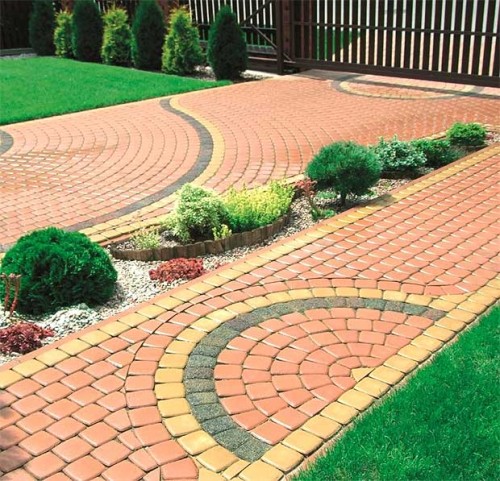
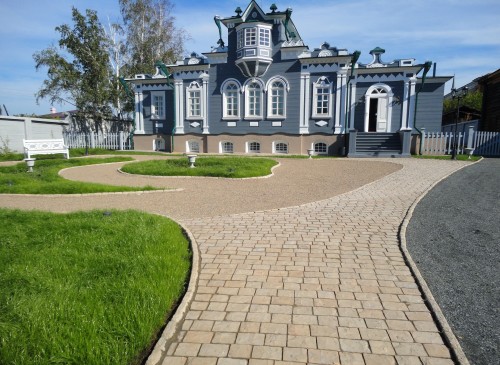
A beautiful and neat garden is the one in which everything is thought out to the smallest detail. Potted garden paths are not only an elegant designer element, but also in a convenient way to move in the site. And the most suitable option for their paving is perhaps the tile. In this article, we will tell you how to make a garden track from tiles, as well as consider the views and characteristics of this material.
Content
Description and features of paving slabs
Not so long ago, the paving slabs in our country produced exceptionally large sizes. It was well suited for the decoration of large areas, but because of its dimensions, it was often cracked, losing not only a beautiful appearance, but also operational properties. Modern methods of production made it possible to create a new product of completely different sizes. The fine tile turned out to be much more durable of its previous analogue, and its scope expanded noticeably. Now such material is often used for the packing of small sites, including garden paths and houses.
Before making tracks from tiles on its plot, check out the main qualities:
- The sidewalk tile is not afraid of any low temperatures, as well as their sharp change. This makes it possible to use the material in various regions, including in places with harsh climatic conditions.
- Since the tile includes only natural raw materials, it can be considered an eco-friendly and safe material. Such paths will not pollute the environment, it is possible to walk with a barefoot.
- The sun rays tile also transfers superior. Even heavily hot under the hot sun, it does not melt and does not crack. Thanks to this property, it is considered a more reliable material compared to asphalt.
- Unlike asphalt, it is also easy to repair. Small in size, individual elements will not be difficult to replace if necessary.
Since the paving slabs are made in several ways, the technical characteristics of different types of material may differ. For example, a tile made by the casting method will last for about 10 years. Its strength will be from 100 to 300 kg / cm², the number of cycles of freezing and thawing will be equal to 200. The water absorption indicator will be 5% of the material volume.
The tile produced by the method of dry vibropressing is considered more reliable and durable material. It will last at least 25 years and will have the best characteristics. For example, its strength varies from 300 to 400 kg / cm², and water absorption is 0.5% of the volume. Such material withstands up to 300 cycles of freezing and thawing.
Tile types by production method
If you decide to make a garden track from the tile, first familiarize yourself with the types of such a material. By the method of production, the tile is classified in this way:
- Made by vibration. In this method, the components are mixed between themselves and poured into the appropriate forms. Then these forms are placed on the vibrationtol - a device that creates a constant vibration. Under the action of vibration, the mixture inside the forms is well tumped, after which the containers are transferred to the drying chamber. At a temperature of 38 ° C, the material dries over 12 hours. After this tile is ready. It is removed from the forms, pack and deliver it. This method can be used at home, only in the absence of vibrationtol, the form will have to shake hands, and the drying time at room temperature should be increased to the day.
- Made by vibropressing. For the manufacture of such tiles, concrete solution is placed in the so-called matrix - a cellular shape installed on the bed. The bed continuously vibrates, like Puinson - a peculiar piston, which is part of the matrix from above. Under the action of pressure and vibration, the concrete solution in the matrix becomes denser, and when its density reaches the necessary indicators, the matrix and punch rises upwards, and the tile remains on the bed.
- Made by hyperpress. This method is very similar to the previous one, only instead of vibration for sealing the solution uses extremely strong pressure. This method of production of tiles is almost fully automated and allows for a short time to make a large number of products.
Tile types of component composition
Before making the track in the garden from the tile, select the type of material. By component composition, it is different:
- Laming with granite filler. It includes granite crumb. This material is relatively low weighing, it is well tolerating low temperatures, heat, aggressive chemicals. Such tile is durable and environmentally safe. In turn, the granite blocks are produced in several varieties: sawn, chipped and sawn-kolota.
- Tile with rubber filler. The composition of such tiles includes a rubber crumb, a special filler to give color, as well as polyurethane adhesive as a binder. Initially, such material was produced in Germany, from where technology was borrowed. This tile is very simple in laying, has a pleasant soft surface and is characterized by excellent performance. It can be used not only for garden paths, but for the paving of children's and sports grounds. Rubber tile reduces the risk of injury when falling.
- The polymer tile appeared on the market relatively recently. It includes: high pressure polyethylene, dye and sand. The tile is manufactured by carefully mixing the components and their further pressing under high pressure. As you can see, there is no cement among the components of such a material, so the tile is relatively easy in weight. Its pluses should also include durability, ease of installation, excellent resistance to temperature differences. The temperature range for this material is from -70 ° C to +90 ° C. And at least it is impossible to host such a tile for vehicles, the garden tracks are excellent.
- Reinforcement tile - high strength material produced by vibration. It includes a wire mesh that improves the performance of the tile.
- Tile with a three-dimensional pattern - relatively new building material. Any three-dimensional drawing is applied to its surface to photo printing. As a result, you get not just a garden track, but the real work of art. Over the image, a protective layer is necessarily superimposed, which will protect the drawing from fading and cracking, and also makes the tile of more durable and non-slip.
How to make a track from tiles in the country with your own hands
Required tools and materials
Those who wish to lay out the country tracks personally, are worth the following fixtures and materials:
- Construction level - it will allow you to control the evenness of laying the material in the process of work, so that your path is horizontal and all its elements were on the same level.
- Rubber hammer that you can customize individual details to each other.
- For laying a tile track in the country, cords or durable fishing lines will also be needed, which you will fix horizontal checks.
- Small garden rakes are needed to align the working surface.
- The small metal hammer will allow the necessary fragments from the tile, combust the edges, etc.
- The square that you can adjust direct angles.
- Roulette.
- Locks.
- Kelma or a trowel to apply a solution to the tile and for raving it.
- Tamping will need for sealing sand pillows. Tambrovka can be made with their own hands from a log and nailed to him plywood.
- Water and hose for watering sand and solution.
- Bar for taking sharp edges of the material.
- Wide brush or maclove to moisture tile.
- Soviet and bayonet shovels to dig a trench for garden path.
- Wooden stakes for markup of the desktop.
- Wheelbarrow for the transport of soil, cement, sand and other building materials.
- Cement, sand, gravel and crushed stone.
- Capacity for the preparation of the solution, for example, a small chest or bath.
- Broom.
- Bucket.
- Geotextile and gasket grid.
Preparatory work
Before making tracks in the garden from the stove, you need to put the plan for your site on paper and mark the places where paths will pass. In accordance with the picture, the marking of the territory is also carried out. For this purpose, pegs, roulette and cord are used. The width of the track depends on the personal preferences of the owner, as well as the size of the site itself. The optimal is the width of 1 m, but there are such small gardens, where such a path simply does not fit. In this case, the width can be reduced to 50 cm, which will also be quite convenient.
Conducting the markup of the site, take into account the fact that the path must be slightly inclined. So water during precipitation will not be stamped on the tile in the form of puddle, and will flock on the lawn or in the garden. The optimal option when the track is tilted in both directions, but it is not so easy to implement this without sufficient experience. Therefore, you can make a small slope equal to 2-3%, to the side opposite to the house.
When the markup is completed, it is necessary to calculate the amount of material and purchase a tile with a small margin.
Now you can prepare a working base. To do this, within the limits of the designated territory, trench roll. The depth should be slightly more than the height of the tile. When removing the soil, consider that you have to put a sandy pillow on the bottom of the trench. Roach land with a slight bias to ensure water drain.
I dug the ground, the bottom of the resulting RVA is sealing with the help of a traam. You can find a special device for this purpose, and you can make a tamper with your own hands, which is much cheaper and quite simple. At the edges of the trench, it is also necessary to dull grooves for the subsequent edge of the borders.
On the rammed soil poured a 20-centimeter layer of rubble. It is abundantly wetted with water from the hose and seal the trimmer. After this procedure, the layer should decrease to 15 cm. On top of the rubble, geotextiles are stell. He will prevent the germination of weeds between the tiles, and will not allow the sand to fall into the rubble pillow. Crushed stone in this case will execute the role of drainage.
The sand is poured on geotextiles and roll up with robbles, after which it is also wetting and trambed. It is necessary to wet the sand plentifully, the puddles were formed on its surface. After drying, the working surface must be carefully aligned. To do this, take the segments of the pipes that will perform the functions of beacons. Such lighthouses deepen into wet sand and with the help of the construction rule rave it.
After preparation of the trench, the tile can be started at the montage of curb stone. It is installed in the pre-dugout deepening. For starters, rubble puffed in them, it is trambed and poured with concrete mortar. Fresh mortar mount border. Immediately check evenly with the help level.
Please note: the curbon stone should be located slightly lower than the tile will be laid. Otherwise, he will prevent the flow of water from the path during the rain.
In addition to the cushion from rubble, near the path it is also desirable to equip the drainage system from the pipes. To do this, the border rotate the groove into which the pipe is placed, pre-wrapped it with the same geotextile. Nonwoven material will not allow the sand to fall into the pipe, clogging it. The pipe itself should also be located under a slight bias toward the drainage well.
Mounting tile on sandy base
The summer tile path can be put on a sandy pillow - it is a simpler and fast way to install it. Sand Before this, it is necessary to carefully tamper and align the surface. The work process starts from the curb and moving forward. Tiles are customized to each other with a rubber image or rubberized hammer. If the scope of work is very large, you can speed up the process using a special device - vibrating plates. They are used in professional construction, and if you need such a stove, it is better to take it for a time of rent.
By laying the tile, you need to check the result by the construction level every few rows. The level is placed both along the rows and diagonally. The track should not be strictly horizontal, it is important to observe a small bias toward the drainage pipe. This bias should be approximately 3%.
If the construction level shows that the tile lies unevenly, but it is impossible to fit it with a conversion, it is necessary to remove the elements from this site, to plug the sand or remove its excess, and then put the parts again.
Each 2 rows also need to line the gaps between the tiles. When the path will be ready, the seams fall asleep with dry plaster and are coarsely wetted with water from the hose. It is desirable that the diffuser was located at the end of the hose, since the powerful jet simply refills the plaster from the seams. Before saving the track, it needs to be switched off by a broom and remove all the garbage.
While it does not grab the mixture in the seams, it is not recommended to walk along the path. Please note that the tile consumption depends on the method of its installation. When laying parts diagonally, you will need a little more.
You can lay the tile on the sandy pillow where the transport will not ride. Such a track will fully endure the human weight and will last for a very long time if all the stages of its creation were performed correctly. If you need to put the tile on the site of parking cars or on access roads, it is better to make a concrete base there.
Installation tiles on concrete base
We looked at how to lay out the garden track from the tile on the sand. Now you will get acquainted with a more complex way for which you will have to create a base of concrete mix.
So that the surface withstand significant loads, cement mortar can be pouring over the rubbed layer over the rubble layer. It is thoroughly smoothed in the raw form, and then leave for a few days for full pouring. On top of such a tie subsequently put the tile.
A more durable base can be created by reinforcing concrete pillows. For this, a wooden formwork is mounted over a rubber layer and poured a trench concrete, making a layer of 10 cm. On a fresh solution, the mesh is 10x10 cm. So that the concrete does not crack, while dries, across the trenches mount rails with a step of 2-3 m. Such rails will be created Deformational seams, before immersion in concrete they are better covered with bitumen, to protect against rotting. Do not forget that the rails should be installed with the same bias as the track itself. When laying tiles, they will also play the role of lighthouses.
Pouring the solution into the trench, it is sprinkled with a dry cement and equal to the craftsman. Then they are covered with a film and from time to time splashes with water, so that the concrete swept slowly and cracks were not formed on it.
You can lay the tile on the frozen screed. For this purpose, cement-sandy solution is prepared. It is desirable to decompose the tile on the surface in advance to decide on the pattern and marker to mark those places that you have to cut or cut.
Then the tile is removed from the screed, the trench itself is covered with a 3-centimeter layer of solution and elements are placed on it in accordance with the pattern. The width of the seams is adjusted with plastic crosses. The smoothness of work is often tested by the construction level.
After the cement-sand mixture is frozen in the seams, the dry plaster is as falling asleep and watered the path from the sprinkler.
