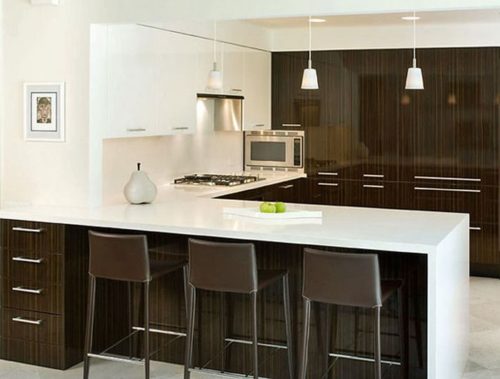
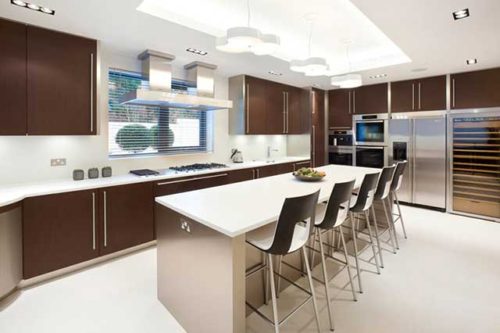
Bar racks have become an indispensable attribute of stylish housing. Due to the fact that this interior element has small sizes, you can easily divide the room into several functional zones, making the use of the space more complete. In addition, the bar counter looks very stylish. She can complement any design ensemble, becoming a highlight. At the same time, this interior item fits perfectly in any direction of design from classics to minimalism.
Content
Due to its height, the bar counter is an ergonomic surface, behind which it is convenient and pleasant to cook. In the conditions of small apartments, it can become an additional table where you can work. Today you can easily buy a finished bar rack or order its manufacture in the workshop. However, you can go along a more difficult, but less cost path, and make it with your own hands. Like the manufacture of most objects of case furniture, work on a bar does not require special knowledge and the presence of a special tool. Accuracy and attentiveness in the performance of work will be the key to compulsory success. About how to make a table-bar counter with your own hands-further in the article.
Types of bar racks
The main types of bar racks that are used in the design of the premises are:
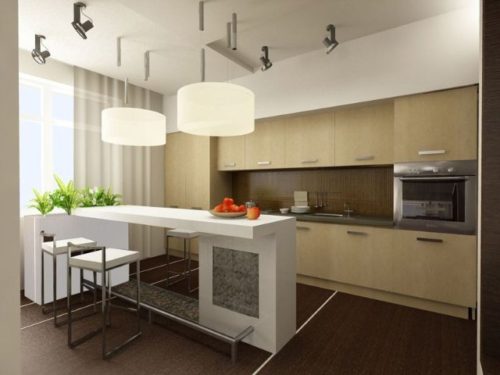
- Classic design. The height of such a bar reaches 1.2 meters. As an addition to this design, high chairs with legs stands, backs and armrests for convenient planting are installed. For a classic design in modern or minimalist styles, hard chairs on a steel chrome leg are perfect.
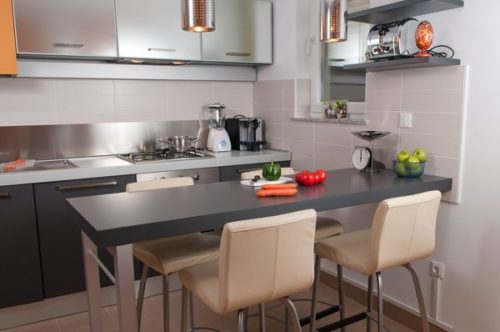
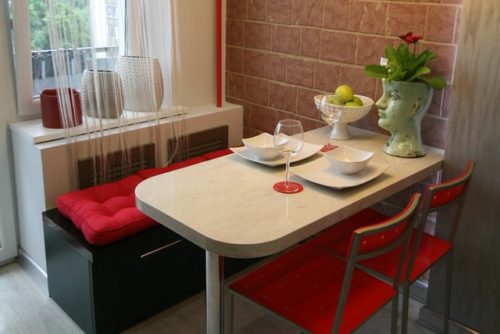
- Combined design. It most often has two purposes. It can act both as a dining table and as a rack. A combined stand is perfect for small -sized apartments. In this case, its height should be limited so that it is convenient to sit behind it. Usually its height is made no more than 900 mm. At the same time, the width of the countertop should be slightly wider than that of classic models.
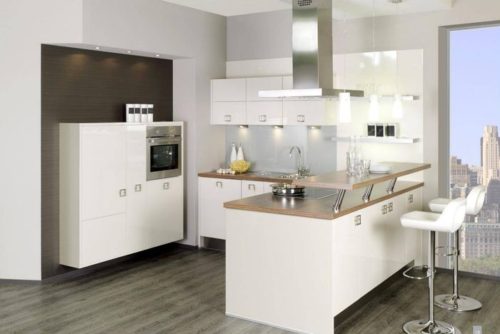
- Two -level structure. Combines a classic bar rack and a dining table. They will be an excellent solution to the problem of separating the kitchen and living room in a small room. The low side of such a bar stand is installed deep into the kitchen, and high in the living room. Although this configuration is quite convenient, it is rarely used, most often in small -sized apartments, where functionality is at the forefront.
Also, bar racks can be open and closed. The former are mainly the addition of the minimalist interior design. They consist of a countertop that relies on one or more legs, in most cases of chrome steel. Basically, they play the role of the border between different zones of the room, not carrying a special functional load. Closed bar racks are more suitable for a classic interior. On the inside, away from the eyes of guests, there can be niches for dishes, refrigerator, and storage of drinks. Such a bar standing is more functional, but suitable mainly for full -size rooms.
Materials for the manufacture of a kitchen table in the form of a bar
The manufacture of a bar with your own hands can be made using a wide range of materials. The use of each of them is determined by the style and the design direction that are used for a specific room. A beautiful wooden stand with carved details will look a little ridiculous in the modern living room.
Basically, the following materials are used to create a bar:
- Drywall. This finishing material makes life easier for builders. To build a bar rack made of drywall, it is enough to build a hard and strong frame from a wooden beam. In this case, you should not use metal profiles, since their reliability is not too high. A great advantage of drywall is that any figures can be made of it, since it is very easily processed. The finishing of the drywall can be made in any style and color that will be suitable for the interior of the room. It is also worth noting the relatively low price and unpretentiousness of the material in operation, as well as the high installation speed.
- Plastic. Until recently, plastic panels were rarely used for the manufacture of designs of bar racks. However, with the entry of panels with various color solutions and texture, they gained well -deserved popularity. The plastic is easily processed, has low weight, perfectly withstands temperature and humidity changes, it costs cheaper than other materials. In addition, he easily washes and over time practically does not lose his appearance. The only disadvantage of plastic panels is their low strength.
- Tree. Ideal if it is planned to create a classic rack. Wooden models look great, and, decorated with carvings and curly elements, create a unique feeling of an old English pub. If we talk about the manufacture of a bar on their own, then simple models are usually chosen. The fact is that wood is expensive material, which is hard to work with without special training. Therefore, wooden models, as a rule, are ordered in specialized workshops. In addition, the tree requires special care.
- Laminated chipboard. This modern material in texture and color is very reminiscent of a natural tree, but it costs much cheaper. It is very simply processed and mounted, therefore it is one of the most popular for the manufacture of bar racks.
- For the manufacture of countertops of the bar, a natural or artificial stone is often used. In addition to its beauty, the stone is almost eternal. He is not afraid of mechanical damage, pollution and does not require special care. The bar for a bar with a marble countertop looks especially beautiful. Of the shortcomings of the stone, a very large weight can be noted for laying such a countertop. Under it, it is necessary to build a very strong frame. Another, not quite pleasant side of using natural stone, is its cost.
Making a bar of a bar for a kitchen with a stone countertop
First of all, when installing such a bar, it is necessary to decide on the size of the countertop. Order it in a stone processing workshop. Since the bar stand will have a corner structure, it is necessary to order two countertops. The standard width of the countertop for the bar is 45 cm. From the side of the seated person, it must form a small canopy up to 25 cm wide. Therefore, the width of the stone should be at least 70 cm. The length will depend on the length of the bar.
Since the load on the bar of the bar will be sufficient, it is better to use a board with a thickness of 50 mm and 250 mm wide for its construction.
Also for work you will need an oak veneer. If there is not enough funds for its purchase, you can use a laminated chipboard. To finish the lower part of the bar, you can use moldings, decorative brackets. To work with a tree, a stain and two -component epoxy resin will be needed.
Work order:
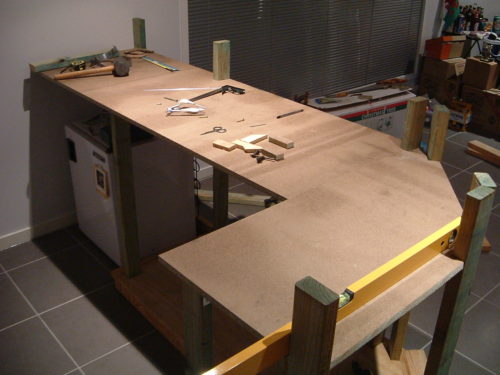
- The first step is the frame. The height of the bar of the bar is 105 cm from the floor level. For such a bar, it will be enough just to choose chairs. First, the boards for the frame rack are cut.
- Since the thickness of the board is 50 mm, the length of the frame racks will be 95 cm. For a heavy countertop, the step of installation of the racks should be no more than 300 mm.
- Next, the upper and lower beams are cut out. Their length will depend on the length of the bar. For the construction of the corner structure, it is necessary to collect two frames, which will subsequently need to be interconnected.
- The boards in the frame are attached to each other with self -tapping screws. At one connection, at least 3 screws are necessary, since the width of the board is decent. The frame is assembled on the floor in a horizontal position (so comfortable). In order not to split the board at the junction, in the upper part a hole is drilled with a diameter equal to the diameter of the screw, into which the latter is twisted.
- After the frames are made, they are also connected using screws and the finished frame is installed in place. The lower boards of the frame are attached to the floor using fast installation dowels.
- If one of the parties will be adjacent to the wall, then the frame is also attached to it. When the frame is installed, it is sheathed with veneer. Do this with nails or small screws. Then the veneer is decorated with moldings from a thin board or the same veneer.
- When the skin is finished, you can start installing the shelves inside the frame. Here everyone must decide where and how to place the shelf depending on their own preferences.
- The next step is to open the surface of the rack with a stain, and then with a two -component epoxy resin. It will create the effect of glass to the surface, which will give it shine.
- The last stroke in the manufacture of the bar will be the installation of a countertop. It is better to entrust this operation to professionals. The fact is that the countertop will consist of 2 pieces of stone, which are interconnected by special glue, and the connection place is polished. In the absence of experience, you can ruin a stone that is quite expensive.
After completing the installation of a bar, you can think about the organization of lighting. For a classic rack with a stone countertop, steel lamps with muffled light stylized under the old days are perfect.

