Departure to nature with a family is always a holiday. There is nothing better than taking children and leaving the Kingdom of Metal and Concrete to the forest or to the river after a difficult working week. To organize normal rest, a picnic furniture is needed. The days passed when people were content with bedspreads, which were both a sunbed and a table. Yes, and sitting on often cold land is not pleasant pleasure. Therefore, with frequent trips to the nature, the presence of a kit for a picnic furniture is also mandatory, as well as fishing rods. If it was problematic to find as a shortage of sun lounging or table, now you can buy such products in any construction store. However, sometimes the prices for them are quite high.
Content
In the presence of a small set of tools, desires and simple materials, a picnic table can be done with your own hands. At the same time, unlike the factory products, the table made by your own hand can be made to the size of the trunk of your car. In this case, its transportation will be convenient. About how to make a folding table for a picnic with your own hands - further.
Making a picnic table. The choice of material
For the manufacture of folding tables for picnics, various materials are used. Their choice depends on the requirements for the finished product.
- Firstly, it should be quite strong. With its small size, a picnic table should withstand heavy loads, which requires an enhanced design.
- Secondly, as appropriate to portable objects, it should be easy. Make a table for a picnic from a steel corner and a sheet, the weight of which will approach the centner, there is no sense, no matter how strong it may be.
The most optimal option for the design and manufacture of a folding table-canal with your own hands will be a profiled steel pipe. With relatively small weight, it is quite strong, which will allow the product to serve for a long time. An alternative to steel can be aluminum. Now on sale there is a wide selection of aluminum profiles from which you can make a table frame. In addition, products from this metal are much easier than steel. The disadvantages of aluminum are its high cost and difficulty in processing. Designs from it are collected only with riveting or special spare parts, it is almost impossible to weld it at home.
Laminated chipboard is often used as countertops. However, the use of it in open areas is not possible, since it requires special processing of the ends. In some cases, textolite is used to produce countertops. It is more practical, but is quite expensive.
Often, a tree is used for the manufacture of simple tables at home. This option is easier to process than steel or aluminum, but the tree is not too practical when used in the open air and requires constant care.
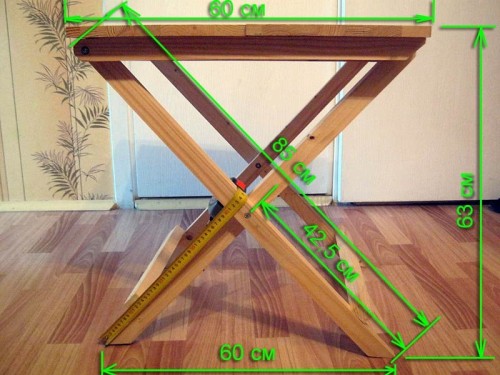
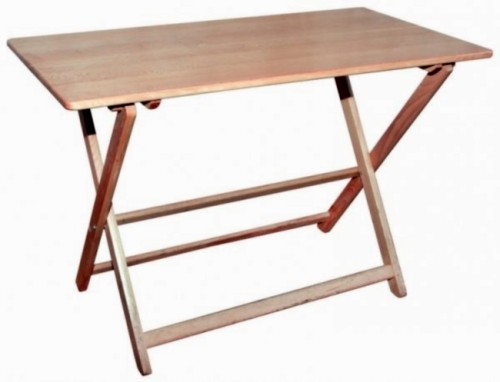
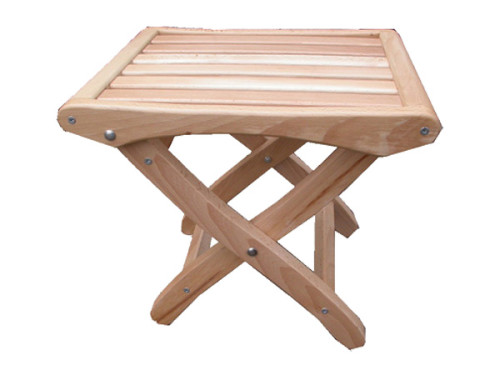
Homemade folding table for a picnic with your own hands with a wooden frame
You can make such a table in two versions:
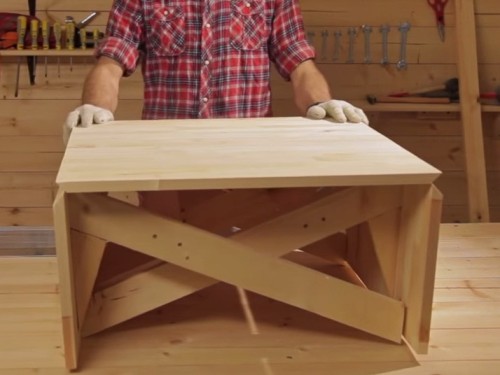
- With a solid countertop.
- With a folding countertop.
The second option is more preferable in terms of saving places for transportation, however, in terms of the structure of the structure, it is inferior to models with a whole countertop.
To make a table with a whole countertop, you will need:
- A board with a thickness of 20 to 40 mm for the manufacture of a table frame. Before starting work, they must be treated with a shirt and grinding paper.
- Plywood up to 10 mm thick for the manufacture of countertops.
- Self -tapping screws with anti -corrosion coating for attaching parts of the case and countertops.
- Bolts, washers, nuts for fastening moving legs.
Work order:
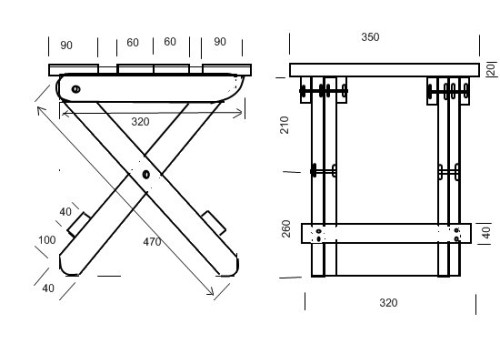
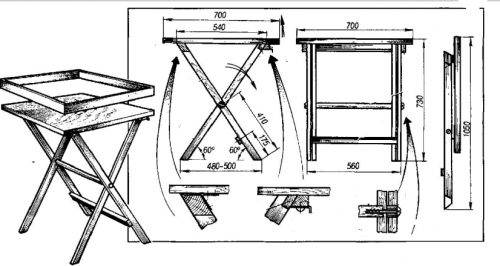
- The first case is made of the table frame. To do this, 2 pairs of boards (1160 mm and 400 mm, respectively) are cut. They are connected by 8 self-tapping screws-2 for each connection. In the upper part, a small through hole is made with a diameter of a little less than the diameter of the screw. This is done so that when twisting, the latter does not split the board.
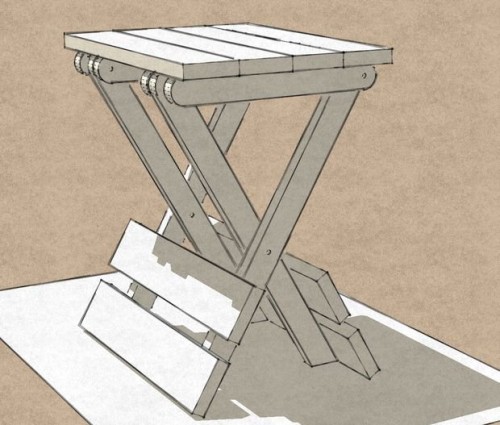
- Then, in each corner, supports for the legs are installed. They will allow their legs to lay out at a certain angle. The length of the stubborn bar is 170 mm. Their ends are sawn at an angle of 15 °. The bars are attached to long boards using self -tapping screws.
- For the manufacture of the legs, boards are taken 730 mm long, the ends of which are sawn down at an angle of 15 °. Thanks to this, the table with inclined legs will stand even. The second end of the part should be in the form of a radius. This will allow them to easily develop. In order for a pair of legs to have identical radii, they are folded together and cut through the template by an electrician. After the procedure, the parts are treated with sandpaper.
- In order for the legs from one and the other side, during a racing do not interfere with each other, gaskets from a wooden beam are installed on one pair. In this case, the distance between the legs in each pair will be different. The support column on this side is already attached to the gasket.
- The next step, the legs are connected in pairs using a piece of timber. This will allow them to have the same position in the open state and additional strength.
- The last step of the legs are installed on the workplace and screwed by bolts. In order for the leg to walk easily, washers are installed between it and the clamping nut. After completion of work, it is necessary to check the mechanism of the table in the action. If the legs cling to each other, they are adjusted.
- When the base of the table is ready, a sheet of plywood is screwed to it. This is done using self -tapping screws. After that, the entire table is opened with an Olipho, and is painted. You can just cover with stain and varnish.
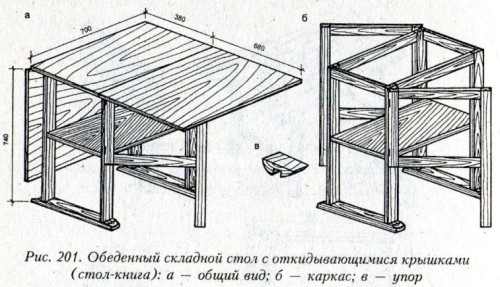
- In order to make a folding wooden table, it is necessary to make two identical countertops with a frame from a wooden beam. They will be connected using furniture loops.
- To each of the halves in the same way as in the case of a table with a solid countertop, folding legs are mounted. In the end, such a table resembles a suitcase. For the convenience of transportation, a handle is attached to it. So that when wearing it does not open spontaneously, special hooks are attached to it.
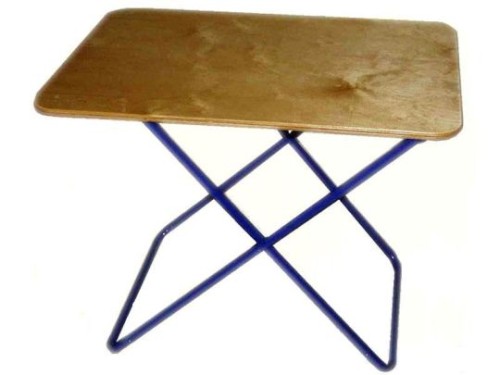
A folding table for giving with your own hands with a metal frame
For the implementation of the next project, you will need:
- The pipe is profiled with a size of 20x20 mm with a wall thickness of 1.5 mm.
- Two pieces of laminated chipboard size 600x600 mm.
- Bolts M6, nuts and washers, metal loops.
- Bulgarian with cutting and cleaning circles, drill, several clamps.
- Paint, brush, primer.
Before starting work, it is better to make the drawings of a picnic table. In this case, you can more accurately calculate the need for materials.
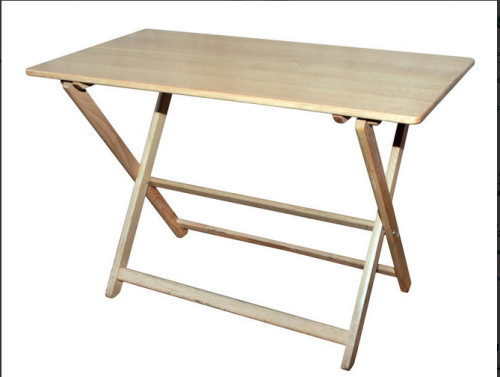
The sizes of a folding table with your own hands are a standard design - 600x1200 mm. It is for such parameters that the blanks given below are calculated.
Production begins with the workpiece and cutting of pipes into measuring lengths. For welding one half will be needed:
- 1 segment –600 mm.
- 4 segments - 560 mm.
- 6 segments of 40 mm.
- 1 segment - 470 mm.
- 2 segments of 460 mm.
Further work order:
- After cutting, the part must be cleaned with a grinder. The complexity of welding work depends on the evenness of the cut line.
- The assembly and selection of parts can be done directly on the chipboard. From the short -term exposure to high temperature from welding, it will not receive any damage. But final welding is best brought on concrete or metal.
- To begin with, 2 segments of 580 mm and one segment 600 mm are laid out. They are taken in the form of the letter P. must follow the straightness of the angle in the joints. Then, in the corners of the parts along the side segments, one pipe 40 mm long is welded. The same are welded by the side in the ends of the side segments.
- Next, in the middle of the side segments, clamps of 40 mm long are welded.
- Thus, the preparation of the case of one of the halves of the folding table will be ready. The welded design should coincide in size with the size of the countertop. Now you need to cook the folding leg. Inside the part of the frame, 2 segments of 560 mm are laid, which are connected by a jumper of 470 mm long.
- When the frame and leg are ready, you can cook all the connections and clean the seams with a grinder.
- At the junction of the legs and frame, through holes are drilled. Through them, bolts are spread and fixed with nuts. The bolt should be at least 70 mm long. Since their rotation is not provided for by the design, you can weld the head. After that, you should check how easily the leg extends.
- Then, at a distance of 160 mm from the first hole, the second is drilled. It will be used to install amplifying elements. At their installation, the assembly of the first console is over. In the same order, the second console is collected, which is a mirror display of the first.
- When the consoles are ready, one of them is welded to one pipe length of 460 mm long, which are connected using steel loops.
- The welds are cleaned, and the metal structure is primed, and then painted. After the paint is dry, you can install the countertop. It is laid on the console and attached using clamps. Then the holes are drilled around the perimeter with a drill, and the countertop is joined using self -tapping screws. The table is ready.
This design, although it does not differ in its lightness, however, due to the strengthening elements and a steel console, this table can withstand up to 50 kg of weight.

