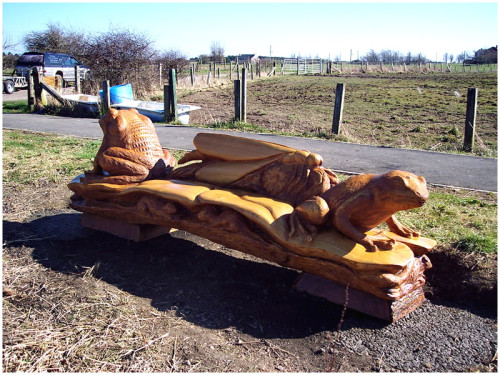
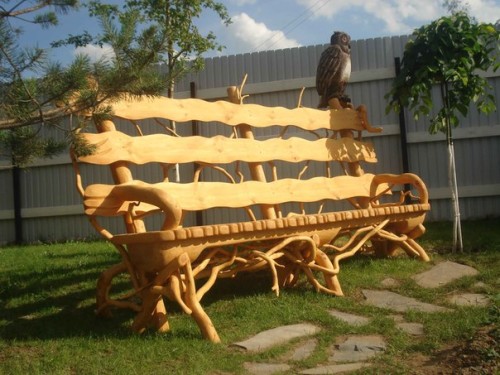
In the fresh air, it is always nice to work well, and then to have a good rest. An even more pleasant and productive rest can make a specially designated place for this - a gazebo, but, in extreme cases, a solid bench in the shade is also suitable. A convenient and comfortable shop will certainly become a favorite place for the whole family. Well, so that everything is excellent, garden benches for a summer residence must be done with your own hands!
Content
How to choose benches for a summer residence
- Before actively attached to work, you need to think over everything and choose a place to install a bench. The fact is that the drawing, plan, preparatory work, material, etc. depends on the most part.
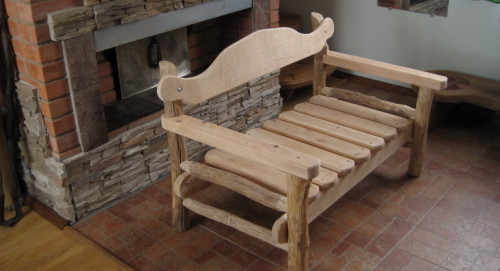
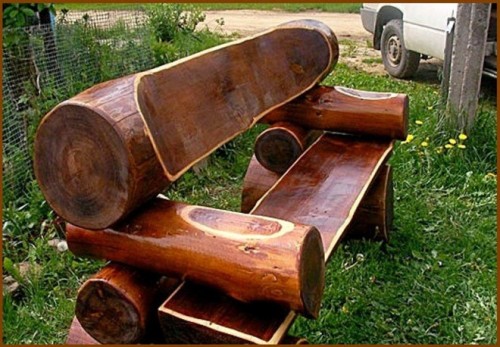
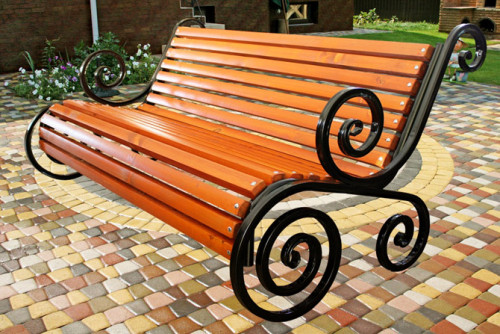
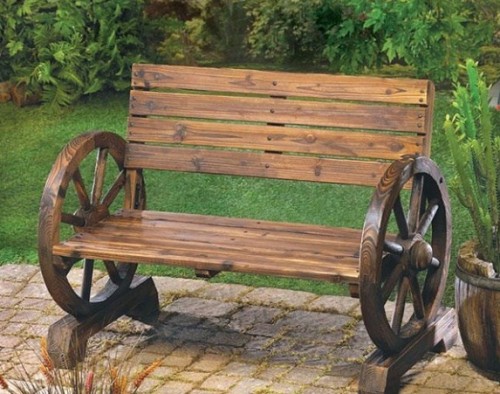
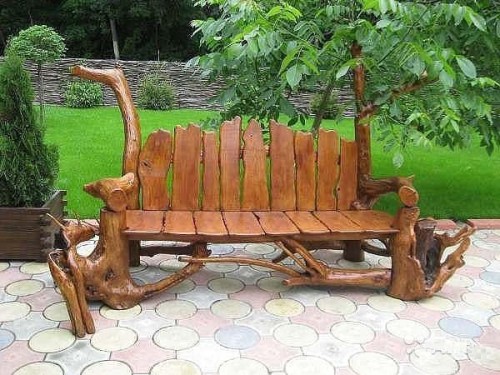
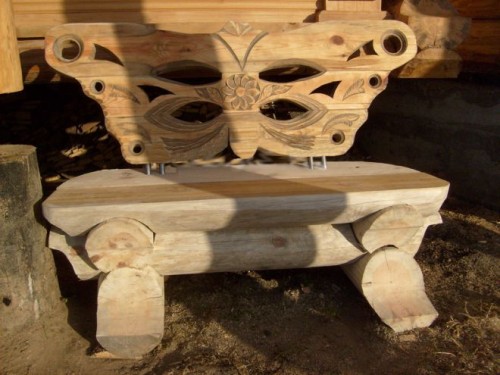
- If you want to install a bench under the trees - in the old garden, then a forged bench for a summer residence looks good here, where the back and seat are made of wood. A bench from logs will look great here.
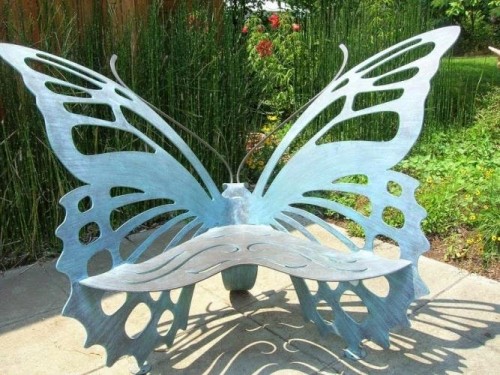
- If your garden is young or at all - shrubs and curly flowers prevail, then the bench should be light and romantic, it may be a plastic bench for a summer residence, wicker or metal openwork - you decide.
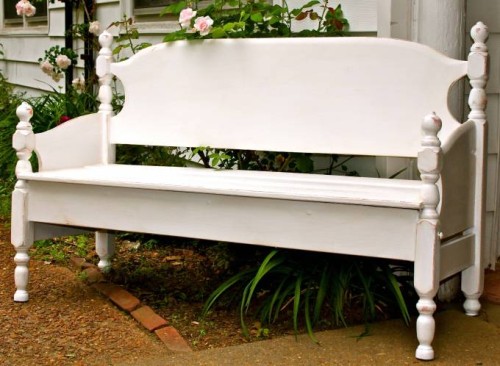
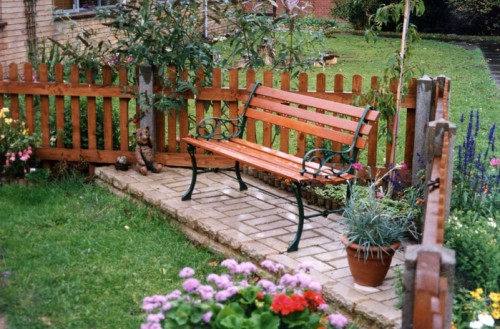
- Near the hedge or near the reservoir, benches for a dacha made of wood will look great. Especially if they are painted in a suitable color - white or blue, respectively.
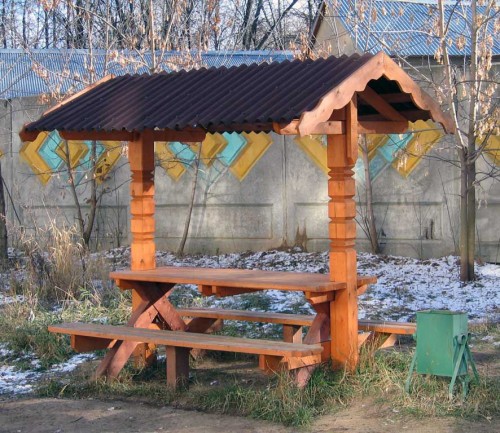
- If in the recreation area you plan to place a barbecue, barbecue-grill or simply build a place for a picnic and meet with numerous relatives and friends, then folding benches for a summer residence will look great here-they can be placed in the event if you have There are many guests and hide when there is no urgent need for furniture. In this case, you will also need a folding table or several tables (depending on the size of the company).
- It is necessary to carefully select a bench for the veranda, terraces or arbors that have already been built, because you need to think over everything so that it is designed in one, corresponding to each other style.
- When installing a bench in the country, note that it will open to the eye to the one who will rest here. The fence, garage, the wall of the house and other not too rainbow species must be immediately excluded. It is better to relax, looking at the flowerbed, pond, garden, playground, etc.
- If the bench stands near the playground, make it appropriate to this place. Let it be bright and funny - to the joy of children.
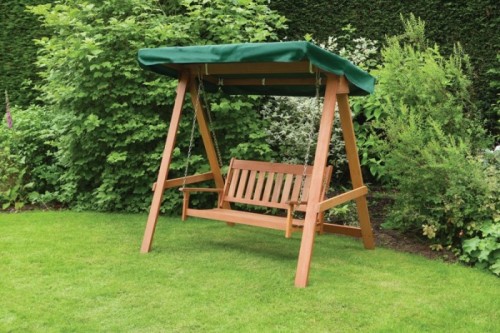
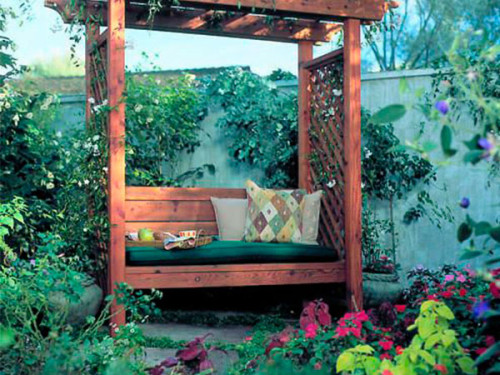
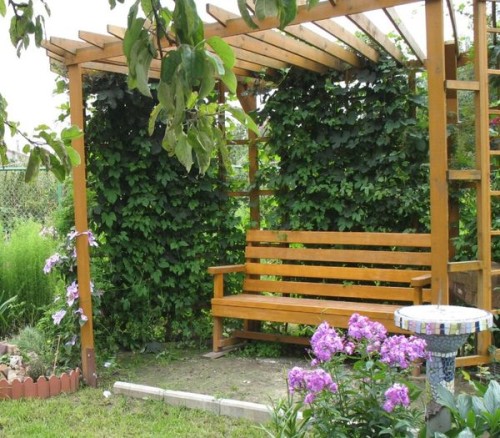
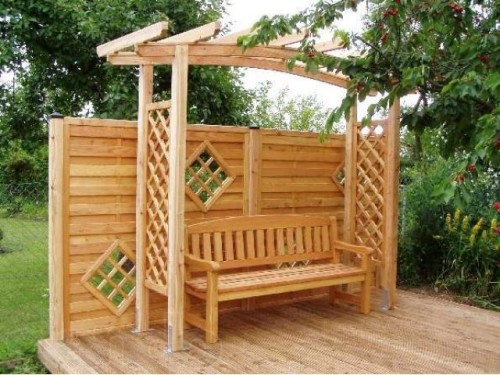
- It is best that a canopy is over the bench, then there you can relax at any time of the day - even in the strongest heat.
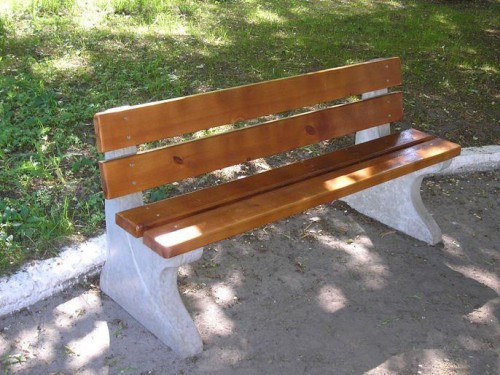
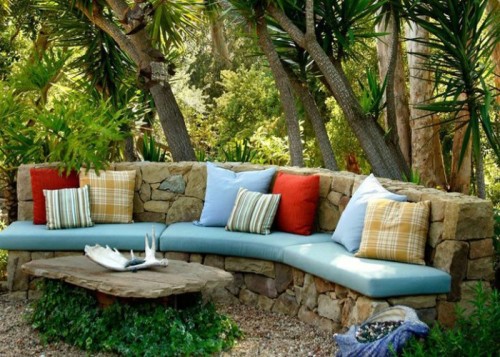
- A bench made of stones is not the best option, since sitting here in the evening or during cool weather is still undesirable for health. But if you use concrete or stone for the support of the bench, then this structure is quite suitable. This bench will look best in the garden, surrounded by herbs and flowers, trees and bushes.
- As a true decoration of the garden, one of the most romantic options can be used-this is, of course, a bench for a summer residence. Here you can read, dream and be sure to meet in love couples.
- Think carefully decorative decoration - this will bring additional aesthetic pleasure to everyone who will relax on the bench.
Drinking bench for a summer residence
We offer to build a wooden homemade bench that has a simple but very convenient design.
Damage drawing for a summer residence
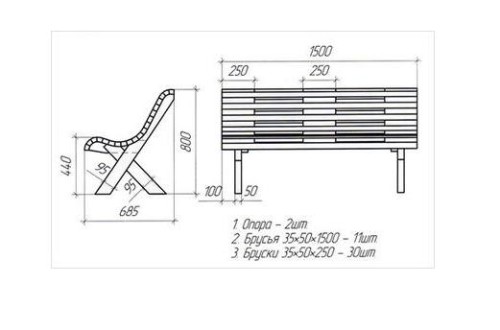
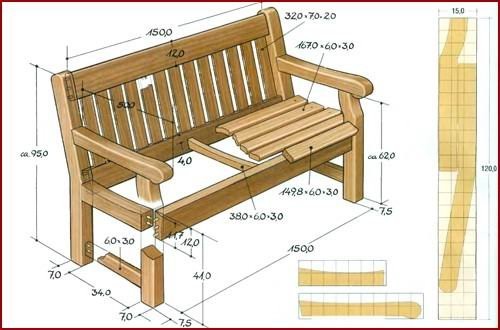
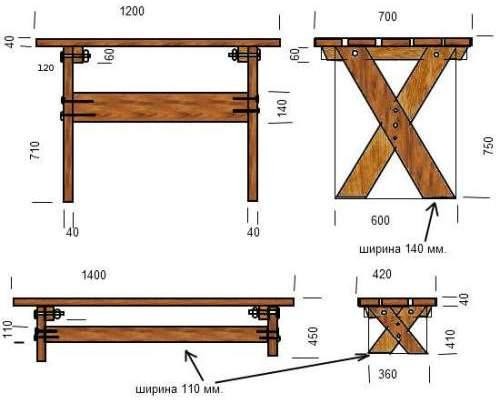
The very first thing you need to do is create a drawing of your future masterpiece, since you must definitely imagine what you should get in the end how much and what material you will need to take. In order not to make a mistake, you need a graphic image -
Draw, or rather, draw everything that you will build.
- Size. Measure the roulette directly at the place where the bench will stand, its actual dimensions should be guaranteed to fit into the general surroundings of the terrain. Calculate the dimensions, given not only the length, but also the height, as well as the breadth of the product.
- Transfer all the measurements to the paper, reducing the scale respectively (so many times as it will be convenient).
- Remember that there is such a thing as a “standard solution”. For a bench made by a “standards”, the height from the ground to the seat is on average from 50 to 60 cm. You can change these parameters at your discretion. For example, for children, the bench should be appropriate in size - make it smaller.
- During the design of the work, be sure to consider and indicate all decorative details. Then, for greater sight, they can be transferred to another sheet of paper and make a kind of template - either for yourself, or for another skilled master.
- Only after you measure everything and portray everything, you can purchase the necessary materials and start building.
- A real creative approach to any work is when you do something new and beautiful from old materials. Buy a finished bench or buy new boards for its construction is the easiest option. Try to make a bench from what you have on the site. Use your whole imagination and you will definitely have the most unusual and original bench that will delight you and your guests for many years.
Preparatory stage
Let's make a bench with a straight back. The material that is necessary for construction is a tree (you can use both ready -made new boards and the former use of material that has not lost its natural qualities). Choose strong wood, without chips, cracks and rot. For construction, three types of boards will be needed.
- A thick log is rectangular.
- An ordinary board 3 cm thick.
- A beam whose cross section is 7 cm.
Before you do something, you will need to protect the tree: apply a special protective tool on it, and then dry the material.
Do not forget to purchase the necessary construction tools:
- hacksaw (directly on wood);
- hammer (the most common);
- nails;
- varnish or paint (possibly paint will need several types if your creative nature decides to turn a bench into a work of art);
- a brush (a roller or a sponge, and, perhaps, any other device that you use to work with paint);
- screwdriver;
- self -tapping screws;
- pencil;
- ruler;
- drill.
Now you can start work!
DIY dacha benches
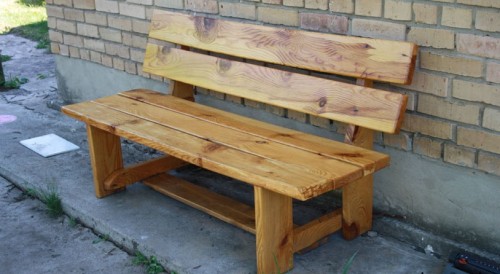
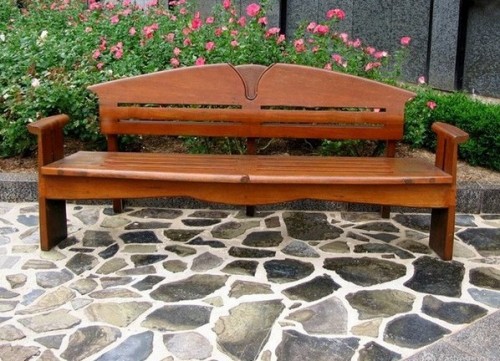
A wooden bench for a summer residence is made in four stages: first the legs, then the seat, after that - the back, and only then - the collection of the structure. In the photo below, you can see the final result of construction, at least as one of the options can be considered.
Bench for a summer residence: Making legs
Consider the manufacture of legs for a bench.
- Take a log (it should be at least 3-4 cm thick). At the same time, its width should be equal to the transverse width of the future seat - thus, you will facilitate your work.
- Using a hacksaw, cut out 2 legs, since you already have all the parameters (both width and thickness), the matter remains at the height. Their height will be 40 cm (but you look from the circumstances - you can increase or decrease this figure).
- Check how even legs. You need to measure them by applying them to each other. Even if you are mistaken a few centimeters, the bench will be slightly skewed, and sitting on it will not be so convenient. Tear your legs, if necessary, cut off extra millimeters
Bench for a summer residence: We make a back
Now the turn is to prepare everything for the back of the bench.
- The back will be in the form of 2 supporting boards-their thickness should not be less than 3 cm (if desired, you can install 3 and 4 boards).
- The back itself should be about 40 cm, so the boards will need to be installed, so that a small gap between them is obtained (by the way, the gap is not a mandatory element at all, if you want a continuous back, then the distance between the boards does not need to be left).
- The length of the back should be exactly the same as the length of the bench. Just in case, you can make the back a little wider - about 4 cm “throw” in the reserve, then remove all the “extra”. (This is much simpler, otherwise there are times when there is not enough length and you can’t do anything here).
- Having cut the boards for the back, attach them to each other - they should be one length. If this is not so, level them.
Bench for a summer residence: We make a seat
Our bench will also be wooden, only bars will take part in its construction, which will help to make the seat quite strong, reliable and convenient.
- Decide how many bars you need. You will need to choose the width of the seat, and then lay on the ground the number of bars that you need for the seat.
- Leave a gap of 1 cm between the bars. If the seat is 50 cm, then 4 bars will be enough. (By the way, many do not like gaps on the seat. If you belong to such a category of people, then knock the bars close to each other).
- Cut the bars of the same length. Remember that they should be equal in length with those boards that you will use for the back of the bench.
- Process the edges with a jigsaw - then they will not be sharp.
Bench for a summer residence: frame
Now you need to collect all the blanks that you have made so that you get a real bench.
- Start working from the bottom of the structure and move up.
- First of all, put together a beam-pound-then it will be possible to connect the legs of the bench.
- Take the 4 cm board (you can thicker), drain the desired length (along the length of the bench). Its width is the same, both for the legs and for the seat - about 50 cm.
- The bar that you got must be beaten to the legs. Use ordinary nails for these purposes. As a result, you should get a P-shaped design of a stretched format. The P-shaped base is a “template” for a bench-after it it will be necessary to disassemble, but for now it will help to assemble the structure. Thanks to her, you will be sure that the frame will not distort on one of the sides.
- Now it is necessary to collect the basis for the back. Take two more bars (7 cm section), cut the fragments that you need from them. The base is equal to the length and height of the back - about 60 cm.
- Ready -made bars (suitable in size) need to be screwed to the base using screws.
- The frame for the bench is ready - it remains for the small one.
Bench for a summer residence: installation
Now that the frame is ready, it remains to collect the back and seat using our workpiece.
- First of all, the back is attached. Cut the cuts must be attached to the bar.
- Start working on top and move down!
- Fix the back with screws or cloves. Return a little and attach the second part - the lower.
- The result should be a back on the frame.
- If the fastening is not too confident, you can fasten the back with additional nails.
- Now you need to attach the seat. First, remove the “Templar” - you will no longer need the foundation.
- Net the bars take turns, start from the inner edge (it is closer to the back).
- The second bar - beat it from the edge of the external (the middle remains empty).
- Start the middle of the seat. Form a flat, identical distance between the strips.
- If you have no gaps between the strips, then start from one edge - external and move to another - internal.
Bench for a summer residence: design
- Now you have to make the smallest - to polish the boards thoroughly, and then paint the bench or open the bench with varnish for external work.
- If the legs of the benches are on the ground, additionally treat them with machine oil or olifa.
- The decoration for the bench is suitable for the most diverse. It can be a wooden ornament, carved armrests or paint - a multi -colored bench even looks attractive.
- This bench can be transferred from one place to another. If you want a stationary bench, you will need to make the legs 30 cm longer and concrete them.
- To concrete the legs, exhaust the pits of 30-40 cm, install exactly the bench (use the level for these purposes), prepare the cement mortar and pour the legs gently. Leave until completely hardened.
DIY benches
If you coped with this simple design, the construction stages of which are described above, then you can build other varieties of benches: more complex and improved.
- A bench with an inclined back. Repeat all the same stages, only when building the back make a tilt (but not more than 75 degrees).
- Classic bench. For the seat, use a thick board or several boards. Do not leave the gaps between them. The back is performed in the form of a fence, the strips are packed on the frame vertically. The mandatory element is the armrests.
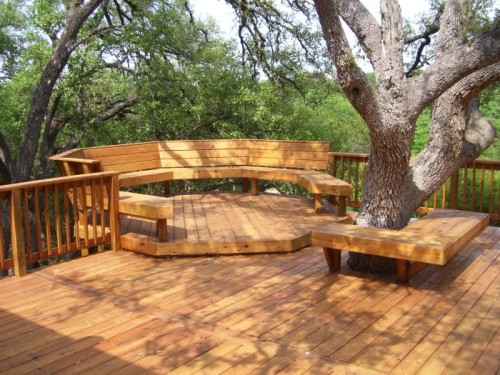
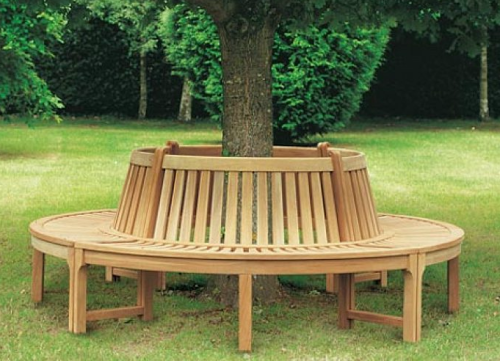
- Round bench. Very original - such a bench can be built around a tree or flower in a huge tub. It is necessary to build 6 identical small benches - in shape they look like a trapezoid, and the loan is assembled in one, so that the object you choose in the middle.
- Lark bench. You can use thick logs for the construction of a bench - it will be necessary to cut a place for sitting and back directly in them, as well as put them on a hill.
- Stamping bench. You can use hemp to create a bench. You will only have to decide how to arrange them - vertically or horizontally, as well as how to decorate the structure.
- Clear benches. The most difficult option that you will have to work on. Benches that develop when they are not necessary can be supplemented with the same folding table for a picnic.

