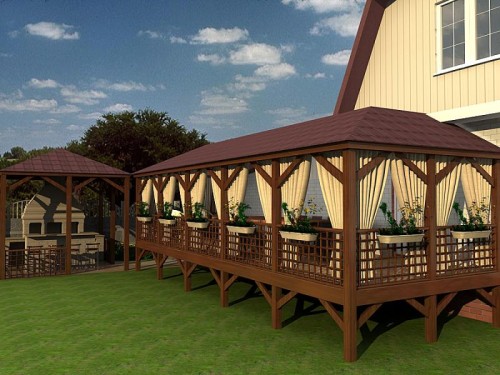
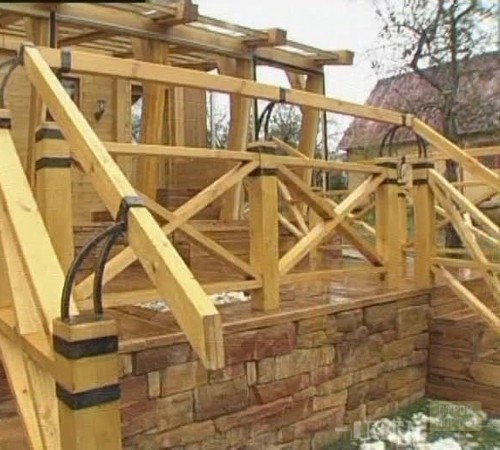
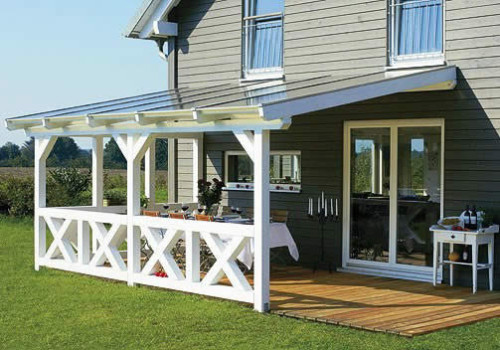
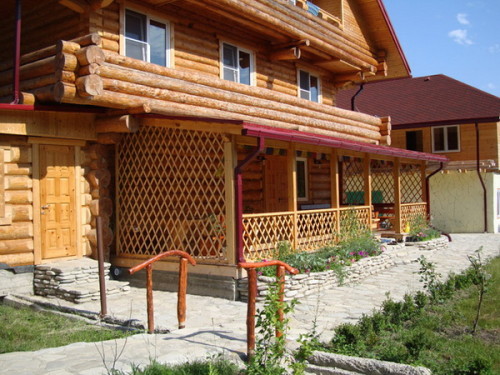
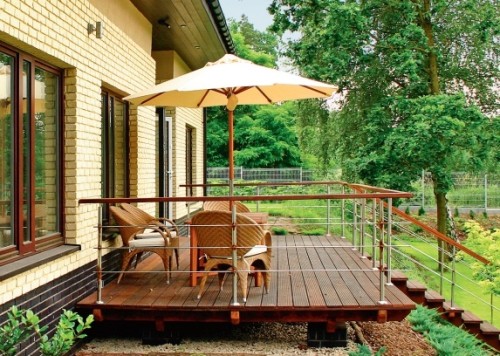
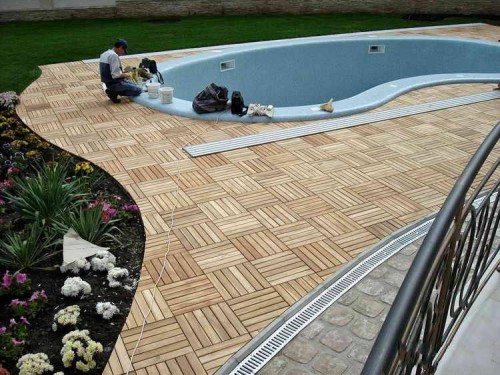
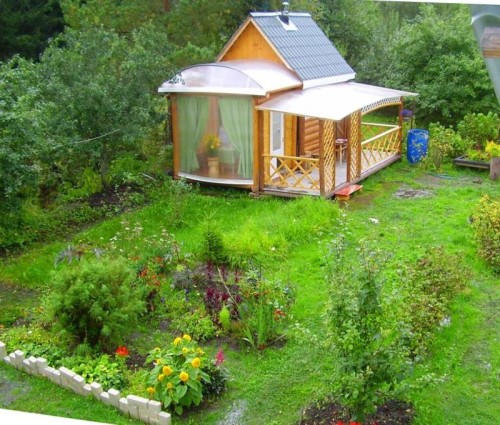
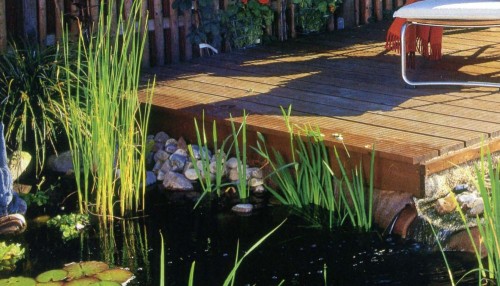
The terrace is often confused with the veranda. Therefore, it is worthwhile to explain first how they differ. These designs have not only different forms and species, but also purpose. DIY summer terrace is performed in the form of an open spacious platform placed on the foundation. This place is usually used for relaxation. For the convenience of being in the construction, it is covered with a roof. However, the roof is not a mandatory element of the structure. Terras, unlike the veranda, are not necessarily adjacent to the main building. The veranda is considered a cold closed room designed to protect the entrance to the house from cold air exposure. It is usually built from the side of the front door, to which it adjoins, and whose defense provides. Unlike the terrace, the veranda is a small room. Sometimes the terrace is confused with the gazebo, which differs in that it is always built separately from the main house. There are fences in the gazebo. They are optional in the terrace. The price of the construction of garden terraces is quite high, so you can try to perform installation work with your own hands.
Content
Types of summer terraces in the country
Terras are open and closed. In addition, there are designs attached to the main building, for example, a 6x6 garden house with a terrace, as well as those that are located at a certain distance from it.
Work should start with choosing a suitable place for construction. Consider the option of an extension of the terrace to the house. If there is enough space around the building, then you can make a terrace that envelops it around the perimeter. Often for construction, they choose a place at a certain distance from the house. In any case, it is recommended to take into account the location of the main building relative to the cardinal points. The attached garden terrace is most often built on the south side of the building. If the entrance to the house is on the north side, then the design enveloping the main building around the perimeter is suitable. If the site has beautiful garden compositions or a pond, then the terrace can be built separately from the house, closer to them. Next, we consider in more detail how to build a summer terrace.
Fundamentals of the construction of the terrace
Typically, the design features of the terrace depend on where exactly it will be located on the site. It is not necessary to purchase new building materials for the construction of this design, because those that remained after the construction of the house are also suitable. If the remaining material is not enough, it will have to be purchased. When choosing, it is worth giving preference to refractory and frost -resistant structures. In addition, the selected material should withstand the effects of sunlight and precipitation.
As you know, anyone can be made the shape of the terrace. The simplest options are square and rectangular structures. One way or another, any open summer terrace consists of parts such as the foundation, flooring, roof (optional element).
The procedure for primary work on the construction of the terrace:
- Laying the basis should be started with markings. To do this, stakes or reinforcement are driven into the ground around the perimeter, between which the twine is pulled. In the future, cement pillars will be set. For ease of alignment in the corners, you need to put temporary supports, and side lags on them.
- The height of the flooring of the terraces above the ground is usually about 40 cm. To align the site under the tiles, you can put various pieces of materials remaining after the construction. Alignment should be controlled by level.
- As for the supporting beams, they must have a small slope coming from the house. This is necessary so that the water does not stagnate after the precipitation, but drains. The stretched twine is aligned, focusing on the upper edge of the lag, and then fixed to the driven peg or reinforcement. In order to finish the markings, you need to remove the lags.
- The construction of the foundation begins with the exposition and equalization of previously mentioned cement pillars. When they are installed, the trench is dug, which is then poured with cement. Porcelain borders are installed in a flooded solution. This must be done so that about half of the height is on the ground.
- Then you should check the vertical plane with the level, and if there are no deviations, then you need to give concrete time so that it has time to freeze. On the opposite side, the device of the base is made according to a similar principle. Near the curb, there is usually a void that needs to be filled with sand. As a basis, columnar and strip. In addition, it will still be useful to make a water removal.
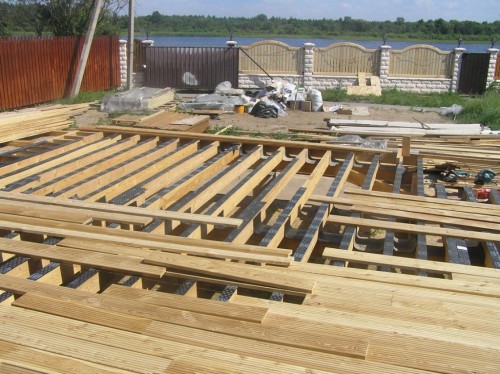
- Next, start the installation of the flooring. Lags are installed on the poles. Now you need to mark the places of attachment of the bars, which are then laid out and connected to the lags using corners.
- Then make a flooring from the boards. For this, it is recommended to use larch, because It is ideally adapted for open buildings. The width of the board is most often 100-150 mm and a thickness of about 27 mm. Boards are laid back. At the same time, in order to avoid decay of bars, you need to maintain a small gap between them.
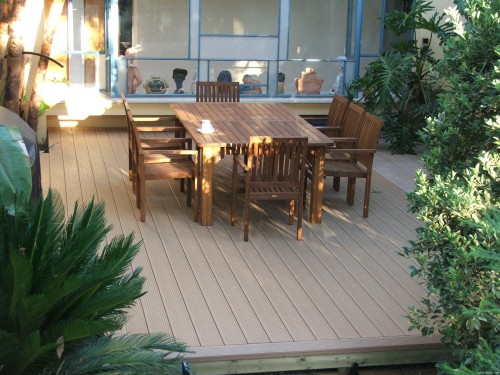
- If the edges of the flooring turned out to be crooked, then they can be leveled with an electrician. After that, the flooring is covered with a layer of paint or varnish. If decinging is used instead of the boards, then laying should start from the wall with an indent from the building of at least 10 mm.
Now you can do auxiliary elements. These include everything that allows the terrace to make a more comfortable and attractive, for example, a roof, a railing, shelves for flowers. Most often, a roof is built for such a design, which provides protection against precipitation and direct sunlight. If the garden terrace is attached to the main building with your own hands, then the roof is most often done the same as at the house. Often they are also being erected from polycarbonate.
Sometimes for terraces a “green site” on the roof is made, which is being built to provide additional landscape design by creating compositions from planted plants. But for the growth of such stands, you need to pour a high level of earth, make drainage and waterproofing, as well as strengthen the supports. If this is not done, then such a heavy roof can simply collapse. For such terraces, four pillars in the corners are not enough. Supports will be needed around the entire perimeter.
External finish
There are many options for finishing this building. The choice is made on the basis of the purpose of the terrace and their own financial capabilities. In particular, the construction can be made of stone tiles, wood, lining panels, etc. It is important that the main material of the house is qualitatively protected from external influences - moisture, cold, insects. This will require antiseptic treatment. The finish of the house itself should be of high quality. After all, it not only adorns the appearance of the terrace, but also protects it. Consequently, it is worthwhile to be attentive to the sealing of joints, seams to eliminate defects.
Warming of the structure
If the terrace is planned to be used not only in summer, but also in winter, then you need to glaze and warm it. But glazing is not necessary to do constant. In the summer of the terrace, let it be open, but at the same time, high -quality openings and bases should be provided for the installation of windows and doors. It will be enough to install custom -made double -glazed windows closer to the winter in the winter with the help of universal fasteners.
As for insulation, mineral wool is usually used for this, after which vapor barrier is mandatory. Then the walls are faced. It is easier and more convenient to work with wood, so it is recommended to use wooden panels for decoration.
Interior and interior
The arrangement of the construction should be started with the interior decoration. For this purpose, almost any material is suitable, for example, as mentioned above, wood, lining, tiles, painting. Decorative or simple plaster is also suitable. After finishing, you can do interior arrangement. When designing it, they usually focus on their own taste. The decor depends on the type of room, its area and purpose. Sometimes they put a small table and wicker furniture. In other cases, they prefer to place several rocking chairs and a fireplace here. Sometimes the terrace is designed almost like a full -fledged room.
When arranging terraces, in addition to armchairs and small sofas, tables and useful shelves, there will be mobile tables on wheels to the place. It is convenient to carry drinks and food for lunch or dinner on them. In addition, it will be convenient to place a cabinet on the terrace, where it will be possible to put the necessary cups, spoons, plates and glasses. It will not be superfluous to put a small TV or radio here. For comfort, you can carry out lighting here.
Terrace with tile flooring
Such a summer terrace to the house is built on a sandy tamped pillow. The installation procedure is as follows:
- In order to make such a terrace, they first clear the soil on the site. You need to remove the snags and stones. In addition, the upper soil layer should be removed about 20 cm thick. Next, a layer of sand is poured into the resulting recess.
- Then, around the perimeter, a trench is dug up about 80 cm deep. Wooden pillars are vertically installed vertically in it. To ensure the strength of the structure of the pillars placed around the perimeter of the fence, fastened with self -tapping screws. In addition, a layer of roofing material should be filled inside the enclosing pocket. Enough the layer in height is filled with soil. This will protect the soil on the flowerbed from leaching. The waterproofing layer should be fixed with nails or self -tapping screws. Better in several places.
- Now pegs are driven around the perimeter, between which the cord will be pulled. For reliable tension between neighboring pegs, there should be about 3 meters. The stretched cord will serve as a guide for sandy backfill. The backfill should have a slight slope so that the water does not stagnate on it. In addition, it should be tamped and aligned. During these works, do not forget to focus on the level of the cord stretched between the stakes.
- When the backfill is ready, you can start mounting clinker tiles. Each such tile is laid on a layer of sand and pressed. Then, on the surface, you should carefully tap the rubber hammer.
- Between the stacked tiles and the fence, large gravel is covered, and sand is added to the seams. Then turn on a small pressure of water and washed off from the surface of the excess. Next, to ensure water drain along the pillars, a drainage pipe with slots is laid. If necessary, the pipe is allowed to be closed on top with gravel.

