Repair bathroom, despite the small size of the room, is one of the most difficult. In the bathroom and the toilet there is a large number of communications (electrical wiring, water supply, sewage, ventilation, heating), the optimal placement of which in the limited space should not affect the functionality of the room. Also, the presence of high humidity places special requirements for the selection and installation of materials.
Content
- Stages of complex toilet repair
- We repair the toilet with your own hands. Choosing toilet and places for its installation
- We repair the toilet with your own hands. Selection of water pipes and their installation
- We repair the toilet with your own hands. Toilet design
- Selection of materials for finishing toilet with your own hands
- Step-by-step toilet repair
- Dismantling of the shell and toilet: Photo
- Repair of pipes in the toilet: video
As a rule, in the toilet, as in the bathroom, a comprehensive repair is carried out, which includes the replacement of communications, plumbing, wall decoration, floor and ceiling. The process of repairing the bathroom thought out to the smallest detail will make the room not only beautiful and functional, but also durable. About how to fix the toilet with your own hands - further in the article.
Stages of complex toilet repair
Like repairs in any other room, the production of work in the toilet has its own sequence, which is desirable to stick. It is impossible to first install the plumbing, then lay the tile on the floor, and last time to start repairing pipelines and wiring.
Why start repairing the toilet? The procedure for the work is as follows:
- Development of a general design design.
- Development of the Mounting Plan of Communications.
- Preparing tool for repairing toilet.
- Selection, toilet bowl, boiler, shut-off reinforcement, pipes.
- Selection of finishing materials.
- Installation of a black base floor.
- Replacing communications in the toilet.
- Finishing floor, ceiling and walls.
- Installing the toilet, connect the boiler.
Naturally, some points of the order of repair of the toilet can change with their own hands, but the general sequence should be observed.
We repair the toilet with your own hands. Choosing toilet and places for its installation
Toilet - the main device in the toilet. That is why it should be seen extremely weighted. Distinguish the toilets in several criteria:
- By the installation method, they are outdoor or suspended. Outdoor toilets are simpler in the installation, do not require the installation of special infrastructure and fasteners, and, most importantly, it is much cheaper. Pendant toilets have more attractive design and more practical in terms of cleaning, as the space is easier to be cleaned under them. However, such models are quite expensive, they need to create special attachments under their installation. Due to the fact that most of the design of the suspension toilet is located inside the wall, special requirements are presented to its installation. Because, before the owner notices to flow from the tank, he will be able to pour neighbors from the bottom.
- The functionality of the toilet is simple and multifunctional. The latter can combine the functions of the bidet, heated seating, etc. Of course, they are much saved by space and increase comfort, but than the harder the device, the greater the likelihood of his breakdown.
Montage rules toilet:
- Installing the toilet must be based on the ergonomics of the room and the location of the sewage removal. The toilet pipe must enter immediately into the slicer of the sewer riser.
- The maximum distance from the device to the crushes is 1.5 m, and the angle of inclination of the nozzle should not be less than 10 °. Otherwise, it will be difficult to avoid flooding.
- As a rule, the toilet places the front side to the entrance door, if we are talking about separate bathroom.
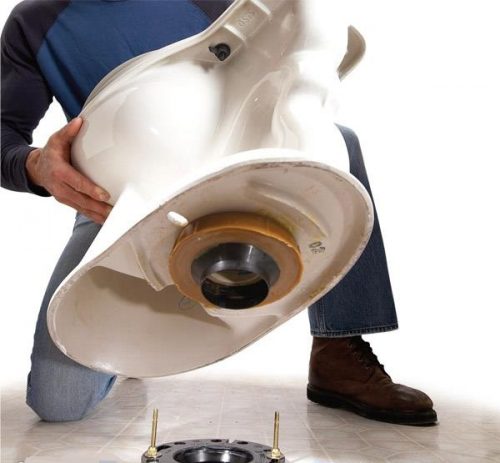
- The product is installed on a smooth tiled surface, and is attached to the dowel.
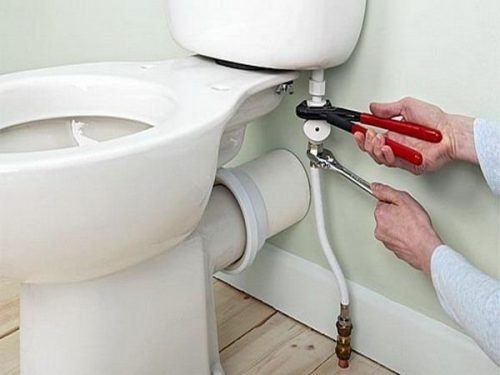
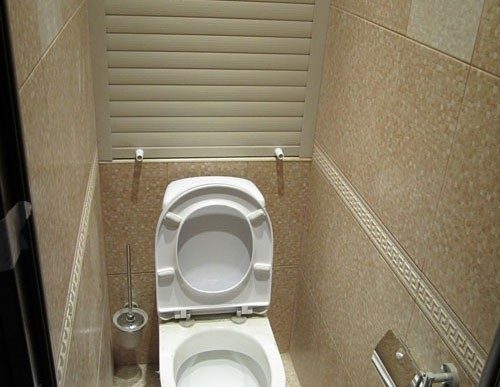
- Connecting the toilet is made to the water supply through the shut-off crane. Otherwise, when it is replaced, all other consumers will have to be cut off. Crane usually have a toilet out of sight. Connect a tank valve with a crane with a flexible hose.
We repair the toilet with your own hands. Selection of water pipes and their installation
When repairing the toilet, it is necessary to change the pipes and sewage pipes. Old steel or cast iron pipes are guaranteed to cause problems that turn over all efforts.
For water supply, polypropylene is best suitable, or as they are also called plastic pipes. They have a long service life, their compound does not require expensive fittings, as in the case of metal-plastic pipes. However, the process of their installation requires a special tool: soldering iron and a certain experience. When installing metal plastic pipes, it is possible to do only a pair of recording keys, however, the connecting parts are quite expensive for them. One of the advantages of metal-plastic pipes over polypropylene is that they have a metallic core, which allows them to bend.
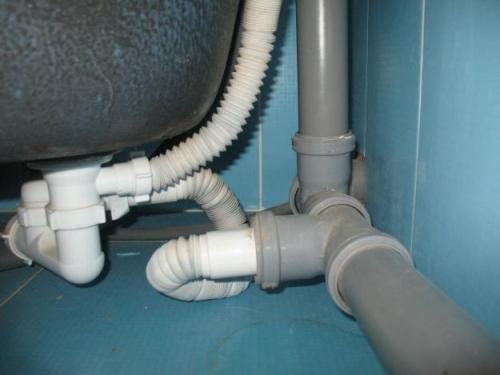
Among the sewer pipes, there are no alternatives to the plastic. Low weight, lack of predisposition to corrosion, simple installation, durability and low price - have become a pledge of their popularity. The only disadvantage of plastic pipes in comparison with cast iron is their noise. However, this problem is solved by stitching in a gypsum cardboard.
We repair the toilet with your own hands. Toilet design
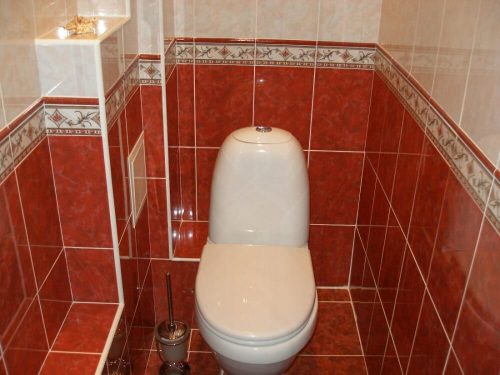
Many believe that the primary task in the toilet is the repair of communications, not counting the design of the premises of the priority. However, it is rooted incorrectly. As physiologists already had, the color decoration of the toilet plays a large role in the flow of physiological processes inside the body.
Basic requirements in the color design of the toilet mill are as follows:
- No bright, screaming colors. They may cause interruptions in the intestinal work. The same applies to small drawings. Pastel tones will be just right.
- If you look at the wall from above down, then, going down, the color of the finishes should be colder.
- You also need to try not to use one-piece vertical planes. The fact is that they create a feeling of open space that in the toilet can cause a feeling of anxiety, and this is not necessary for the toilet.
- It is advisable to visually smash the wall of the toilet into two vertical zones. The boundaries of the zones should be at the level of the eyes or chin sitting on a man's toilet.
Based on the recommendations of the physiologists, it is possible to compile a simple plan for the color decoration of the room:
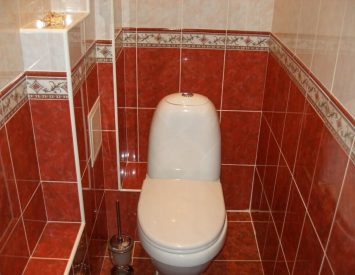
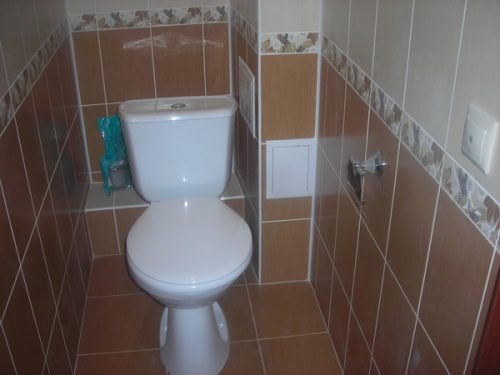
- The floor is better to make medium or dark tones of yellow, brown or gray.
- The bottom of the wall, about 0.9 m - 1 m, can be made dark brown, dark blue, or gray.
- The top of the wall must be beige, blue or cream.
- The ceiling is better to make a pale blue, pearl-gray.
- A series of decorative frieze is laid between the top and bottom parts of the wall, which will make the transition more smooth and beautiful.
Selection of materials for finishing toilet with your own hands
Rules for choosing toilet repair materials:
- When choosing a material it is necessary to remember that the toilet is polluted by very active substances, so that the materials should not have large pores, so as not to absorb unpleasant odors, to get rid of which will be quite difficult.
- The use of any tree, chipboard, laminate in the finishing of the toilet is unacceptable. They quickly absorb all the dirt, becoming a real paradise for pathogens.
- Do not use the usual silicate tile. It from the wrong side is not white. This material has a great porosity, which determines its ability to absorb moisture. Over time, the tile will be the reason for the appearance of the smell. If there are no alternatives to this material, then it will have to wash it very often.
- Paper wallpaper and suspended ceilings based on the "Armstrong" system for the toilet are not suitable.
- The most preferred option will be the use of glazed tiles, any type of plaster.
- Paints need to be purchased based on mineral pigments with the addition of marble flour. They serve for a long time and are not afraid of moisture effects.
- If there is a need to use drywall, then only moisture-resistant. It has a green color. Profiles for plasterboard installation should be galvanized or aluminum.
- If a screed will be made in the toilet, two-layer do it. The first layer is the usual cement, the second is polymer.
Step-by-step toilet repair
Procedure for work:
- After preparing materials, you can start repairing. First of all, you need to remove the door, it will only interfere. If the door is changed, the door frame is dismantled with it.
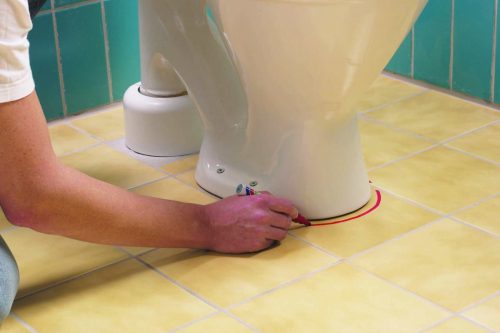
- After that, the toilet and the old tile is dismantled. Tile is cleaned with a perforator. If the plaster under the old tile is kept well, it is not necessary to knock it down.
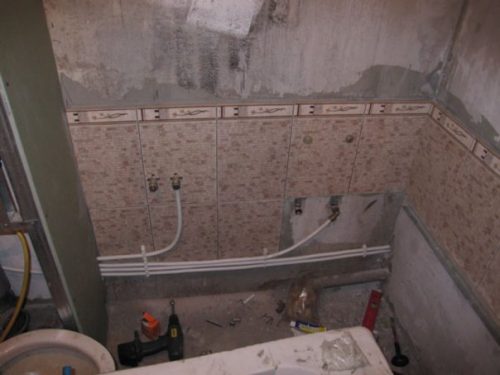
- The next step is to replace the old sewage and water supply pipes, and the laying of new ones. The most preferred option will be laying them in the shooting. To do this, it is better to use polypropylene pipes. Close the grooves is not worth it. They can simply be used and put on them tiles.
- Next, you must lay the wiring for connecting lighting and ventilation. Ventilation can be connected in parallel so that the extractor is turned on along with the light. It is quite comfortable.
- The next step is to fill the base of the floor. The screed is desirable for lighthouses. When the first layer of the screed dry, poured the polymer liquid layer. It rolls over needle roller. If everything is done correctly, the floor will be absolutely smooth, which will make it easier to laying the germ tile.
- Tile laid starting from the floor. On the floor draw two lines from the middle of the opposite walls. At their intersection (mid-room) start laying, moving towards the walls. After laying the tile should be at least a day to dry the glue. Only after this time, it can be advised.
- Next, the pendant ceiling lamp is mounted above which the ventilation nozzle and wiring to the fan are placed.
- Now you can proceed to laying tiles. It is necessary to do it from the bottom up gradually, 2-3 rows so that the glue can dry well. When laying, it is necessary to check the horizontal and verticality of the rows. For a flat seam between tiles, assembly crosses that are different sizes are used.
- After the tile is laid, proceed to the installation of the ceiling. To do this, it is better to use plastic - because it is beautiful, reliably, simple and practical. When installing, in a place where the exhaust fan and point lamps will be installed, cuts are made. After the installation of the ceiling is completed, baguette is glued on it.
- Next, electrical appliances are installed and connected.
- Then the door frame and the canvas is mounted.
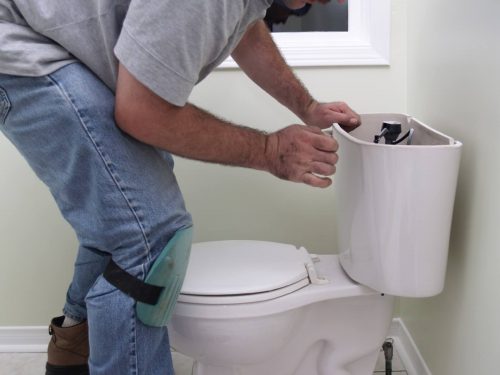
- The last step is installed and the toilet is connected.
