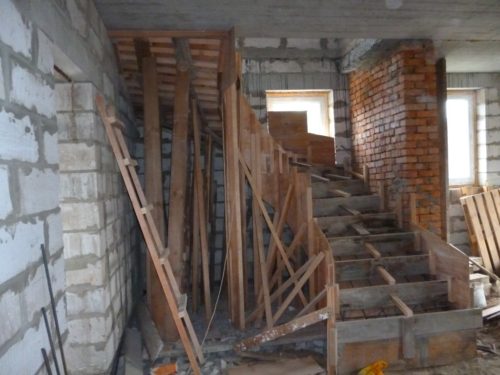
Anyone who built their own two-storey house has necessarily faced the problem of choosing a stairs to the second floor. Among the widest range of designs of this kind, concrete staircases can be distinguished. Thanks to its monolithic structure, they will serve much longer, in contrast to wooden or metal. Since finished products that can be purchased in relevant firms have standard sizes, it is better to do everything yourself. Thus, you will not only save, but also be able to equip the stairs to any way like you.
Content
Preparatory work
Before proceeding with the assembly and installation of the concrete staircase, it is necessary to prepare thoroughly. The strength and durability of the design directly depends on the material used. The concrete staircase on the second floor, made on his own sketch, will serve not one dozen years if it is responsible to approach each stage of work.
Tools and materials
In order for all work faster, it is better to immediately get everything necessary. As you will do everything yourself, you can not save on the material. Be sure to acquire the entire auxiliary tool, then the result will not make you wait.
For the construction of concrete stairs, the following set of tools and materials usually use:
- perforator, welding machine, concrete mixer, Bulgarian;
- hammer, screwdriver, hand saw on wood, knitting hook;
- vest, shovel, rule, level, roulette, ruler, square, pencil;
- protective mask, gloves, special equipment;
- telescopic racks (or timber 100x100 mm), 25 mm board, 15x50 ram, moisture-resistant plywood 14-20 mm;
- armature 10 mm, knitting wire;
- sand, cement, crushed stone;
- nails, Self-tapping screws, Electrodes, metal discs.
By purchasing all the above materials and tools, you will significantly speed up the process of assembling and fill the concrete staircase. It is better to immediately get everything necessary in order not to spend time on the search for missing elements.
Calculation of concrete staircase
If you want to build a staircase to the second floor, you first need to place everything and calculate. This stage will require discrepancy and hardness from you. More precisely, you will produce all calculations, the better and the durable will be your design. Use a ruler and pencil to transfer the outlines of the future staircase on the walls. Thus, you will visually imagine the future design.
For proper installation of the stairs from concrete, pay attention to the following:
- to check the perpendicularity of the walls, use the coal;
- measure the height of the future design and the thickness of the overlap;
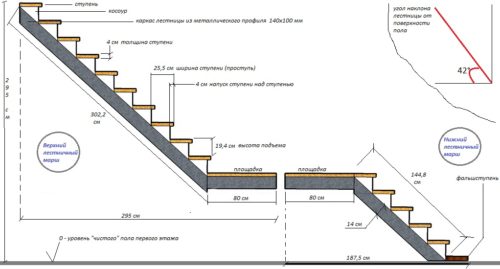
- transfer all the results obtained in Notepad, after which you can create a schema plan. For the drawing perfectly suitable millimeter paper;
- please note that the staircase must consist of: floor plate (base), platforms, overlap plates, stair marches (the amount is determined by the room feature).
All calculations are better to first pounce on the draft, and re-check. Subsequently, on the basis of the quantities obtained, it is possible to apply a final drawing, taking into account all turns, radius sites and other structural elements. Note that in case of an error, it will be fixed quite difficult or even impossible to correct the concrete structure. For such a case, it will be appropriate to mention one saying: "Some seven times, a rejection once."
Concrete staircase with her own hands. Step-by-step instruction
Now that you are thoroughly prepared and armed with everything necessary, it's time to start directly to the installation of a concrete structure. We advise you to immediately take care of an additional pair of hands. Most of the assembly and installation processes of the ladder from concrete imply work in a pair, so help you will be by the way.
Build frame and reinforcement of concrete stairs
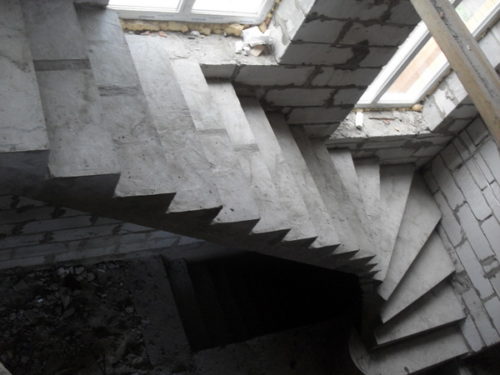
In order for the staircase to acquire a monolithic character, withsting all alleged loads, it is necessary to assemble a quality framework. Consider all the processes on the example of one of the most popular options for concrete ladders - a two-billage design with one platform. I would like to note that for the marching platform it is necessary to do in advance in the walls in the walls of at least 100 mm depth. Since the design is self-sustaining, the site will carry certain loads.
To assemble the frame for the future staircase, are applied as follows:
- Collect the lower formwork. First, mount the board near the bottom stage. It is necessary to do this, taking into account the height of the first floor.
- Mount the shields for each march and platform. Locate the boards as close as possible. To do this, use a bar and fastening elements (nails, self-tapping screws).
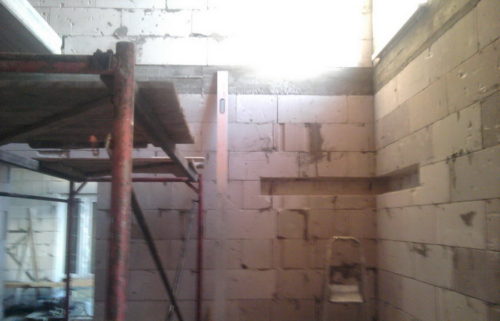
- With the help of adjustable backups or a thick bar of the desired length, fix the formwork.
- Install side panels. You can use both a bar with a board and solid pieces of plywood, cut according to the shape and size of the structure. Subsequently, we will mount the boards intended for the construction of steps.
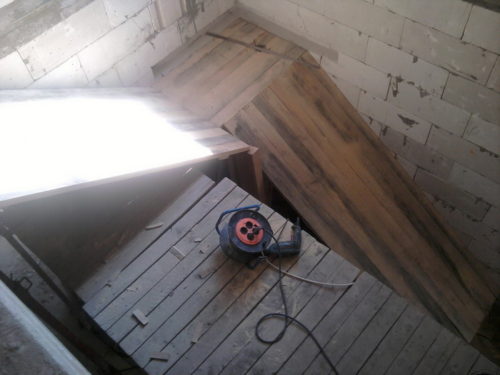
- For reliability of the design, you need to create a skeleton of stairs. For this, in length and width of the march, we cut the reinforcement rods d \u003d 10mm. They must form a mesh with a cell 150x200 mm.
- The grid is located above the formwork at least by 25 mm, having previously applied using the wire. On the one hand, the grid is fixed to the formwork, on the other - in advance drilled in the wall of the hole.
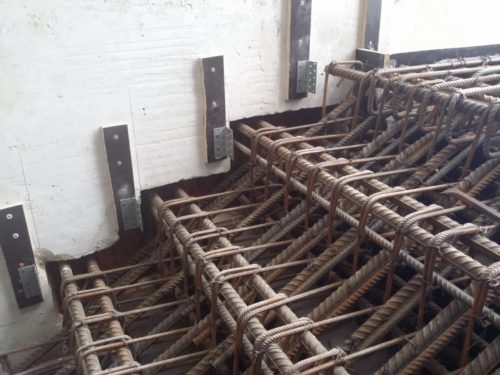
- Similarly, collected the second mesh, placing parallel to the previous one at a distance of 100-120 mm. Releases to tie with the grid so that they come out of the base of the floor and the slab of the overlap by 400 mm. For reinforcement of the interlimine platform, two grids are also required. If the design provides a fencing, it is necessary to mount special tubes from wood or metal plates. They will act as mortgages.
- Install the boards that will form future steps. On the one hand, they are fixed to the side panels, on the other - to the railway in advance along the walls. Together with each other, they are better to fasten with the help of a branch of boards.
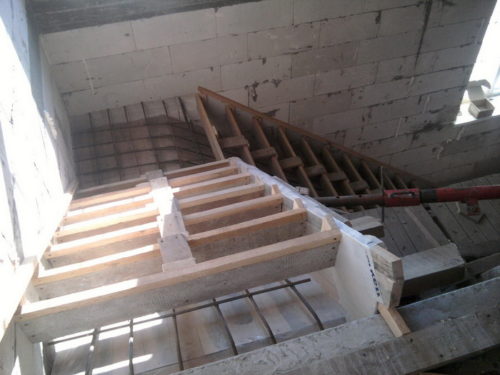
- Using the level, check the parallelism of the steps and the horizontal level. Side shields can be additionally packed with a bar. All cracks need to be chopped by mounting foam. Make sure that all backups are installed correctly.
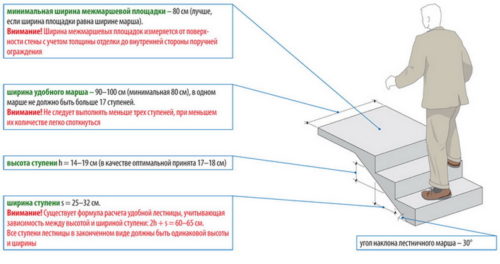
Useful information: Determining with the size of the steps, we advise you to stop your choice at a height of 170 mm and a length of 850 mm. But note that the sharper the angle of the lift march, the less height of the steps, otherwise the stairs will be simply impossible to move.
As you can see, assembling the frame and reinforcement occupy the most entire workflow. It is better to test yourself several times to make sure the design is correct, then the next stage does not take you a lot of time.
Pouring and finishing concrete staircase
Now that the frame of the future staircase is ready, you can proceed to one of the final stages of the construction of a concrete structure. Make sure the frame is fixed correctly, and start pouring the concrete.
To pour the concrete staircase, it is necessary to do as follows:
- Sleep the sand solution, rubble small fraction and cement (not lower than M300). It is best to use a concrete mixer. In case you are working in the cold season, you can add a special frost-resistant plasticizer. It will protect the design from cracks.
- Start pouring a solution into a formwork, starting from the bottom stage, moving gradually upwards. For uniform distribution and alignment of the solution, use the vibrator and rule. This will help avoid bubble formations inside the concrete mix.
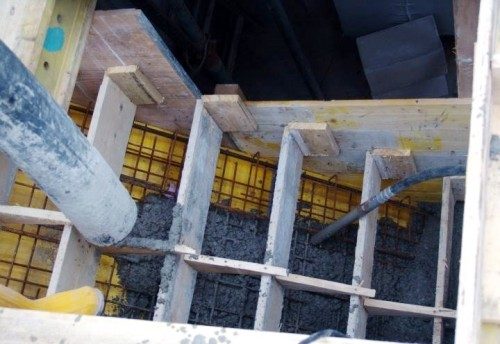
- After you poured several steps, it is better to install additional backups. This will protect the formwork from the deformation, and the solution from the leakage.
- Similarly, pour the intermarpheric platform by installing the backup in advance. Move on along the second staircase march to the overlap.
- Give the solution to dry and operate. Depending on the temperature inside the house, it will be required to two weeks.
- Now it is necessary to dismantle formwork. Use the hammer pair with a flat scolder. Drive the scum between concrete and formwork, then carefully move the tree on the principle of the lever.
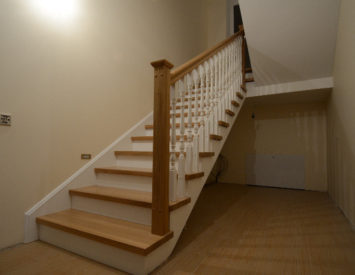
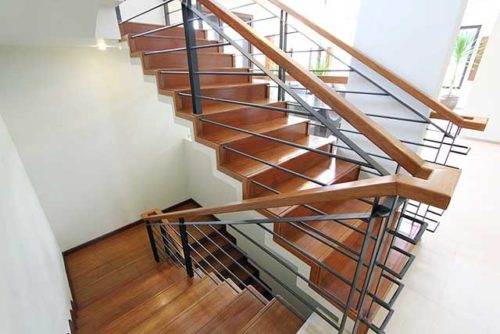
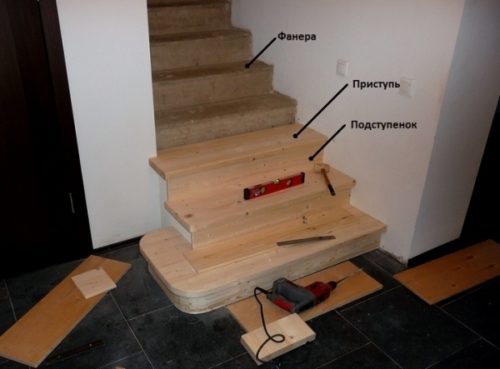
When the concrete staircase dried and ready to operate, you can proceed to the finishing decoration of the structure. The choice of facing coverage is entirely dependent on your imagination and purse size. The choice of wear-resistant material is quite wide and varied: laminate, parquet, tile, bulk floors, linoleum, carpet. Consider the decoration of the surface of the stairs in a private house on the example of a wooden coating.
To sheathe the concrete staircase with the tree with their own hands, you need to do the following:
- Clean the design from unnecessary pieces of dried mortar so that the steps acquired a smoother look.
- From plywood or OSB panels, cut the pieces corresponding to the size of the steps, risers and the site. Attach them to the stairs using a dowel-nail with a secret hat.
- Treat the finishing material by an antiseptic if necessary. To do this, use the scraper brush. It protects wood from harmful insects and rotting. Give the material to dry.
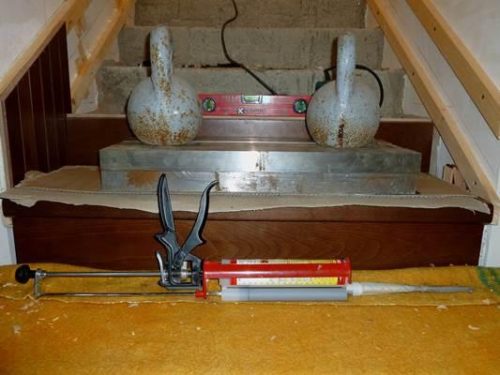
- Mock first the risers, then begin to glue the steps. For reliable fixation of the finishing material to the plywood, use a special glue designed for mounting flooring.
- Now you can cover the surface with a special varnish so that the surface has acquired stable protective characteristics, securing the staircase from mechanical exposure. When the lacquer is dry, you can consider the staircase ready for operation.
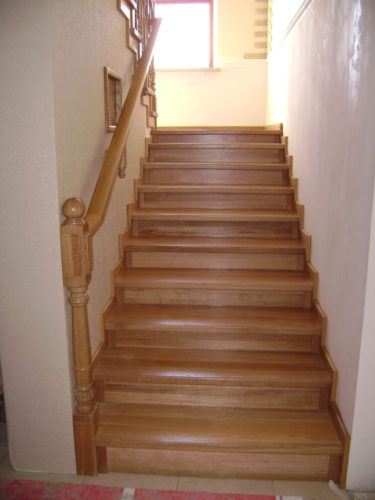
Specialist Council: For more reliable fixation of the staircase, it is recommended to install the support column under the platform to additionally. It can be made from both metal and concrete. It will need to secure the design from the deformation during loads.
To better understand the issue of arrangement of a private house by a concrete ladder, we advise you to see the following video:
Holding the private house by a concrete staircase personally, be sure to make pre-markup. Transfer the sketch on the plan-scheme with an exact indication of all values. Do not be lazy to constantly check the level of the transverse timber bar, since it is he who sets the parallelism of the stairs. Gently remove the formwork so as not to damage the monolithic surface. Do not forget that the staircase must fully interleve one side to the wall surface, if possible. Thus, you will have a reliable and durable design capable of withstanding almost any load.
