Gypsum plasters can be safely called one of the most universal building materials. However, today it is widely available. With it, you can, for example, straighten the deformed parts of the room or level the ceiling. But this is not limited to the possibilities of drywall. With it, it is possible to create structures with a unique design solution. This material is ideal if there is a need to make a perfectly smooth surface, for example, under wallpaper. Next, we will tell you how to properly glue them on a plasterboard base.
Content
Fundamentals of the performance of work
In addition to the installation of drywall sheets, before gluing the wallpaper, a lot of work will have to be done to prepare the walls for finishing. In particular, priming, putty and grinding will be required.
Before starting work, it is necessary to carefully inspect the working surface of the walls of drywall. This must be done even if the surfaces have already been examined earlier. If small flaws are identified, then they must be eliminated. For example, on the surface of the hats of clogging dowels may not be completely drowned or self -tapping screws may not be condemned. If these shortcomings are visually imperceptible, then you can draw a spatula along the surface. If there are defects, then the tool will touch them, which will affect a characteristic sound. Uncomplexed screws before wrapping wallpaper should necessarily be twisted.
If the hat passed through the cardboard layer from the outside and sits deep in a gypsum basis, then in this place the drywall will not be strong enough. In such cases, it is recommended to get a self -tapping screw and properly fix the material to the guide, while departing from the previous place at least 55 mm.
How to glue wallpaper on drywall? To answer this question, you should know that you first need to check all the existing joints of the sheets. When installing at the joints of the material, chamfers are usually made. If they are not, then they are cut out with a sharp knife. The chamfers should be made at an angle of 45 degrees at about 2/3 of the thickness of the sheet. This requirement must always be fulfilled, even if putting joints was carried out very high quality. Otherwise, at the place where the joints of two sheets are located, cracks may appear over time.
In addition, it is necessary to check that there are no remains of paper on the working surface. If there are one, they must be carefully cut off. Then the places must be cleaned with a skin. Another surface should be thoroughly cleaned of dust and on other construction debris. Next, consider how to treat drywall before wrapping wallpaper.
Applying to the surface of the primer
After the above work is carried out, the walls must be thoroughly primed. This will help protect them from the appearance of the fungus. In addition, it will improve the capturing abilities of putty with the working surface. Often, Acrylic primer GKL-1 or another brand is used as a primer mixture. In this case, it will be quite simple to glue non -woven wallpaper on drywall.
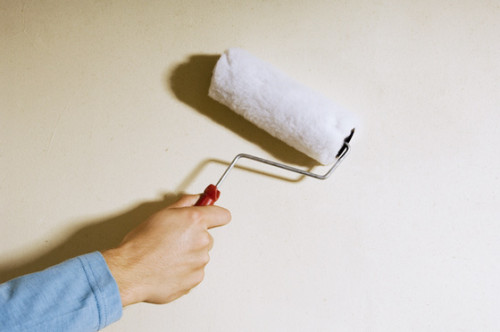
The choice of means for primer work usually depends on the conditions in a particular room. So, for example, acrylic mixtures that have antibacterial additives are recommended in rooms where there were previously problems with fungi and mold. It is better to apply a primer with a soft roller. You can use a wide brush for this purpose.
Putty drywall
This stage should be carried out in any case before gluing wallpaper. And this is justified by several reasons. First of all, we must not forget that any wallpaper does not serve relatively for long. Therefore, sooner or later they will need to change them. If there is no putty, you will have to glue new wallpapers on the old ones, which, if it is possible to remove, then, most likely, with the upper layer of gypsum. Sometimes they still decide to glue them over the old ones. If in this case the new material has a lighter color, then it is likely that old dark wallpaper will be noticeable through it. This is another reason for the need for putty drywall before gluing.
In addition, without putty through a layer of new wallpaper, joints and seams between the sheets of drywall can be seen. This is especially noticeable if the material with a light shade is used. If before gluing wallpaper on drywall, putting the working surface, then you can reduce the cost of repairs in the future. Finally, putty makes the appearance of the wall more attractive.
There are two types of putty: starting and finish. The first is usually applied. Her task, first of all, is the leveling of the working surface. The main function of the finish mixture is to hide minor defects on the walls and thoroughly leveling the surface. Today on sale you can find putty both in finished form and those that require further preparation. The putty, the basis of which is cement or gypsum, is mixed with water when cooking using a construction mixer. Proper proportions of water and mixtures are usually indicated on the package.
Now let's take a closer look at the puttying diagram of drywall:
- First, the surface of the drywall is primed. For this purpose, it is recommended to choose an acrylic primer, which can improve the adhesion of the material with putty. In addition, such a mixture protects the surface from mold and fungi.
- Then proceed to putting the joints of drywall. During these works, you need to use a mesh tape made of fiberglass called a sickle. It can also be made of Lavsan. In its appearance and structure, this grid is somewhat similar to a regular medical bandage.
- The main task of the Serpyanka is to hide the joints between neighboring sheets of drywall. In addition, it allows you to “hide” small cracks and holes that are in the wall. This tape is glued to the joint of neighboring drywall sheets. Serpi, as a rule, is well impregnated with a special adhesive substance, so it holds perfectly. If the tape is peeled off, then you can fix it with PVA.
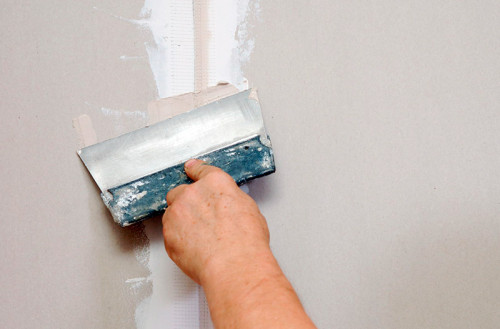
- When the tape is glued, you should apply a small amount of putty and level the surface. The excess of the mixture must be removed with sandpaper. This, for example, applies both to gluing wallpaper on the ceiling made of drywall and on the walls.
- At the next stage, you need to put the places where the drywall sheets are mounted with screws.
- Then, the wall of the drywall sheets should be completely treated with putty mixture of the wall. It is best to do this in three stages. Moreover, each next layer must be applied only after the previous one has dried.
- The next step will be the grinding of a dried primer with sandpaper. Moreover, to make the surface smooth, first the wall is treated with a coarse -grained and then smaller skin.
- Now the surface is again covered with a primer. This time already under the wallpaper. In this case, the chosen glue will not be absorbed too quickly, which will facilitate the further process of gluing. In addition, this allows you to improve the fastening of wallpaper with the wall. It is necessary to cover the working surface with a primer twice.
- As mentioned above, it is advisable to apply a primer with a roller or a wide brush. It is important to ensure that the entire processed surface is evenly missed. In addition, when applying a putty mixture, it is advisable to use a set of spatulas that differ in width. For example, with the help of a narrow tool, it is convenient to take putty, and with the help of a wide - apply it to the working surface.
- So that the wall does not crack in the future and to be stronger, it is recommended to use the reinforcing tape when putting joints. Before putting up the recesses, it is necessary to apply paint to the heads of self -tapping screws. She will be able to protect the metal from the formation of rust, so that the screws will last longer.
- For putty work, various types of mixtures should be used. So, for the first two layers, as a rule, a starting putty will be required, the filler of which has a larger fraction. The latter applies a layer of the finish mixture having a fine filler.
- To finally leve the wall, putty should be changed. It is important to know that you can not wash the material when grinding is too intense. Otherwise, the whole process will need to begin again. When this is done, you can start directly pasting drywall with wallpaper. In order not to inhale the dust harmful to your health during work, you need to put on a protective mask.
How to paste wallpaper on drywall
To determine how much wallpaper is required, you need to know the exact length of all walls, as well as the height of the ceiling. When this is known, it should be deducted from the resulting area from the resulting area for windows and doors.
When choosing wallpaper, you need to pay attention to the numbers of parties, which are usually placed on rolls. They must match. In addition to wallpaper, you need to choose the right wallpaper glue. For this, first of all, it is worth adhering to the recommendations that are indicated in the instructions. Therefore, first you need to choose the wallpaper, and then buy glue for them. This is true when gluing vinyl wallpaper on drywall.
To prepare glue, it is necessary to mix a dry mixture of water and leave in this form for a while. If the weight of the wallpaper is large enough for drywall, then to ensure more durable adhesion, it is recommended to use a special adhesive composition. In addition, glue should be applied to both wallpaper and wall. Otherwise, the technology of gluing wallpaper on drywall is almost the same as on other surfaces.
When preparing glue, it is important to observe proportions, which are usually indicated directly on the package. When the mixture is ready, it should be left for half an hour. During this time, you can prepare wallpaper for drywall, make the necessary measurements.
Playing procedure:
- Before gluing the material, you should take the level or plumb and with their help to draw a vertical. It is on it that the first sheet will be leveled.
- Then the wallpaper is cut along the desired length, while you should leave a few centimeters on top and bottom as a margin of cutting. You should not cut all the material at once. It is better to do this as necessary. The fact is that the ceiling or floor line may not be strictly horizontal. Therefore, different sections sometimes require different lengths of the material.
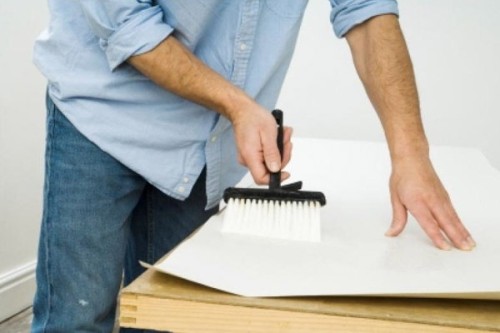
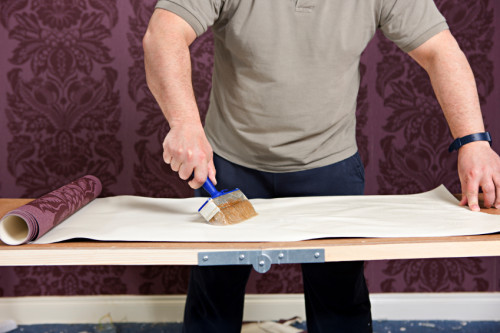
- If the wallpaper has a large repeated pattern, which during work should be combined with neighboring sheets, then you should buy material with a large margin. The cut canvas must be smeared with a continuous layer of glue, especially carefully processing the edges. Then the sheet greased with glue should be folded in half so that it can soak well. This applies to the material of medium and high density. If the wallpaper is thin (for example, paper), then it is not necessary to turn them in half. In addition, they should be glued immediately until they are repented under the influence of moisture and stretched out.
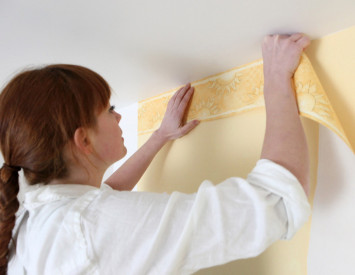
- When the wallpaper is glued, it is advisable to align them along the upper line. The canvas is applied to the prepared surface and smoothed in the direction from the middle to the edges. This is best done with a plastic spatula or roller. If everything is done correctly, “bubbles” and “humps” will not form.
- It is advisable to once again walk glue along the edges of the wallpaper. If some areas managed to dry and did not stick to the surface, then they need to apply a small amount of adhesive composition on them. The remaining glue should be wiped with a cloth.
In the time of when you stick wallpaper on drywall, we must not forget that if the neighboring canvases are not able to dock, then you can apply them. When the glued sections dry, it will be necessary to cut the vertical under the ruler along the suture line, while taking the internal and removing the external cut strip. When this is done, the resulting joint will remain with glue and invite the roller.
It is often difficult to dock the wallpaper in the corner of the room. In this case, you can use the same method that has just been described. The walls need to be covered entirely, and when they dry, then in places where switches and sockets should be located, it is recommended to make two crossed cuts. Then the resulting corners are carefully bent and the circuit is cut out in the shape of a socket with a knife or scissors.
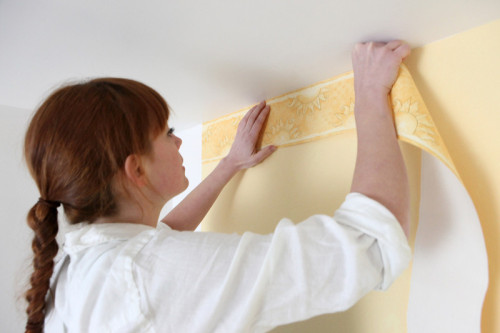
Do not forget that indentation for cutting are also made on the side, which was glued near the ceiling. In this area, it is best to cut off the excess after all after the canvas is completely dry. This is usually performed as follows: with the help of a wide spatula, the edge is neatly added and an excess part is cut with a sharp construction knife. In this way, you can get a flat ceiling line. Similarly, according to this technology, you need to perform a slice on the floor line. At the same time, about 6 mm should be left so that you can make a bend on the skirting strip.
