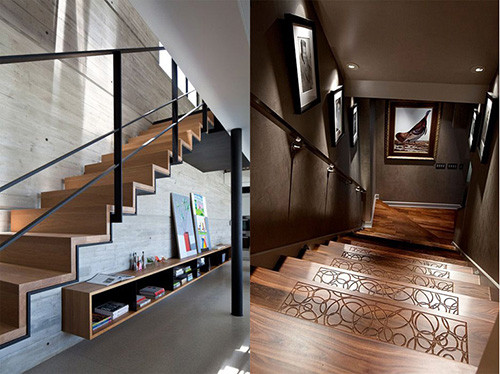
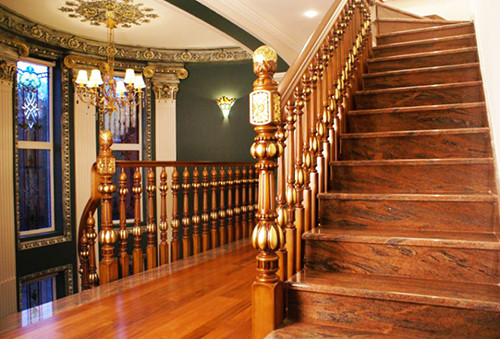
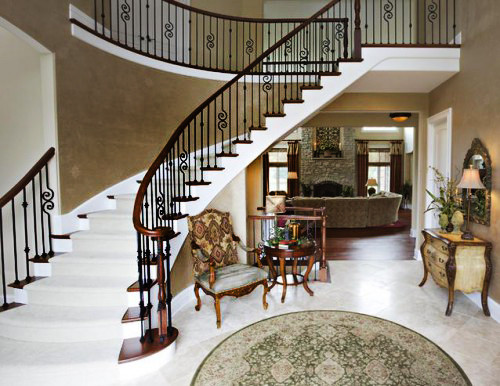
Every owner dreams of a beautiful house, and if this house is also two -story, then decorating worries twice as much. The staircase in such housing requires special attention. It should be comfortable, safe, aesthetically attractive. The design of the stairs in a private house should be in harmony with a common interior, so it is important to choose the right finishing material. This is what we talk about in today's article. Get ready to find out how and how to finish the stairs with your own hands.
Content
The choice of materials
There are so many materials for finishing stairs that it will be very difficult for an ignorant person to decide on the choice. To save your time and nerves, we have prepared a brief overview of the most practical and affordable coatings that can be laid on the stairs with our own hands.
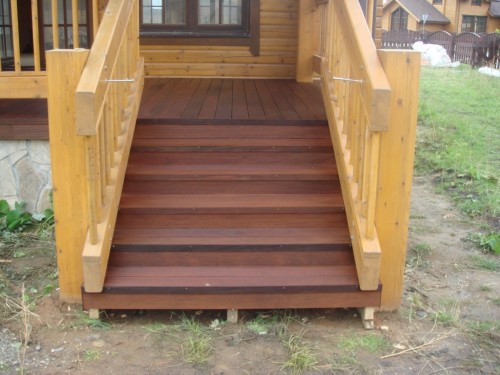
Wood for stairs
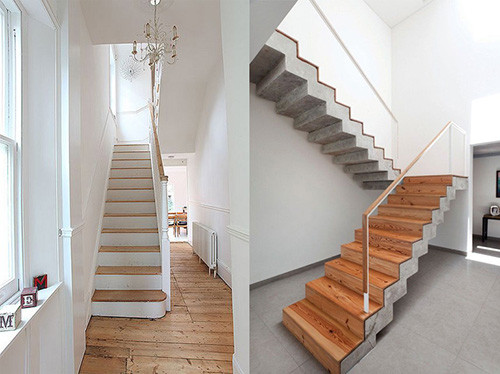
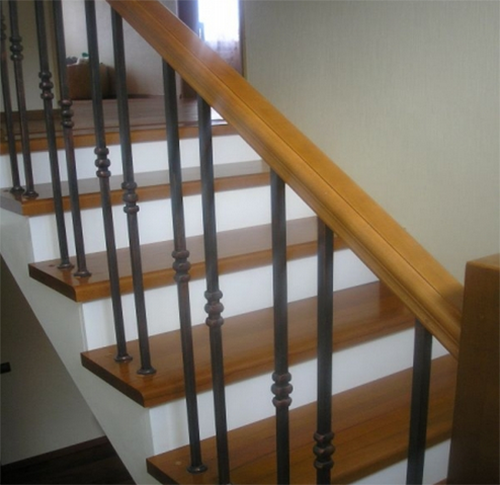
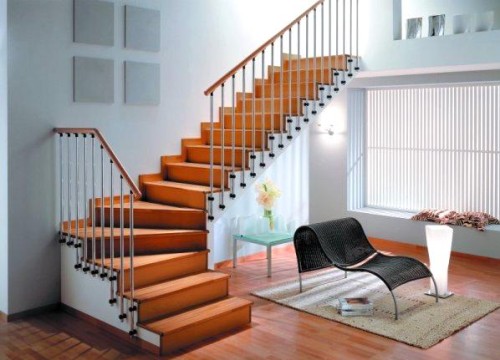
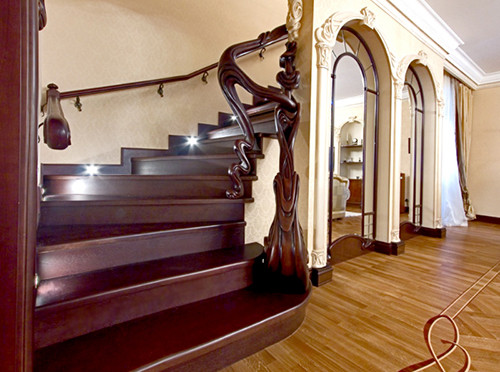
One of the most popular materials for the decoration of concrete and metal stairs. Non -visible concrete structures are instantly transformed and look as if made entirely from wood. They serve much longer than real wooden stairs, and are able to withstand extremely large loads.
Wood is an environmentally friendly and safe material for health, so this finish is ideal for use at home, especially if it has small residents. Various colors and textures allow you to harmoniously enter the stairs into the overall design of the room. But for the decoration of stairs, not every breed is suitable with wood. Since the design is constantly subjected to loads and mechanical influences, the soft steps are quickly pushed and erased. For stairs, solid and strong wood, which will serve for more than a dozen years, is needed.
What breeds are suitable for staircases:
- Oak - wood has a very beautiful texture and soft warm color. Over time, oak sheathing darkens and becomes more valuable. You can buy already aged boards by choosing a shade for the interior.
- Ash - it is not inferior in strength in strength, but it costs a little cheaper. It is distinguished by a pronounced texture and a characteristic grayish tint.
- Beech is one of the most popular breeds. The wood has an elegant appearance, a beautiful homogeneous texture, is characterized by high strength and durability. When using a stain from the beech, you can make a convincing imitation of the red tree.
- Exotic breeds are also popular because of their unusual appearance. So, you can choose any shades, starting from lemon-yellow, ending almost black. Such breeds include Merbau, Tick, Wenge.
- Coniferous rocks are soft, but this does not mean that they cannot be used for lining stairs. On the contrary, with the help of inexpensive lumber from spruce, fir or pine, you can significantly save. They are used to form an approach - these parts of the stairs are practically not subjected to mechanical effects, therefore, the wood is suitable for them. Using a stain, you can “fit” pine boards in tone with the main sheathing.
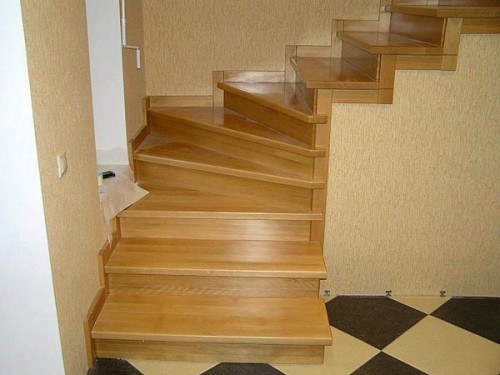
A wooden stairs finish is needed not only for beauty. The wood perfectly retains heat, so even in cold winter it will be pleasant to step on the steps. It is much softer and when walking does not give a strong load on the feet-if you ever went barefoot on a wooden platform or pier, you will immediately understand the difference between such a walk and walking on concrete or tiles.
Laminate for the stairs
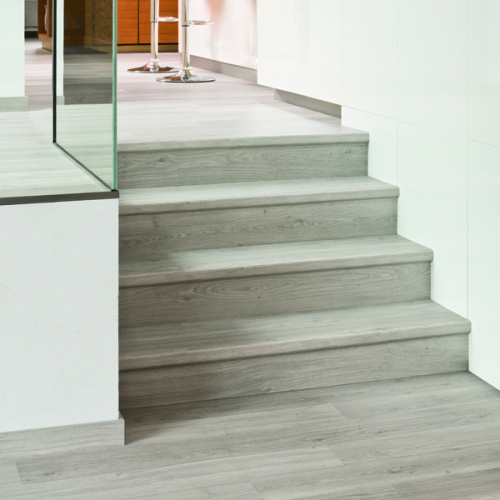
Laminate is probably the most universal finishing material that you can find. It is placed on the floor, glued on countertops, walls, etc. It is not surprising that it is actively used for lining stairs. This option is especially suitable for those cases when the staircase looks hot and ugly. The laminate is able to not only transform the concrete structure, but also extend the “life” of a wooden staircase, if its steps have already managed to worry, but have not lost its strength.
Not every laminate is suitable for the decoration of stairs, again-due to a constant load. Subtle models are better not to use if you do not want to change the skin in 2-3 years. Experts recommend the use of classes from 31 to 34 for stairs. These are commercial products that are designed specifically for surfaces experiencing strong load.
Useful advice: the first figure “3” means that the laminate is commercial, and the second indicates the thickness of the protective coating in millimeters.
It is also important to choose the optimal width of the panels. Ideally, the lamella should close the tread over the entire surface, otherwise two narrow pieces will have to be connected, and the seam will be a potential point of the appearance of drater. But such situations, unfortunately, will not be able to avoid if you work with the marching staircase.
In addition to the laminate itself, you will need a fittings for stairs - moldings or spins for the skin. Molding is a special overhead profile for decorating the edge corner of the step. In other words, it hides the joint of two laminate planks (step and an approaches) under him and enhances the strength of the fastening. Fastened moldings for glue or screws. There are metallic, wooden and plastic species. Metal, or stairwells, moldings are aluminum, brass or steel with imitation of gold, bronze or wood. They differ not only in high decorativeness, but also for a long service life. Calcated products provide gliding protection.
Wooden moldings are perfectly combined with a laminate and it will not be difficult to choose a product in tone. In addition to the fact that they well protect the connection of the lamellas and serve for a long time, these thresholds are amenable to small repair and adjustment - they can be plucked, subsided or painted if necessary.
Plastic products are the cheapest, but they are not only popular. A wide selection of all kinds of colors and textures makes it possible to choose thresholds for any laminate. They perfectly hide bumps and form even corners. To fix the laminate use glue, so it is important to choose a very strong and high -quality composition.
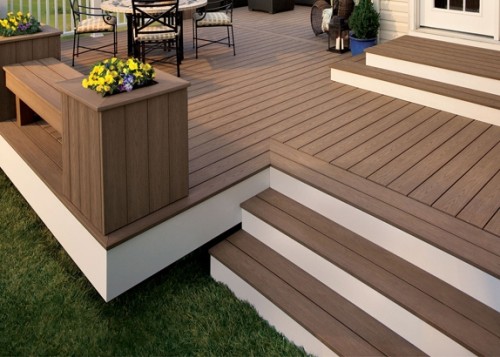
Decing for the stairs
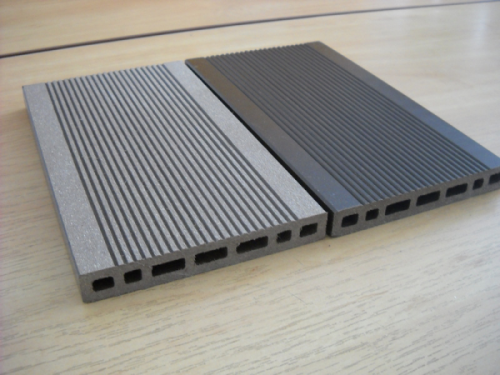
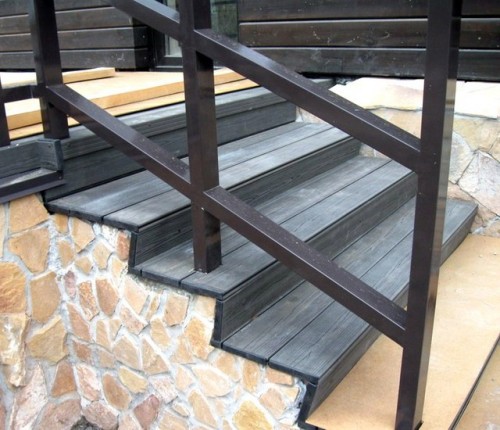
Decing, also known as the terrace board, is the main competitor of the laminate. Its main advantage is that he is not at all afraid of water. The material is made of wood composite and polymer additives, which make it so invulnerable.
In general, decing was invented to arrange open terraces and garden paths, so it is not surprising that it has such operational characteristics. If you make the staircase of the stairs such a board, then it will serve almost eternity or not yet tired of the owners.
Another important advantage of decinging is an anti -slip effect. They are even faced with stairs for pools, porch and bathrooms, so the chances of slipping on such a surface are negligible.
When choosing a terrace board for decorating a stairs in the house, you should also take into account the width of the panel in order to avoid unnecessary seams. But even if you had to cut the board, then here is another “bonus” - its edges do not need additional processing or protection, and decorative plugs for the ends immediately go in the kit.
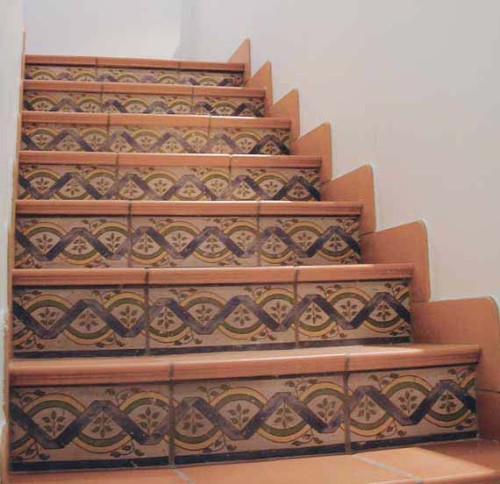
The deck goes well with other finishing materials, so it can be safely used in the interior. So, try to put up board steps with risers, lined with mosaic tiles, tiles or decorative clinker brick.
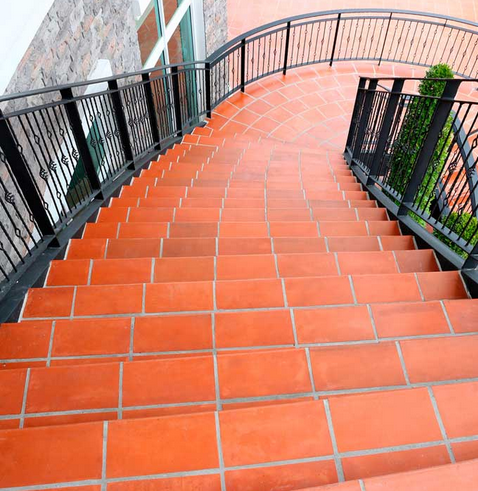
Tiles for the stairs
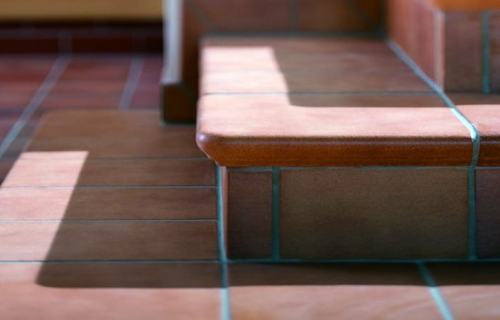
When choosing ceramic tiles for decoration of stairs, special attention should be paid to the edges and outer corners of the products. Also, strength (thickness) plays a large role. Since they will walk on it, therefore, you need to buy floor tiles.
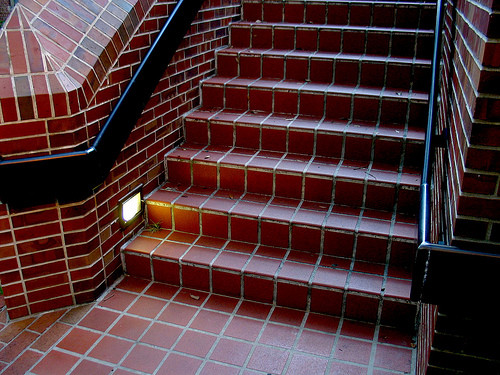
The simplest and most inexpensive way of cladding is the laying of tiles on a drooping with a small overhang equal to the thickness of the tile itself. In this case, it is necessary to choose products with a glazed front edge. It is better to refuse fully glazed surfaces because they are very slippery. It is better to buy embossed tiles or with an anti -slip matte coating. On sale there are products with rounded edges that will give the staircase of elegance and accuracy.
To decorate the sides of the steps lined with tiles, use special protective profiles that are attached to special glue. At the same time, the tile should be laid so that the edge of the side is located flush with it. Accordingly, the thickness of the profiles should be the same as the thickness of the tile.
For intensely operated staircases, to install interchangeable metal profiles on a metal basis. The outer part of such a product is made of non -valid corrugated PVC, which is inserted. If necessary, you just need to remove the bar and replace with a new one.
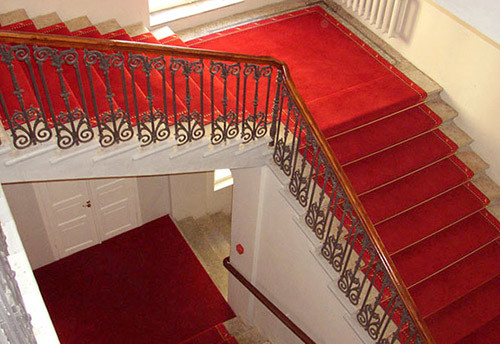
Carpet for the stairs
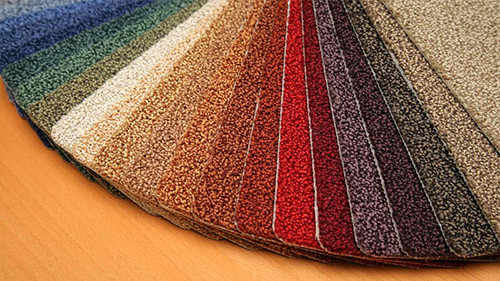
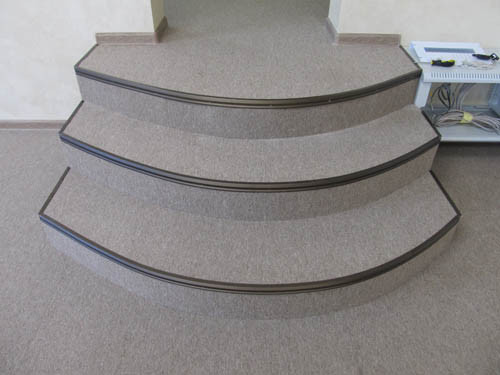
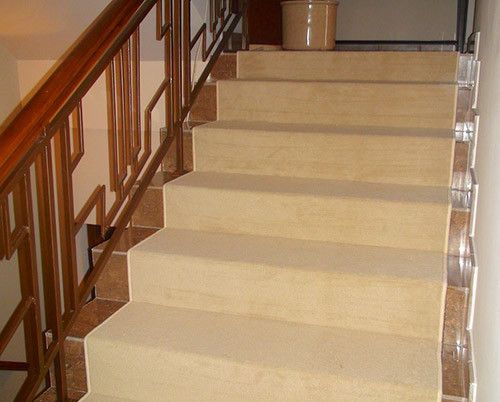
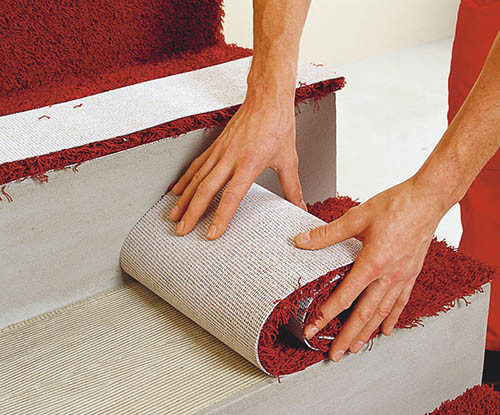
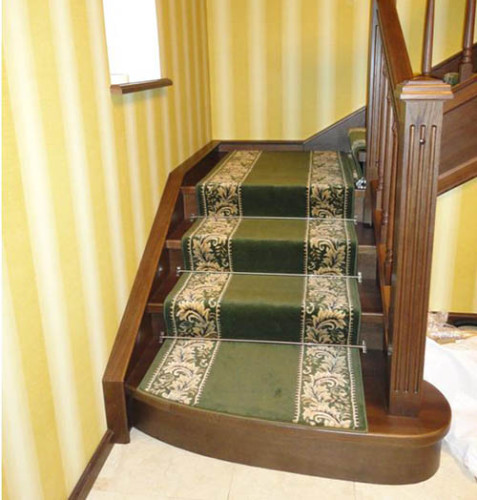
Many owners of two -story houses prefer to blame the stairs by carpet, especially if the family has small children or elderly people. Carpet does not slip at all and gives additional thermal insulation. Walking on it is pleasant and convenient. In order for such a coating to last a long time and be soft, a special substrate of cork material or wool should be installed under the carpet.
What to consider when choosing a carpet for staircase decoration:
- There is a special car in the carpet for stairs, resistant to abrasion, so it is better to opt for it.
- Pay attention to the technical characteristics - the pile should be thick and not very long, and the base should be strong and flexible.
- If you lay the carpet without gluing, it is better to choose the material on a rubberized basis, otherwise it will move off the steps and crumble.
- Carpet on a rubber base creates additional thermal insulation, so it is especially good for concrete and metal stairs.
Finishing concrete stairs
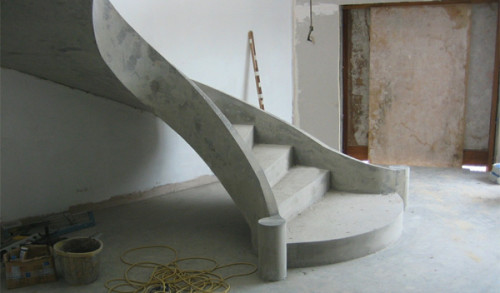
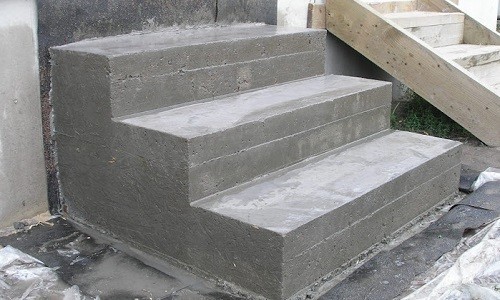
Concrete stairs are considered the most durable and reliable, especially if they are inside the house and are not affected by atmospheric precipitation. However, few people want to leave them in a “pristine” form - the concrete base is constantly dusting, it is cold and, frankly, ugly. The design of the stairs will be completely transformed if you choose a successful coating in harmony with the interior. Consider the most popular methods of decorative finishing of concrete stairs.
Wood trim
The most important problem of all concrete stairs is not a too flat surface of the steps. In addition, the height of the risers and the width of the click are also always different, which creates a lot of problems during decoration. The wood in this regard will hide the defects of the structure, but it must be laid on a carefully prepared surface. For this, first they assess the stairs of the stairs, take measurements and level all the steps so that they become identical. But to use plaster or putty for alignment is completely useless, since even the most durable mixtures will not withstand constant load. Ski marches can only be used by special high -strength concrete solutions with additional reinforcement.
The difference in the heights of the steps is a real nightmare for the master. If you do not make them the same, you can forget about the beautiful decoration of wood. The permissible height deviation can be a maximum of 9 mm - such cracks are easily masked with putty. But if the differences are large, you will have to build a formwork of moisture -resistant plywood and pour another layer of concrete.
How to arrange a staircase from concrete:
- Measure all the steps and find the highest of them - you will “adjust” all the others to this height with the help of self -leveling mixtures. With minor differences in height, the surface must still be treated to “nail” concrete dust and create a strong base with good adhesion. At the same time, apply the leveling mixture without formwork with an ordinary trowel or spatula.
If the difference in height is more than 10 cm, make the formwork of moisture -resistant plywood and attach it with dowels so that the top coincides with the level to which you plan to raise the steps. Before pouring the cement mixture, cover the concrete base of the adhesive primer. - After drying the leveling layer (depending on the thickness, it can go from 3 days to a week) can be laid plywood. In this case, plywood will perform the function of the waterproofing layer so that wooden overlays do not collect excess moisture.
Harp the plywood 10-15 mm thick in accordance with the width of the offends and the height of the risers. - Again, cover the stairs with a primer and wait for its drying.
- Glue the plywood to mastic, align horizontally using the construction level and fasten with dowels.
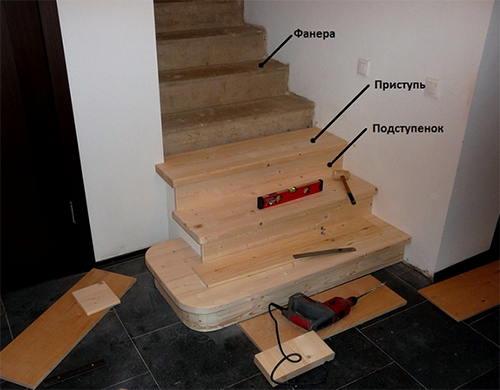
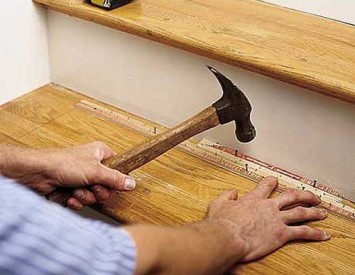
- Steps made of wood can be ordered in a carpentry workshop or made independently. Start the finish from the lower step. In the lower end of the approach, screw 3 bolts with a diameter of 6 mm and cut the hats.
- Attach the riser to the concrete and mark the location of the bolts with a simple pencil.
- Put the wooden pad and drill the hole with a perforator at the indicated points by the drill of the corresponding diameter.
- Fill the holes with epoxy resin for a more durable fastening and set the approaches.
- In the workpiece, cut the groove so that it rests tightly against the riser.
- Mark the plywood surface with adhesive mastic and lay a wooden blank on it. Scroll through the steps with self -tapping screws, not forgetting to pre -adjust the horizontal in level. Move up the stairs, first setting the riser, and then - ahead.
- When the installation is completed, fill the gaps on the sides with putty with wood or close with decorative skirting boards. Before laying skirting boards, the surface should be exhausted and covered with protective varnish.
Laminate finish
Laminate is an excellent alternative to natural wood. It is more durable, durable, some consider it even more beautiful, but this material is not devoid of shortcomings. So, a 100% flat surface is required for laying, it is afraid of water and requires careful handling.
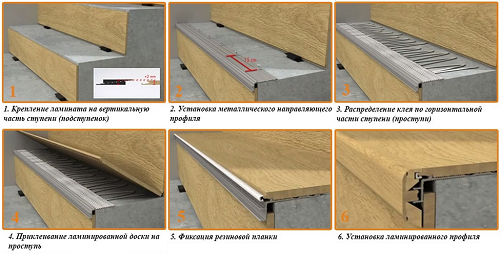
There are several ways to lay laminate, we will consider the option of finishing the stairs in the house using a special regional profile:
- If there is an old coating on the steps, dismantle it and clean the surface.
- If the steps of the concrete staircase have small protrusions, they will have to be cut off with an electrician or a little to build up the approach so that it is a flush with the end of the ledge. This can be done using wooden bars and plywood.
- Level the surface of the steps in the way described in the previous chapter, but do not close the leveling layer with plywood. When the solution dries, treat it with sandpaper and drain it with a damp rag or vacuum cleaner.
- Cover the staircase with an adhesive primer of deep penetration.
- Make blanks from lamellas in accordance with the width and length of the steps and risers. To cut the laminate, use a grinder or jigsaw. In order not to get confused, it is better to immediately numb the blanks and the place of installation on the stairs.
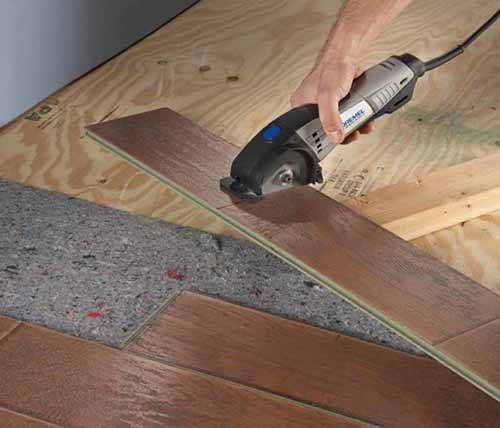
- You need to start attaching the laminate from the upper step to move down without advancing on a freshly laid cladding. Apply glue on the laminat-slop and tightly press to the corresponding place on the stairs so that when setting the blanching, the drama between the elements remains a small gap in the size of the lamella. This will allow to push the tread under the approach and make the finish neatly. To make an even gap of the desired size, before gluing, set the support of a suitable thickness.
- Install a protective profile. Apply a little glue to its back and press with force to the junction of the dungeon and an approximation on the corner. For additional fixation, screw the screws into the profile in a downside in a step of 15 cm.
- Apply the adhesive solution on the concrete surface with a gear spatula and evenly distribute it so that there are no spaces. Lay on top of the workpiece from the laminate. If this is the first step, a flush with a laminated floor, then adjacent elements should be connected to the castle in the lock, as in conventional styling. All subsequent dates should be pushed into the cracks under the risers.
- Install the rubber insert in the edge profile or put it on the spike of the boot of the drama - it all depends on the type of profile.
Repeat the procedure for each step, moving down the stairs. The sequence of work can be slightly changed. So, it is convenient for some to first install all the risers with the gaps, and then - all the outfit.
Important: after the end of the finish, leave the staircase for at least 24 hours and do not go along it so that the lamellas do not shift.
Finishing with ceramic tiles
If you want to enter the stairs into the interior of the house using ceramic tiles, several nuances should be taken into account. Firstly, before installing the tiles, the surface should be thoroughly leveled, otherwise the coating is quickly shattered, crack or fall off. Secondly, to work with tiles, most likely, you will need a tile cutter, so it will have to be bought or rented. Thirdly, since the tile can only be glued, it is better not to save on the glue, but immediately buy the highest quality composition.
An important point: you need to cope with the cladding in one day, then leave the glue to harden for 48 hours. Naturally, that you cannot use the stairs at this period of time.
Concrete staircase trim with tiles:
- Comers the surface of the clicks and risers using a self -leveling bulk mixture.
- Cover the staircase with an adhesive primer in two layers, applying the second only after the first dries completely.
- Slightly moisten the surface of the concrete with a damp sponge and distribute the glue solution with an even layer using a gear spatula.
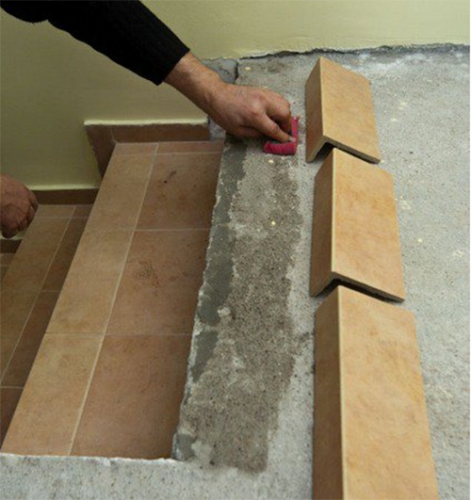
- First, smear the small area of \u200b\u200bthe surface with glue, and then turn the spatula and pass along the solution at an angle of 45 °.
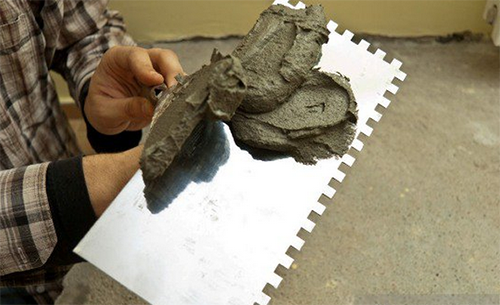
- The surface smeared with glue should be larger than the area of \u200b\u200bthe installed tile by about 5 cm, and then the remains can be removed with the edge of the spatula.
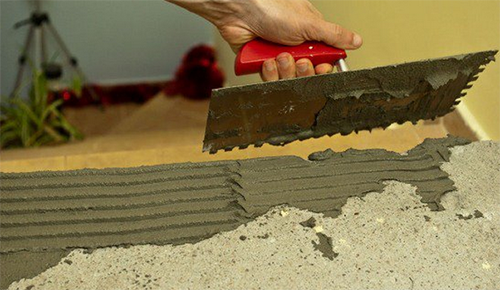
- Lay the tiles, not forgetting to leave the cracks for inter -seams. To do this, use special plastic crosses of the desired thickness. The protruding glue immediately wipe with a dry rag, because when it dries, it will be much more difficult to do.
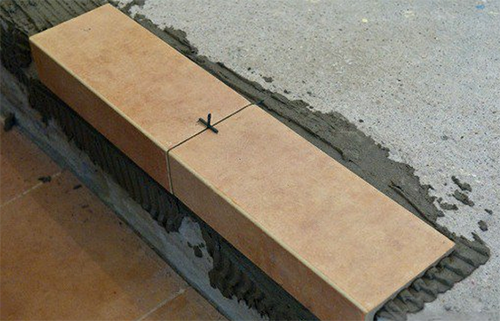
- After laying each tile, attack it with a rubber or wooden hammer to remove the air bubbles from the glue and securely fix the element.
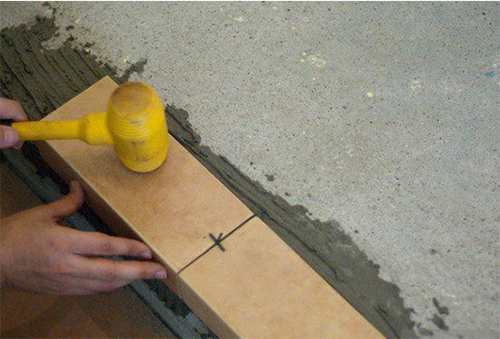
- It is best to start from the upper step, first lining the upper edge, and then moved down the stairs.
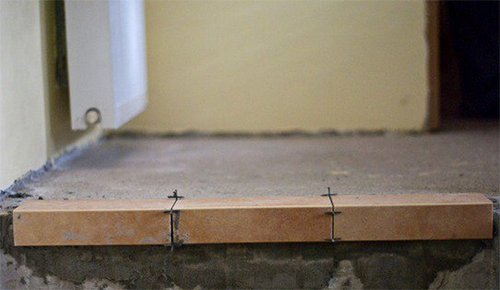
- After installing the corner elements, lay out the vertical risers using the dividing crosses to give the tile the desired position.
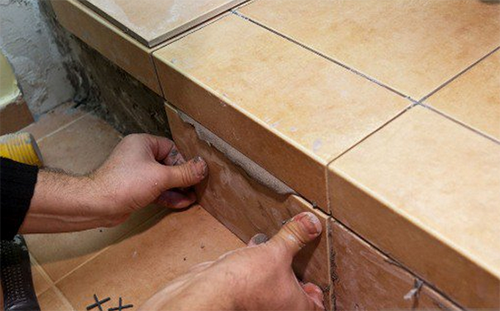
- Check the evenness of the risers using a square, putting it on the two adjacent sides of the panel.
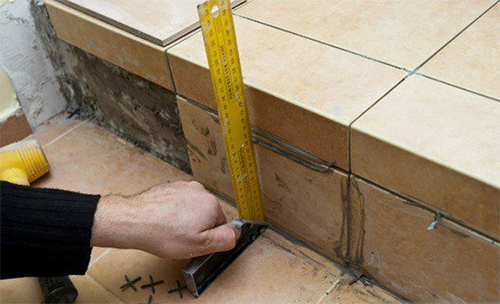
After drying the tile glue, remove the demarcers and fill all the seams with a special grout. The color of the composition can be selected in tone for tiles or buy a contrast version to turn the stairs into a bright interior decoration. To protect against moisture and abrasion, the seams after drying can be smeared with transparent varnish.
Raping with carpet
Carpet is good because it is perfect for decorating any stairs, and you can lay it on any surface: concrete, tile, laminate, linoleum, wood, etc. Nevertheless, before laying such a universal coating, you also need to level the base.
Useful tips:
- About a day before the finish, put the carpet in full length so that it straightens yourself - it will be easier to lay it.
- Carry out in the room at a temperature of at least +15 C.
- Lay the carpet only on the substrate, and it is on an even base. The substrate is needed to enhance the thermal insulation characteristics of the coating, it makes the carpet softer and more beautiful, smoothing and masking any defects of the base.
There are several ways to finish the stairs by carpet: a removable coating, non -removable (adhesive method) and for screw stairs. Consider briefly each of them. Removable carpet is suitable for small straight stairs. If necessary, it can be washed separately or easily replaced.
To make a removable coating, follow the step -by -step instructions:
- Make measurements of the stairs, given the height of the risers and the width of the tread. The easiest way to do this is using a conventional thread or twine. Attach one end in the upper part of the stairs and drive the thread along the wall along the corner, repeating all the bends.
- Start laying the carpet on top-down.
- At the corners, attach the “path” with special straps for carpet.
That, in fact, is all. The work is very fast and simple, so even an inexperienced master will cope with it in just an hour.
But laying the carpet on the screw staircase will be more difficult. To do this, you will have to work with each step separately in order to properly attach the coating. You will also need a special high -strength glue for carpet, a sharp cutter for fast and even cut of dense material, rubber kiyanka and a trim with a rubber lining. For fasteners, use holding strips.
The course of work:
- If necessary, level the surface of the stairs with a concrete mixture.
- Glue the dried steps with moisture -resistant plywood.
- After hardening the glue, lay the substrate.
- Start laying the carpet from the upper step. Watching the incisor, "put it" on holding the strips.
- Apply the strings to the corner between the riser and the cloudy and fix it, proceeding with rubber kiyanka. Stay on the bar with the same force, systematically passing along the entire length.
- Fix the bar with screws or nails.
- Leve the carpet in accordance with the geometry of the stairs, put it on the bar again and proceed to the next step.
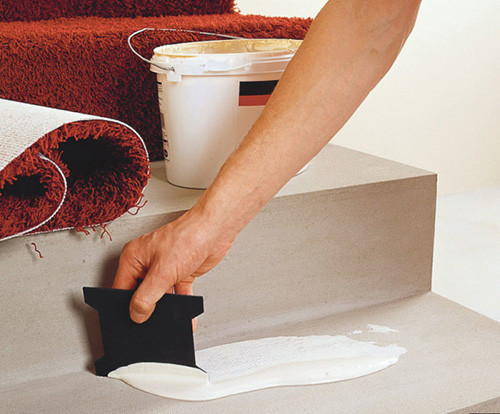
The third way of laying carpets involves the use of glue. Since it will not work to remove and wash such a coating, the carpet should be selected very high -quality and dense. Each step in this case will be glued separately, so you should carefully prepare the surface and level the corners.
The course of work:
- Start installation from the upper stage. Before work, cut the carpet into pieces in a height with an approximate height and a width of the dungeon.
- Prepare the adhesive solution and apply an advent and an approach to the concrete base.
- Attach the prepared piece of carpet, press and heat the rubber spatula over the entire surface.
- Cut the protruding parts of the carpet, applying the metal guide, and only after the glue dries.
Such work will require a lot of time and patience, but the result is worth it. When you glue and cut the excess material, install corner protective profiles and decorative skirting boards.
Finishing metal stairs
Metal stairs require a slightly different approach than concrete products. With competent decoration, they are able to transform any room. So, from an uncomfortable and cold warehouse, modern apartments in the style of loft or high -tech can be obtained. Forged elements and a well -chosen shade of casing gives metal stairs to mystery and luxury. In your power, to make the staircase set the mood for the whole interior or emphasizes its individuality.
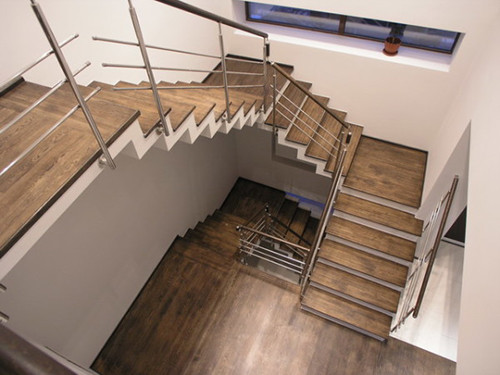
The most popular options for decorating metal structures are wood and stone. In the latter case, the stairs are too cold and not very suitable for a residential building. But the wooden cladding instantly “soften” the metal and give it homemade comfort.
How to sheathe a metal staircase with wood:
- Prepare the elements of wood sheathing in accordance with the dimensions of the offends and the risers. A popular option is stairs with open risers. In this case, the design will seem easier and suitable for minimalistic design.
- Loose every detail so as not to confuse during installation.
- Attach the upper step first with screws, then - an approach, after which move down the stairs.
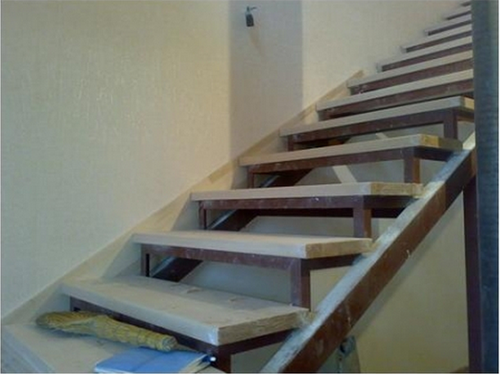
- The stairs with talus are very interesting to look very interesting. To exclude the cracking of wood and reduce the risk of hit the angle of the step, it is better to remove the chamfer around the entire perimeter of the workpiece and slightly twist the corners. So the staircase will look even more elegant and accurate.
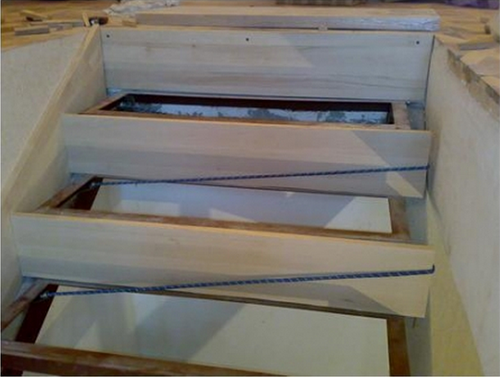
- The back of the metal frame can be closed with drywall sheets, and then plastered and applied the finish coating - decorative textured plaster, paint or wallpaper.
- After installing all the steps, cover the wooden elements with protective varnish or paint.
A beautiful decorative staircase with your own hands is simple and accessible to absolutely everyone. The video below shows how to “refresh” the ordinary interior, making it more stylish and functional:
Stairs finishing: photo
