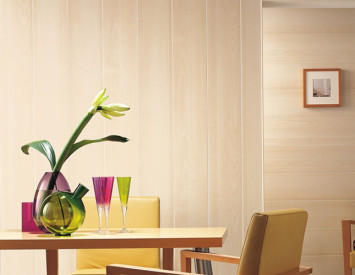
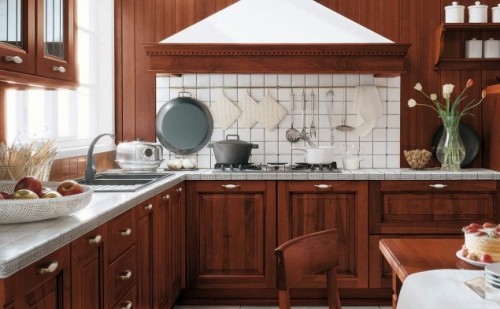
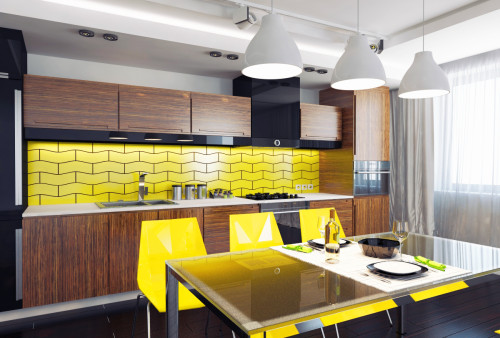
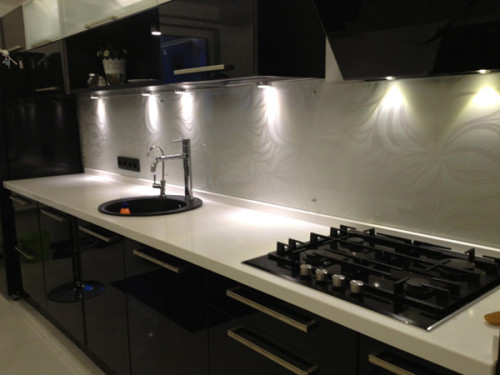
Panels for the kitchen are a popular and convenient finishing material with which you can decorate the walls and ceilings of the kitchen room. Due to the excellent decorative properties, high functionality and the price affordable for most consumers, such panels are widely used to carry out repairs, including economy class. They are easy to mount and dismantle, and can also be used again in another place. Using the finishes with panels, it is easy to largely transform the interior of the kitchen at will.
Content
Advantages of finishing kitchen panels
Thanks to the wide range of finishing materials presented on sale, there are a lot of options for decorating the kitchen room. Among them, panels for the kitchen are especially popular, because such wall decoration and the ceiling of the kitchen are very practical and functional.
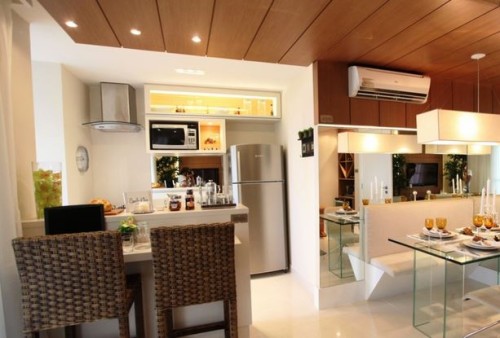
Thanks to the presented variety of colors and textures, suitable panels can be selected for any interior design. With their help, it is easy to perform high -quality cosmetic repair of the kitchen room without special financial investments. You can install ceiling and wall panels for the kitchen quickly, while you will not need to use special equipment. In addition, it will not be required for long preliminary preparation of walls in the form of removing the old decoration, leveling and priming. Experts do not recommend combining the wall and ceiling finishes at the same time, otherwise associations with stay in a cramped box may occur in the room.
The finish of the kitchen looks very aesthetically pleasing with panels and will last a long time. When using it, the level of sound insulation of the kitchen premises increases significantly. To finish walls in the kitchen, panels do not need special care, it is enough to wash them from dust and pollution as necessary. Due to the significant area of \u200b\u200bthe surface of the panel, using this material, it is easy to perform finishing work in a short time.
Varieties of panels for the kitchen
Currently, the following varieties of panels for the finish of the kitchen are presented on sale:
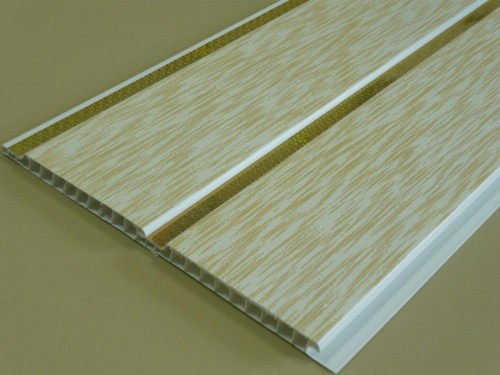
- plastic - they are made of solid polyvinyl chloride (PVC) with a minimum of softeners. PVC panels are inexpensive and practical finishing material for decorating the interior of the kitchen room. These panels differ in slight weight, moisture resistance and durability in case of care. Such panels are easy to chop and conveniently mount. It is worth noting that plastic panels with high -temperature exposure are melted, so they should not be placed near the hob, in addition, this finishing material can be damaged due to mechanical exposure. It should also be taken into account that plastic panels are not recommended to be cleaned with abrasive agents. Thanks to the wide color scheme, you can choose the color of PVC panels for every taste. The pattern on this finishing material is applied by printing and covered with a special protective layer. On top of the panel, a matte or glossy varnish coating can be applied. PVC panels with photo printing look very impressive;
- wooden panels, as well as beams, are a fairly expensive finishing material. To give moisture resistance, the wood panel is pulled and treated with special wax or varnish. Inexpensive wood (for example, pine) can act as the basis of the venerable panels, it is covered with veneer from wood with more valuable species, then the front coating is fastened with the base of the pressing method, after which the panel is polished and covered with varnish or wax. In appearance, the veneered panels are difficult to distinguish from made from natural wood - you can find the difference only with a sufficiently close examination. These types of finishing material are environmentally friendly, as well as a high price;
- panels made of wood-based material (chipboard and fiberboard) are made by pressing from sawdust and wood chips or wood and plant fibers-with the addition of special binding chemicals. Wood and steering panels are covered with varnish that protects them from moisture. Such a wall finish can be washed. It should be noted that this finishing material does not differ in significant strength, in addition, you should not install such a finish in places where its direct contact with water is possible;
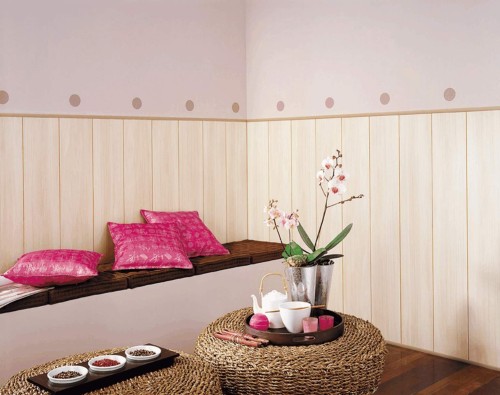
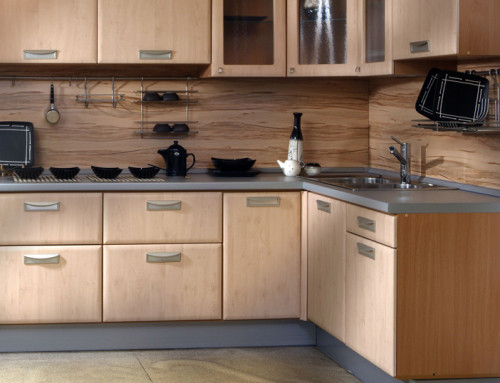
- mDF panels - are made by pressing with high -temperature heating from fine -fragmentation wood chips, i.e. In fact, from wood dust, while the wood is highlighted by lignin, which is tightly binding together the placed plate. As a result, a dense and durable, with a natural composition, finishing material is formed. MDF kitchen decoration with panels is able to withstand significant loads, provides high-quality heat and sound insulation. When heated, these panels are expanded, but slightly compared to the fiberboard. This finishing material is profiled, i.e. It is equipped with special grooves and spikes suitable for them for ease of assembly, it is easily easily processed (the panels can be cut, while they do not crumble and do not break), the convenience and practicality of operation. Using this finishing material, it is easy to hide the errors of the walls. In addition, it is worth considering that when installing such panels, it is not necessary to remove the old wall decoration in the form of wallpaper, paint or plaster. To finish the kitchen, use moisture -resistant MDF panels. On sale are laminated or painted options for such products, as well as covered with veneer, in a variety of gamut of shades and with various drawings. Very popular is the finish of the kitchen for wood or marble panels;
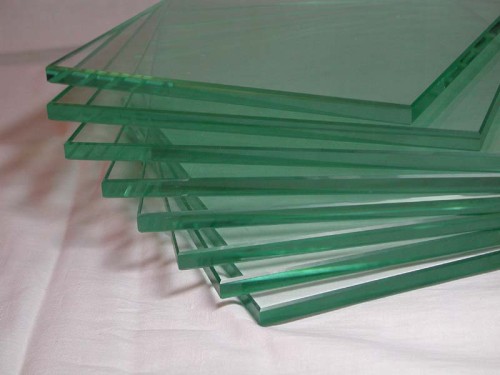
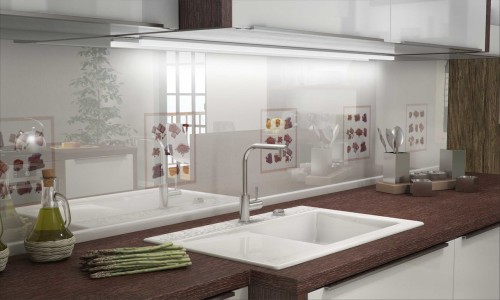
- glass - these panels for the kitchen are made of durable hardened glass with a thickness of 4 mm, resistant to temperature changes. Glass wall panels are impact -resistant, able to withstand various mechanical loads, as well as the effects of aggressive chemicals. Another bonus of the use of glass is that kitchen pollution does not accumulate on the smooth surface of such panels. During the operation of this finish, it should be taken into account that glass panels are not recommended to be cleaned with abrasive means, in addition, a direct effect on them is not allowed. As a lack of use of glass panels in the kitchen, some housewives mention the fact that they remain spots from water drops. So that in the future you do not have to wash such wall decoration too often, you can purchase glass panels with a matte surface, on which traces of moisture are not noticeable.
Having selected the right material, it is easy to finish the ceiling of the kitchen with panels, as well as the walls yourself. When choosing suitable panels, you should ask the degree of moisture resistance, as well as pay attention to the method of attaching them. In addition, you should take a closer look at the texture of the material and the quality of the picture. On sale are products with a glossy or matte surface, smooth or embossed. The price of panels for the kitchen is quite affordable for a wide range of consumers. The most successful option is the acquisition of this finishing material along with the necessary components of fasteners - in the form of metizes, corners, slats, clamps, etc.
Methods of fixing panels
You can fix the panels on the base surface using various methods. When choosing a method of work, first of all, you should be repelled from the material of the manufacture of panels, as well as from a specific state of the walls.
To fix the panels, the following methods can be applied:
- in the presence of a flat base surface for the final finish, you can fasten the panels with a slight weight using adhesive for fiberboard and MDF. To do this, the adhesive mixture is applied from the wrong side of the panels, and then they are fixed on the surface of the walls;
- mechanical fastening on a pre -mounted wooden crate using Klyammers or brackets. Self -cutting fixation is strong enough, but due to increased humidity and temperature changes in the kitchen room, the surface of the panels can be expanded and deformed;
- the most progressive method of fastening the panels at the moment is the convenience of implementation - with the help of the Klyammers to the plastic crate. In this case, the finishing material is fastened to the frame of plastic. If necessary, they can be dismantled, after that such a crate and finish can be used in another place.
How to mount the kitchen panels yourself
Consider how to install in the kitchen independently panels from MDF on a wooden crate. Such finishing work can be done without preliminary skills.
First you need to choose the most suitable option and buy panels for the kitchen. The calculation of the required amount of material should be made taking into account the specific width of the walls (it is recommended to purchase a finishing material with a small margin). In addition, it will be necessary to prepare wooden bars of 20x40 mm for the construction on the walls of the dozen frame, liquid nails, as well as additional and fasteners - corners, skirting, dowels, screws and kleammers.
Next, you will need to perform the following sequence of actions:
- Mount a horizontal crate on the walls. To do this, determine the most protruding part of the wall, drill the holes on the sides with a drill, insert the screws into them and pull the rope between them - in the future it will be necessary to navigate when installing the crate.
- Next, you will need, applying a wooden bar to the wall, drill holes with a half meter step. Having reached the walls, the bar is laid and drilled the holes further deep into it. Inside, they must be inserted with dowels, and then attach the bar to the wall and fix it with self -tapping screws. In this way, the rails should be fixed sequentially on the walls, starting from the floor, with a step of 50-60 cm.
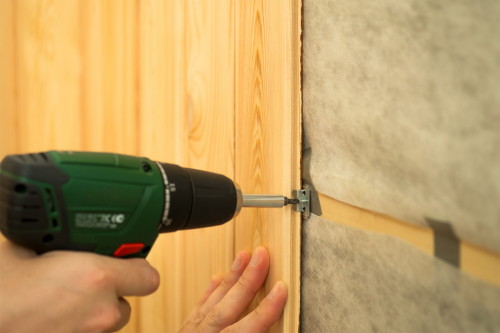
- The panels are mounted starting from the corner - this is to reduce the cost of cutting the material. The first panel is unfolded with a spike in the direction of the corner and installed at a distance of 2-3 mm from the beginning of the wall. At a distance of 1 cm from the edge of the panel, it is necessary to fix it on the crate with self -tapping screws.
- Next, you need to mount a symmetrically nearby panel on the perpendicular wall, also with a spike in the direction of the corner. Subsequently, the gap between these elements of the finish will need to be covered with a decorative corner.
- From the side of the grooves, the panels should be fixed with the help of the cores pre -fixed on the crate.
- Next, inserting the spike of the subsequent panel into the previous groove and fixing the grooves from the grooves, it is necessary to assemble a whole wall structure.
- The last panel, most likely, will need to be adjusted in size - for this it is necessary to cut it, and then fix it with self -tapping screws from the angle.
- Next, it will be necessary to fix the decorative corner at the junction of the walls with the help of glue. After the glue dries, it should be removed by the excess with a knife.
- After installing the panels, you can proceed to the installation of the baseboard.
