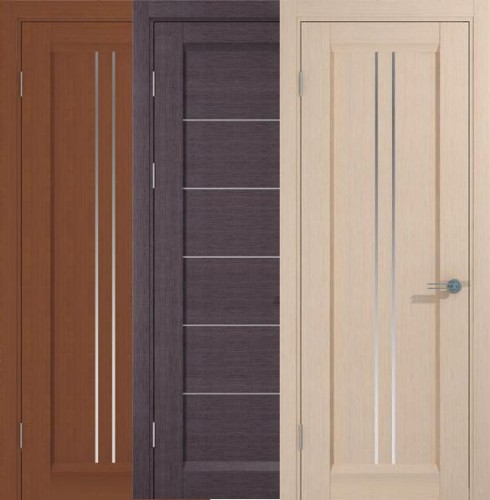
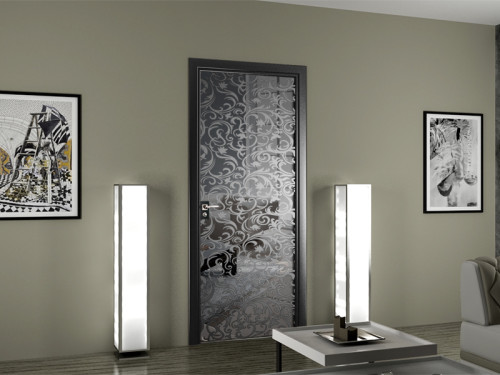
In a beautiful, thought -out interior, every detail is important. The design of the room will be incomplete without a neatly and stylishly designed door. In addition, it is the door that can be made by the central detail of the room if it is correctly decorated. In this article, we will tell you about the methods and intricacies of doors decoration with your own hands.
Content
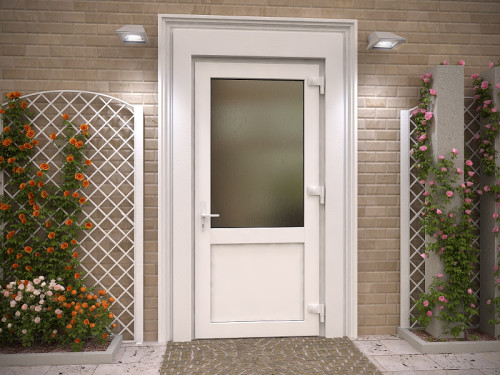
Decoration of the front door
Selection of materials
In the modern construction market you can find many materials for finishing the front door. Their variety will radically change the appearance of the structure. For example, a metal door can be arranged so that it cannot be distinguished from wooden or marble. When working with the front door, it is important to consider not only a decorative component, but also take into account the reliability and strength of the material, its resistance to various types of damage. It is known that the outer side of the structure, which goes outside or into the porch, will be exposed to adverse factors, which include humidity, temperature differences, physical effects from the hands of vandals. So what materials can be used to finish the outside of the front door? Let us consider in more detail several options:
- The finish of the metal door can be done using powder spraying. In the process of such work, the surface is covered with a special composition, which is heated to high temperature, and after cooling it turns into a dense and strong polymer film. Such a film is not afraid of almost no mechanical influences.
- The outer surface of the front door can be given the appearance of wild stone. To create such an effect, elements with imitation of such a texture are glued to the door, and the facing material itself is an alloy of acrylic and a stone composite. The surface trimmed in this way has excellent strength characteristics and is afraid of only aggressive chemicals.
- The first two options are difficult to implement independently, because for the door facing one of the above methods you need to have special equipment and tools. But there are other materials that can be easily mounted with your own hands. Such materials include: MDF panels, a wooden lining, a film made of polyvinyl chloride, veneer and laminate.
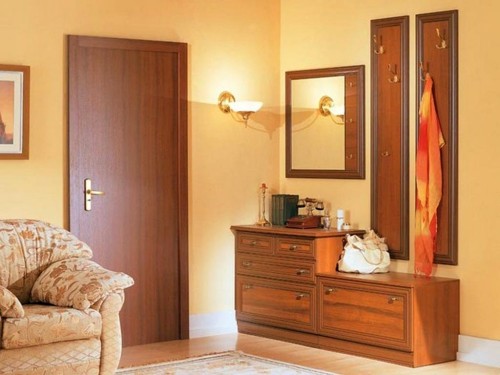
As for the interior decoration of the front door, here high strength and wear resistance are no longer so important, much greater attention is paid to the decorative properties of the cladding. If you want to see the interior, designed in the same style, fighting the material for decorating the door you need to pay special attention. Here, such aspects as color, texture, texture of the material, its correspondence to the general design of the room are important. The interior decoration of the door can be made of wood, natural or artificial leather, plastic elements, self -adhesive film. Doors of the MDF panels are also an excellent design option, since such panels can imitate completely different materials and textures. The most inexpensive and simple option can be considered ordinary surface painting.
Several useful tips for decorating the inner surface of the front door:
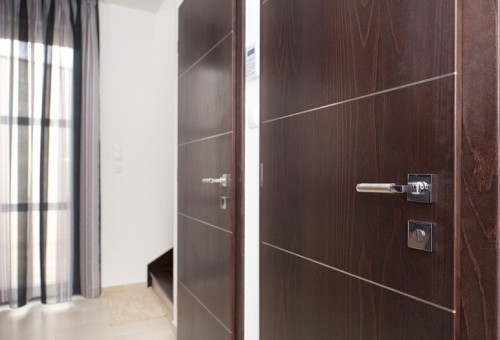
- If the layout of the apartment is such that the doors of the rooms go to the hallway, they, along with the inner surface of the front door, are advisable to arrange in one style and color scheme.
- With a small hallway, you can visually expand the space if you make the front door mirror.
- It is also better to insulate the door from the inside, especially if you live in an apartment building. Firstly, external insulation will not be as effective as internally, and secondly, soft upholstery can be stained or damaged by inaccuration or with an evil intent.
DIY front door finishing
Consider the two most popular and simple options for decorating the front door. First, we will analyze the surface decoration process with laminate at the points:
- To carry out work was more convenient, first dismantle the door and put it in a horizontal position. Then remove all protruding and voluminous parts: pens, eyes, locks, convex elements of the finish.
- The laminate is installed on special wooden rails. Cut the fragments of the desired length and fix them along the perimeter of the structure. When working with a wooden door, the rails can be beaten with small nails, the rails are attached to the metal surface with liquid nails.
- Make a whole canvas from fragments of the laminate, firmly and tightly connecting the elements to each other.
- Measure the distance between the rails fixed on the door. Transfer the obtained indicators to the laminate shield and cut the extreme fragments to the desired size.
- Cover the door with an adhesive composition, let it soak a little, then attach the laminate to the surface and leave under the press for a while. Do not remove the load until the glue is completely dry.
- The last stage of the door facing is the reverse installation of all previously dismantled elements.
Instead of a laminate to decorate the front door, you can use a veneer. On sale you can find a special veneer, one of the sides of which is covered with glue and protected by a layer of paper. The venction process can be described in stages:
- As in the previous case, before starting work, the door must be removed and lay horizontally. Then try on strips of veneer on the door leaf, without removing the protective paper layer from the material.
- Contact the elements according to the drawing and apply digital designations on them so as not to confuse the details subsequently.
- It is advisable to start the door decoration of the veneer with the ends of the structure, this is necessary in order to close the last end of the veneer at the end of the process and make it invisible.
- Apply the details of the veneer to the door surface in turn, removing the paper layer from them and ironing them with a hot iron so that the glue grabs. You can iron the veneer with an iron only through paper so as not to damage the material.
- Carefully inspect the joints of the elements during work. If you see the gaps, correct the situation by ironing the right place again, and then raising the veneer with a thin spatula and moving it to the correct position.
DIY interior decoration
In the case of interior doors, the strength and wear resistance of the coating is not as important as its decorative qualities. The interior door can become a real highlight of the interior, if you approach the business with imagination and make enough effort. There are a lot of methods for decorating such doors, below we will consider some of them.
Simple and inexpensive: staining the interior door
One of the low -cost costs, time and efforts of options for decoration of the door is its painting. For work you will need the following tools:
- paint of the desired shade;
- brushes of different sizes;
- a segment of grinding paper;
- an adhesive tape to protect non -painted elements.
The process of staining the door is quite simple and consists of several actions:
- Prepare the door for staining. Remove from it all the details and protruding elements. If the design has glass inserts, pour them with a protective tape.
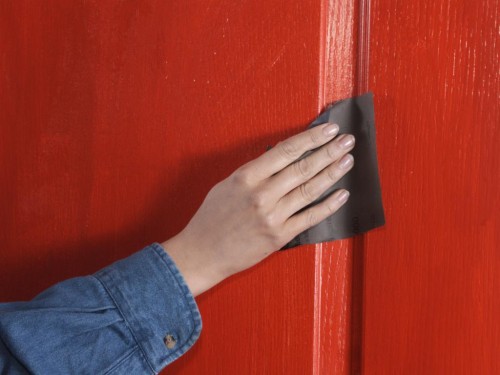
- The surface before painting should be thoroughly polished and not contained roughness. Check the smoothness of the door and, if necessary, treat it with grinding paper.
- Determining with the color of the paint, focus on the previous shade of the door, if it was previously painted. As a material, alkyd or acrylic compositions, as well as ordinary oil paints, are most often used.
- It is best to process the door outdoors, since evaporation from paint is often toxic and can harm health.
- Brushes for work should be of different sizes. It is convenient to paint large areas with wide brushes, and a small tool is suitable for small and narrow elements. The pile at the hands should be soft enough.
- Fix the structure in a convenient position. Open a jar of paint, mix the composition, select the brush of the desired size and open the door with one layer of paint.
- Let the first layer dry completely, then paint the surface 1 or 2 times, depending on the result that you want to get.
- After completely drying out the first processed surface, turn the door with the back side and repeat all the actions again.
Doors finish varnish
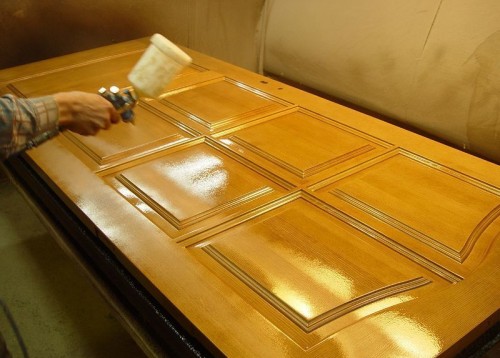
Sometimes, instead of paint, the door is covered with transparent varnish. Such a finish is especially relevant when the door is made of natural wood and has a beautiful texture and natural wood pattern. The process of varnishing the door can be described as follows:
- Before starting work, the surface must be well prepared. The door leaf should be smooth, do not contain irregularities and roughnesses, unless they are provided for specifically. All such shortcomings can be eliminated using grinding paper.
- A new one, previously not lacquered wood, will have to be covered with substance several times, since the soft porous structure of the tree quickly absorbs varnish.
- Door varnishing has a number of advantages. Firstly, as a result of such work, the natural natural type of material is preserved. Secondly, a layer of varnish does not pass moisture, protecting the door from rotting, molding, corrosion. Thirdly, physical damage on the lacquered surface is easy to disguise, covering damaged places with a new layer of agent. Unlike paint, a processed place will not stand out in any way against the general background.
- The process of varnishing the door is almost no different from painting. The dismantled design must be conveniently laid in a horizontal position, remove all accessories from it, protect the glass, if any, and then open the surface with a layer of varnish. Having given the product to dry, the door can be treated with varnish another 1-2 times.
- For work, you can use brushes of different sizes or rollers. Acrylic or glossy varnish is suitable as finishing material.
Before varnishing the door, some people cover the wood with a stain. It gives the material a color, the saturation of which can be adjusted by applying a product in one or several layers. After the wrinkling procedure, the door becomes a little darker, its shade resembles the color of noble wood. Subsequent varnishing allows you to emphasize the texture and wood pattern, as well as give the surface gloss and luxurious appearance. However, some people prefer not to use the varnish and leave the door to matte.
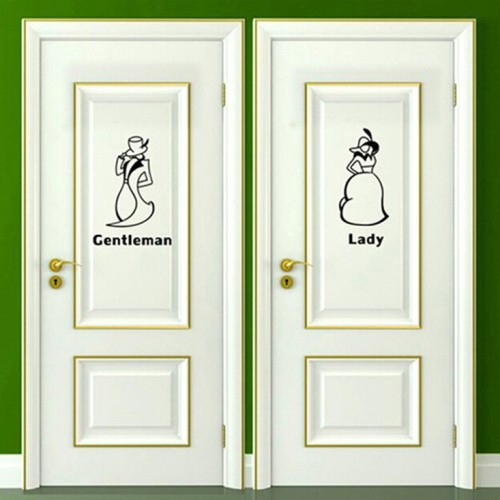
Door cladding vinyl stickers
One of the simple and low -cost methods of decorating the interior door is the gluing of vinyl stickers. By the way, this method of decoration will help to hide small defects and damage on the surface, for example, scratches. Preparation of the surface before gluing stickers is nothing complicated. The door must simply be cleaned of dust and other contaminants, and then degrease with alcohol or acetone. Sticking stickers is as follows:
- To work, you will need comfortable scissors, a piece of soft fabric, a hairdryer and a directly vinyl sticker. First, attach the drawing to the door surface and determine the place where it will be.
- Then remove the substrate from the sticker, attach the sticker to the door at one end and, gradually smoothing the material, glue the image completely.
- Once again, it is good to defeat the pattern with a soft cloth so that there are no air bubbles under the vinyl.
- Wait for 15-20 minutes, then very carefully remove the mounting film from the vinyl sticker. Try to damage the drawing in the process. If some sections of the film are poorly removed, heat these places with a hairdryer and try again.
The use of vinyl stickers is also good because the boring pattern can always be easily deleted, simply heating it with a hairdryer and peeling away from the surface.
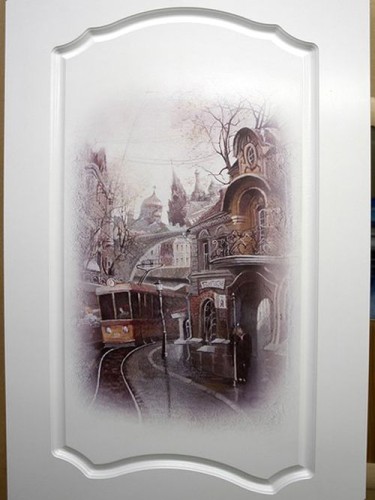
Decoupage of interior doors
A beautiful and unusual technique for designing interior doors is decoupage. This design is suitable for rooms made in retro-style or in the style of "country". The decoupage technique is slightly more complicated than ordinary painting of the door or sticker of vinyl stickers. However, for such work, it is not at all necessary to attract specialists, you can perform all actions with your own hands. You can use napkins with various images as decoupage materials, but it’s easier to immediately buy special decoupage cards in the store. Consider in stages the whole process of work:
- When starting work, first prepare the door leaf. It is not necessary to remove it from the loops, but it is still necessary to carefully clean it. Wash the door with soapy water, clean water, and then dry well.
- Using a painting tape, select the site on which work will be carried out. The adhesive tape, glued around the perimeter of the working area, will protect the rest of the door area from pollution.
- Treat the door with a primer, then grate it with paraffin and paint it with white acrylic enamel. When the enamel dries, once again paint the door in the shade you need, it is desirable that it combines with the general color scheme of the interior.
- Using decoupage cards in the work, they must first be soaked in cold water for about 10 minutes. After that, you can start decorating the door.
- Remove the cards from the water, remove the excess moisture with a dry cloth and cover the processed section of the door, as well as the back of the pattern of PVA glue. Then transfer the pattern to the work surface and thoroughly smooth it with a soft cloth, exposing all the air bubbles. If in the process of operation the edges or some parts of the picture were slightly erased, you can give them clarity with glitter.
- Having given the image completely to dry, process its contours with putty, and when it freezes, polish the surface with fine -grained sandpaper.
- With the help of the same sandpaper, the door can be artificially aged, creating scuffs in other areas of the door leaf.
- Cover the finished pattern and the entire surface of the door with colorless varnish.
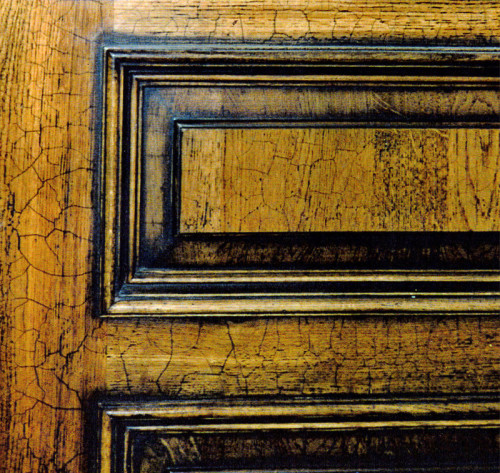
Krakelyur doors
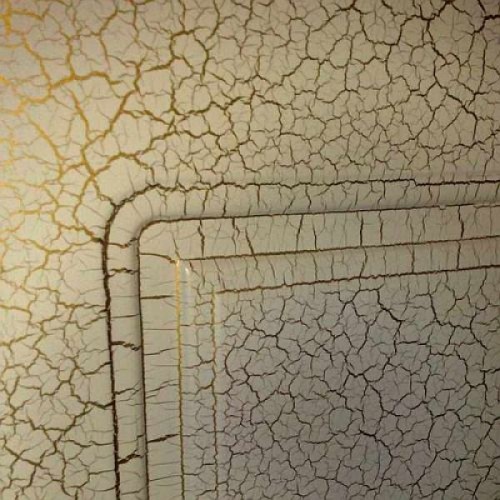
The Krakelyur technique will give you the opportunity to make the interior door unusual and original. If you love antiquity and retro-style, adore the antiques, read our instructions for the original door design. The secret of the equipment lies in the fact that 2 layers of varnish with different composition, consistency and drying intensity are applied to the working surface. Work on the design of the door in this way is carried out in several stages:
- First remove the door from the loops and put it horizontally. Clean the canvas of dust and dirt, and then degrease.
- Cover the prepared surface with craquelure varnish and wait for its drying.
- Then open the door leaf with another layer of varnish, only for the second time you need to use a special aging substance, which includes bitumen. It is bitumen that will help make the resulting cracks more expressive and clear. In order to save and simplify work, some people do not use aging varnish. They simply open the door with a one -component craquelure composition, and then stain it with a paint of a contrasting shade.
- When one surface of the door is processed and dried, the structure must be turned over and the work is done again.
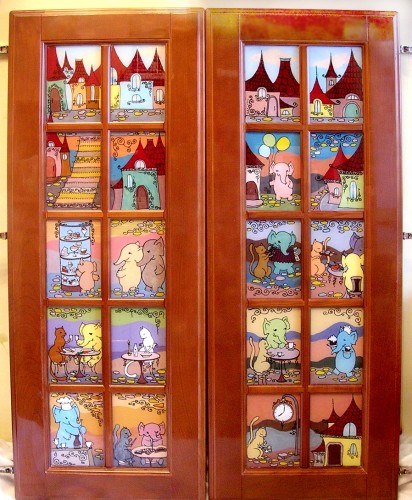
Strecol's stained glass painting
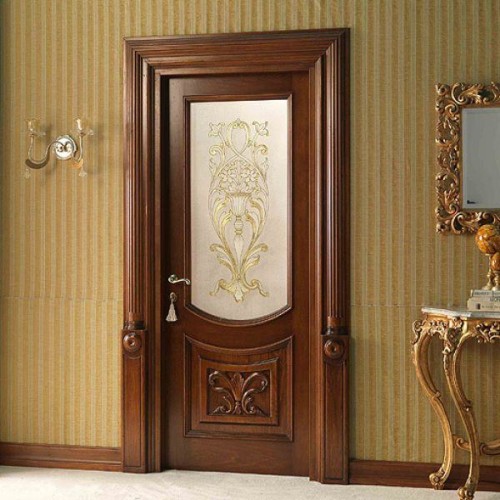
Another interesting option for decorative door decoration is stained glass painting. The creation of real stained -glass inserts will require special skills from you, the presence of certain tools, as well as expensive multi -colored glasses. You can simplify the procedure by imitating a real stained glass using a painting. For such work, you will need a preliminary sketch of the future image, special stained glass paints and processed glass, which must be previously removed from the door. The process of stained glass painting can be presented step by step:
- First, you need to draw on paper the picture that you want to see on the glass.
- The glass surface before painting must be well degreased and wiped dry.
- Then you can transfer the sketch directly to the working glass and proceed to the painting.
- After the end of the work, stained glass paints should dry completely. This process is quite long, for the drying of colors can take more than a day.
- When the glasses are ready, they should be carefully put in place and fixed.
Design of door slopes
The doors in the interior will look completed only if, along with the door leaf, you also beautifully design their slopes. For processing slopes, you can use several types of materials:
- DOBITS that can be combined by color with the door itself or, conversely, contrast with it.
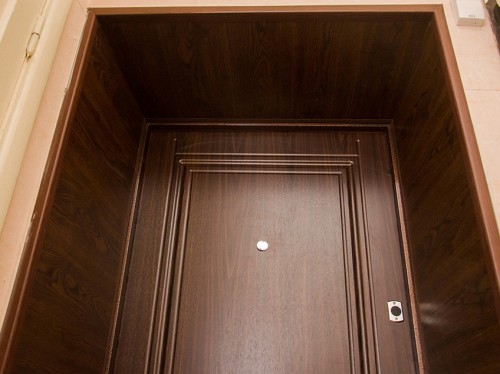
- MDF panels, laminate and drywall-these finishing materials are mounted on a pre-created frame. In the process of decorating slopes with such details, you need to carefully adjust the elements and monitor the evenness of the ends. You can disguise the cut ends with the help of decorative corners selected to match the material.
- Plassing and painting slopes are considered the cheapest option for finishing.
- If the overall style of the room allows, the slopes can be lined with tiles, decorative stone or mosaic. Such materials will give the walls additional strength.
Doors finishing, photo:

