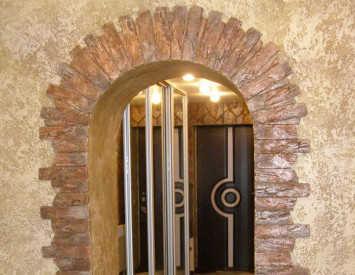
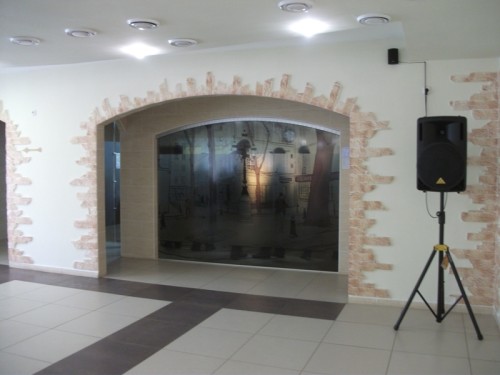
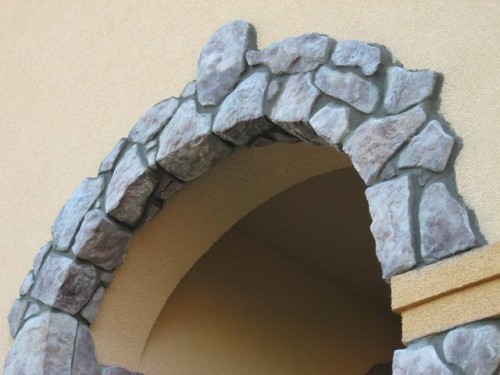
Decorative stone is a find for a finish designer. The decoration of arched openings for stone is acceptable for country styles, Provence, loft, village, high-tech, etc. Having a rough and uneven surface texture, artificial stone is easy to process. Lined stone arches are found both in city apartments and in country houses.
Content
It is possible to make an arch of stones yourself, the same as in the photo, to obtain a qualitative result, you need to strictly adhere to the cladding technology.
Advantages of stone arches
The produced decorative stone for arches transfers accurate colors and the structure of a wild natural mineral. A considerable advantage is that the working back of the stone is adapted for laying the adhesive mixture. On sale you can find a specially processed stone for framing arched openings.
- Behind the arch, laid out with a stone, it is easy to care. Non -abrasive detergents and warm water.
- The styling methodology is simple, and the costly part is small. Open the arch with stone independently.
- The choice of materials for stone arches is very large. The assortment presents the most beautiful and popular imitations of minerals.
Preparation for laying decorative stone on the arch
From the tools you need:
- mixer Construction and Drill;
- water level, roulette and plumb line;
- a turbocharging machine with a cutting disk;
- steel spatula, rowing spatula, rubber spatula;
- kelma and rubber kiyanka, rashpil, nippers or pliers;
- a syringe for stitching seams and a spatula;
- wooden or plastic wedges - spacers or thick crosses for seams.
Consumables include adhesive for decorative stone. When choosing glue, read the glue time in the instructions, the time for correcting stone tiles and the recommended weight of the material. The decor of arches with a stone involves laying not only on a vertical plane, but also cladding of the arches. In this case, the weight of the stones will affect the adhesive layer, on the gap. High -quality glue for an arch, overlapped with a stone, is the most important component. For work on the design of the arch, a stone will still be required:
- grinding of a suitable color;
- primer for glue;
- lacquer for decorative stone;
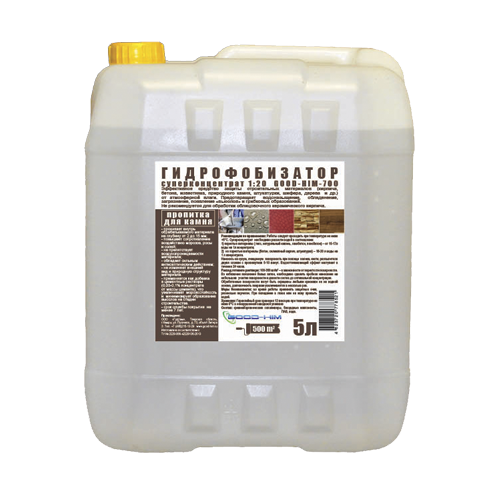
- hydrophobizer.
Hydrophobizer - deeply penetrating additive for concrete walls. Unlike waterproofing, hydrophobization allows the surface to “breathe”. The work on decorating the arch with decorative stone is performed at an air temperature of at least +5 C.
Preparation of the arch for lining with decorative stone
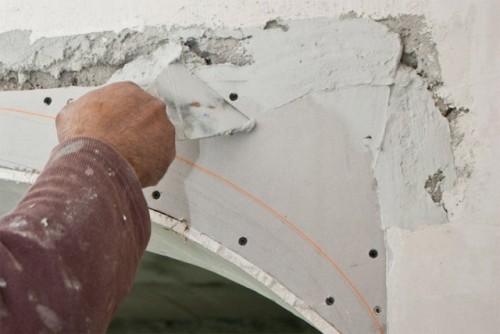
Before you start laying the stone on the arched opening, it must be cleaned and leveled. The surface of the arch is first cleaned with a steel spatula, and then a hard brush with wire bristles.
- By putty is wiped and irregularities are smeared in places of fastening of decorative stone. To align the plane on the arch of the arch, a flexible rubber spatula is used.
- The working areas of the surface of the arch are cleaned with sandpaper and soaked with soil. The primer holds small particles, and on such a surface any finish is held stronger.
- Concrete or plastered with cement mortar brick arches are covered with adhesion soil. With increased air temperature or high humidity, the surface of the arch is recommended to moisturize slightly.
- Archers made of drywall are decorated with light brands of finishing stone. The surface of the arch from GKL made of moisture -resistant material is treated with a primer.
- Before starting work, decorative tiles under a stone are checked and prepared. Tile packages are opened and checked for changes in tone. In any case, it is advisable to mix tiles from different packs. Sort the tiles in size in such a way that the impression of a natural stone wall is created.
- On the back of the tiles there should be no thin foamy plaque. Such a plaque is called “cement milk”, and it worsens the tile agdesia. In order to not fall off the glued tiles, remove the “cement milk” with a metal brush.
Laying of decorative stone on arched opening
- The glue in the bucket is stirred with a mixer according to the instructions. The glue mass should not be too liquid. Stir not all the glue at once, but in small parts of 2 - 3 kg at a time. In the process, the adhesive mixture in the bucket is periodically stirred with a mixer and, if necessary, is slightly moistened.
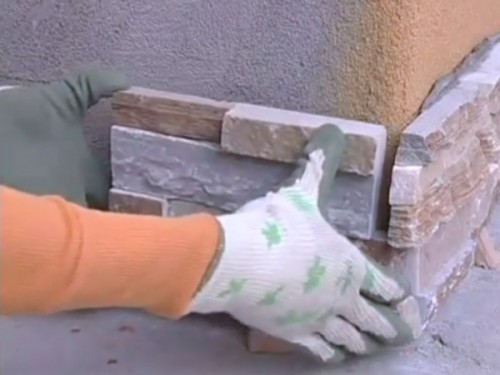
- Start laying from the bottom up. The first stone is laid at the junction of the wall and arch. At the place of transition of the opening in the arc, the tile is cut by an angle grinding machine and trimmed with pliers or nippers. The end sections are adjusted along the radius of Rashpil.
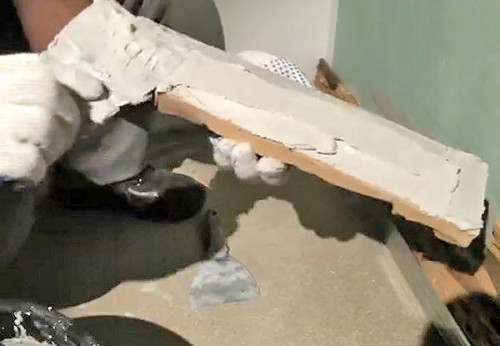
- The adhesive mixture is applied to the pasted area of \u200b\u200bthe arch with a spatula. The global spatula is leveled on the area to a layer thickness of 5 - 10 mm. With vertical laying, the glue waves are made in the horizontal direction.
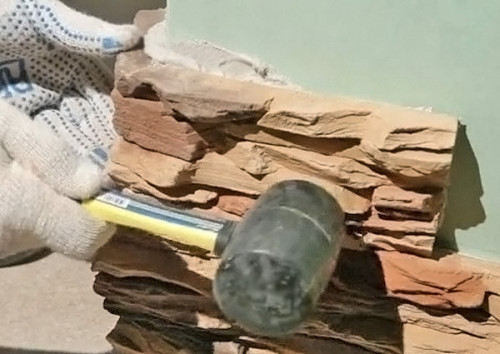
- A glue layer of 5 - 10 mm is also applied to the tile and in this case the waves are made vertical. The intersection of the waves of adhesive mass will fill the void. The tile is tightly pressed against the wall with the hands and is knocked out by a rubber clay. The glue that performed around the perimeter is removed with a flat spatula. The absence of voids is determined by tapping. Voids can lead to condensation under the tile. In case of voids, the tiles are removed, cleaned of the glue and installed again.
- For embroidery and decorative seams between artificial stone tiles, wedge spacers or crosses are installed. After grasping the adhesive mass and fixing the tiles, the spacers are removed and the seams are decorated with a grout mixture.
- The most time -consuming process in the cladding of arches is pasting the decorative stone of the arch in the opening. For fixing decorative stone, wooden struts and tape are used. Having gone to grasp the stuck stone on vertical planes, go to the radius of the inner arch of the arch.
- Having glued the first horizontal row of decorative stone on an inclined plane, fix it with tape. Press the board on top of the tape and install the spacer resting on the opposite side of the opening. After grasping, proceed to laying the next row. Scotch tape is removed after the complete end of the laying of the stone.
Decorating decorative stone seams and final decoration
The seams of decorative stone requires attention and caution. The joint filler is selected depending on the taste of the owner. For a perfectly designed stone, a contrasting color of the grout is selected, if the target is set to mask minor defects, a grouting mixture of a companion or a stone tone is selected.
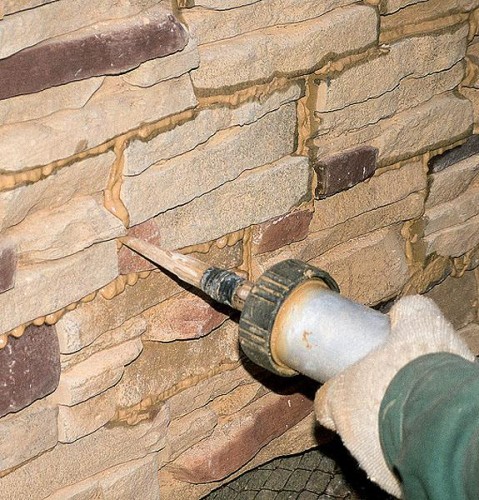
- The syringe is filled with a thick grout, which is carefully squeezed into the gaps between the stones. Try not to get on the front side of the decorative stone. Removing the grout from the rough surface is quite problematic. The seams are not completely filled, by 3 - 4 mm to the front surface of the stone. This is how the visual effect of masonry relief is created. After 20-30 minutes, the seams are smoothed along the contour of the spatula.
- After drying, the arch trimmed with a decorative stone is washed with warm soapy water and degreases. For degreasing, alcohol or acetone solvents are used. Then the opening is covered with acrylic varnish on a water basis. A transparent or half -material varnish is selected. You can apply varnish with a brush or spray gun.
Video:
