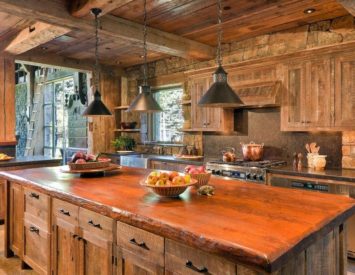
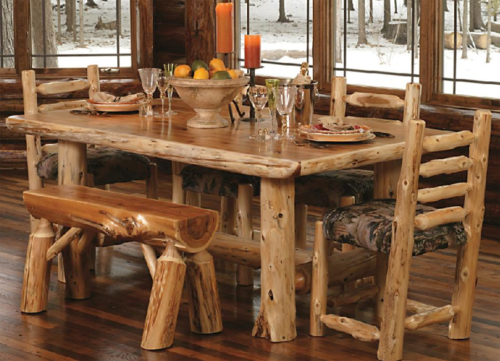
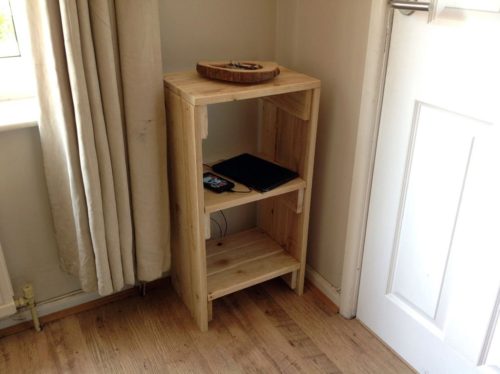
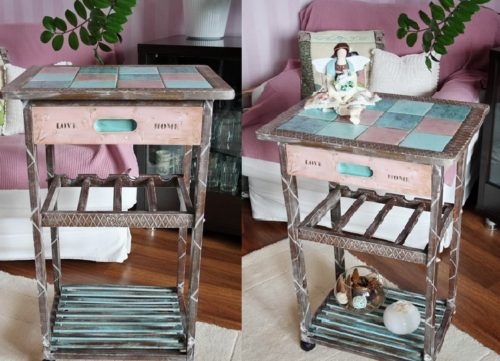
In the modern world, rare objects and furniture under the antique are very valued. Perhaps because, surrounded by a similar interior, a person feels cozy, as if returning to the past, to its origins. For finished furniture will have to lay out a lot of money, and not everyone will afford it. But when there is a desire, everything can be done properly. This article will tell how to make a wooden shelf in rustic style with your own hands.
Content
What is a rustic style, its main features
Keywords that can be characterized by rustic style - this is deliberate rudeness, simplicity, naturalness. Most materials used in creating such an interior have natural origins. Country style has the same features, which is standing in the origins of Rustic. Distinctive characteristics of the style will look more:
- The rustic style of the interior combines simplicity and comfort, seeks to fill the space with comfort and warmth, avoiding excessive puffiness, pomp, futuristicity. The prevailing shades and colors are calm, soft, warm, most close to nature colors.
- For Rustics are characterized by coarse forms, massive and reliable furniture. The interior made in a similar style carries a certain emotional load - it charges with confidence and tranquility, gives a feeling of family comfort. Especially often, rustic is used in country houses, where it is very appropriate and relevant.
- The great advantage of such a style is the simplicity, affordable even a novice designer. Many furniture items - cabinets, shelves, shelves - can be made with their own hands from girlfriend. Hand Made in Rustic is valued especially because the hand-made furniture is one of its distinctive features.
- Most of the items and cladding should be made of natural raw materials - wood, straw, stone, natural coarse fabrics. It is desirable that the tree has expressive texture and minimal processing.
- Rustic style does not accept bright shades and expressive contrasts. Calm natural colors, both bright and dark gamma - one of its basic characteristics. As a rule, the main color of the interior is brown or green, additional shades are gray, light yellow, sand, blue.
- In the question of choosing facing materials, it is necessary to focus on their natural origin and natural tones. Rustic style does not require special refinement of finishing coatings, their natural shade and will become the main color of the interior.
- The most striking focus of rustic and its distinctive feature is furniture. As a rule, it has a rough processing and looks like it is done with her own hands. It is massive and stable, fits into strict geometric shapes, has nothing superfluous. Easy, practicality and efficiency is its main features.
As a rule, the furniture for the rustic interior is made under the order, but the one who has a desire can make something simple with their own hands, for example, a shelf for shoes.
Rustic-style shelf from wood with their own hands
Furniture design
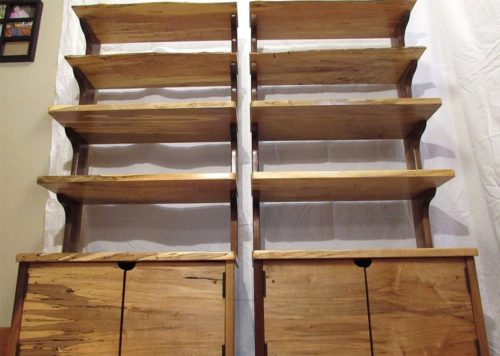
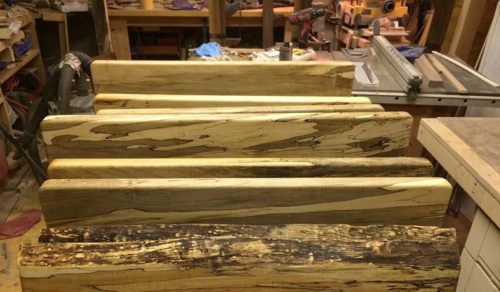
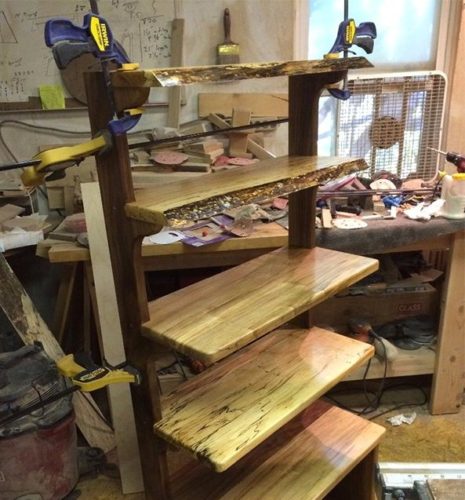
For the personnel creation of the shelf, we took the maple and walnut pin. The swatch is a shaped tree with a beautiful pattern and unique texture. For such an interior item, you can use any other wood existing on hand. It looks very successful to the brushed pine, the drawing on which it looks no less expressive.
The design of our oils includes 4 shelves and an end to the bottom. The classic rustic style provides for the absence of flaps in the end, so it turns out open. If you wish, you can make the doors. On the side walls there are curly cuts that are moving to the stops for the shelves.
There are no rear walls, there is no such shelf, so it can be delivered at least a wall, even in the center of the room - it will still look at the air and will not climb spaces.
Product dimensions are as follows:
- widths - 70 cm;
- the height of the structure is 150 cm;
- the height of the couch is 50 cm;
- shelves width - 70 cm;
- shelves thickness - 2.5 cm.
Used materials and tools
For the manufacture of a shelf from a tree under the antiquity with their own hands, it is necessary to prepare the following:
- drill;
- circular saw;
- electrolovik;
- hacksaw or a saber saw;
- clamps;
- sandpaper with grinding machine;
- chisel either manual milling machine;
- PVA or other glue composition for wood;
- cooks;
- selfless.
To make a shelf with your own hands, stock and appropriate materials:
- Shelves will have different sizes. We will place two shelves with a width of 25 cm.
- The two below the shelves will be 30 cm in width.
- Shelves No. 5 and 6 will be equal to 40 cm. They will also become the upper and lower shelves in the bedside table.
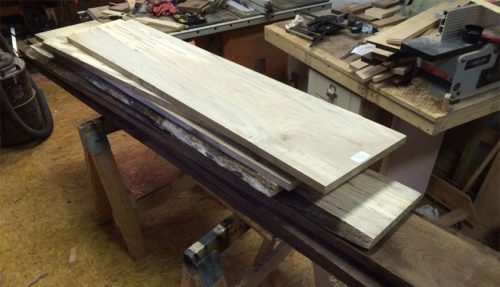
- The side walls will be made of 20 cm widths from the boards. Thickness should be at least 2.5 cm, in length they will reach 2 m. It is desirable that the lateral parts of the structure had a contrasting shade or differ in the texture from other elements.
Watch wooden billets
- To make a shelf under the antiquity with your own hands, take the elements intended for the walls of the design, and measure 4 47.5 cm from each. We will cut the parts of the boards - they subsequently increase the width of the sidewall and inener the lower end.
- On the balances of the boards will perform marking. Mind 50 cm is the height of the lower compartment, which includes 2.5 cm thick of the upper shelf. The gap between the top and the inner shelves of the cabinet is 25 cm, here are the same 2.5 cm of tree thickness. The topmost shelf is located at the level of the side of the side wall.
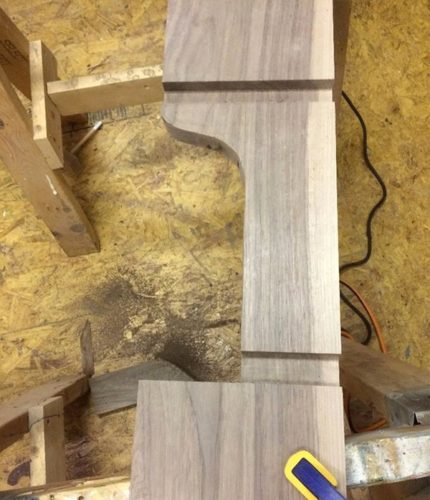
- After drawing the markup inside the sidewall, with the help of a circular saw, we make a deepening of 1.5 cm - these are the grooves for the shelves. Excess wood by removing the chisel.
- Now draw the form of support for the shelves. The width is 10 cm, at the level of 20 cm from the lower groove we will perform a rounding. So that the form of all the supports were the same, apply the markup better using the stencil. The form itself can be defined independently.
- Skated supports cut with an electric jig.
Expand the bottom side walls
The next stage of the manufacture of the wooden shelf with their own hands is the expansion of the lower part of the structure and rounding edges. In the work we use previously cut boards and perform the following actions:
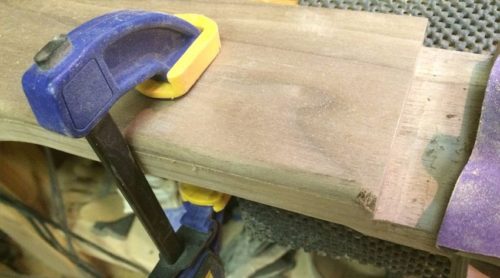
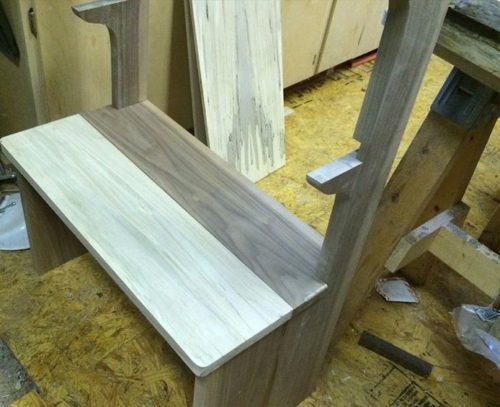
- Parts of the sidewall are attached to each other in chopicks and plow glue. We increase the lower part of the side walls, so that the width of them was 40 cm. So the design will be more stable, and the cabinet is deeper.
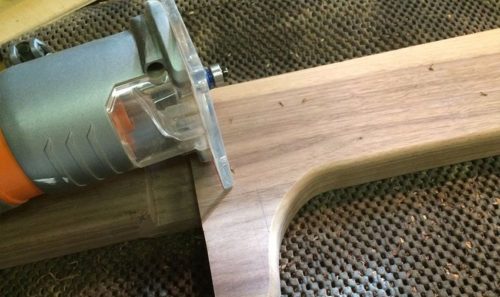
- To round the ends, we treat their manual milling machine.
- Now we will make wide shelves, cutting the boards of 70 cm. The front corners are also raguised using the jigsaw, and in the ends will pass the milling machine.
Execution of wide shelves, fitting and grinding
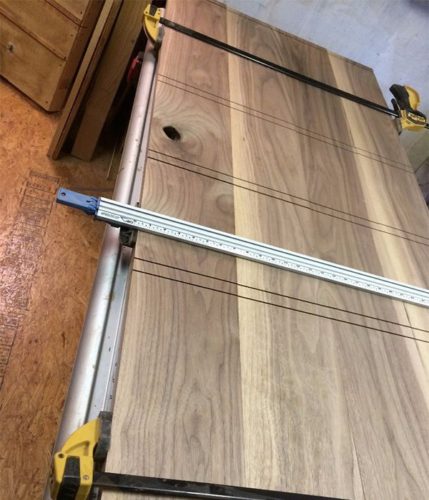
- To create wide shelves, it is necessary to make the boards of choppers using clamps and plow glue. In the finished form, the shelves should be width of 40 cm.
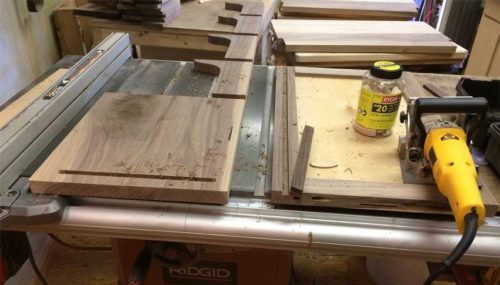
- Now the shelves need to make protrusions that will ensure the strength of the shelf. We will perform the protrusions using a hand saw, cutting rectangles with a depth of 2.5 cm from the sidewall and at a distance of 10 cm from the rear end of the shelf.
- For the shelf, located at the very top of the design, we will make protrusions on the sidewalls.
- Now we will collect the design to check the coincidence of all its elements. If necessary, mooring the details of the chisel.
- We analyze the shelf and cast the wood with sandpaper, fixed on the grinding machine. Corners and beveled parts by handling manually.
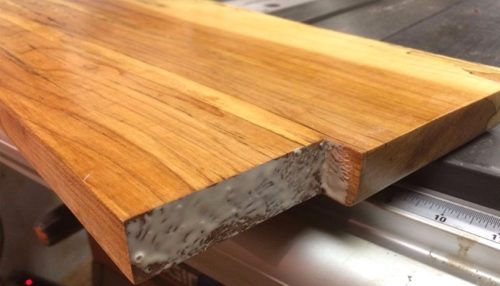
The shelf collected from the shpalta must first be soaked in tung butter. Then you can cover it with varnish. If another wood is used instead of the pin, it should be treated with primer, dry and paint the finish layer. Forses and grooves are not needed.
Build construction
The last stage of creating a wooden shelf with their own hands is its assembly. It is performed in this way:
- When the lacquer is dry or another finish coating, the joints of the shelves are smeared and fix the clamps on both sides.
- Then make holes under the cats. Drill their drill through the sidewalls. Cookies before mounting flashing glue, apply glue composition and to the appropriate hole.
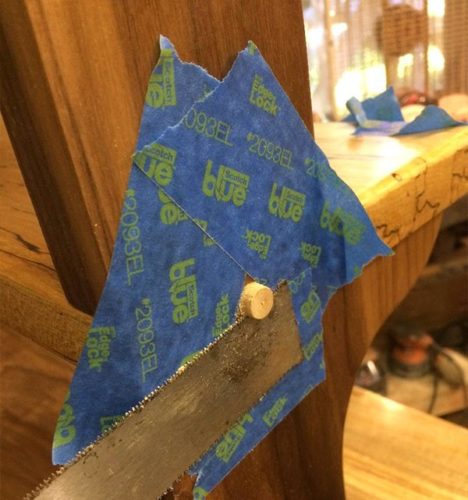
- When the glue is dry, slicing the protruding chips of the choppers. So as not to damage the sheer with a saw, around choppers glue raner tape.
- Cut parts wear sandpaper and quarrel.
If the bottom of the design is provided with the doors with the doors, then for it we make a rear wall and sash from plywood. Folded fasteners on the loop, screw the rear wall screws.
