External advertising is one of the most effective ways to promote goods or services in the market. It is with billboards, signs, city facades, windows, windows, and finally, your potential buyer faces advertising inscriptions on the asphalt even before meeting your products or services provided. Therefore, from what type of placement of the “outdoor” you choose, and your sales and the profit from them will be more dependent.
Content
Varieties of outdoor advertising
There is a large type of outdoor advertising means, these are advertising shields, and electronic displays, and stenters, and various advertising installations on the roofs, and, of course, lightboxes. Thanks to constant illumination, advertising information placed on lightbox is clearly visible in the dark. This material will be devoted to the manufacture of such light boxes (lightboxes), since today is one of the most popular and most common elements of outdoor advertising.
Lightbox: Types of effective modern advertising
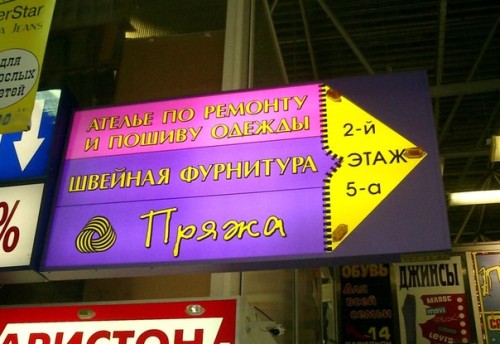
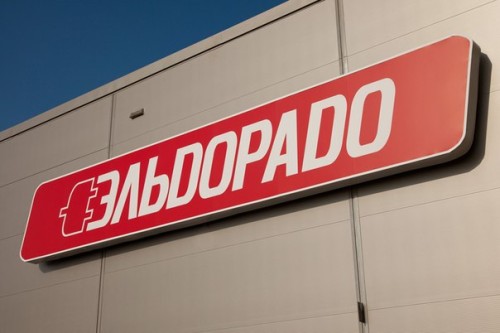
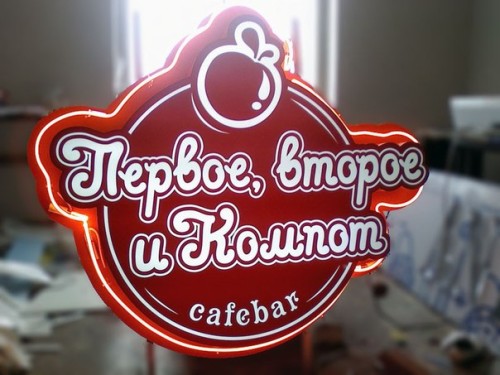
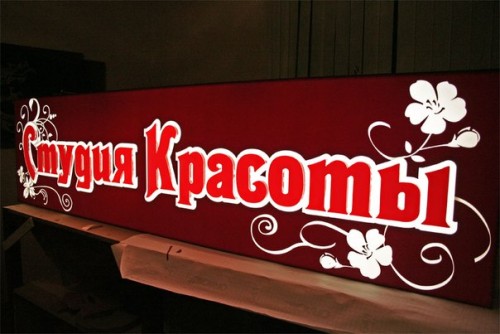
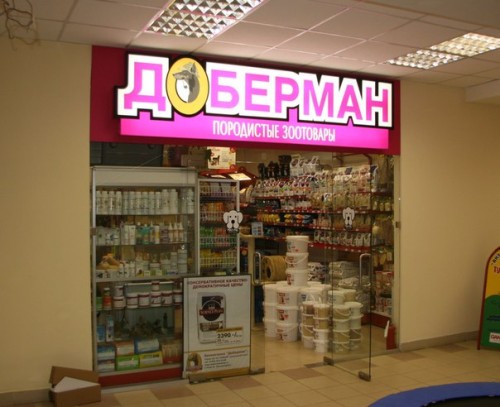
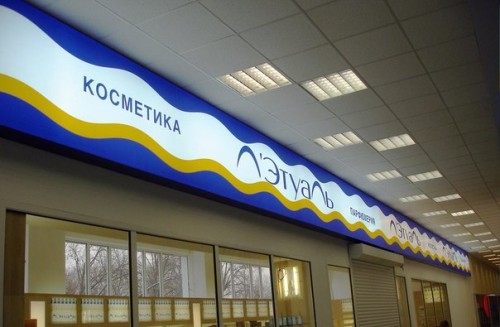
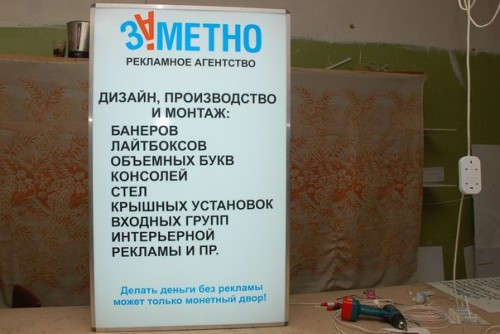
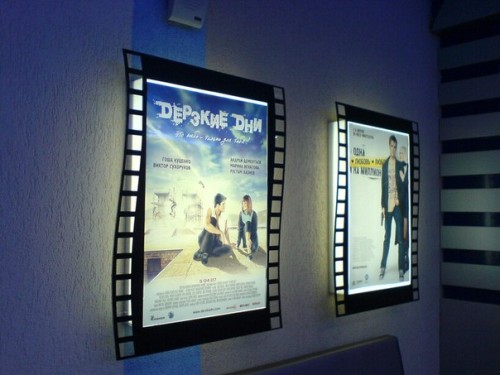
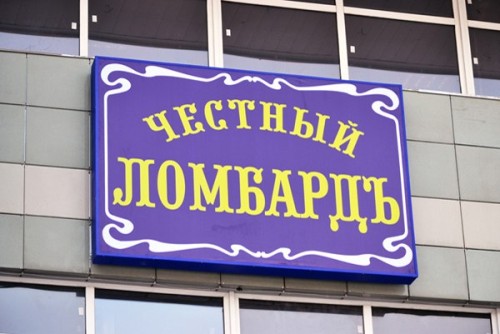
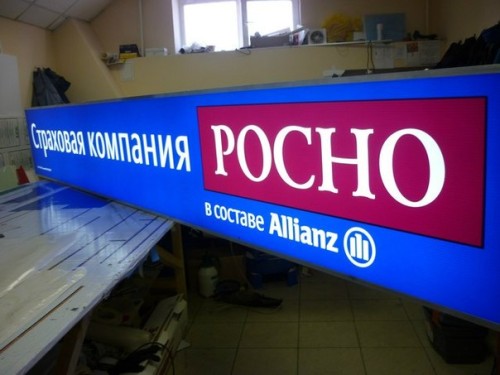
Lightbox light is a type of advertising sign, illuminated from the inside of a neo, luminescent or LED lamp. The glow can be both static and dynamic. The size, shape and thickness of the lightbox can be any. They can be placed outside and inside the buildings - on facades, roofs, in shopping centers, offices. Lightboxes, the photo of which can be seen below, are an interesting advertising move and, most importantly, they really work.
Lightboxes can also be divided into one -sided and double -sided. They differ in the fact that on a one -sided light box, information or image is applied only on one side, and on a double -sided - on each side. The one -sided sign is highlighted on the back of the box, and in a double -sided luminous element is located in the middle, between two advertising posters, ensuring a uniform glow of both sides of the Lightbox.
By purpose, light boxes are:
- Thin. Basically, they are used for the interior design of the windows.
- Suspended. They are placed in large supermarkets and shopping and entertainment centers.
- Floor. They are used inside large rooms, in the aisles between retail pavilions, mainly for the better orientation of potential customers passing by.
- Outer. They are used to place advertising information on the facades of buildings.
You can make a light box using various manufacturing technologies using different materials. Its front part can be made of banner vinyl fabric, acrylic or cellular polycarbonate. The frame is made of aluminum or plastic profile. The image or text is applied to banner fabric using powder paint.
The pluses of lightboxes
- Relative cheapness of manufacture.
- Over time, the possibility of changing one poster to another or one panel to another, i.e. The reusable use of the light box.
- The speed of manufacture.
- Ease of maintenance.
- The possibility of performing lightbox of various shapes and sizes.
Cons of lightboxes
- Lamps in light boxes are able to burn out.
- Between the front panel and the structure of the structure, dirt and dust accumulate, which is noticeable when illuminated.
With your own hands
There are many methods for making lightboxes. We will consider one of the simplest. To install this light box, a lot of skills and effort will not be required. The size of the finished product will be 125x74 cm.
What will be needed for work
First you need to stock up on the necessary materials, these include:
- The Oracal film sliced \u200b\u200bon a plotter is 1.5 m2.
- Mounting film MT80P F099 - 1.5 m2.
- Aluminum P-shaped profile –130 mm-4 pp.
- Connecting corners - 4 pcs.
- Self -tapping screws with jPMT 16, 3.5*32 - 36 pcs.
- Luminescent lamps on 36W (in the kit of each throttle lamp, 2 holders, starter and 2 rounds) - 5 pcs.
- PVC 5 mm - 1 m2.
- Installation wire PV1 0.75 (1.0 mm) - 9.5 pp.
- Glue Cosmofen Ca 12.
- SHVVP wire 2*1.5 - 3 pp.
- Plexiglas 3 mm millet -colored plexiglass - 1 m2.
What tools will be needed
Work tools:
- Rubber scraper.
- A felt or plastic scraper.
- Garden spray-volume 0.5-1.5 liters.
- Hypor -Chancellery knife.
- Scurgery.
- The end saw.
- Disk saw.
- Electrician.
- Metal line.
How to make lightbox: manufacturing process
- Using the Corel DRAW program, in the computer we draw a product layout in a scale of one to one. A file for cutting on a plotter is made by super -flood circuits in curves.
- We cut the image applied to the Oracal film with a Plotter.
- Remove the excess film (around the graphics or letters).
- Apply on top of the letters or graphics from the center to the edges of the mounting film, cut off the excess.
- We cut into account the corners and length of the lamps (with a margin of 5 cm.) An aluminum profile (the profile for lightboxes can also be taken plastic, it is cheaper, but less durable and difficult to paint), which will serve as the structure of the structure.
- We collect 3 from 4 parts of the profile with corners.
- We drill holes for screws in the profile and corners. We fix the 3 parts of the profile with screws.
- Following this, we construct the backdrop: cut the PVC with a knife or saw in size and cut the corners.
- We insert the backdrop into the light box.
- We put on the cartridges on the lamps, insert the starters and check the resulting device.
- We make a marking, indicating the places for attaching lamp holders and chokes. Cut the “chopic” from PVC and glue them on the back with glue. We fix the holders for lamps and throttle on screws.
- We cut the wiring for the lamps, cleaning the ends, and install these lamps in holders. We connect the wiring inside the box.
- We remove through the hole the wiring outward and insulate it.
- After all the work done, we check how our product will glow, and whether the installation technology of the future lightbox is disturbed.
- We cut out a twin -to -heal, twisting the corners at the corners.
- Remove the protective film from the stream and mine it using a sprayer and a rubber scraper. On the ruler, place an image or letter.
- Remove the basis of the film. Smooth the film with a felt or plastic scrap and remove the mounting film.
- We drill 2-3 holes in the lower shelf 6-10 mm in diameter. This is necessary for diving moisture.
- Then the Lightbox created by your own hands is checked for readiness for work. So that the light box does not dust, it can be packaged in Streich.
Possible errors in the manufacture of lightbox and their correction
- The lamps do not shine - the network is incorrectly connected or not closed. It is necessary to check the correctness of the connection and the reliability of fastening of cartridges and starters, as well as their working condition.
- Under the film of air bubbles or dust points. In this case, it is necessary to remove the film, carefully remove the clusters of dust, wiping the surface, and apply a new film. If under the film, bubbles, you can squeeze the air by piercing the film in these places with a knife.
- Lightbox does not close or the corners do not converge - cut the seeing or back a few millimeters and twist the corners a little stronger.

