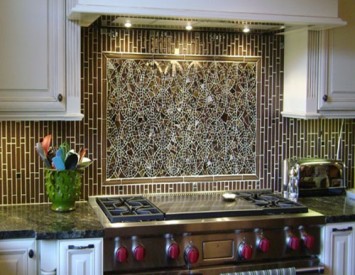
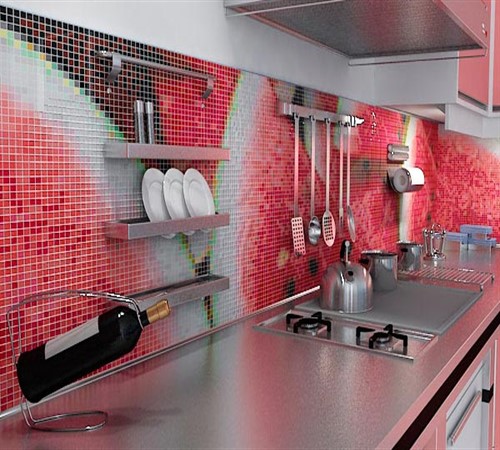
Of no small importance in the interior of the kitchen today is the kitchen apron, both from a practical and aesthetic point of view, thereby causing a number of difficulties with the choice of finishing materials that would satisfy all the necessary requirements. At the same time, most people still opt for traditional ceramic tiles, since everyone will be able to lay out a small area of \u200b\u200bthe kitchen wall with tiles, without even having a practical skill in a similar case.
Content
The purpose of the kitchen apron
Recently, more and more attention has begun to be paid to kitchen aprons, which is largely due to the appearance of a diverse assortment of finishing materials on the market.
If earlier, only tiles of rather scarce gamut and design were used to decorate the apron, then its main task in the working area was to protect the wall from random mechanical exposure, fat and other splashes, etc.
Currently, the choice of materials suitable for finishing the apron is so huge that it can easily protect the wall and create unique masterpieces, contributing to the aesthetic attractiveness and creativity of not only the working area, but also the entire interior of the kitchen.
Therefore, the material of the kitchen apron should be durable, moisture and fiery resistant, and also have excellent practical and decorative characteristics.
Types of finishing material, their characteristic
To design a kitchen apron today, various materials are used that have excellent properties, sizes and external design.
MDF panels
In recent years, the MDF panels produced by pressing small wooden sawdust, the front surface of which is laminated by a heat -resistant coating, has become widespread.
Advantages of MDF panels:
- wide tinted spectrum;
- simplicity of installation, as well as dismantling;
- the minimum number of joint seams that prevent the accumulation of dust and fat drops;
- the possibility of wet cleaning without the use of aggressive means;
- low cost.
Flaws:
- relative resistance before mechanical exposure;
- low moisture resistance;
- a short service life, about 2 years.
Despite the resistance of the MDF panels to high temperatures, it is still not worth using them to decorate the apron in the presence of a gas stove, because they are made from wood waste, therefore, with any violation of the integrity of the coating near the open fire, they can easily light up.
Glass tile
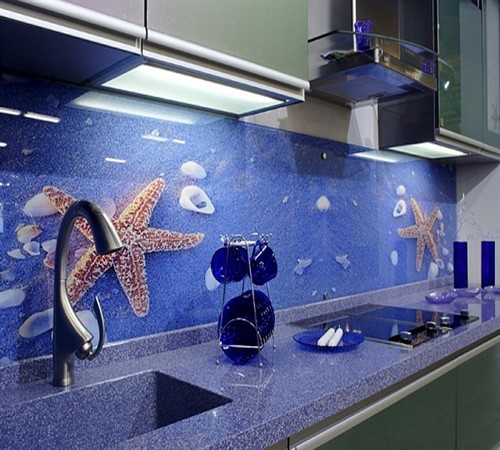
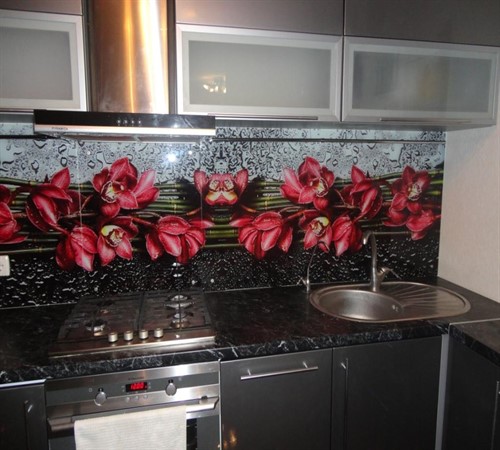
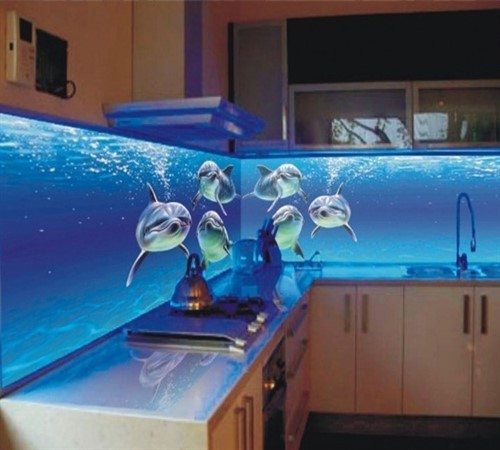
A fairly new trend is a apron made of glass tiles. The material for its manufacture is fried glass or triplex. In this case, the surface of the tile can be glossy, matte or corrugated. A wide range of different sizes with a plain background or interspersed or stripes of other shades. However, the tile with a pattern, which is applied by sandblasting or photo printing using special equipment that allows you to achieve a 3D effect, looks most attractive.
Pros of glass tiles:
- high decorative qualities;
- resistance to high temperatures and high humidity;
- resistance to aggressive chemicals;
- the ease of removal of any pollution from the surface.
Cons:
- low resistance to mechanical damage;
- the probability of clouding of glass over time;
- the complexity of leaving due to a distinct manifestation of traces from steam, spray;
- complexity of installation work;
- the duration of operation does not exceed 5 years;
- high cost.
Along with glass tiles, glass panels that have the same properties as tiles, but significantly facilitating the installation process and care for them have become produced recently.
Mirror tiles
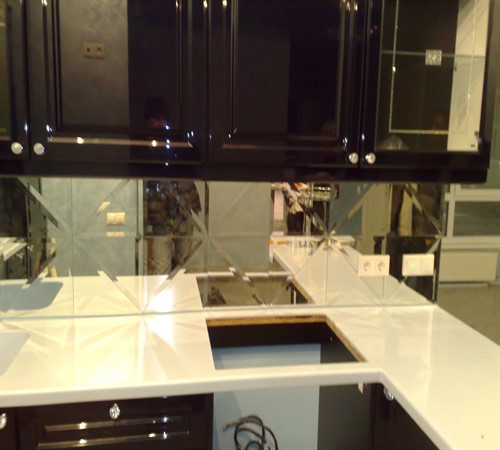
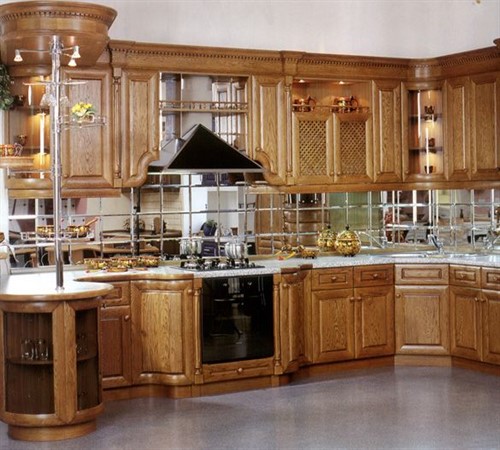
The splendor of mirror reflection gives the room a luxurious and original appearance, so the material is in high demand, despite even significant drawbacks. Cutting mirror paintings on the necessary elements allows you to get tiles of a wide variety of shapes and sizes. The color palette is represented by gold, chrome, silver and other metal shades. In this case, the surface of the tile can be embossed, smooth or with a pattern. However, tiles with fatcet or a holographic image have particular originality.
Advantages of mirror tiles:
- visual increase in space;
- combination with any materials;
- resistance to ultraviolet rays, as well as high temperatures;
- moisture resistance that allows wet cleaning using neutral detergents.
Flaws:
- fragility of the material;
- over time, dark spots appear on the faces;
- the painstaking of care consists in the constant removal of traces of fogging, spray, spots;
- a small operational period of 2-3 years;
- the cost of mirror tiles below glass, but above ceramic.
However, mirror panels made to order greatly simplify labor -intensive care.
Metal tiles
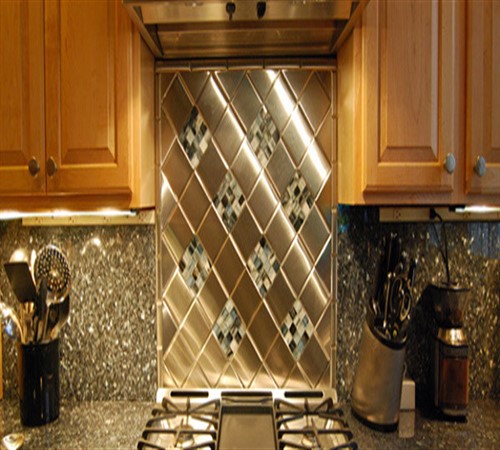
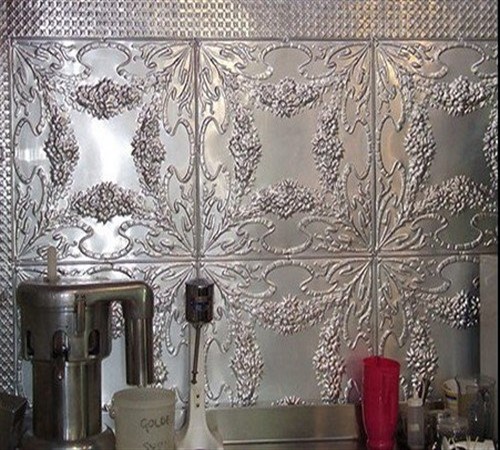
For an interior made in the high-tech style, a stainless steel metal apron will have to be very in the way. At the same time, in other stylistic solutions, the metal will look too cold and industrial, so the choice in favor of such material must be evaluated in advance.
Advantages:
- high strength qualities;
- excellent wear resistance;
- fire safety;
- resistance to moisture, ultraviolet rays;
- duration of operation;
- acceptable cost.
Flaws:
- a meager color palette, represented by metal shades;
- the whimsicalness in the care caused by constant elimination of traces of fat, water, which are clearly visible on the reflective surface;
- low operational period, due to the use of aggressive detergents, leading to darkening of the metal.
Ceramic tiles
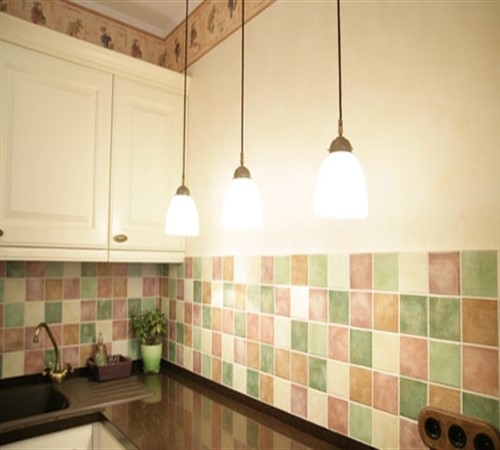
The most practical and durable of all types of material is ceramic tiles produced from various varieties of clay with the addition of binding components by pressing with subsequent single (monocottra) or double (bicotura) firing. At the same time, monocottra has less porosity, unlike bicottura, and therefore more moisture resistance and strength. The surface of ceramic tiles is smooth, embossed, as well as glossy or matte.
Advantages:
- a large selection of sizes, shades, design;
- high strength due to firing at high temperatures;
- excellent resistance to mechanical, as well as chemical effects;
- high indicators of moisture and wear resistance;
- environmentally friendly material that does not secrete harmful compounds in the heating process;
- lack of temporary deformation;
- does not change the initial shade under the influence of ultraviolet rays;
- simplicity of care;
- acceptable cost;
- durability.
Flaws:
- fragility of the material;
- the need for preliminary preparation of the surface to improve adhesion;
- the complexity and duration of styling.
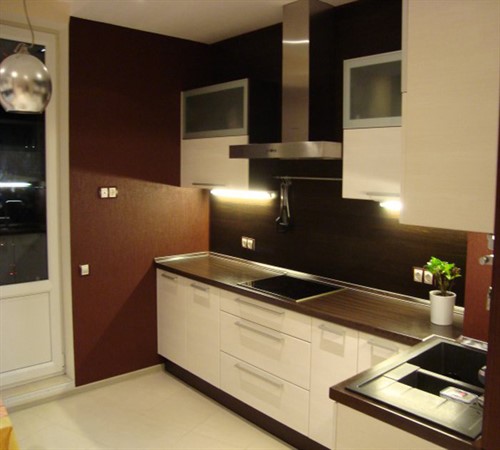
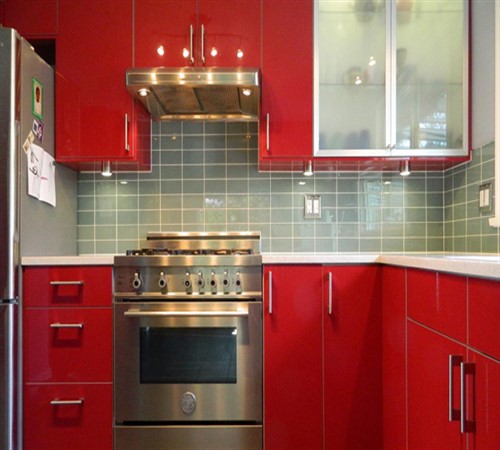
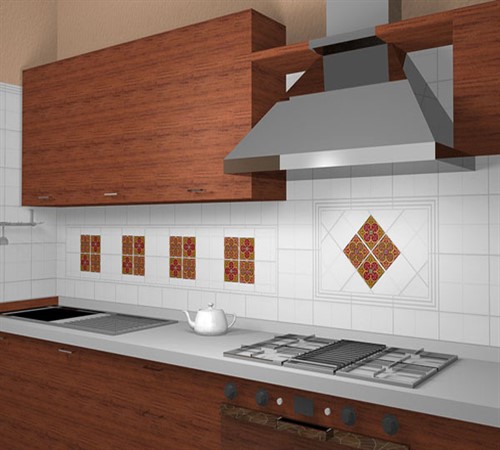
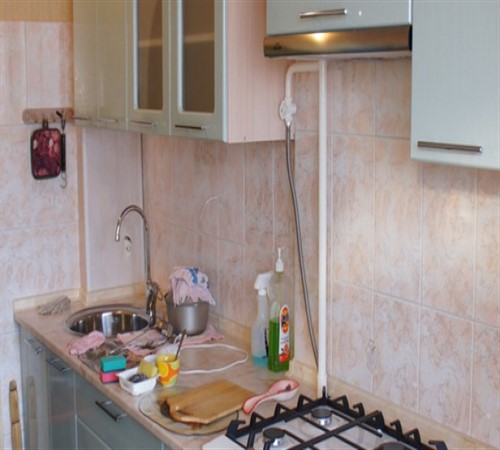
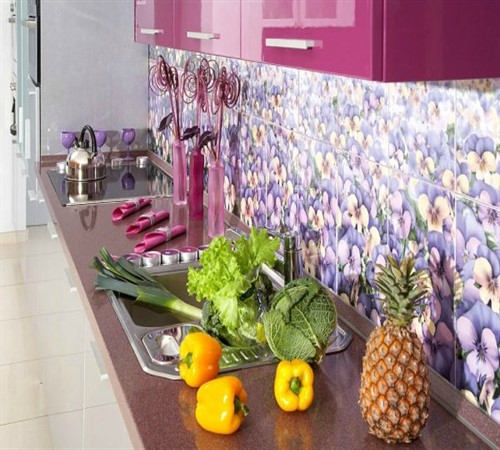
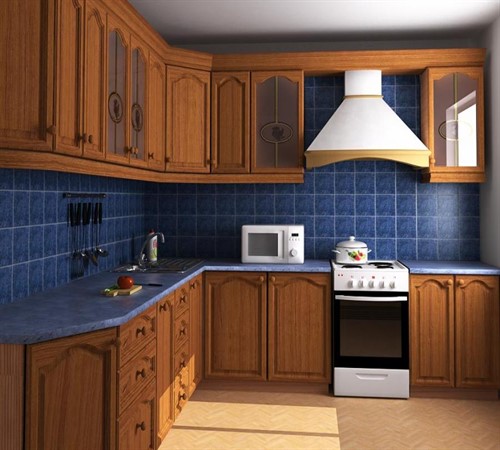
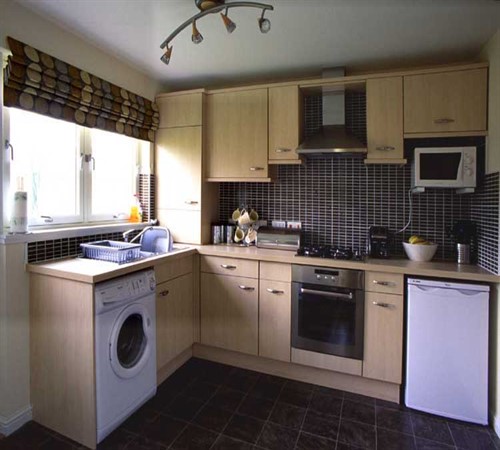
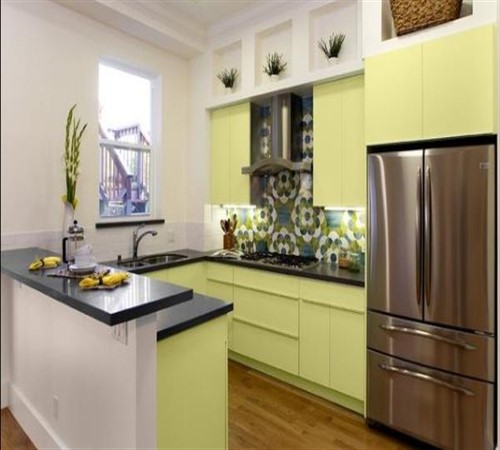
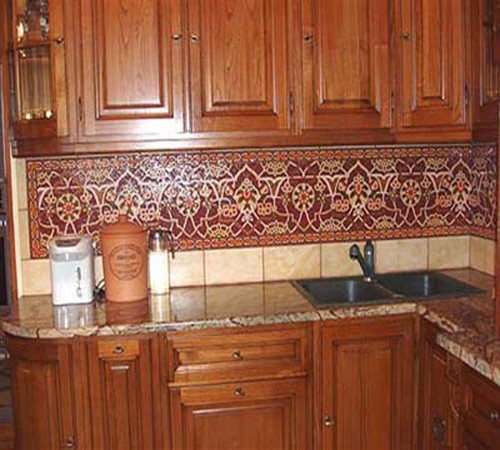
Thus, the most durable and aesthetic kitchen tiles on the apron, the photo of which is presented above, include glass and ceramic tiles. In addition, glass and ceramics are remarkably combined with any other materials, giving the room a harmoniously completed look. However, the price will be much higher for glass kitchen aprons than ceramic.
Determination of the size of the kitchen apron
The costs associated with the acquisition of finishing material directly depend on the size of the kitchen apron.
The lower border of the apron
The border of the lower edge of the apron is determined by different criteria, based on the following conditions:
- if the furniture is acquired and placed in its place, then the border of the apron is the level of the countertop;
- if the acquisition of furniture is under planning, then the height of a gas or induction stove is taken beyond the lower boundary of the apron. However, if a washing machine is located under the countertop, then the height of the machine is taken beyond the lower border, since it is always slightly higher than the stove.
Since a perfectly flat floor is a rare phenomenon, when arranging furniture, the countertop may be lower than the apron, forming unaesthetic gaps. This problem can be avoided during the installation of the apron, reducing the resulting value of the lower boundary by 2-3 cm.
The upper limit of the apron
The distance between the hinged cabinets and the working surface should be at least 45-50 cm, otherwise it will be quite difficult to use the countertop for its intended purpose, since the upper cabinets will overlap part of the working surface. At the same time, make the width of a larger apron, taking into account the following factors:
- the height of the ceilings in the kitchen. There should be a free space of 30-40 cm for free installation/dismantling the upper cabinets between the hinged cabinets and the ceiling;
- type of slab. Since the minimum distance from the electric or induction stove to the hood should be 60 cm, and from the gas - at least 75 cm, the width of the kitchen apron will increase slightly in the area of \u200b\u200bplacement of the hood.
- type of hood. When using a suspended structure of a flat -type hood, mounted to the bottom of a hinged cabinet or to a capital wall, the upper boundary of the apron will be the lower edge of the hood. When choosing a fireplace extract, the upper boundary will be similar to the height of the hinged cabinets without any additional distance.
When determining the width of the apron under the hood, it is necessary that the edges of the apron come by 2-3 cm not only under the hood, but also for the hinged cabinets located on the sides from it.
Thus, when planning a kitchen apron, the sizes must be determined taking into account the various features of furniture, household appliances, the height of the room and personal preferences. At the same time, do not forget that the apron should go with the upper and lower boundaries of the cabinets.
Installation of a kitchen apron from ceramic tiles
The technological process of installation of tiles is divided into several stages, the sequence and thoroughness of which guarantee a satisfactory result.
Necessary materials and tools
For the convenience and speed of work, it is necessary to prepare in advance:
- primer;
- brush for applying a primer to the wall;
- tile glue;
- ceramic tiles;
- grinding for seams;
- toothed, rubber and ordinary small spatula;
- suture crosses 2.5, or 3 mm;
- level;
- a metal profile, the length of which is equal to the length of the kitchen apron;
- dowel for attaching to the wall of the profile;
- pencil;
- containers for the preparation of glue and grout;
- rubber kiyanka;
- tile cutter or grinder;
- pliers;
- foam sponge;
- a rag of natural fabric.
Preparation of the wall for laying tiles
The reliability of the tile adhesion with the surface depends on the quality of the prepared base, therefore:
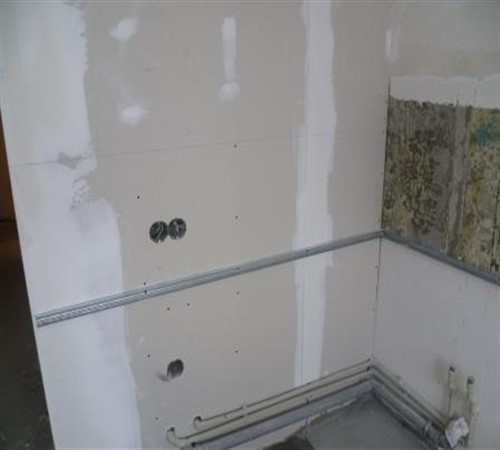
- We clean the surface designated under the apron from plaster, paint, wallpaper, and preferably to a concrete or brick base.
- We cover the prepared base with a primer and let it dry well.
- We mark the lower border of the apron on the wall and draw a flat line with a pencil.
- Immediately under the applied line, we fix a metal profile using dowels, preventing the tile to slide during the period of the solution, as well as ensuring the evenness of the laid row.
- We check the horizontality of the fixed profile.
Laying tiles
To obtain even rows, laying a kitchen apron made of tiles is made from the bottom up and from the edge to the corner, therefore:
- We dilute the tile glue, according to the instructions available on the package, and let it stand for 5 minutes, then mix thoroughly, getting rid of all lumps.
- Using a toothed spatula, apply glue to the wall surface for 2-3 tiles. If the base has deep bumps, then we also apply glue to the tiles.
- We take the tile and fix it with uniform pressure movements on the wall. In this case, the tile itself should be based on one side on a fixed profile.
- We glue the next tile next to the first, not forgetting to insert sore crosses between the tiles, ensuring the smoothness of the seam.
- After fixing 2-3 tiles, check the horizontal, as well as the vertical by applying the level. If necessary, the protruding corners of the tiles are corrected with a chicken.
- As the tile is laying, we immediately clean the seams from excess glue until it grabbed.
- After the end of the first row, we proceed to the next, etc.
- 48 hours after the end of the work, we remove the metal profile, suture crosses and remove the remaining glue from the seams.
Grout of the seams
The final stage of laying tiles is reduced to the following works:
- Spray the seams from the spray gun, getting rid of dust.
- Rinse the tile so that the glue particles do not mix with the grout.
- We dilute the grout, as indicated on the package, and mix thoroughly.
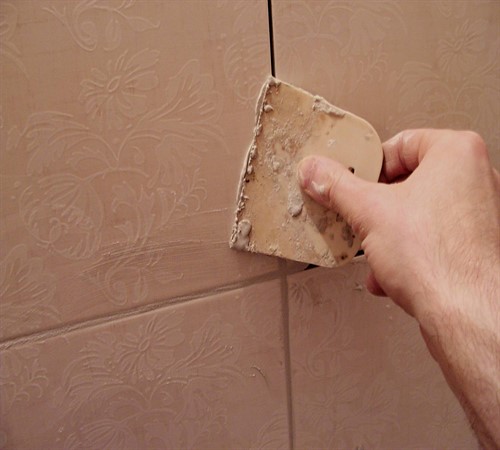
- We take a rubber spatula and, holding it at an angle of 45 ° C, fill the seams as much as possible.
- We remove the excess grouts immediately as all the voids of the seam are filled.
- Filling 6-8 seams, we run a finger at the seam, giving it a certain relief. If cracks appear, then we pass the seam with a damp sponge and repeat the procedure.
- At the end of the work, we wipe the surface of the tile with a damp cloth, and then wash with the addition of a detergent to get rid of the emerging stains.
Options for designing a kitchen apron made of tiles
Currently, you can buy tiles for a kitchen apron in absolutely any specialized or construction store, and a variety of shapes and sizes of this material is so large that it is difficult to dwell on any one option. Or maybe you don’t need to dwell on the tile of the same size and shape, but it is worth experimenting, combining contrasting or plain colors?
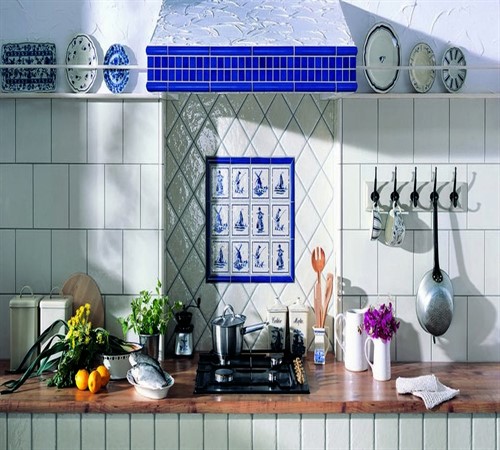
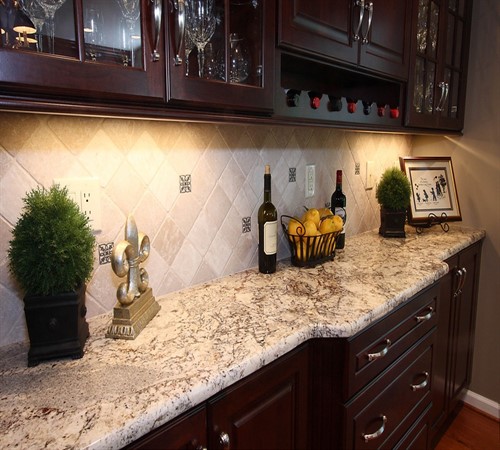
Tiles of various sizes in combination with conventional and diagonal masonry look quite interesting.
At the same time, the kitchen apron (10x10 tiles becomes more and more popular), it looks not only elegant, but also in terms of costs is inferior to tiles of ordinary sizes, since there is practically no need for low -format sizes.
In addition, glue the tile of 10x10 diagonally more carefully, significantly reducing the time of work.
The use of low -format tiles also allows you to easily lay out small panels, reviving the design of plain tiles.
Although from a rectangular tile it is quite possible to make an insert or decorated with a curb in the form of a picture.
Thus, you can make an apron in the kitchen from various materials, combining the colors and form of finishing materials. The main thing is that the color scheme of tiles is harmoniously combined with other interior items.
