Not a single kitchen can do without hood, because then the couples will have nowhere to go from cooking, and they will leave unsightly fat spots on the ceiling and walls. However, buying an hood is only half the case. Not every model will look attractive in the kitchen - sticking pipes and ducts will spoil the appearance. To ennoble the structure and harmoniously fit it into the interior, boxes were invented. These are special boxes that hide all wires and pipes in themselves. In this article, we will tell you how to choose the right and install the hood box, as well as how to make it with your own hands.
Content
Choose an hood
The design of the hood box is determined by the technical characteristics and a variety of the ventilation device itself. So before taking it up for the creation or choice of a box, you should choose the right hood.
There are several varieties of hoods depending on the method of their attachment:
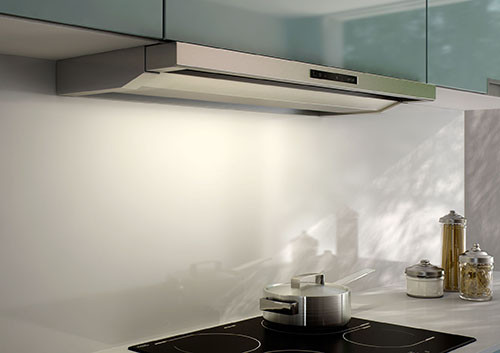
- Open are the most expensive, in which all structural elements are in sight. The high cost is explained by the fact that the designers have to work hard to create a neat and beautiful model in which all the details would be outside, but did not look untidy.
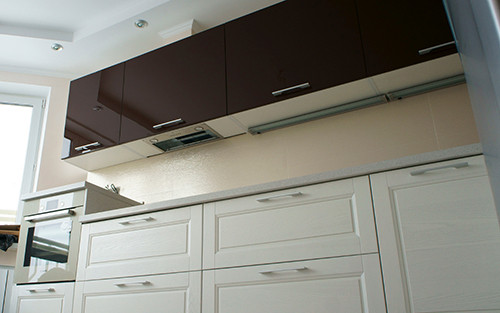
- Built -in - these hoods are almost invisible in the kitchen interior, as they are integrated into the headset. All their details are placed in the box, so only the facade with the control panel remains visible. As a result, the model occupies a minimum of space and does not overload the design.
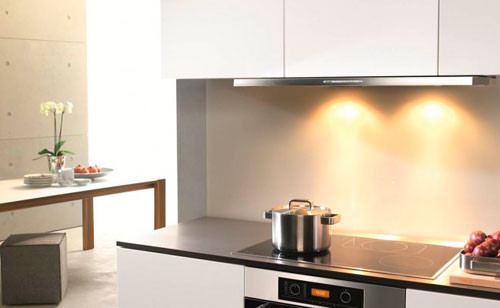
Thus, open -type hoods are most often mounted in spacious kitchens, where the quadrature allows you to install equipment and use it not only with the functional, but also from the decorative side. Built-in models are suitable for a high-tech interior and minimalism.
Also, hoods are classified in shape:
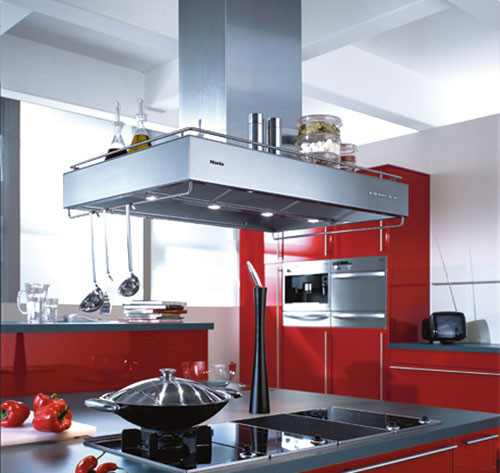
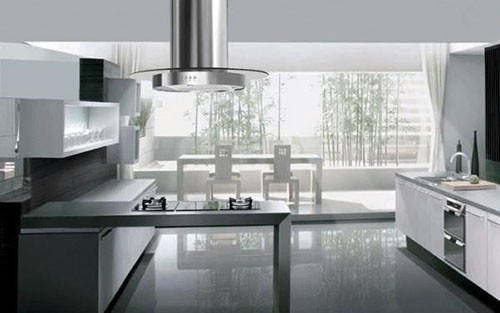
- Island - hoods are attached to the ceiling and do not contact the walls. Such models look good in spacious kitchens with the work area in the center of the room.
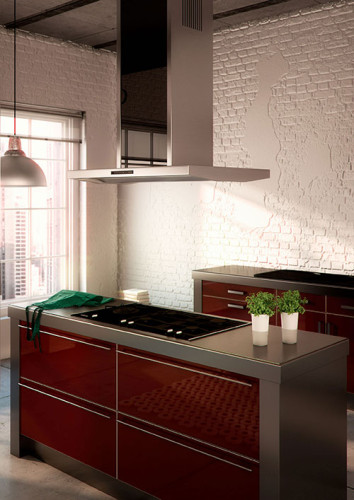
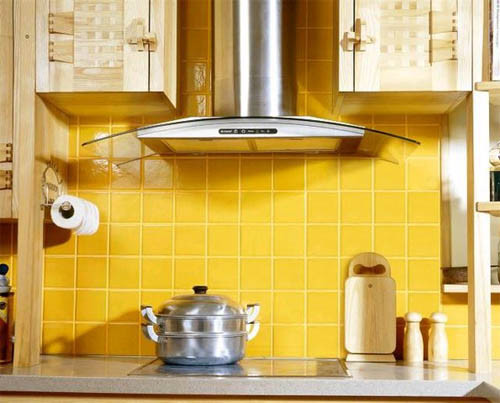
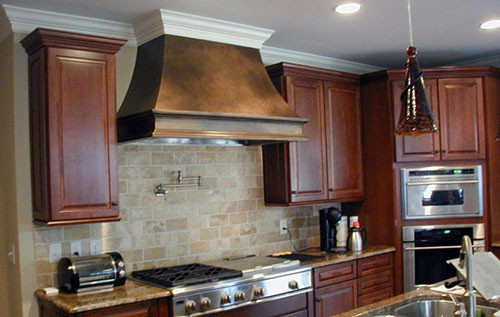
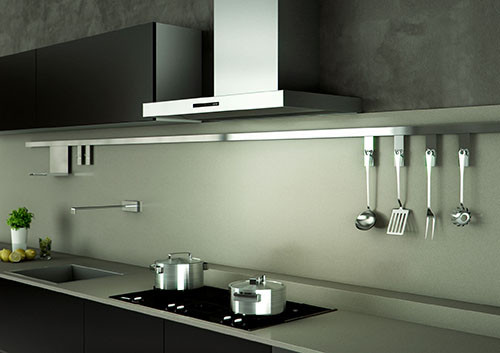
- Wall - hoods are attached to the wall. Such models require free space and high ceilings, as they take up quite a lot of space. Most often they are used as a beautiful design element.
- Built-in-compact models that are relevant for small studio apartments.
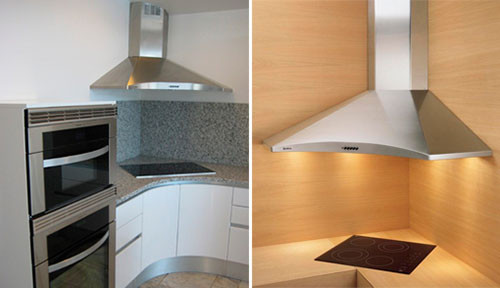
- Corner - design and method of attaching such models are similar to the walls. The difference lies only in a triangular form. These hoods are installed if the hob or plate is placed in the corner of the kitchen.
Despite a wide variety of shapes and technical features, almost all hoods have one common drawback - sticking internal elements. The exception is only expensive designer models, but due to the high cost, not everyone can allow them. To get neat ventilation in the kitchen and not pay frantic money for this, we suggest installing a decorative box for hoods.
Choose a box
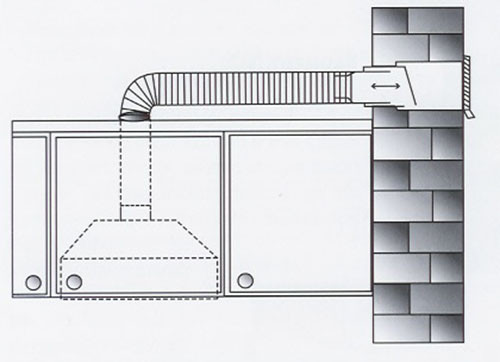
The standard equipment of almost all models of kitchen hoods includes a metal box that is designed to hide the connection of the equipment to the ventilation duct. As a rule, this is a telescopic part that can be increased in height depending on the height of the ceilings. Despite the fact that the presence of such a box is considered mandatory, it is not always present, and in some cases it can be made of plastic or stainless steel. Most often, you have to buy it separately or make it yourself.
If you decide to buy a ventilation box for hoods, then in stores you will be offered only two options: plastic or metal. In both cases, the products look quite decent, but they have different operational characteristics, so you need to start from them.
Plastic box
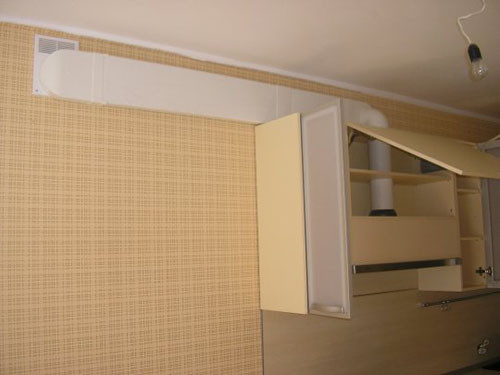
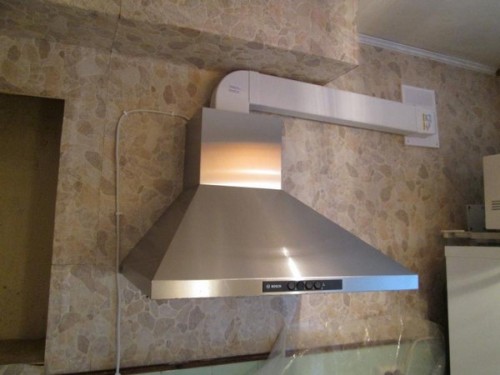
The most common type of ventilation boxes. Popularity is explained mainly by low cost and convenience of operation. They differ in small heights, which allows saving the space under the ceiling. So, the cross -sectional area of \u200b\u200bthe plastic box 55x110 is approximately equal to a round duct of 90 mm in diameter, and the box is more than 60x204 in size to 125 mm.
Despite the higher level of air resistance in comparison with corrugated pipes, the aerodynamics of plastic boxes are still enough to fully remove steam. When choosing such a product for hoods, you must see the diameter of the output in its passport in order to choose the corresponding size of the box.
Plastic boxes for hoods are characterized by high strength and resistance to mechanical damage. In the kitchen with stretch ceilings, the box can be sewn under the ceiling. Many lay such boxes simply over the headset, and it becomes completely invisible. Unlike corrugated pipes, it is easy to care for a plastic box - just wipe the surface from dust. It can be poured with wallpaper or painted in tone with wall decoration in the kitchen.
Metal box
Metal boxes look very stylish, especially if the kitchen is made in high-tech or loft style. Products can be made of steel sheets or stainless steel. In the first case, steel is covered with special anti -corrosion polymer dye. Such an extract will be very durable, but over time, protective paint will be erased or crack, and the surface will begin to deteriorate.
Another thing is a box for hoods of stainless steel. Such a surface is not terrible high humidity. But in this case, there is its own unpleasant nuance - traces of fingers are very visible on the stainless steel, and in order to maintain the box in accuracy, it will have to be constantly wiped with an alcohol -containing agent.
Decorative boxes
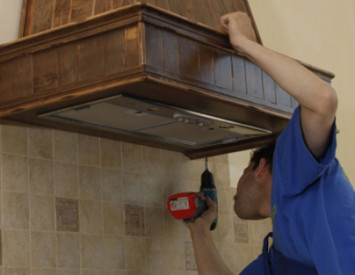
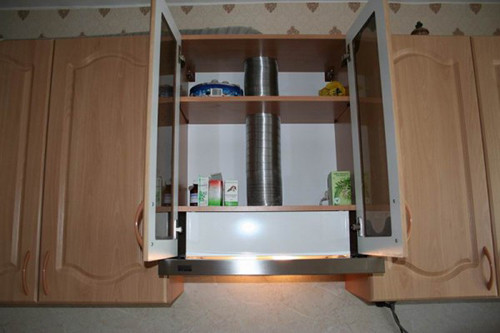
There is another category of boxes that perform purely decorative functions - they hide the design as much as possible and integrate it into the kitchen interior. Such boxes can be made of wood or drywall. In the first case, they are made similar to lockers, stretching the duct inside between the shelves. This is a very convenient option, because you simultaneously get an additional cabinet and hide the unsightly details of the hoods in it. The duct pipe does not occupy so much internal space, but everything else is at your disposal.
A gypsum -plated hood box will simply hide the pipe going from hood to the ventilation duct. In it you can make small niches, hang shelves for spices, but it is best according to designers - to mount the backlight. Party lamps or LED tape will give an additional light source and revive the interior. Also, the plasterboard box can be painted in tone with the walls or glued with the same wallpaper that it becomes completely invisible.
DIY box
If none of the options presented in stores are satisfied with you, or you do not want to pay for the product that you can easily do it yourself, we offer to make a box for hoods with your own hands. In this chapter, we will consider the features of the creation of a box-chill, since this is the most convenient and common look.
What you should know for the manufacture of a quality box:
- Before purchasing building materials and assembling the product, draw its detailed scheme. It should display the size of the box for the hood: its height, width and depth, the number of shelves, the fastening of the doors, etc. In order to carefully enter it into a kitchen set, the depth of the box should be the same as that of kitchen cabinets, otherwise it will be bulging. The same applies to the height, but if desired, it can be varyed at your discretion (for example, make a cabinet to the ceiling or slightly lower than the cabinets of the headset, and then put a beautiful flower or figurine on top). The width of the box is determined by the width of the hood itself.
- For the construction of the box, use the same material from which the rest of the kitchen cabinets are collected. Usually all furniture for kitchens is made from chipboard. It is important to correctly cut the details, which at home is not so just to do. It is necessary to cut it strictly at an angle of 90 ° so that there are no distortions and cracks during assembly. Also, the cut should be without chips in order to be almost impossible to do using an electrician. As a rule, after the first trimming, all the ends of the details from chipboard are grinded with an emery disk. Accordingly, it is necessary to cut off with a small allowance for grinding with a 3-5 mm wide.
- After grinding, all the ends must be pasted over with a special furniture edge of a suitable color and texture. To glue the edge, attach it to the end and draw it on it with a warmed iron.
- If you coped with the cut of parts, the assembly should not cause difficulties. As fasteners, use not nails, but special furniture screws - confirmation. Before screwing them, drill a hole with a drill, placing a special stylish drill. Such a drill not only makes a hole for the carvings of the confirmation, but also removes the chamfer for its hat.
- Each detail of the box should be fastened with at least two confirmation.
- Close the back of the box with a sheet of fiberboard, nailed it with small cloves.
- The facade is the most problematic part of the structure and requires special care of execution. Instead of the usual doors that still need to be made, many prefer to use rollers. If you like classic doors, then they can be made in two ways: two vertical doors or one horizontal, opening from below. You should choose, starting not only from personal preferences, but also depending on the growth of residents - low people can be inconvenient to raise a horizontal door. Do not use transparent glass to create the facade, since it will negate all attempts to mask the pipe and other details of the hood. The installation of the mirror in this case is also not a very successful idea, since it will be above the eye level and will not be able to visually increase the space.
Of course, there are other ways to install an extract box, however, the chipboard is the easiest material. If the kitchen set is made of wood, or you want to dilute the abundance of metal surfaces with a wooden box, then be prepared for the fact that it will need to be covered with special antiseptic impregnation and several layers of moisture -resistant varnish. If you have chosen drywall as a material, then use a special moisture -resistant type, otherwise such a box will not last long.
Installation of an hood box is not so complicated if you approach work responsibly. This part allows you to transform the interior and use the kitchen space more rationally. When ordering the manufacture of a box in a furniture workshop, you overpay a certain amount, since the amount of the order is small. It is much more profitable to make it with your own hands, but this will require at least the initial carpentry skills. If there are no one, you can try to assemble a gypsum cardboard box or still use the services of professionals.
Box for hoods: photo
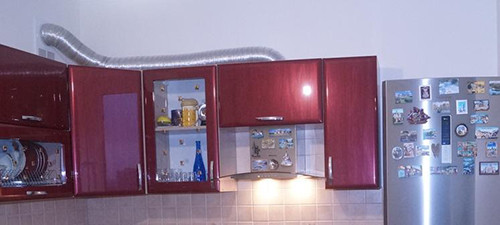
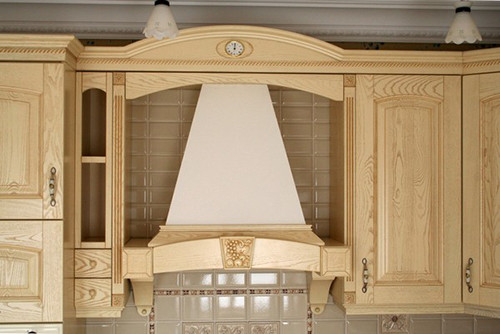
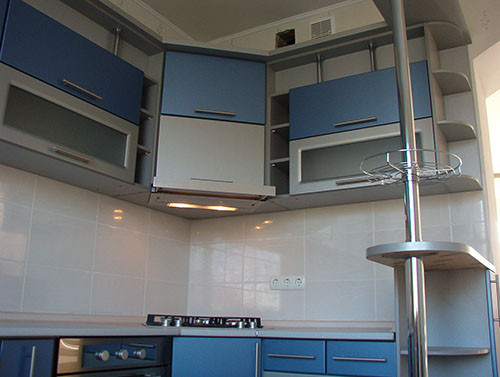
In the end, we suggest you see how to harmoniously fit into the kitchen interior for hoods. Perhaps in one of the photos you will find a solution for your kitchen.
