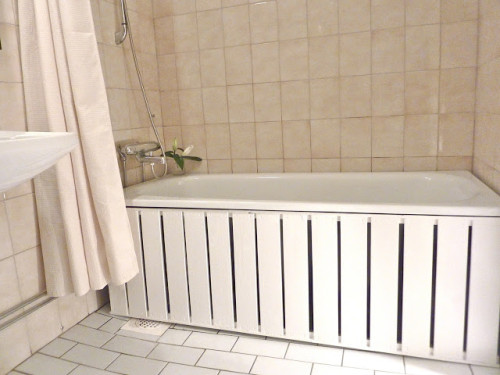
In the process of overhaul, the question inevitably arises: “How to hide the pipes in the bathroom?” The relevance of such a problem is due to aesthetic requirements. Untressed pipes significantly spoil the interior and give the bathroom the bathroom to an unattractive look. To date, there are many ways in which you can hide water communications. To make the right choice among such a variety of options, you need to focus on the meter and interior of the bathroom, as well as on financial capabilities and your own preferences.
Content
Requirements for installation work
In the course of camouflage work, certain rules must be followed:
- First of all, it is necessary to provide free access to communications. Otherwise, in the event of an emergency, it will be necessary to violate the integrity of the finish in order to eliminate the course.
- It is also not recommended to lay pipes with a large number of connections. Such structures will make the process of wiring and placement of equipment more complex.
- The compounds should be made of the same material as the pipes.
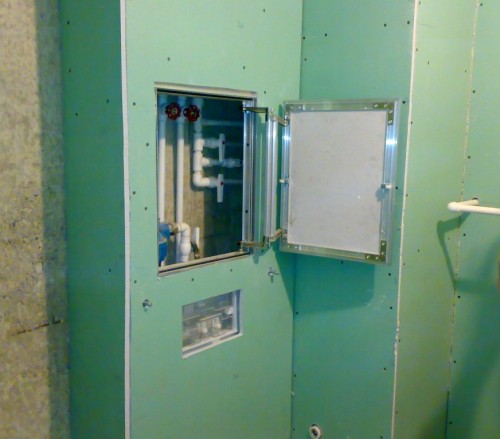
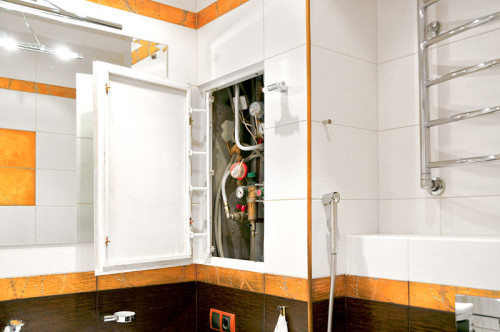
- During the installation process, access options for urgent repair should be provided. In this regard, in places of placement of cranes and valves, small hatches must be made.
- To prevent condensate from forming on communications, you need to use materials for isolation.
Pipe disguise in the wall
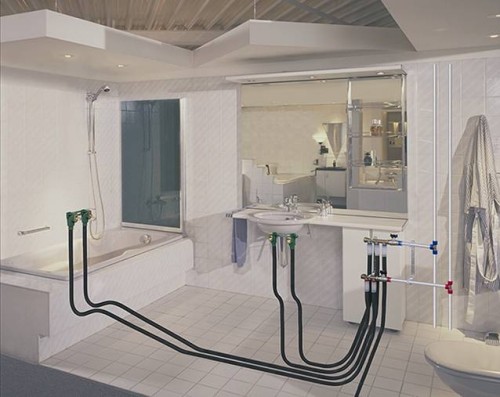
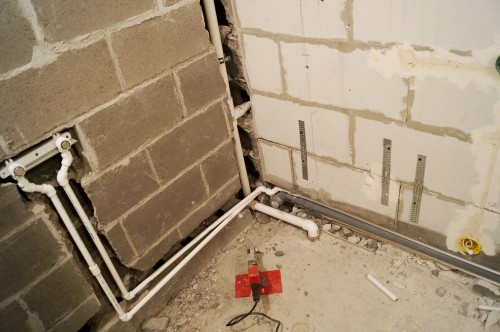
Thinking about how to sew pipes in the bathroom should be considered a masking option in the wall. As a rule, this type of work is carried out at the stage of the initial decoration of the premises, as During cosmetic repairs, the wall will last more problematic.
The process of masking communications is carried out in the following sequence of actions:
- First of all, it is necessary to make markings, in accordance with which the hidden procedure will be carried out.
- Further, focusing on these schematic hints, it is necessary to do in the wall of the string. These are small grooves that should correspond to the diameter of the pipes in size.
- Due to the possible expansion of hot water pipes and heating, work should be performed in such a way as to ensure unhindered access to these communications.
- Then the pipes are placed in prepared strokes and fixed using fasteners.
- On this, the main part of the work is completed. Now you can begin to finish the wall in the places of placement of pipes.
To replace the appearance of possible impulses or leaks in the bathroom, it is recommended to make a choice in favor of polypropylene pipes or products that do not have threaded connections. The advantage of this option is the simplicity of execution. But at the same time, this method has its drawbacks. The most significant of them include the appearance of a significant amount of waste. Also, in the case of leaks, the facing material will have to be removed from the wall to detect and eliminate the malfunction.
Using furniture
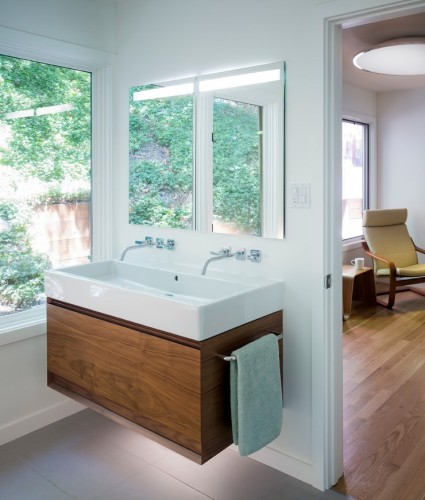
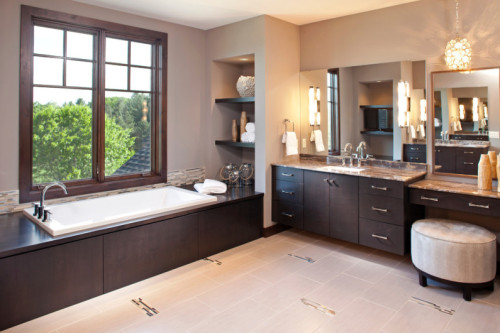
This option is the simplest of all possible methods that allow you to arrange hidden pipes in the bathroom. At the same time, it is characterized by sufficient effectiveness. Water communications are placed behind built -in furniture. At the same time, it is worth considering some features of this masking method:
- To implement this option, furniture items must be treated with antiseptic and antifungal compounds.
- During the work process, it is necessary to observe the docking dimensions with maximum accuracy and ensure strong fixation of furniture elements. For example, with a vertical location of the water supply communications, you can use the cabinet-penalty for the necessary parameters. In this case, the back wall is removed and the corresponding cuts are made on the panels in the upper and lower part. Such a cabinet will bring double benefit. In addition to direct purpose, it can also be used to store various things.
- When choosing furniture, it is necessary to make sure that it will retain its operational qualities with a long stay in a room with a high level of humidity. To give furniture to moisture resistant properties, you can use special protective material, but this will entail additional costs. Such a material is not cheap.
How to close pipes in the bathroom by redevelopment
The main advantage of this method is aesthetics. However, the whole process inevitably entails some difficulties:
- The redevelopment is associated with additional financial expenses.
- In addition, this process is quite laborious, because it will take a lot of effort and time.
- Another negative point is the reduction in space. As a rule, bathrooms are already no longer distinguished by a large meter, and after the redevelopment of the meter of the room, there will be even less.
But at the same time, a change in layout will allow you to get special niches, which, in addition to masking pipes, can also be used to place a washing machine or washbasin. You can close communications in such a niche using a cladding or a special screen. Also, with this option for hiding the pipes to them, easy access will be provided.
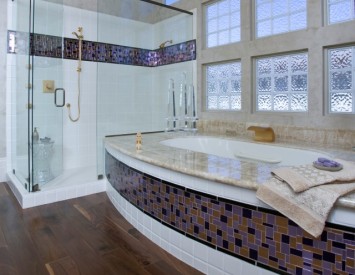
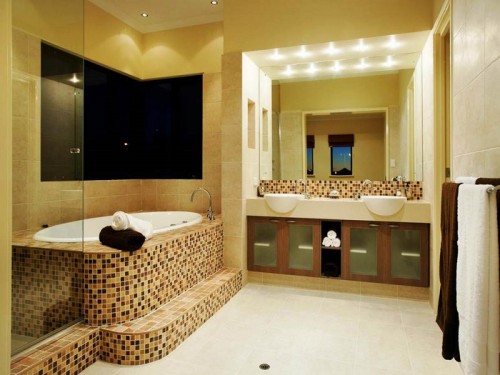
How to close the pipes in the bathroom. Photo:
How to sew pipes in the bathroom on the floor
This method of masking allows you to hide the pipes in the most aesthetic way, as well as save a scarce space in the bathroom. However, it has certain disadvantages, the elimination of which will require additional labor costs. The main aspects should include the following:
- In the case of an emergency, when placing pipes in the floor, the lower apartment will be flooded in the floor. To exclude such consequences, the grooves in which pipes are placed should be additionally protected from moisture. This can be done using mastic or soil composition. These measures will avoid or minimize unpleasant consequences in the event of a gust.
- It is also necessary to take care of sound insulation. The pipes placed on the floor will create a certain noise for neighbors. It should be remembered that for the location of the soundproofing materials, the grooves will need to be increased in size, and this will lead to a weakening of the structure.
- If you lay communications in the screed, you can significantly reduce the stroke. In those places where a load will be carried out on the pipes (for example, a bath or washing machine is installed), communications can be deformed. In order to prevent this, in the process, it is necessary to use the reinforcement.
How to hide the pipes in the bathroom with a box
The box is the most practical way to mask communications, which will provide unhindered access to pipes along with high aesthetics of the structure. It can be made on the basis of various materials. For this purpose, lining, chipboard, plywood are used. However, drywall is most popular. Its popularity is facilitated by a number of advantages that this material has:
- ease of installation;
- accessibility;
- variability of design;
- practicality;
- durability;
- simplicity in repair.
There are no toxic or radioactive components in the composition of drywall sheets, so that the material is not a health hazard. If necessary, the dismantling of drywall the material will cost noticeably cheaper than removal, such as stone tiles or tiles.
So, in order to build a box with your own hands, you need to prepare the following:
- plasterboard material;
- metal profile or wooden bars;
- knife for cutting drywall;
- self -tapping screws and dowels;
- hammer;
- drill;
- screwdriver;
- level;
- plumb line;
- roulette;
- tape for depreciation;
- mounting foam;
- putty.
If you have metal communications, then before installing the box they must be processed in a certain way, since after the end of the work, access to communications will be closed. To do this, it is necessary to remove the old layer of paint from the surface of the pipes and apply a new one. This will prevent the formation of rust. It should be borne in mind that the installation of the box can only be installed after the paint dries. When working with plastic pipes, such training is not necessary.
Also, before starting work, it is necessary to perform measurements. It should be remembered that the pipes and gypsarton should separate the distance of at least 10 cm. At this stage, the required number of profiles is determined.
There are two options for mounting the box: with two and three walls. Let us consider in more detail each of them.
To form two walls, you need to prepare two plasterboard sheets and three units of profiles. Work should begin with the installation of side profiles:
- Initially, it is necessary to determine the height of the wall and, focusing on the result obtained, cut off fragments of the profile.
- Further, with the help of a drill, holes are made in the wall, into which profiles are fixed through self -tapping screws or dowels.
- At the next stage, you can start installing the first wall. Previously, you need to adjust the size of the sheet. The work is performed as follows:
- the material is laid on the floor, where its size is determined using the ruler;
- in the presence of protruding edges, they should be disposed of using a knife for drywall;
- the material should be cut from the side of the paper, after which the sheet breaks easily;
- to form a rib, you need to attach a third profile to this wall.
- Then the second wall is installed. It must be placed in such a way that the first structure is blocked, in contact with the rib.
- The second sheet is fixed by means of self -tapping screws. On this, the installation work is finished, now you need to give the box an aesthetic look. For this, the edges are polished by an abrasive grater. Tiles are well suited as a decor for a drywall box.
The design with three walls is mounted in the following order:
- Two profiles are attached to the wall.
- Next, two sheets of identical sizes are cut out of drywall material, which are installed in profiles and fixed by means of self -tapping screws.
- Then the profiles are attached to the ceiling and floor. They insert the racks that will perform the function of the ribs.
- These racks are fixed to the side walls and guide profiles.
- Next, you need to measure and install the third wall. On this, the design is ready.
Camouflage using the screen
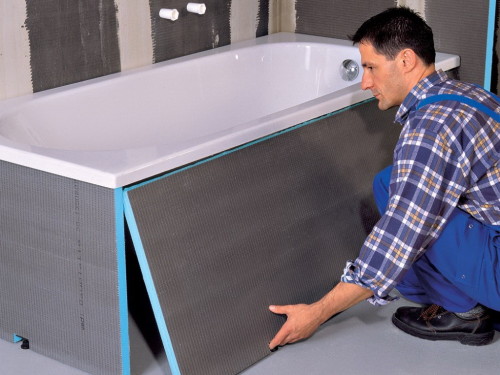
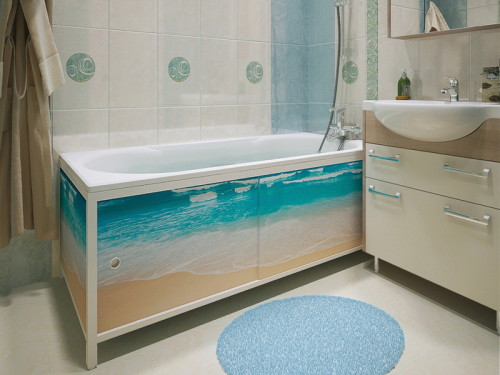
Today, at specialized points of sale, you can find a screen that is specially designed to hide the pipes. The construction is a frame with two guides. Hypsum plastic panels are fastened to it.
Due to its low cost, the screen is quite affordable for a wide range of consumers. At the same time, it is distinguished by good aesthetic qualities, easy to install and, if necessary, is removed without much effort. When installing this screen, a certain amount of useful area will be involved, but this will still not significantly affect the footage of the room.
The screen can be done with your own hands. To do this, you need 4 bars, corners and screws. The construction process looks like this:
- In the bar, through which the design will be fixed to the wall, you need to make two holes.
- Then the frame is less attached to the base of the wall.
- Fasteners must be selected in accordance with the material from which the wall is made (brick, block, concrete).
- For the manufacture of panels, drywall with moisture -resistant characteristics is suitable.
- The smaller panel should have similar sizes with the frame. A large panel should exceed the frame by 56 mm.
- To cut panel elements, a construction knife should be used. In the manufacture of the panel directly for the bath in the area of \u200b\u200bthe drain pipe, you need to make a hole, to which the door is subsequently attached using the loops.
- If the panel is made to mask vertical communications, the hole is made arbitrarily anywhere.
- Then two panel parts are connected by means of screws.
- The screen is ready on this. If desired, it can be decorated with a mosaic or tile. You can also make the screen with ventilated, drilling holes in it.
Conclusion
When performing repair work in the bathroom, there is a need to hide water communications. Since closed pipes in the bathroom significantly transform the interior and make the appearance of the room more attractive, there are several ways to solve the problem. To choose the right option, you should take into account the style direction in which the bathroom and the footage of the room are decorated. As well as the cost of materials that are used in one way or another.
How to hide pipes in the bathroom. Video masonry of tiles on the box:
