Any repair is troublesome and requires a certain preparation. This is especially true for the bathroom, since the room is constantly exposed to moisture. When repairing it, it is very important not only to create a beautiful interior, but also to choose the right material and high quality work on the decoration of walls and gender. By tradition, a ceramic tile is used for this - it has properties that meet all cladding requirements: beautiful appearance, hygienic, moisture resistance and durability.
Content
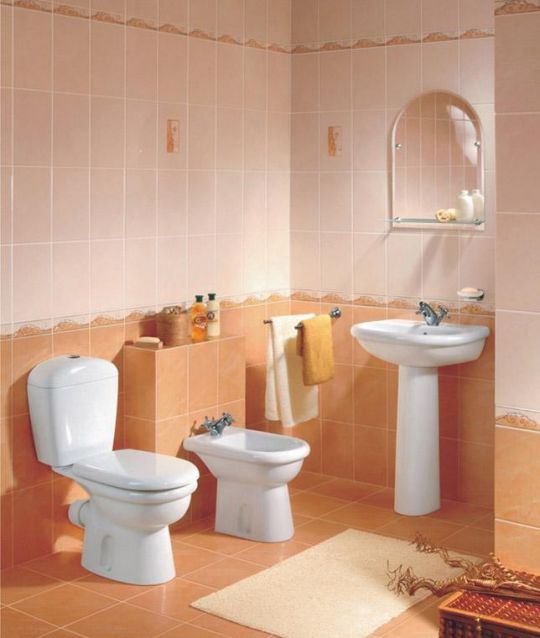
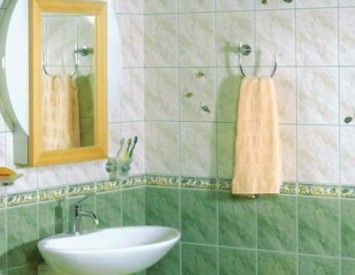
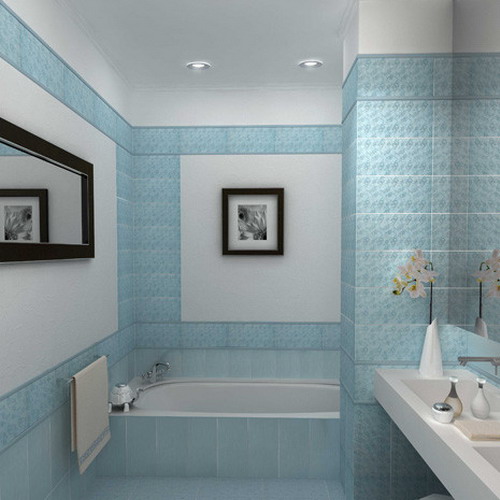
Bathroom tile
Tile Quality Requirements:
- Low degree of water absorption - up to 20%. The porous surface of the reverse side of the tile indicates its exposure to the penetration of moisture.
- Strength.
- Chemical resistance - has 5 degrees and denoted by the letters of the Latin alphabet from A to D. Class AA products are the highest quality in this parameter. Marking "A" also speaks of sufficient tile stability to the effects of household chemicals.
- Resistance to abrasion is denoted by Roman numbers from I to V. The higher the class, the greater the intensity of the movement withstands the tile without prejudice to the appearance. But for the bathrooms perfectly fit the tile of the first group (PEI I). The wear resistance parameter is important when choosing an outdoor tile.
- Resistance to steam exposure and temperature drops.
- A clear, smooth texture of the reverse side of the tile - otherwise it will not have a sufficient adhesion with the wall and will last long.
- Uniform painting, bright color pattern.
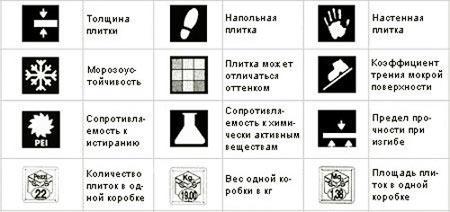
The characters applied to the packaging of the tile indicate all its parameters. If among them there is a badge with squares of different shades, then perhaps the tile has differences in color.
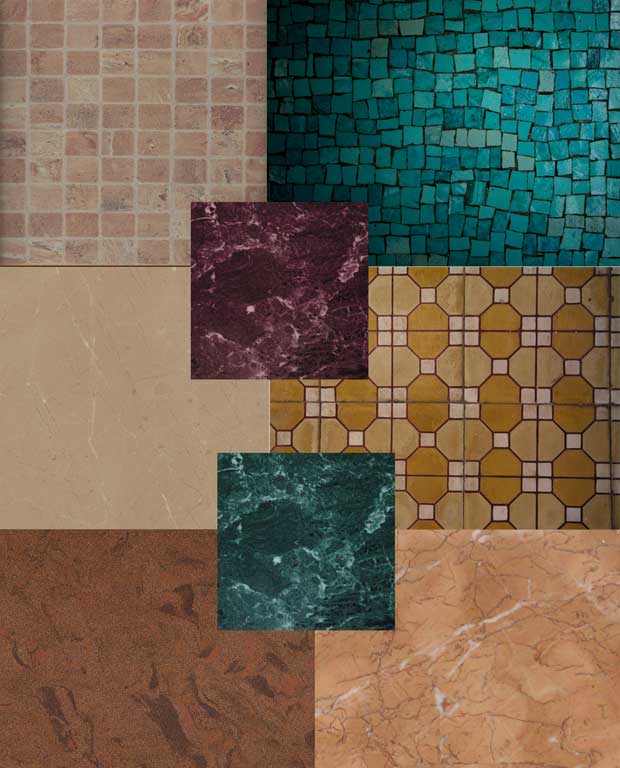
Dimensions and decorative properties of tiles
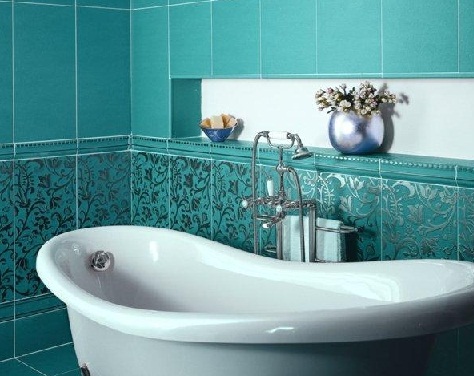
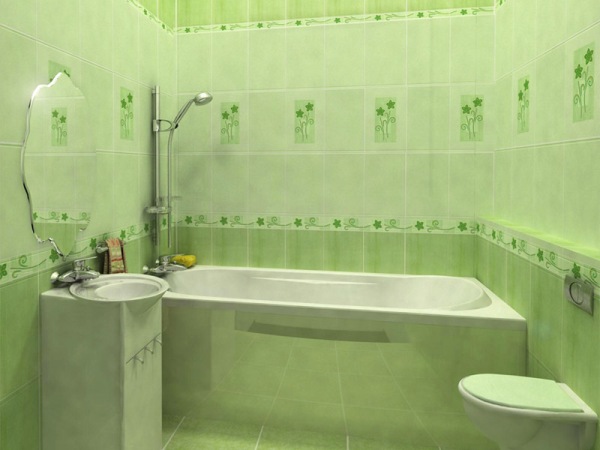
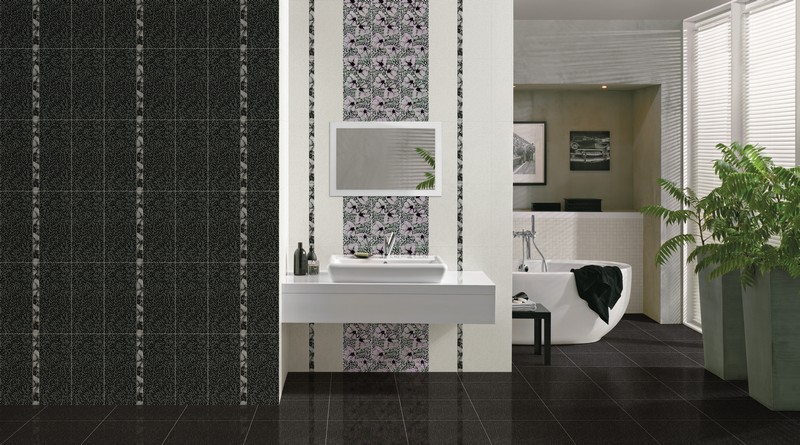
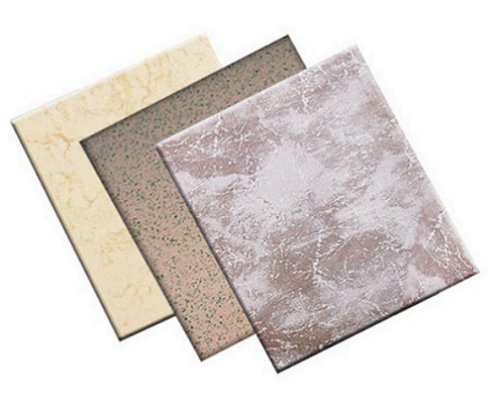
When choosing tiles, not only the practical properties of its properties are taken into account, but also its decorative functions. Traditional pastel shades will always be in fashion. They are not bored because they are not annoying perception and allow you to relax and relax. In addition, light tones visually expand the space. Bright, saturated colors excite the psyche and, perhaps, very soon there will be a desire to replace the tile.
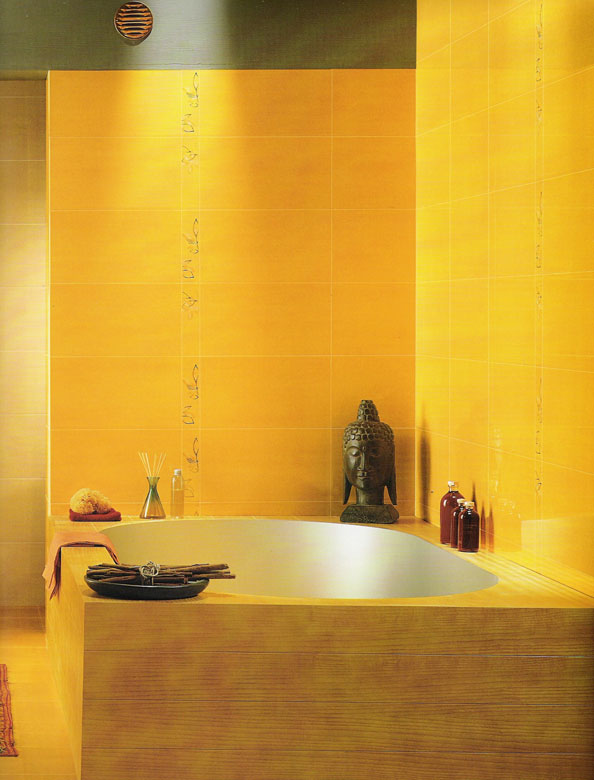
Light tones and medium tile size is the optimal option for a small room. Large tile looks great in a spacious room, especially in combination with a mosaic or any other pattern.
Bathroom tile - equipment
The tile is usually purchased in the following set:
- wall tile - the relatively soft structure of the material allows you to cut it without much effort and customize to bend surfaces;

- outdoor tiles are more dense compared to a facing cafeter, resistant to chemical solutions, wear-resistant, with a rough texture;
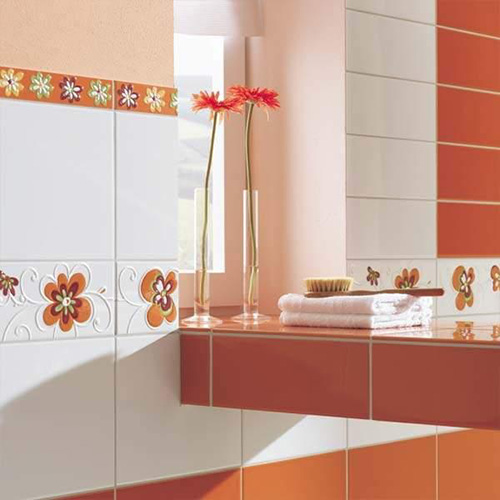
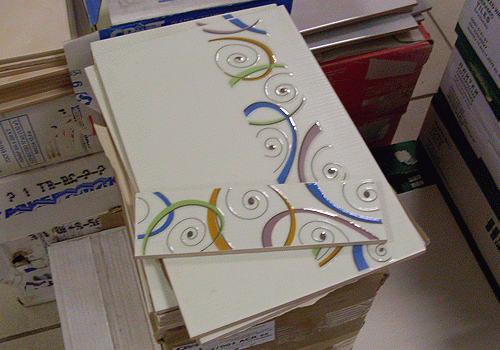
- decorative elements: borders, "pencils", tiles with a pattern or pattern to create panels or separate decorative elements.
Modern material is produced by collections in which all elements of the kit, made in one color scheme, in a single subject and with certain patterns. In this case, the choice of material for facing the bathroom is much easier.

Kafel Laying Bathroom - Materials and Tools
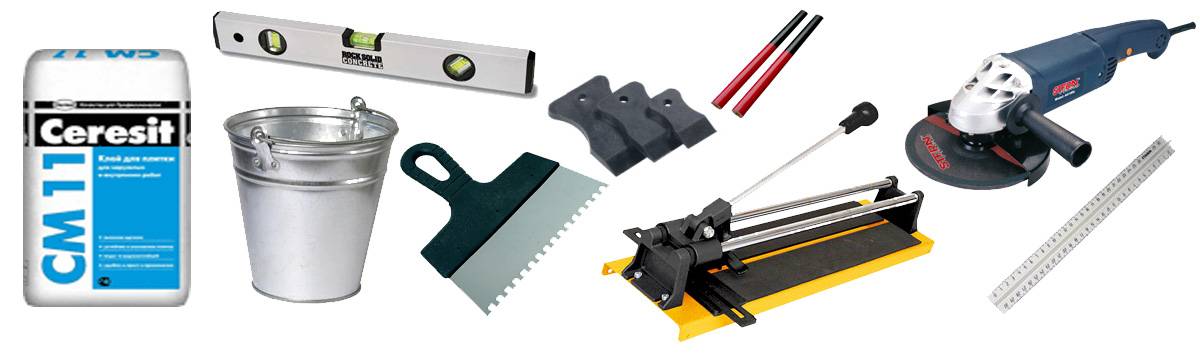
When carrying out work, there must be the following materials in stock:
- tile;
- strip mixture;

- primer;
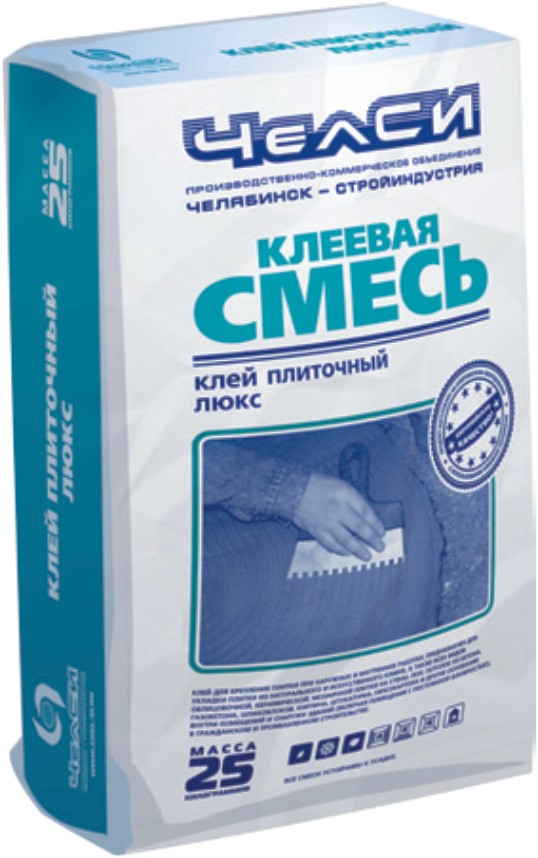
- glue mix;
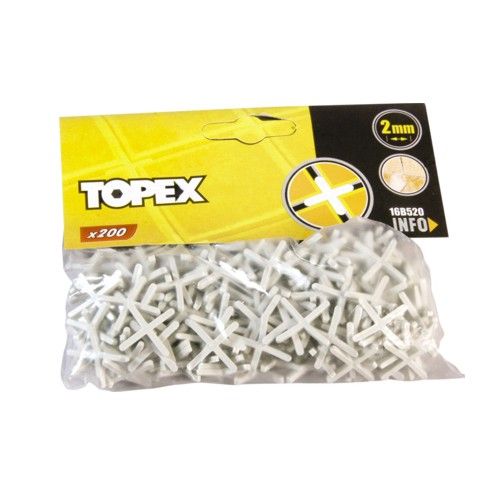
- tile separators;
- internal and external plastic corners.

Tools that are used when laying a tile:
- capacity for glue;
- drill with special tile drills and a nozzle mixer;
- tile cutter;
- bulgarian;
- spatulas: toothed and ordinary;
- kiyanka;
- level, plumb, roulette.
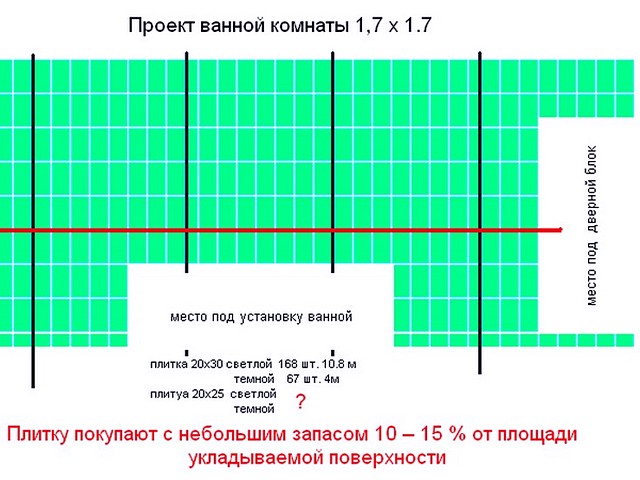
Calculation of the number of tile
Before purchasing material, calculate the number of all laying items. For this measure the width, length and height of the bathroom and the doorway. There are two options for calculation:
- On the surface area - its width and height is measured and multiplied with each other. Then the same manipulations are carried out with one tile. The area of \u200b\u200bthe wall or floor is divided into the area of \u200b\u200bthe tile.
- 10% are added to the resulting result - for unforeseen expenses.
- Plucous calculation - a more reliable and accurate way to calculate the amount of material:
For example:
- the height of the wall is 2.5 m;
- width -2 and 1.6 m;
- door opening - 2.0x0.6 m;
- wall tile - 20x30 cm;
- outdoor - 33x33 cm.
The width of the floor is divided into tile size - 1.6: 0.33 \u003d 4.8 pcs. The result is rounded to 5 - such a number of rows of tiles will lie on the floor.
Then the same procedure is carried out with a floor length - 2: 0.33 \u003d 6.06 pcs. With rounding - 6.5 pcs. (The number of tiles in the row).
6.5x5 \u003d 32.5-33 pcs. Tiles will be needed on the floor of such an area.
Similarly, the calculation of the amount of material for walls is carried out.
- 2: 0.2х2 \u003d 20, where 2 and 0.2 are the width of the surface and tiles, respectively, and 2 is the number of planes with such a parameter.
- Next, the amount of tile is calculated in a row into two other walls - 1.6: 0.2х2 \u003d 16 pcs.
- The results are folded (16 + 20 \u003d 36 pcs.).
- Then the number of rows is calculated 2.5: 0.3 \u003d 8.3. The result is rounded to 8.5.
- 36x8.5 \u003d 306 pcs. - Such a number of tiles would need for solid walls of the bath.
- One of them takes into account the dimensions of the doorway. The number of elements for it is deducted from the general result. 306- (2: 0.3) x (0.6: 0.2) \u003d 286 pcs. with rounding.
Total, the bathroom of the proposed area will require 286 and 33 tiles on the walls and the floor, respectively. The resulting number is added "stock", based on marriage and defects in the work.
The calculation of decor elements occurs in a similar way, but, first of all, the scheme of their location is made. At the same time, the type of laying and the need for fitting in drawing and color scheme is determined. Exactly completed sketch will help avoid errors when working.
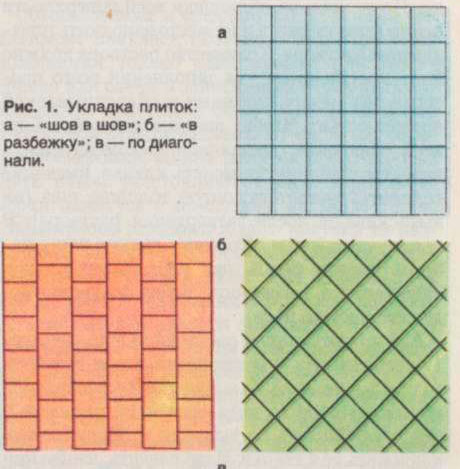
Types of laying
Laying the tile in the bathroom is several types:
- normal, standard - tile stacked seam in seam, parallel to the floor or wall;
- chess;
- diagonal - the tile is fitted at an angle of 45º;
- diagonal chess - used when working with a tile of different colors;
- normal with decorative elements or borders.
Preliminary work
Walls and floor - surface preparation
The decoration with a bathroom cafeter requires a smooth prepared surface. The material should be laid on a uniform, small layer of adhesive mixture. Otherwise, the tile can fall or her edge will begin to perform. Therefore, before proceeding to the facing of walls and gender, their surface is prepared:
- With the help of a chisel and hammer, the walls are cleaned from the remains of the old, ready to crumble, coatings and align the new layer of plaster with the reinforcement of the grid. The use of putty worsens the adhesion of the adhesive mixture.
- The surface is checked vertically and horizontally. With deviations (more than 2-4 millimeters), the surface is aligned in the same way.
- Removable platbands, thresholds and plinths.
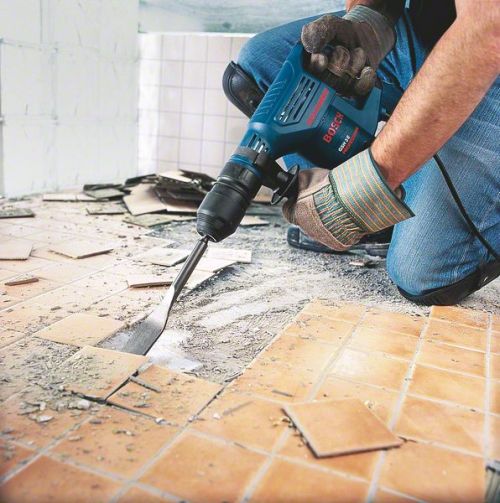
- The old floor covering is removed. If it is a tile, then two options are possible: the new tile is stacked on the floor in the bathroom on top of the old one. But the plane should be roughly, so it is carefully processed by sandpaper and ground. This option is quite unreliable and applies only in the case of a strong clutch of the old tile with a floor. And the second option is the old tile dismantled with the help of a jackhammer and the chisels.
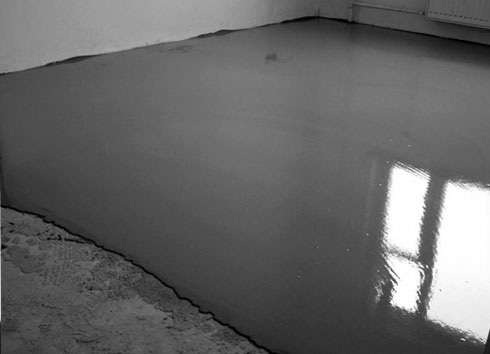
- All the gaps are close, the floor is leveling in cement mortar.
- The surfaces are cleaned of dirt, garbage and dust and ground.
- Floor waterproofing is carried out and parts of the wall. On the floor you can put rolled materials - they are more economical. For the walls, the coating waterproofing is suitable - it is better to lie down and will not require special labor costs.
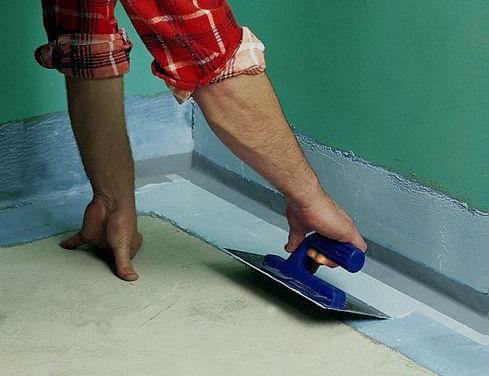
- Mochant screed is formed.
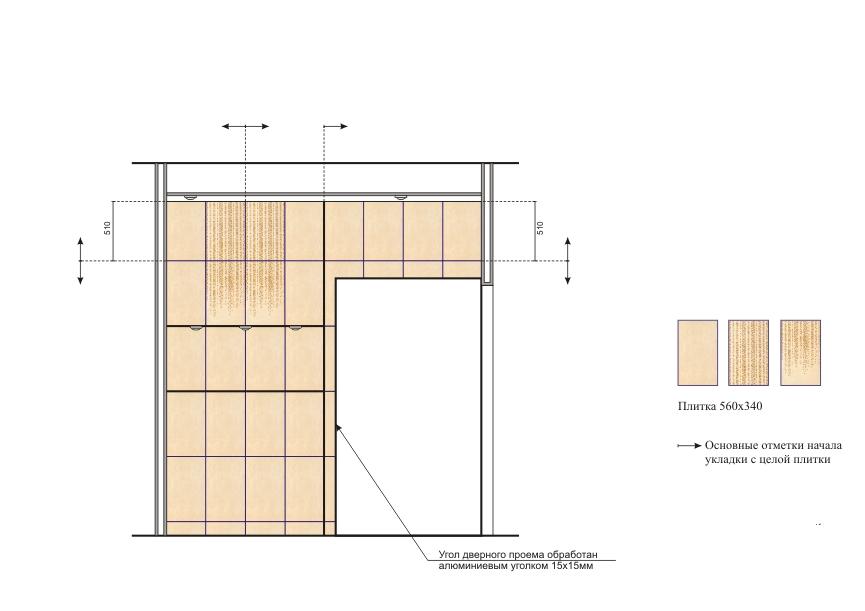
Marking
- At the bottom of the wall, with the help of a level strictly horizontally fasten the rail or plastic corner. Then the vertical line to control the laying is written.
- The floor is drawn on which the edges of the tiles in the first row will be held.
How to put a tile in the bathroom - installation
Laying tiles:
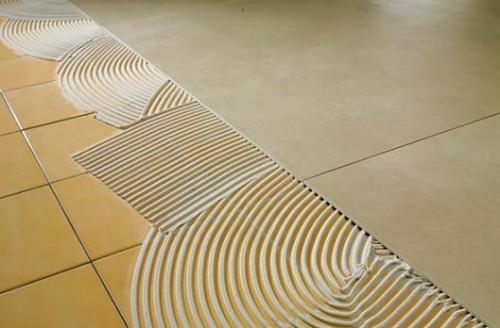
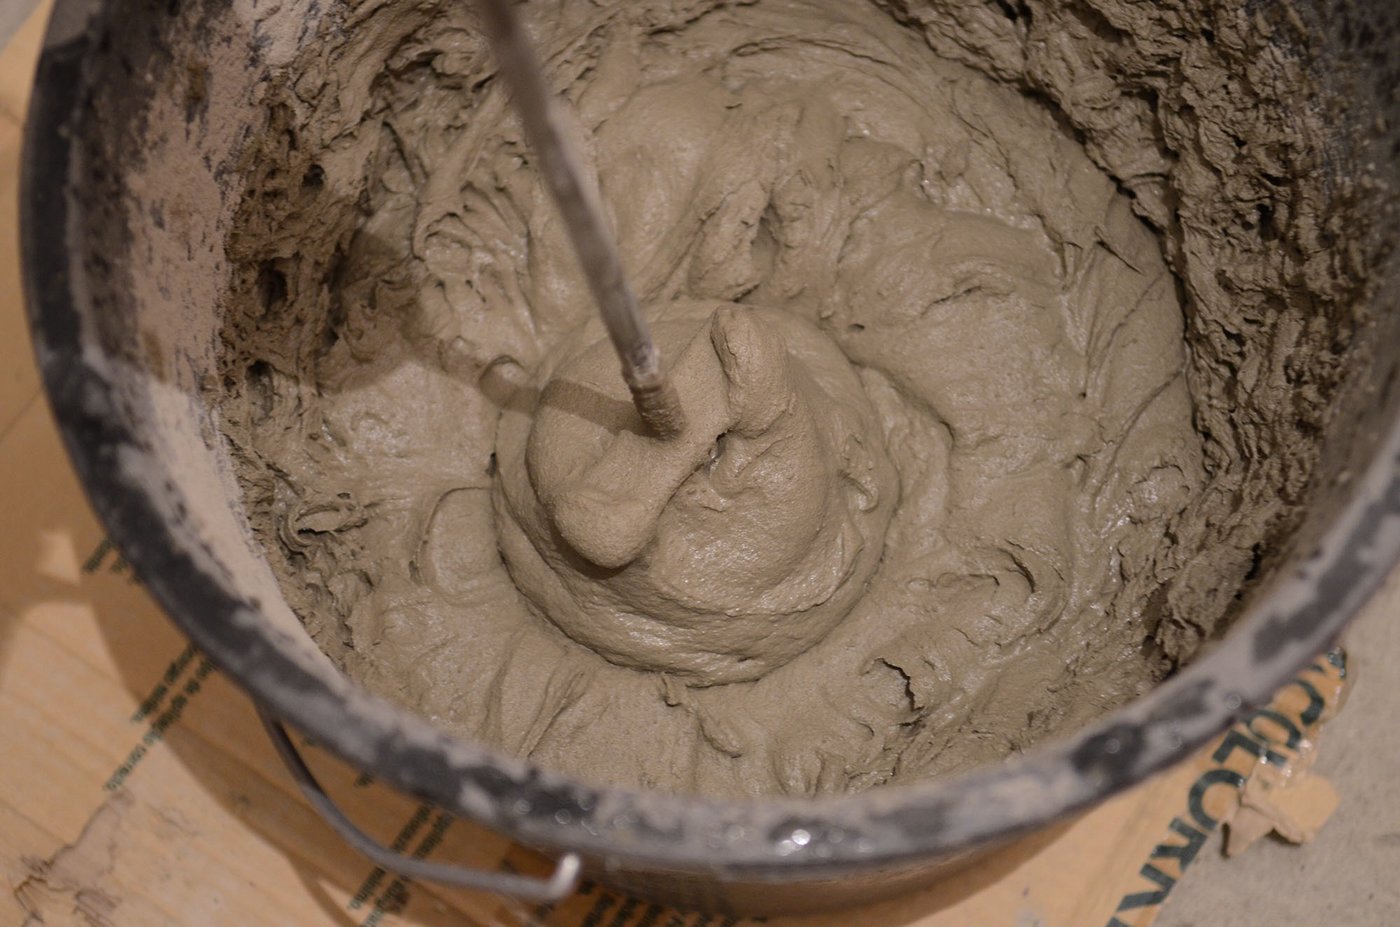
- Glue solution is prepared. Due to the fact that it will quickly dry, the composition is mixed with minor portions with a drill with a nozzle-mixer.
- There are two options for applying glue - on the wall or on the tile itself. The classic is considered the first way, but many masters are confident that the second method is not worse. The composition is applied evenly over the surface with a toothed spatula.
- The tile is applied to the wall, accurately into the angle between the vertical and horizontal marking, and the light movements rotate along the axis.
- The level of the tile position is checked. The time for its correction is about 10 minutes after laying. It will be more difficult to make it later. For deepening tiles use a rubber image.
- The next tile is glued and demarcers are installed (cross). Their optimal size is 3 mm.
- Thus, the first row is laid out and is checked by the level in all directions.
How to put a tile in the bathroom, video:
In order for the following tiles to be easier to fit, glue under the first next should be grabbed. With a long break in the work, all excess solutions are removed, otherwise it will be possible to chop.
For facing the surface around the pipes, a round hole is cut in a kaffle drill with a special nozzle.
Bathroom Finish Cafel - Corner joints
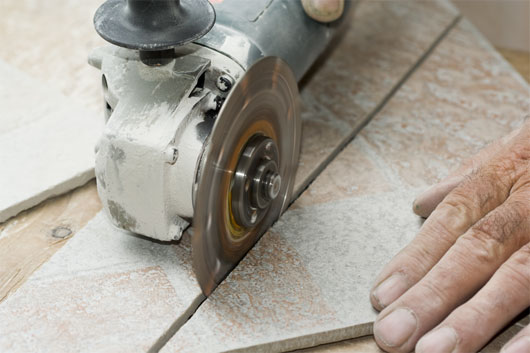
Usually, for the design of the corners of the wall, the tile has to be cut into fragments. Platekorez - the most convenient tool for such work. But it requires a certain experience.
When cutting a narrow part of the tile, it is better to use a grinder or cutting into its passages.
The joints of the outer and internal angles are decorated with plastic corners combined in color with a tile.
Shutdown of seams
After drying the adhesive mixture, all the crosses are removed, the surface of the tile and the gap is thoroughly cleaned from dust, and the fug in the seams is performed. For this work, ready-made epoxy and silicone grouts or a dry cement mixture that is divorced by water is used.
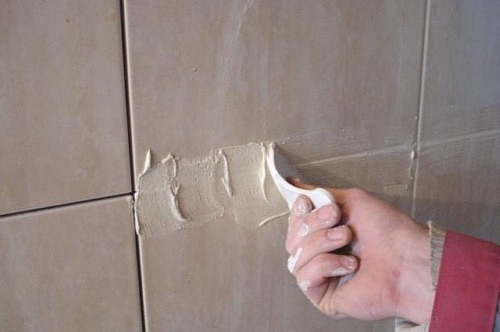
To facilitate the subsequent cleaning on the edges of the tiles paste the greasy tape. A small amount of grout is applied to a slit rubber spatula and pressed into it. Then the movement of the mixture is removed by the movement across the seam and its surface is leveled.
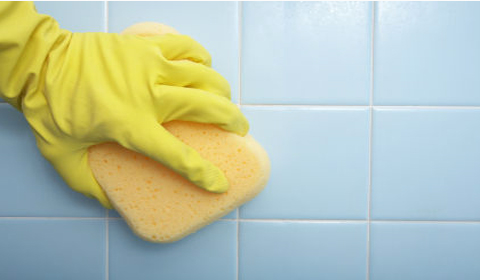
After drying the grouts, the greasy tape is dug and the entire tile surface is clean.
Tiles for the bathroom, photo: