The home cinema has long ceased to be an element of luxury and today has turned into the necessary attribute of high -quality leisure. Using a multimedia projector that provides a signal from an external source on a large -sized screen, you can view any films, recordings, etc. And for the image to be as close as possible to the user's requirements, it is necessary to understand the choice of projection screens and their installation.
Content
Types of projection screens
Before buying a screen for the projector, the most significant parameters and features of the equipment should be taken into account. After all, most buyers are well aware of why they need a projector, but they are not well oriented in the characteristics and technologies of such a system. So, first of all, you should choose the type of projection screen.
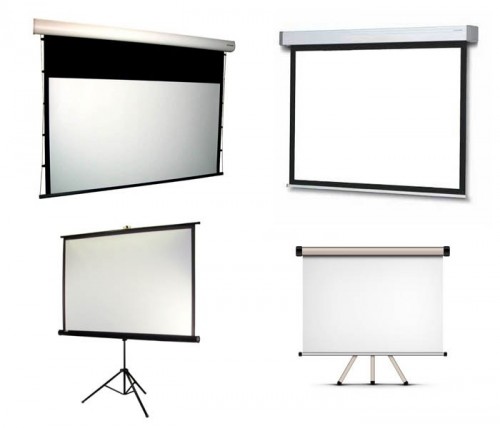
Types of projection multimedia screens:
- Stationary screen (stretch or roll).
- Mobile screen.
A wall -mounted screen for a stationary type projector is a durable and reliable design, which is quite simple to operate. This type of screen is presented on the market with roll and stretch species.
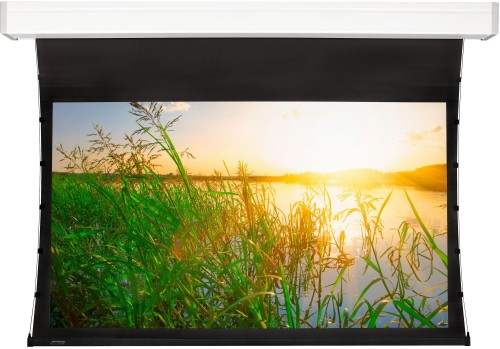
The roll projection screen is characterized by ease of use and compactness, since it can be deployed immediately before the demonstration of video files and hidden when the need for viewing disappears. Such a screen can be motorized or spring. The first option rises and drops through a special electric motor. The second option must be deployed manually, and folded using a spring mechanism.
The stretch screen is attached to a special metal or polycarbonate frame, because it will always be in a detailed state on the wall. The choice of this screen depends on the functionality and its purpose.
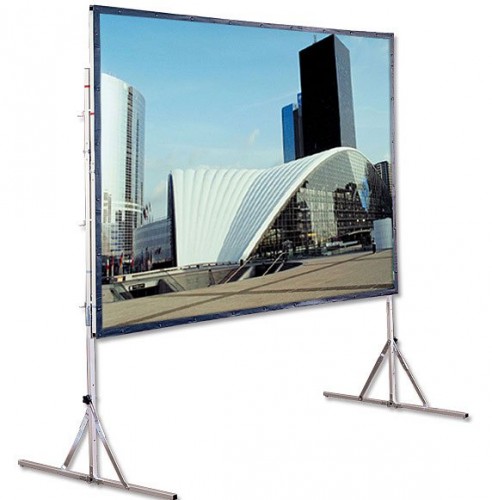
Mobile projection screens are characterized by compactness of dimensions and vary by type of fastening and design. The most popular today are the canvases on the tripod, which are characterized by low weight and speed of changing their positions.
The choice of screen according to technical parameters
Before you start choosing a multimedia screen, the design features and its technical features should be distinguished. Among the most important screen parameters, size and format are distinguished.
The size of the multimedia screen
Manufacturers of projection equipment recommend paying special attention to the following characteristics:
- The distance from the canvas to the first row of the audience should be similar to the width of the screen itself or the size that makes up the two -time height of the canvas.
- The height of the canvas should be at least 1/6 of the distance of the distance at which the last viewer will be located.
- Selection of the screen for the projector in size it should be based on the following data: the height from the lower border of the canvas to the floor should be at least 120 cm. This is a comfortable value for the viewer, which does not spread if the screen is fixed under the slope or the hall has several tiers.
Multimedia screen format
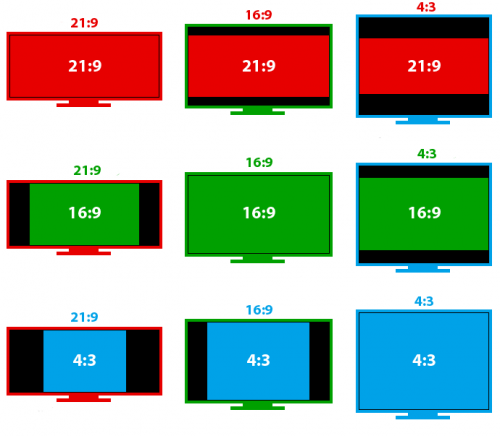
This parameter is the ratio of the width of the illustrated image and its height. Many projection devices for home film review are equipped with a screen in 9:16 format. While for the office version the most suitable screen format is 3: 4. In order to increase the quality characteristics of video images, it is necessary to ensure that the format of the canvas corresponds to the format of the image transmitted by the projector.
Selecting the screen on the surface of the surface
Manufacturers of projection screens offer structures with different surface coating to provide the highest quality video and video. The choice of the screen according to the surface material parameter depends on its purpose and the premises in which the structure is planned.
The main parameters of the surface material are as follows:
- The reinforcement coefficient indicator is a value that means a reflector of the canvas. The higher the coefficient, the stronger the brightness of the video clip, which allows the audience to see it at a long distance.
- Contrast is an indicator of accuracy of display of light and darkened fragments of video material.
- The viewing angle is a value that characterizes part of the space where it will be as comfortable as possible to look at the screen to the audience.
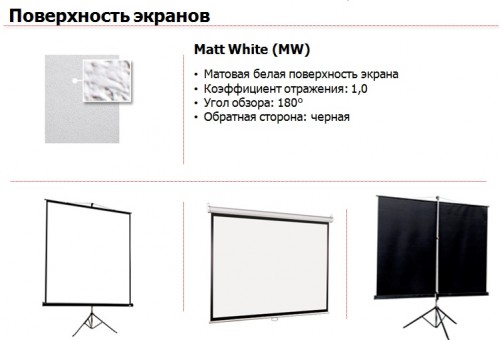
A universal option for home -made film examination will be a screen with a white surface of a matte type. Thanks to the expanded viewing angle and reliable color rendering, the screen will convey the quality characteristics of the video and make viewing comfortable. Such a screen is marked with Matte White.
To achieve the most vivid image on the screen, it is necessary to choose a canvas with a bead spray, which is marked by manufacturers as Glass Beaded. It has a mirror -reflecting surface. And the bead coating is a spraying in the form of a glass crumb, which helps to reflect the light flow. This allows you to install the screen close to the audience or even on the table in front of the audience. Such a screen is used in rooms with fairly bright external lighting.
To strengthen the contrast of the image on the canvas, you need to put a screen with the surface of a gray shade, which manufacturers call Hidef Grey or High Contrast. This projection screen clearly conveys saturated black shades, without dimming the light gamut of the image.
You can learn more about the intricacies of choosing a projection screen here:
Installation of a projection screen
To make a coordinated installation of the screen for the projector, it is necessary to follow the simple rules. These recommendations will help get a good result and avoid gross errors in the process of work.
The choice of the position of the canvas
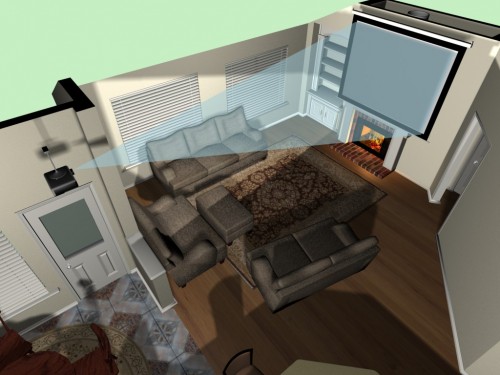
First you should decide on the location of the projection screen. When choosing, it is important to consider the data prescribed in the instructions for the device. And also you need to think over what space it is necessary to release under the screen and where possible points are located for connecting to the network.
- The plane of the screen should be located so that the projector lens is perpendicular to the canvas.
- The ratio of the screen of the screen should be in accordance with the image format.
- The projection screen should be fixed so that the image is displayed over its entire surface.
- Any obstacles should be eliminated between the screen and the audience.
- It is important to make sure that each viewer in front of the canvas was in the area of \u200b\u200bthe optimal review.
- In the home cinema, the distance from the projector to the screen should vary within the boundaries of 60 cm - 90 cm between the lower boundary of the screen and floor. This will ensure a constant image of the image in the field of human view. For business presentations, this distance should be within 120 cm boundaries.
It should also be remembered that the quality of the illustrated video material depends on the illumination of the room itself. For this reason, it is necessary to ensure that there are no additional light sources nearby. To make the image as optimal as possible for viewing, it is recommended to darken the room.
Installation of the screen on the ceiling or wall
The main recommendations for reliable and high -quality fastening of the projection screen are the following:
- To install the screen on the surface of the ceiling or in a vertical location, it is recommended to use the fasteners that are supplied to the device. These materials were tested for suitability and provide high -quality fixation of the canvas on brick or concrete surfaces.
- If the multimedia screen has a built -in electric drive, it is necessary to provide a place for the switch. It must be set at a level of at least 1.5 m from the floor, and also ensure that the place is not available to children and pets.
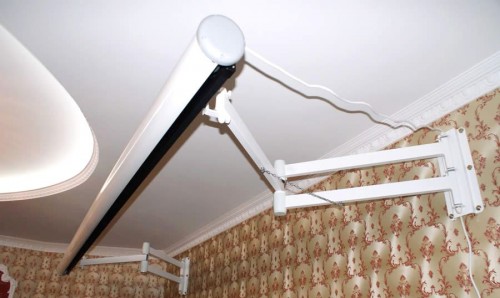
- In order to install the screen for the projector on the suspended ceiling, it is necessary to use a special ceiling mount. It is supplied to order as an additional component. The brackets look like a set of two independent components - a ceiling rod and directly mount. Often they are made with an adjustment option in height of the structure, turning the lower center horizontally, as well as the ability to adjust the angle of the screen.
In this case, the installation of the screen to the ceiling is carried out quite simply and promptly:
- Remove several finishing plates for a while.
- Fix the socket to which the power wire will be brought.
- Cut the hole for the bar and cables in any ceiling element.
- Bring them out.
- Fix the finishing plate in place.
It is important to provide the nuance that the switch should not be located in the zone of unfolding the projection screen. All moving components of the screen must be placed in the field of view in order to control the process of layering/folding the canvas.
You can learn more about the work of a projection motorized screen here:

