Many of us have to do a simple work on the house: to repair something, glue wallpaper, etc. Often there is a need to install an electric socket. This work is not complicated, you can do everything yourself, but first you need to study the basic rules so that the device works without failures.
Content
The stores present a wide range of outlets, they are 2 types:
- External.
- Internal.
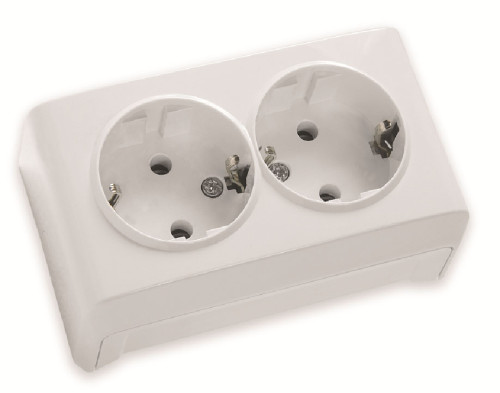
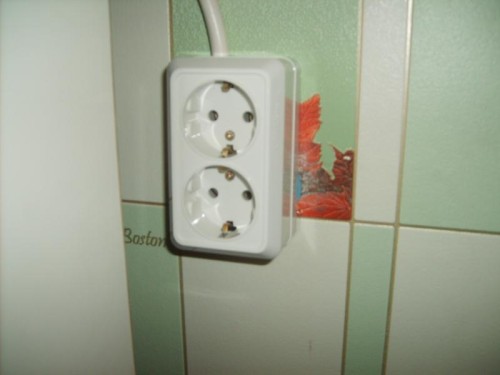
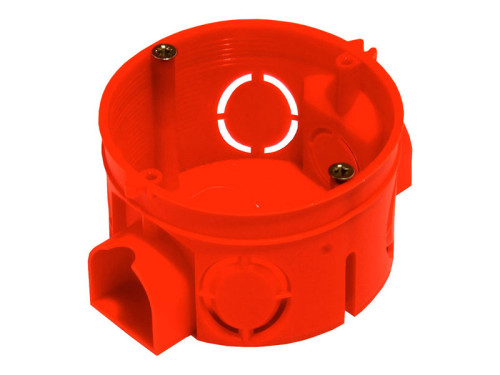
The outlets are connected to the electric networks equally, only there are some features: for example, the inner outlet should be placed in a special box, which is drowned in the wall, and the outer is installed on the wall itself. The internal outlet is not visible, and the outer is bulging from the wall.
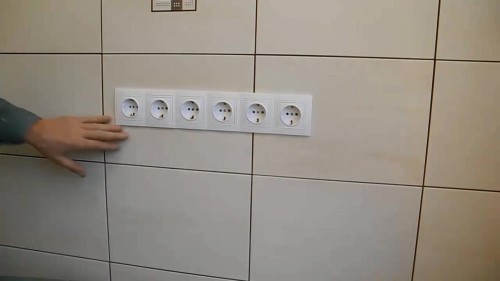
The sockets can still be both single and paired, with and without a lid. You can also purchase and install a socket with a module - these are 2 or more sockets located in one line. It is convenient to install such a socket group in the kitchen and in those rooms where several household appliances must be connected simultaneously.
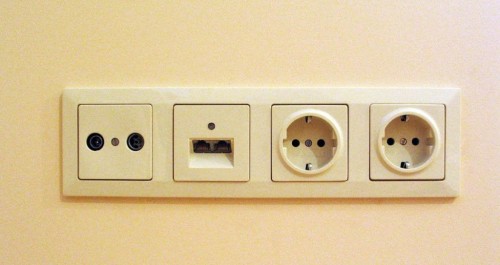
More serious devices are the outlet modules. Several ordinary outlets, a switch and signal sockets are combined into one line - for connecting the Internet, phone and television. You can also choose a module with a timer and protection.
It is possible to deal with the boxes and connecting the electric wires of the modules, but for this you must first have an idea of \u200b\u200bhow to install an ordinary outlet in a wall or invoice.
The overhead socket is currently popular, since it is easy enough and simply installed on its own, even if you don’t want to change the box or socket so as not to spoil the plaster or new wallpaper.
What are the advantages of an overhead outlet:
- the possibility of quick replacement without violating decorative wall decoration;
- the lid of the outlet overlaps the mounting lining;
- you can change the old outlet and install a new “euro” sample into the previous socket;
- it is allowed to install a socket directly on the crate, lining of drywall, walls sheathed with wooden boards, because such devices are equipped with protection.
What tools will be needed
Each electrician has a standard set of tools that he uses when installing switches and sockets.
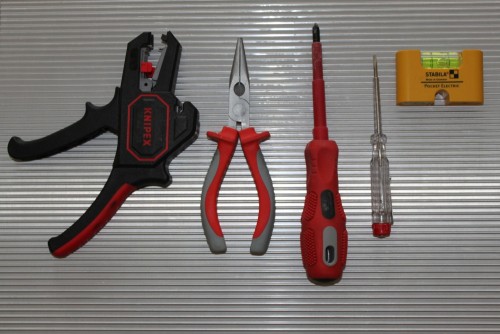
You will also have to purchase the following tools to deal with the installation of the outlet yourself:
- screwdriver - 2 pcs. (one with the width of the "sting" 4 cm, the second - 2 mm);
- cross screwdriver - 2 pcs. (diameter 2 and 3 mm);
- indicator of determining the rupture of the chain, as well as “phases” and “zero”;
- knife;
- kusachki and side cutters;
- passatigi;
- hammer;
- isolet;
- line and pencil.
Choose a tool with soft handles dressed in isolating material. You may also need a special “ticks” tool in order to quickly clean the ends of the wires from insulating material, and small round -liners.
All tools can be purchased in construction supermarkets. We advise you not to save and buy a quality tool.
Follow safety precautions
Since you can’t joke with electricity, for the purpose of your own safety, never work with wires under voltage. Do not be lazy and turn off the voltage. Well, if for some reason this cannot be done, then it is worth using protective rubber gloves (special electrical), as well as purchase protective glasses. But it is better not to risk and still turn off the voltage.
Generally accepted rules and norms for installing sockets
Currently, there are no clear rules, at what height to install sockets in residential and household premises (distance from the floor). But there are close standards that are desirable to adhere to. So, if the switch is advisable to install at a height of at least 1 m 60 cm from the floor, then for the installation of the outlet it is recommended to retreat 80 cm - this is a maximum and only 25 cm from the floor - to a minimum.
Now it is customary to install sockets at a distance of 30-35 cm from the floor to use electrical appliances in the rooms as convenient as possible (for example, turn on the vacuum cleaner, connect a TV, refrigerator, etc.).
Less than 25 cm from the floor to retreat during installation of an electro -outlet is not worth it, since there is a risk of short circuit (for example, with wet cleaning). If the room (residential or domestic) is equipped with a protective shutdown device (RCD), then you can put a socket at a distance of less than 30 cm from the floor.
How many sockets can be installed? The number of sockets in each room can vary, there are no clear restrictions. The only thing to pay attention to when installing a socket in the children's room is that in this room you need to install special outlet modules equipped with protection from touch. The distance from the floor is 1 m 50 or 1 m 70 cm. The kids will not reach outlets and switches, and older children already know how to use electrical appliances.
There are some other nuances of installing electric sockets in residential premises (not only in the children's room), which electricians adhere to - this is laying an electric cable into a socket. When connecting to terminals, the wire itself should not be too short, it is advisable to place phase contact closer to the window (or on the left side, standing face to the wall where the socket is installed).
Depending on which outlet you will have to install, consider the connection options.
How to install an outer outlet yourself
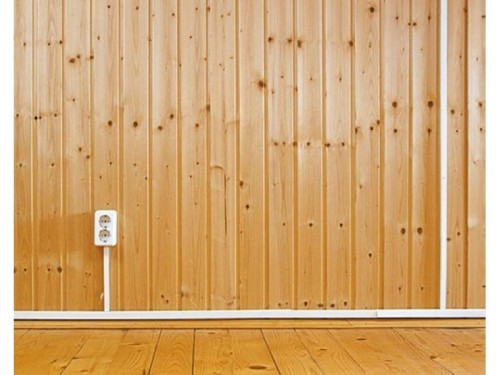
It is quite simple to install an outer outlet yourself, especially if the wiring is external in the room, and the wall decoration is made of wood. This option of installing a socket, although fast, but the appearance of the room does not suit many, since the wires are visible and the outlet “sticks out” from the wall. But here you need to understand what is more important - aesthetics or security. For most of us, safety always prevails, so it is better that the wires are in sight. This will allow you to notice bad contact in time to exclude the fire.
How to install an external outlet in the wall:
- first, we disassemble the socket of the outlet: it is necessary to unscrew the fastening bolts and remove the lid;
- now you need to screw the structure to the wall with screws. If you install a socket on a wooden or other flammable surface, then put a piece of non -combustible material for the base of the socket. It can be gypsum or paronyte. This material protects against fire;
- the overhead outlet has a bar for mounting with holes for screws. You must first attach a socket to the wall, outline this place with a pencil;
- with the help of electrodel, the blankets in the wall and insert the dowels in the wall;
- to fix the socket, screw 2 screws (length 2.5 cm) and 2 traffic jams (diameter 5 mm);
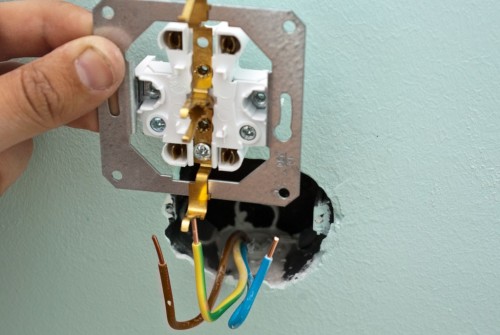
- next, you need to connect electric wires to the network - this part of the work is the most responsible. In an ordinary outlet, the terminal of the terminal, so the wire is simply clamped between them. It is necessary to insert the wires into the terminals with the hole and tighten. But first it is worth cleaning the wire (remove 5 mm of the insulating layer), and only after that you can tighten the bolts. Or the second option: to clean the wires up to 15 mm and make a ring from a bare wire to insert a bolt with a puck into a home -made ring and screw right on the spot. Thus, you can firmly hold wires;
- it remains only to fasten the lid to completely collect the outlet.
How to install sockets and circuit circuit breakers
Often you have to face the fact that when connecting a socket is not 2, and 3, this means that you set the ground that protects your home from the electric current defeat. If you use high -power devices, then you can’t do without grounding. This wire is dressed in yellow-green color of insulating material.
What if there is no grounding wires in your house? Then you can make a zero and attach to free contact (third) zero wire. If you are a beginner in this matter, then to check where the wire is “zero”, and where the “phase”, you need to use a special device - this is a screwdriver with an indicator. As soon as you touch the “phase” wire, the indicator light lights up on the device.
The principle of installing a socket with grounding does not differ significantly from the above method, only you need to identify the wire “zero” in advance and tightly squeeze all the contacts so that the design is not only strong, but also the socket withstand the load.
How to install a socket. Video:
How to install a double outlet
Installation of a double outlet allows not only to save time, but also the means. Why buy 2 single sockets and install them in a small room, if you can install 2 outlets at once in one socket.
Materials and tools for installation of the outlet are standard, perhaps you will need an electric cable and a perforator if you install a socket in a new place.
So, before starting work, it is necessary to decide on the place of installation of the outlet (if it is not the replacement of the old one with a new one), lay an electric cable in the wall to this place, purchase sockets and install the socket.
A little information about the choice of sockets: they are divided into 2 types:
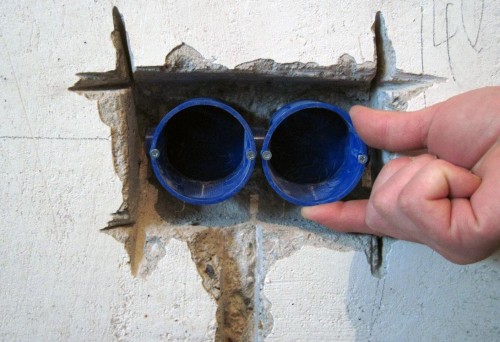
- "Steel" on concrete, brick, expanded clay blocks. You can fix a box of sockets using alabaster or gypsum solution.
- A socket for installation in a wall made of drywall, plywood, chipboard. Such a box is attached to spacer legs.
Work on installing a gearbox:
- Marking is performed in the wall (this is the permissible distance of the socket from the floor). If you want to install sockets near the door, then you need to take into account the width of the door frame.
- We plan a pencil line of the location of the socket and proceed to prepare the hole. If the wall is concrete, then in order to answer the question: “How to install a socket in a concrete wall”, first you need to fix the socket. To do this, we will use a special nozzle for a perforator - this is a crown for concrete (brick, diameter 70 mm).
- The wire in the wall must be taken to the side so that during drilling the holes for installing the box should not be damaged.
- You can use the electric drill, but this method of installations of the socket is considered the most dusty.
- The hole in the wall is ready, insert the box and check the depth, if it is suitable, then you can proceed to the next stage - to fix the socket in the wall. The depth of the hole should be with a small margin (up to 5 mm) to lay a slightly solution in the middle and conduct an electrical wir.
- To get rid of a small clearance between the box for installing a socket and a wall, it is necessary to cut the edge of the socket with a sharp knife. Then you can “drown” it in the hole to install the socket at the same level with a wall without gaps.
- Gently put the wire in the box, if the concrete is suppressed, then this can be done using a screwdriver or use a perforator.
- Now you need to start the wire in the socket from the back (bend or cut a small hole in the bottom).
- Insert the wire into the box, install it in the hole. We remind you that a gap of 2-3 mm is necessary in order to fix the box with a solution.
- The solution can be prepared from alabaster or gypsum (construction or medical). We knead the solution from powder and water (density is medium).
- With a narrow spatula, lay the gypsum solution into the hole and side gaps, install the box. We fix the box from the outside, well coat with the solution.
- We are waiting for the solution dried and you can proceed to the installation of the outlet itself.
How to install an internal outlet
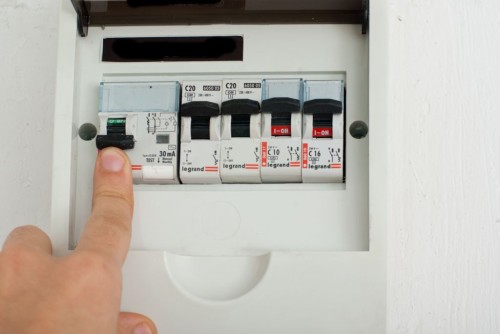
- The installation of the outlet begins with the fact that it is necessary to turn off the voltage. To do this, in an electric shield, you need to lower the levers down the “off”. If the levers are not signed, then check the voltage in the outlet wires to install the outlet with a screwdriver with an indicator. If this is too difficult for you, it is better to turn off all the levers to be sure that there is no voltage in the network.
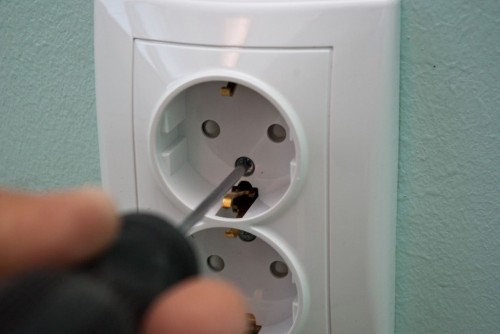
- Unscrew the fasteners in the outlet in the outlet to remove the upper front panel from the outlet.
- Shorten the wires. This can be done using side cutters or a special tool. The length of each wire is at least 10 cm.
- Remove the isolet from the ends of the wire (up to 10 mm) and bend the wires in this way:
- The wires must be placed in the terminals of the outlet so that they are located in different terminals (the “phase” wire is brown, “zero” - green with yellow, working - blue). Fasteners can be tightened.
- We set the socket in level and fasten the panel. Be careful, do not tighten the bolts too much so as not to damage the front panel of the outlet.
After the work performed to install the outlet, you can turn it on the voltage in the shield and check the outlet in the operation.
How to install an additional outlet:

