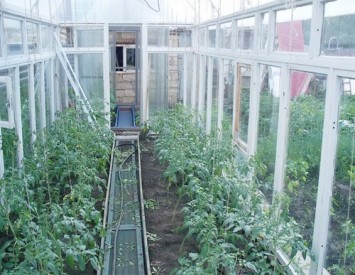
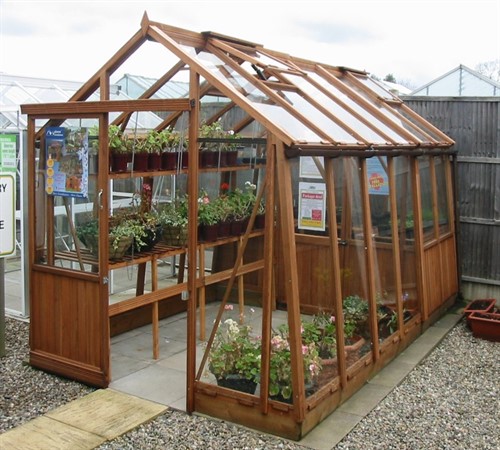
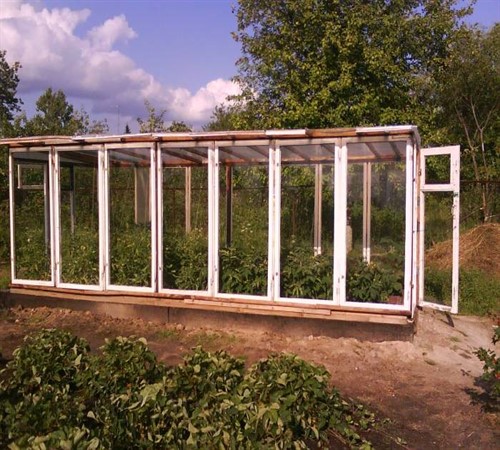
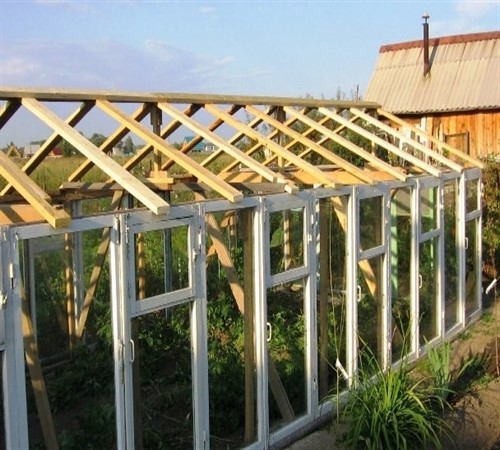
The widespread installation of plastic windows creates favorable prerequisites for creating homemade greenhouses from window frames. After all, consuming a minimum of materials and labor costs, you can already enjoy vegetables grown in your own greenhouse at the end of spring. In addition, it is quite simple to build a greenhouse from the frames with your own hands, without possessing the skills of construction.
Content
The advantages and disadvantages of the greenhouse
In relation to greenhouses constructed from various materials, a greenhouse from old window frames has a number of positive and negative sides.
Advantages:
- The low cost of the finished greenhouse, since the costs are associated with the acquisition of materials for the construction of the foundation, the frame of the walls and roof.
- The presence of many ready -made windows contributes to good ventilation, so that the normal level of humidity prevails in the greenhouse.
- The glass does not cloth, which favorably affects the good throughput of ultraviolet radiation during the entire period of use and helps to maintain optimal temperature.
- Simplicity of installation of the structure.
- The ease and accessibility of replacing damaged glass.
Flaws:
- In view of the fragility of the material, there is a high probability of violation of the integrity of glazing during careless handling.
- The large weight of glazed frames requires a strong foundation and frame.
Preparatory work
Determining the size of the future greenhouse
The construction of a symmetrical greenhouse is necessary:
- measure the height, width of all frames;
- sketch the approximate drawing of placement and the number of beds of the required width, not forgetting to leave a place for passages;
- based on the data obtained, proceed to the exact calculation of the dimensions of the future structure.
Features of choosing a place for a greenhouse structure
In order for the greenhouse to stand for a long time, and the plants planted in it do not lack the sun, you should carefully consider the location of the future building, taking into account some features:
- The presence of a flat surface. A small angle of inclination in combination with negative climatic conditions in the future provoke a skew of the frame or blockage of the entire structure.
- Comprehensive illumination throughout the day. Near the structure, it is undesirable to grow tall trees, since they not only prevent the full -fledged lighting of the greenhouse, but can also cause damage to a strong hurricane.
- Sustainable durable soil in view of the heavyweight of the structure.
Choosing the foundation
An important aspect in the construction of a greenhouse is a competent approach to choosing the type of foundation, since it is intended to perform a number of the following functions:
- Extension of the useful life of the entire structure.
- A strong basis for installing the frame of the greenhouse.
- Ensuring thermal insulation, especially in the presence of an additional heating device in the greenhouse.
- Protection of plants from the negative manifestation of the external environment.
Starting the choice of the foundation, one should proceed from financial resources, the estimated period of use of the greenhouse and time for its manufacture.
1. The wooden foundation is built by deepening several layers of the beam interconnected.
Pros:
- installation speed;
- operational assembly of the structure and dismantling;
- excellent heat insulator;
- low cost;
- the ability to move to another place.
Cons:
- lack of protection in the winter period from freezing of the soil;
- fragility.
2. The block foundation represents the styling in the trench of the blocks with their subsequent pouring with a concrete mixture.
Pros:
- reliability;
- durability;
- resistance to aggressive environment;
- simplicity of installation.
Cons:
- high cost.
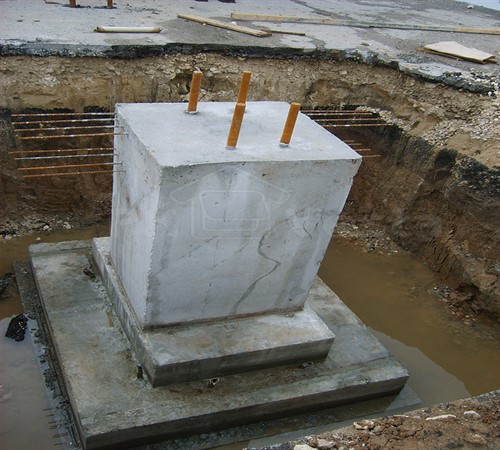
3. The columnar foundation is based on the installation of concrete, tubular columns under the box of the greenhouse.
Pros:
- simplicity of dismantling;
- savings of building material;
- durability.
Cons:
- lack of complete thermal insulation;
- high cost;
- labor intensity of work;
- the need for additional insulation when used as an autumn greenhouse.
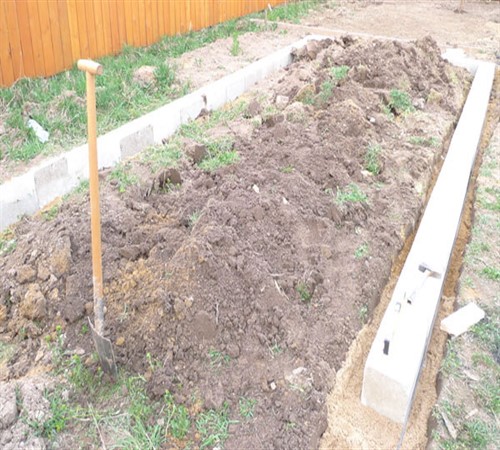
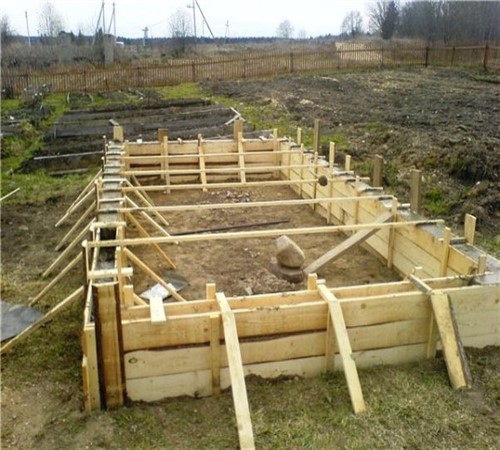
4. Ribbon - the construction of the foundation by pouring a trench with a cement mortar around the entire perimeter of the structure.
Pros:
- reliable protection of plants from weeds and other negative manifestations of the external environment;
- excellent thermal insulation;
- durability.
Cons:
- labor intensity of work;
- the complexity of dismantling the structure;
- high cost.
Preparation of frames
For high -quality assembly of the greenhouse frame from window frames, it is necessary to carry out a number of significant events:
- Pull the glass in order to avoid damage during preparation and installation.
- Dismantle window fittings (loops, locks, handles, latches, etc.).
- Remove the layer of old paint by means of sandpaper or firing with the subsequent scraping of the paint with an ordinary spatula.
- Treat the frames with an antiseptic solution, spell.
Technology for the manufacture of a greenhouse
The construction of the foundation
1. BRUSE.
- dig a trench with a width and a depth of about 20 cm;
- put waterproofing material to the bottom;
- lay out a beam pre-treated with an antiseptic in a groove, taking into account the protrusion above the soil 30-40 cm;
- follow the beam using construction brackets, reinforcing bars or through pre -prepared grooves.
2. Block.
- dig a groove around the perimeter of the structure, which is 30 cm of depth, 20 cm - width;
- fall asleep by 10 cm with gravel or sand;
- lay waterproofing;
- put the reinforcement on top, and then reinforced concrete blocks;
- build a formwork that is 30 cm towering above the ground;
- the internal walls of the boards is isolated by means of the film;
- mix the concrete solution;
- pour the entire groove volume with a prepared solution;
- drown anchor bolts, leaving 5 cm to install the box;
- after the end of the hardening process, to dismantle the formwork.
3. Columnous.
- on the perimeter of the future structure to dig holes 30 cm deep with a step of 60-70 cm;
- pour 10 cm crushed stone into the pit, then 10 cm of sand and compact;
- build a formwork protruding above the surface by 10-20 cm, for each pit and lay out from the inside with a film;
- lay the reinforcement;
- pour concrete solution;
- drown an anchor bolts in a non -hardened concrete for the subsequent fastening of the frame of the greenhouse;
- dismantle the formwork;
- the remaining incomplete space of the pit is filled with earth and compact.
4. Ribbon.
- dig a groove with a depth of 50 cm and a width of 20 cm around the perimeter;
- fall asleep by 15 cm with a layer of gravel, compact;
- top gravel to pour 10 cm of sand and also compact;
- install the formwork with a protrusion above the soil up to 30 cm;
- cover the internal walls of the formwork with cellophane;
- pour concrete mixture;
- drown the anchor bolts necessary for attaching the box to the foundation;
- leave until completely hardened, occupying 1-2 weeks;
- dismantle the formwork.
Installation of the frame
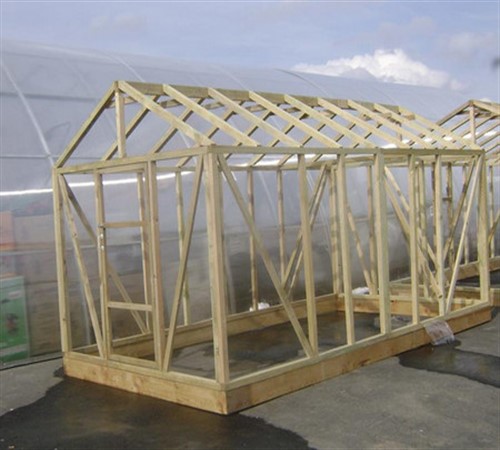
For assembling the frame, bars with a diameter of 4 cm are ideal. The crate is made in the following order:
- Attach the transverse racks to the corners of the foundation by means of nails, anchor bolts, depending on the chosen base.
- Using a timber or boards 4-5 cm wide, build the lower and upper binding, connecting the transverse racks.
- On the perimeter of the structure, set additional support racks at a distance equal to the width of the frame.
- To fix the frames by means of screws, nails on the support and corner bars, as well as the upper and lower binding.
Roof installation
The frame for a single -shout and gable roof has significant differences: For a single -sided roof:
- Fix 2-3 longitudinal bar on the upper strapping.
- Fix the transverse crossbars.
- Connect the frames with the grate with self -tapping screws, or nails.
For a gable roof:
- Over the corner side racks, build triangles and combine the top together with longitudinal bars.
- Put the transverse beam.
- Make the frame fasteners to the roof frame.
The final stage
- Insert glass into the frames pulled out before installation.
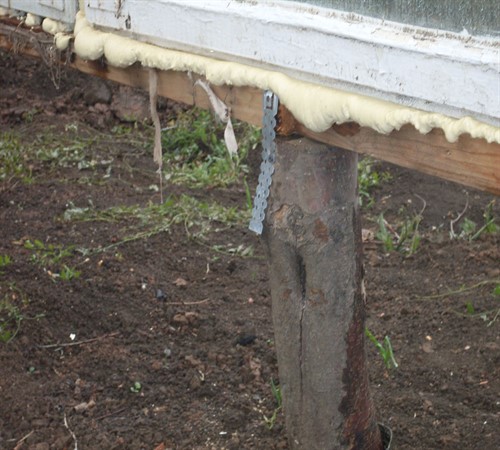
- The gaps found between the strapping and the frames are filled with mounting foam.
- Install the doors.
Thus, the use of old frames for the construction of a greenhouse will help not only save monetary resources, but will also please a beautiful crop. In addition, interesting options for greenhouses from window frames, the photos of which can be found in many magazines and implemented, will bring a certain originality to the buildings existing on the site.
