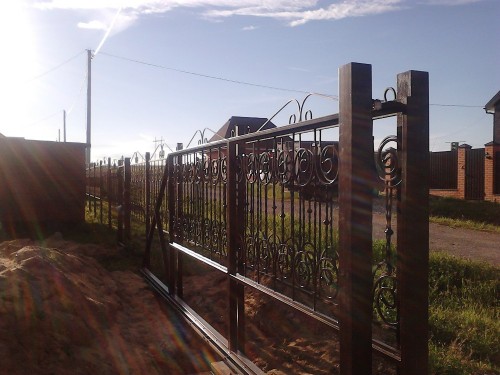
One way or another, we protect our plots. Even if you are not annoyed by constant curious views, then there is still the need to indicate at least the boundaries. You can put an ordinary plank fence. He will not give your possession to your possession, but for some time he will solve the problem. And why not make a fence, which will protect the site and look extraordinary, and willing the centuries. In this article we will talk about how to make a forged fence with your own hands.
Content
Types of forged fences
The forged fence can be performed in three versions:
- by using welding. This path is the simplest, and as for the price, here it is the most democratic;
- actually forging. Production requires a long time, and the process itself cannot be called simple, so you need to stock up on patience;
- combined. The combination of the first two options. You can’t do without special equipment, but even if it is available, a newcomer can’t cope with this work - this is work for professionals.
DIY Fence
Considering the photos of the fences of the forged, you are amazed at the variety and bizarre of drawings, sometimes resembling lace. The estate surrounded by such a fence acquires its individual, a certain aristocracy, and as for the service life, they will also admire the descendants. The fence is good for everyone, but dear. If you do not want to invest a lot of money, then make a forged fence with your own hands. This is troublesome, but it is worth it. There are two types of forging:
- hot;
- cold.
Where to start? But why:
- with the choice of a pattern. Many photo albums with sketches of forged fences can be found on the Internet and specialized publications. A beginner, of course, should not stop on jewelry forging - this is only possible for professionals;
- if there is such an opportunity, then ask for assistants to the blacksmith, let him give you several lessons. If you cannot practice in a real forge, then read the special literature, watch the teaching videos like this:
- now we mark the perimeter of the future fence, set the pillars and think how many sections we need. Measurements should be accurate. We write down everything and perform a sketch.
With real forging (hot), the elements of the future fence are heated, and then connected using the hammer. In addition, equipment that every homeowner is unlikely is required. Therefore, we will consider the option of making a fence by cold forging, since it is more accessible at home.
Equipment for the manufacture of a fence by cold forging
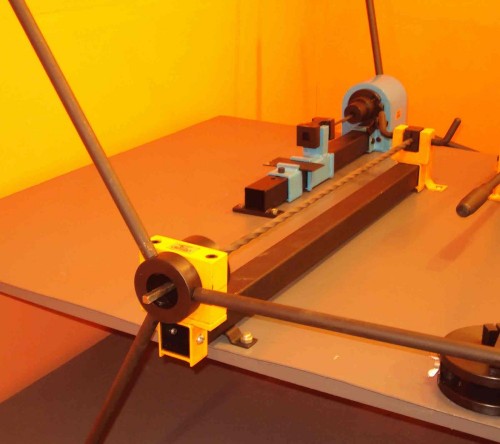
For the manufacture of elements, the fence by cold forging is used by the following equipment and devices:
- greet. With its help, a bend of a rod of a metal square or round section is performed at any angle. This tool is the main one;
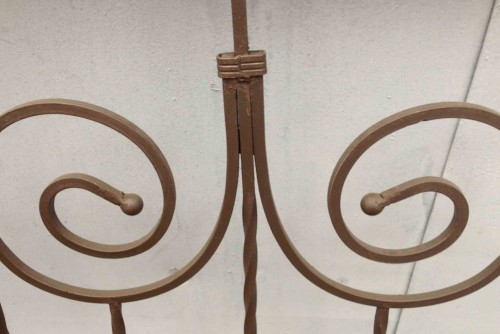
- snar. With the use of a snail, spirals are created;
- flashlight. Allows weaving a rod into complex patterns made of a round profile with a diameter of up to 0.3 cm or a square up to 1.6 cm;
- wave. After processing on this device, wavy elements are obtained;
- twister. The design is similar to the flashlight. Twisted details are obtained.
If the tool is available, then you can proceed:
- We transfer the fruit of our imagination to the paper. On the sketch we put the size. It should be borne in mind that not all types of forged fences of the sketches of which we liked, can be performed at home. It all depends on the parameters of the available devices.
- We calculate how much material is required. It is better to do everything experimentally, i.e. Draw a sketch of the element on a flat surface, then take the wire and put it along the contour of the pattern, then straighten it and measure it. Then everything is simple: we determine the number of elements, multiply by one length. The distance between the elements is also measured. As you can see, everything is simple.
- We purchase material. At the same time, do not forget that you will have to bend it manually, so do not take the metal supply of large thickness. At the same time, buy small balls that will be welded to the ends of the curls.
- We set the settings of the devices. It is necessary to show the limit attention, if something goes wrong, then marriage is very difficult to correct. Cut the metal with a grinder on the blanks.
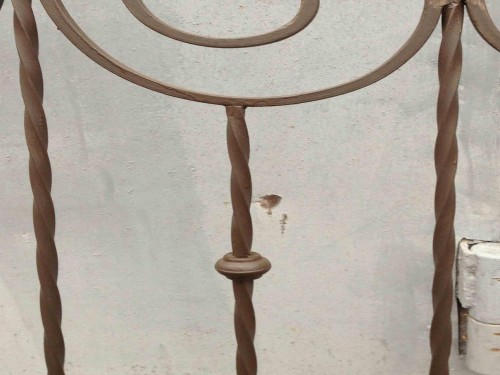
- We perform the elements of the pattern, while difficulties with the manufacture of curls may arise, but if you always stop in the same place when twisting, then they will turn out the same diameter. The cross -section of the parts that are made on the twister, i.e. Twisted long rods, in the process of work increases, therefore, if you plan to decorate them with rings, as in this photo, then consider this fact when choosing an internal diameter. It is better to first make the rod, measure the diameter and only then buy forks. So, if you used a square with a square with a cross -section of 10x10 mm, then a forging with an internal diameter of 14 mm is suitable.
- Having prepared all the details, we make frames for them. The most affordable material is a square of a square section of 2.5x2.5 or 3x3 cm. Welding the frame, place all the prepared elements in it to see how everything will look. If something does not suit, it is not too late to redo it.
- We will carry out the assembly on a flat site at a horizontal position of the frame. We begin the welding process with twisted rods, and then we fasten the rest of the elements to them.
- We clean the welds with a metal brush.
- We degrease and primer.
- We install the fence, for which we dig a shallow trench, drive the legs of the frame there and perform the base of concrete along the perimeter of the fence. You can clad it with a stone.
- We paint our fence.
Separately, slightly information about the columns:
- we take the pipe 40x40 mm and make the blanks of the required height from it;
- to close the top of the column, we purchase balls, or something else that is on sale and weld.
Another nuance: this welded connection looks rude, neither cleansing nor painting helps.
Output is one: setting the composure of the blacksmith:
- we buy a metal band 2x0.2 cm in a specialized store;
- cut the blanks from it;
- bend the letter P;
- we place it on a welded connection using a hammer. In order to accelerate this process, you can purchase a device for the bending of clamps, which is also called a squimper.
Even if you first encounter this kind of work, you can easily cope with such a squeezer as Blacksmith M05-GX produced in Russia. It works with a strip of 3x0.4 cm. Advantages:
- small dimensions;
- easy;
- simple in operation.
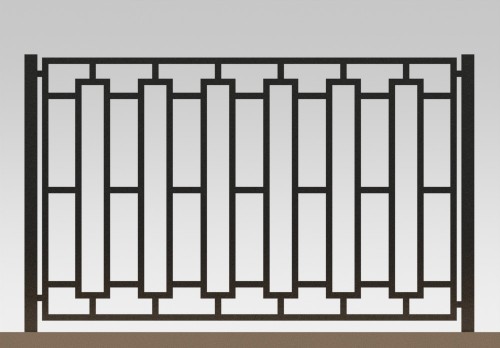
What is the attractive fence of welded
A real forged fence is a luxurious, but not cheap thing, but welded fences, although they are considered the simplest among forged elite fences, differ near the merits:
- they are beautiful;
- have a clear geometric pattern;
- differ in strength and long service life;
- require a minimum of care.
One cannot help but recall the shortcomings, but they are the following:
- it does not protect from street noises, winds, dust and dirt penetrate the site through it;
- it can be rusted, so it needs to be protected from corrosion.
Tool for the manufacture of stupefied welded fence
If you decide that there should be a welded fence around your possession and you will make it yourself, then get in advance in advance about the tool:
- bulgarian;
- welding inverter;
- vise;
- spray gun with a compressor;
- small tool;
- to twist individual elements, a special device is required.
We get to work
Any work provides for the preparatory stage, therefore:
- We determine the boundaries by which the fence will be mounted.
- We proceed to the construction of the foundation:
- the ewls for pillars to the depths of an equal quarter of the total height of the pillar. The maximum distance between them is 2.9 m;
- from gravel, sand, cement and water, we prepare the mixture for filling;
- pour the mixture into the pit;
- until the mixture is frozen, we drive a pillar into it, controlling verticality with a level;
- install spacers to fix the pillars. Of course: all poles should be at the same height. It is permissible to use the pillars of both round and square section. 6-8 cm diameter is enough;
- we weld the transverse plates to the pillars - at the top and below;
- to increase the durability of the fence, we install plugs on the columns, otherwise atmospheric precipitation will do their job and the metal will rush.

Welding sections
For the manufacture of sections you need to purchase:
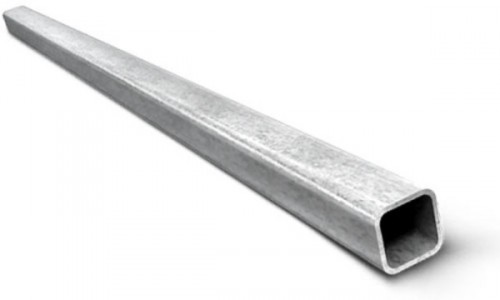
- metal profile pipes 2x2, 4x2; 6x3 cm;
- pipes can be replaced with a strip of 2.5x0.4 cm.
Now we proceed to the next stage - welding sections:
- from pipes or stripes, weld the frame. Its dimensions can vary from 0.7 to 2.9 m in width and from 1.5 to 2.0 m in height;
- fill the frame. For a beginner in this case, the easiest way to do something like a lattice. At the same time, weld the pipe or strip every 200-300 mm. You can buy ready -made forged elements and weld them into the lattice;
- we clean the welding places with a grinder and primer;
- let us dry the ground and paint our sections with enamel. It remains only to attach them to the pillars, for which in the latter, we drill holes;
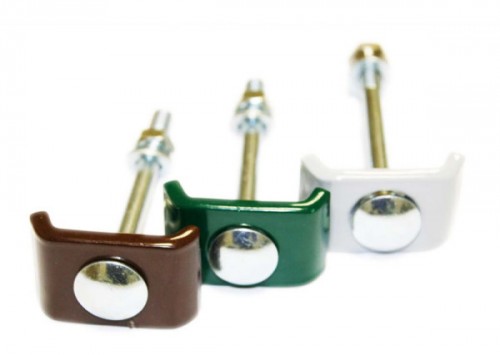
- we fasten the sections with special fasteners that can be purchased in the store, but they look like this:
How the mount is performed, look at the video:
Forged fence with polycarbonate
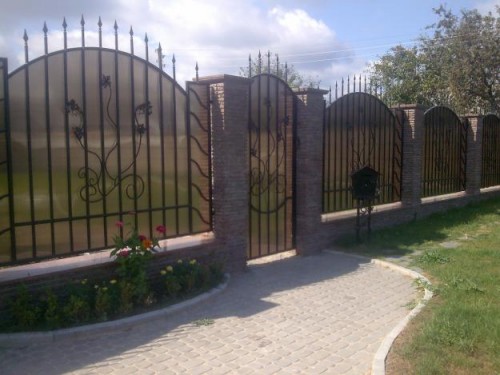
The forged fence, with all its advantages, has one drawback, for some it is very significant - you can’t hide anything. Polycarbonate sheets will help to fix this drawback. Nothing can be considered from the street, but from the site you will see the street perfectly. The fence, combining polycarbonate and forging, looks very beautiful, and most importantly - the site is not visible behind it. What is the polycarbonate good:
- it perfectly misses the light;
- aesthetic;
- very resistant to atmospheric influences;
- democratic price;
- with forging harmonizes perfectly;
- light weight.
The sheets are installed from the side of the site so that forging is from the street. For the sake of justice, it should be noted that if someone throws a stone into a forged fence with polycarbonate, then it will be damaged.


