Every mother knows about the multifunctionality of a children's chair. But, alas, some, even the most sophisticated, models are not able to satisfy all the desires of their customers. Therefore, it is much easier and cheaper to make a children's chair yourself, individually selecting design, material and size. We will talk about how to make a children's chair with your own hands.
Content
The scope of use and purpose of a children's chair
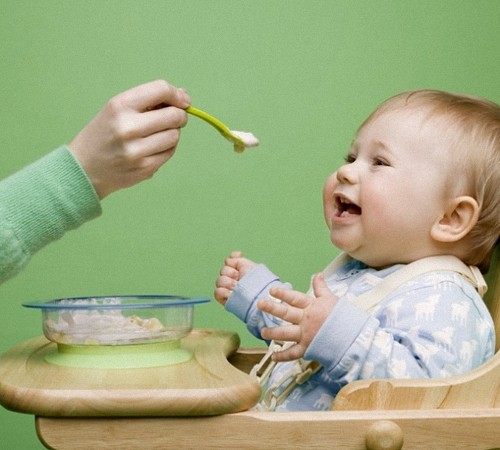
The use of a children's chair has several features that depend on the age of the child. It is recommended to accustom the baby to the chair from the moment he begins to sit, that is, from 6-8 months. First, the chair is used as a product for feeding the baby. Among all the variety, both simple models are distinguished, which are only able to hold a not yet quite experienced baby, and more complex transformers chairs that perform several functions at once.
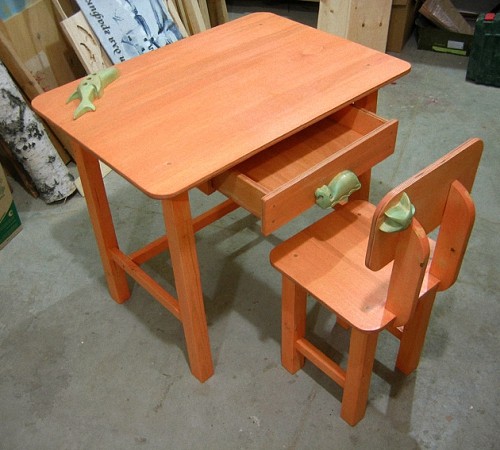
When the baby is growing up, he begins to be interested in reading, drawing and other processes that must be performed at the desk, in this case the children's chair plays the role of the desk, at which the baby is developing.
Its use also comes down to the baby’s seat at a common or its own dining table. Some children like to watch cartoons while sitting in a children's chair. As you can see, this subject of accessories has many functions, and is necessary for the child.
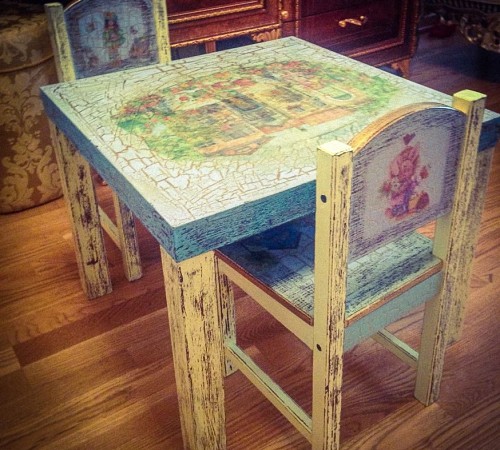
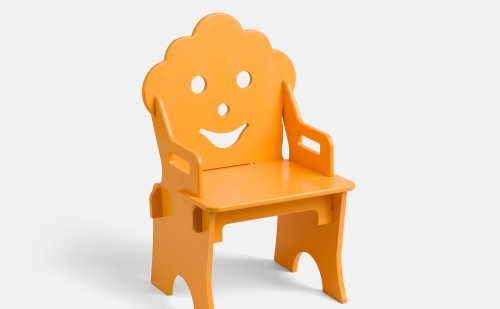
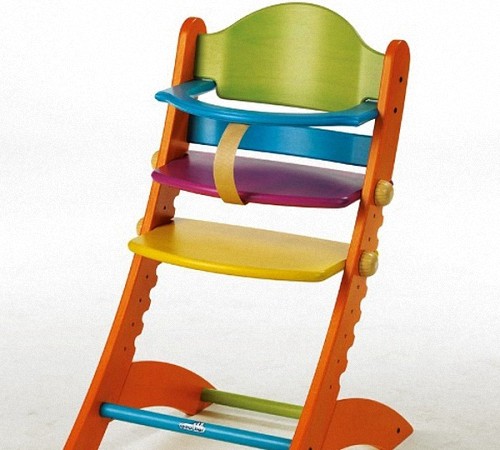
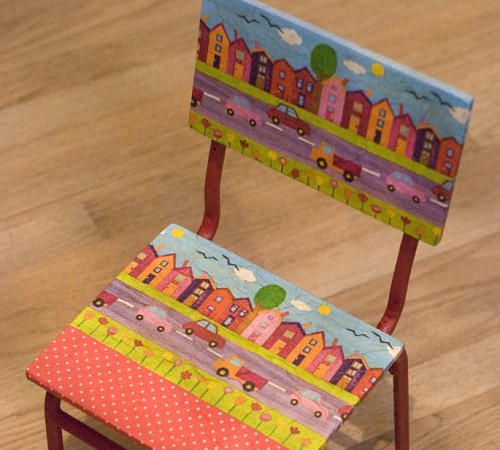
Children's chair, photo:
The main types of children's chairs
Considering the varieties of children's chairs, first of all, you should pay attention to the material from which they are made. In accordance with this criterion, children's chairs are divided into:
- wooden;
- metal;
- plastic;
- combined.
The first option is the most environmentally friendly. Although wooden chairs are safe for children from a medical point of view, they often have sharp corners, which for children from up to a year pose a great danger.
Metal chairs allow experimenting with design. They are used for more adult babies.
Plastic chairs are distinguished by a variety of models and shapes, but of course, it is impossible to make such chairs at home.
Baby chairs of a combined type consist of several components, for example, of plastic and wood, or of metal and leather.
In accordance with functional features, children's chairs are divided into:
- folding;
- chairs-offers;
- cacheli chairs;
- transformers;
- classic chairs;
- compact chairs;
- extraordinary models;
- suspended chairs;
- chairs for travel.
Folding chairs are multifunctionality and diversity. Such chairs are intended for direct sitting, as well as for feeding. They have the ability to adjust the back, installation of countertops, change the size, sometimes include special footboards or wheels, a place for storing things. Designed for the smallest children. They are used for children from 4-5 months old, since with proper tuning the baby in such a chair is in reclining.
The chairs are used by kids from 6 months to three years of age. Models allow you to regulate the height in different directions in accordance with the growth of the child. They are used as a stool or as a stilt, allowing you to save on the purchase of these items separately.
Cache-stool is a great option for small children. Such a chair has several height adjustments, and special belts protect the baby from falling. In some models, the work of the swing is regulated by batteries while the child is swinging, the mother has a little free time. In addition, such a chair saves a place in the house, since the swing and the chair separately will take more space.
The transformer stool is mainly made of plastic. Such chairs consist of two parts. In one version, they are used as an ordinary stool for feeding, and in the second - as a dining table and a chair for the baby. Such a chair easily signs to pieces and is convenient in storage. It is used by children from six months to three years old.
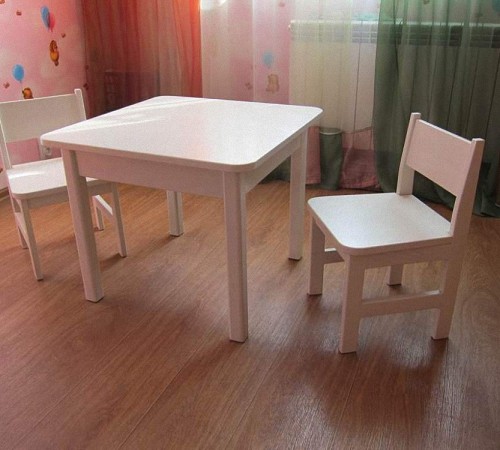
A classic children's chair is the simplest model made of wood. There is no latch and wheels on such a chair. For lovers of simple design, this is the best option. Moreover, the cost of such a stool is affordable, moreover, it is easy to make it with your own hands.
Compact children's chairs are mini-steps that are very convenient to take with you on travel. They are easy to attach to the table or to another stool for adults.
Extraordinary models of children's chairs have a fairly high cost and are made to order. These chairs are distinguished by non -standard forms in the form of an oval, ellipse or semicircle.
With a lack of a place in the apartment or in a certain room, the use of a suspended children's chair will be an excellent option. Its installation is carried out using a clamping mechanism. Such a stool is not suitable for children whose weight exceeds 15 kg. It does not have a footboard, is attached directly to the table, easily transported and has a low cost.
A children's stool for traveling is a design that is attached to any adult stool with straps. There are many options for models of such a stool, they are practical and multifunctional, convenient to use and care.
Chairs are distinguished depending on the size:
- for children from 6 months to a year;
- from 1 year to 3 years;
- from 3 to 6 years;
- from 6 years and above.
Recommendations for choosing a children's chair
- When choosing a plastic children's chair, study its characteristics and require a certificate of products that confirms its quality.
- Any chair before buying should be checked for the reliability of the joints and the strength of the structure.
- The presence of wheels allows you to easily move the chair - this solution is appropriate for large rooms.
- To prevent the child’s sliding from the chair, the presence of additional seat belts is required. Pay attention to the seat belts - they should be five -pointing.
- Make sure that the children's chair does not have sharp corners and Zazubrin.
- The seat in the stool for feeding should be removed to clean it.
- For children from 5 to 8 months, it is recommended to purchase chairs that have the possibility of adjusting the back, since the spine of such babies still does not stick up and needs a soft surface.
Do -it -yourself children's chairs
The safest and most environmentally friendly version of the material for the manufacture of a children's chair is a tree. When choosing among the large number of breeds, it is better to give preference to the beech, since it is he who is able to last as long as possible and, at the same time, is characterized by high stability and strength.
To make a chair for a child from 6 months to 3 years, make a back 60 cm high, and seats-35 cm long.
The details are mounted using self -tapping screws, nails, cams or wooden spikes. The easiest and most reliable option is with spikes. For this, in each part, the holes should be provided into which the spikes will be inserted. Spikes are installed using glue, which will provide additional reliability of fixation.
To make a simple wooden children's chair you need:
- four crossbars that are installed in the lower part of the chair;
- two rear legs 4x4x60;
- two front legs 4x4x35;
- two boards for a seat 1.5x0.5x25;
- two boards for the back.
When preparing the rear legs for the chair, note that for their stability it is necessary to ensure a gradual narrowing of the elements. The same goes for the front legs.
Two boards for the back can be treated with a locksmith tool and make patterns on them.
When connecting the components, use clamps, at each stage, follow the evenness of the corners.
After the glue dries, treat the chair with varnish or paint.
How to make a children's stool for feeding yourself
Hosses for feeding have a fairly high cost, so it is much easier and cheaper to make such an item yourself. We offer to consider the option of manufacturing a children's wooden stool for feeding.
To make a children's chair for feeding, you will need:
- hammer;
- electro- or manual saws;
- a beam whose cross section is 40x20 cm;
- boards, the thickness of which is 2 cm;
- one sheet of fiberboard;
- vatina or foam rubber;
- nails;
- dumplings;
- glue;
- brushes;
- tissue material;
- sandpaper or grinding machine;
- gloves to protect the hands;
- plywood;
- acrylic -based varnish or paints.
To assemble a chair, you will need to make parts, such as:
- legs: two rear and two front, 40 cm long;
- two crossbars, which are located below 34 cm long;
- three transverse crossbars 30 cm long;
- one continuous board used as a countertop;
- rounded elements - 4 pcs.
For the manufacture of such parts, you need to cut the beam. First of all, the legs are made, and then the crossbars are started. In the end, crosses are cut. After the details are ready, they should be treated with sandpaper or grinding machine. This process will protect the baby from the splinter and make the wood texture softer and more pleasant to the touch.
As a sidewall, rounded elements are used, which are cut out of the boards. To get the most strong and reliable chair, you need to follow the drawing of a children's chair.
Before cutting the parts, pre -draw them. The location of the fibers to the corner of the bending should be perpendicular to the greater durability of the stool.
For the back and seats, a fiberboard sheet is suitable, from which the workpieces with a number of 6 pieces and a size of 30x25 cm should be cut. Two corners of the parts must be rounded. To clutch the ends, use sandpaper. Then glue the details in pairs and place them under the press.
To make a countertop, use a plywood sheet. Cut the part, the size of which is 20x34 cm.
When all the details are ready, proceed to the assembly process of a chamber for feeding. To do this, you need to build a rectangular cins. They are cut out of wooden material. The size of the penetrates is 0.8x2x5 cm. The option of purchasing penalties in the store is also possible. To fix the doughs in details, you need to make a hole using a drill, the depth of which is 4 cm.
Camps are fixed using glue and nails. But be careful, clog the nails as deep as possible to protect the child from injury or not to accidentally catch on the nail.
Start the assembly from the side parts. They include two rounded parts, legs and lower crossbars. First of all, you should connect the legs and crossbars with glue and nails. After fixing, check the evenness of the connections.
Now proceed to the assembly of the upper crossbar and two roundings. The second sidewalk is collected in a similar way. Equate the two lateral parts to eliminate the risk of their unequal. With the help of sandpaper, sand the surface of the sidewalls again.
Connect the seat and back using screws or corner. Wait for the final drying of the glue and proceed to the final assembly of the chair.
The compound of the sidewalls is carried out by crossbars and penalties. Do not forget to first make holes for them. Additional fixation is carried out using nails. Attach the lower strips to the legs and install the crossbars. Fix the countertop.
Process the design with a grinding machine or sandpaper. Cover with varnish or paint. After the chair dries completely, take a piece of fabric and tighten the elements of the back and seat. Before that, put foam rubber on them and fix it with a stapler. Now the stool for feeding is ready for use.
Making a mobile children's chair for feeding
Wooden chairs for feeding are environmentally friendly and durable, but such chairs are almost never versed in and are heavily transported. And if necessary, go on a visit with a child or on vacation, the manufacture of a mobile children's chair will be a great option.
This will require the presence:
- fabrics - cotton or linen 300 cm;
- sling - 250 cm;
- karabin's buckles-3 pcs.;
- thick braid - 300 cm;
- scissors;
- needles;
- threads;
- if possible, a sewing machine, since it is difficult to carry out this process manually, and the chair is not so reliable.
First you need to cut the necessary details. This chair is a fabric bag that is attached to any adult chair.
In order for the children's chair to not so flashing, choose fabrics with bright and variegated colors, which will also embellish it. Two cut parts are gradually sewn together. The stool is obtained in the form of a bag, to which the straps are additionally sewn and carbines are put on.
On the back of the chair is the first part, and the second provides the baby by fixing through his legs. It is possible to place on a chair of ribbons, applications or pockets for storing small things.
All parts are fastened first from the inside, and then turned through a small hole and sewn up.
The tape is attached between two parts that are in front, then slings and carbines are installed.

