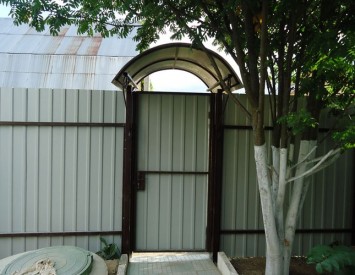
The fence is an indispensable attribute of a summer cottage. Each owner wants a strong, durable and beautiful fence around the house. That is why the fence, gate and gates from corrugated board are becoming increasingly popular. They have not only a neat, solid appearance, but also very practical due to the long service life.
Content
Corrugated - what is it?

The corrugated board is based on a corrugated metal sheet with an anti -corrosion coating. On each side it is faced with three more protective layers:
- passivation, creating a solid anti -corrosion surface;
- soil;
- a polymer coating, which is the polyester, purl, polyvinyl chloride, polyvinylendantoride and acrylic.

The most commonly used polyester (PE), it has average qualities in service life, but has good plasticity, resistance of color and a fairly low price. Matte material looks richer, in comparison with a glossy coating, and it costs more.
The most resistant to mechanical exposure is PURAL (PUR), and to corrosion - polyvinyl chloride (PVC). Profileists with this coating are considered the most expensive and are usually used in elite country houses.
Corrugated board for fence and gate
Each material has its own marking. For the fence, wall corrugated board is used, which is indicated by the letter “C” or universal (NS) - it is used for both the roof and for walls and fences.
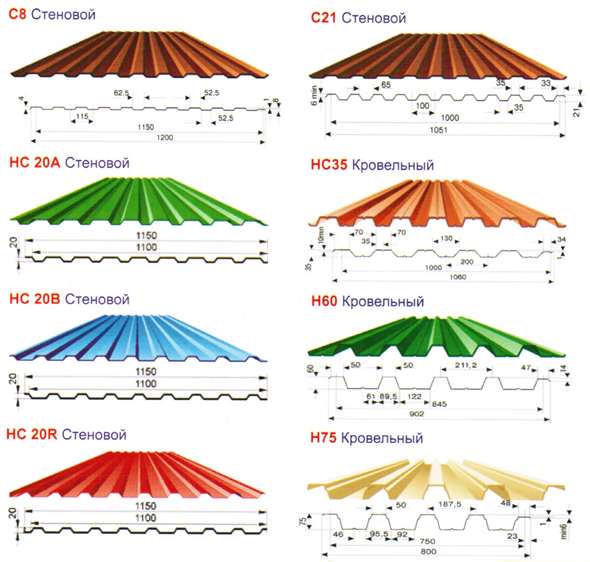
The figure that stands near the letter indicates the height of the wave (C10, C8, etc.). The next two numbers are the thickness and width of the profiled sheet, respectively. Dimensions are indicated in millimeters.

The best option for the construction of a gate and fence is the marking of the marking:
- C8 - has a large coverage area and affordable cost. It does not differ in high strength, but is perfect for the installation of a temporary fence.
- C10 is the best option in the ratio of a large coating area and stiffness.
- C20 - has the best properties for building a fence and, accordingly, gate. The rigidity of the material allows the fence to withstand wind loads.
- C21 - suitable for mounting a fence of 2.5 m or more, as it has the largest stiffness.
The most reliable and attractive gates and fences for a summer cottage from corrugated board C20 and C21 will be.

The main characteristics that you should pay attention to when choosing a material for a gate and fence:
- corrugation height;
- sheet thickness;
- type of coating;
- the weight of the profiled sheet;
- coating color;
- material manufacturer.
Materials and tools
In addition to corrugated board, the following building materials will be needed for the design of the gate:
- square or rectangular steel pipe for pillars 80x80 or 60x80 mm with a wall thickness of 3-4 mm;

- profiled pipe 20x40 or 630x60 mm or metal corner from 2.5 to 5 mm for the manufacture of the frame of the gate;
- self -tapping screws with a professional;

- round loops;
- metal primer;
- crushed stone of the middle fraction;
- cement;
- sand.
Tools:
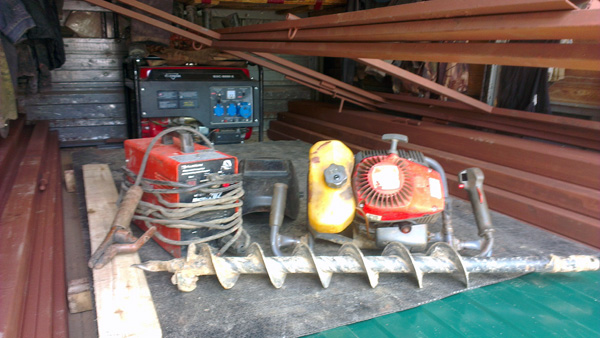
- screwdriver;
- bulgarian;
- lobby;
- welding machine;
- knife -haired carbon on metal;
- garden drill;
- scrap;
- container for the solution;
- level;
- sensor tools: marker, chalk and roulette.

Gate for the fence - manufacturing and installation
Drawing
Installation of the gate and gates, fences begins with the drawing.
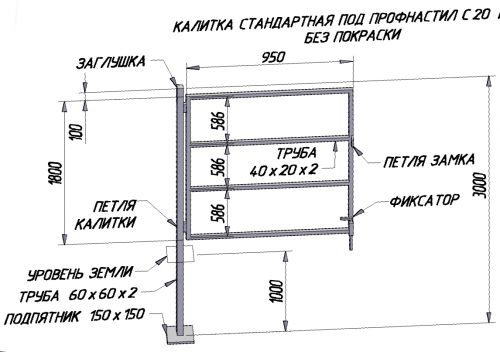
A gate diagram is drawn up, which indicates its parameters - height and width. The optimal sizes of the sash 2x1 m. Sometimes they make higher gate, but it should be borne in this case that in this case the weight of the structure increases and, accordingly, the load on the hinges and the castle. As a result, they wear out quickly. To reduce the support load in such structures, the upper separate part with the crossbar is provided.
Installation of supports
- The support pipes are cut according to the sizes indicated in the drawing, taking into account their underground part-1-1.5 m, cleaned from scale and primed.
- A cord is pulled along the fence line, the location of the pits is planned along the width of the gate plus 2 cm. They are dug or selected using a garden drill to a depth of 1.2 m.
- Strictly installed in the plumb line and are covered with gravel, which is rammed with scrap.
- Concrete is prepared, poured into pits. The solution freezes for 7-10 days.

Advice:
It is better to connect the bottom of the pillars with a jumper to exclude the oscillation of the structure in the soil during the flood.
Making the frame

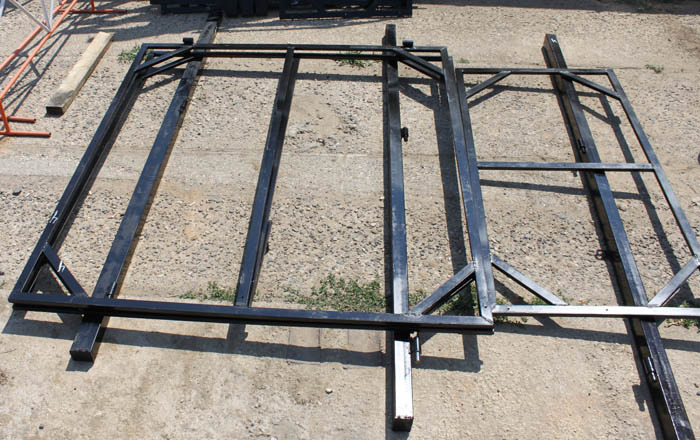
- Vertical and horizontal pipes are marked and cut off at an angle of 45º. Their wide side should be located perpendicular to the plane of the fence.
- The pipes are laid out on a flat surface in accordance with the design drawing and slightly grabbed in all corners.
- Diagonals are measured - they should be the same. If the dimensions are designed correctly, then the gap between the frame and the support will be 1 cm.
- The corners are finally boiled.
- The horizontal jumper is welded. It is located at the level of the gate handle. Usually this distance is 90 cm from the ground.
- The canopies are welded.
- All seams are carefully cleaned and the finished frame is covered with a primer.
Installation of the gate
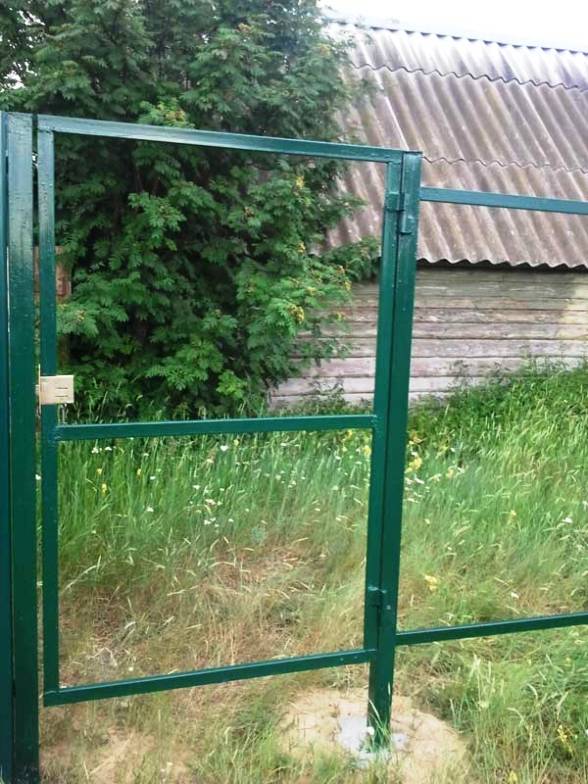
- The finished frame is put on a hard base in height, and the canopies are taken to the support.
- The movement of the gate is checked - if the awnings are not skewed, then it is easily opened and closed.
- The canopies are welded to the pillar.
- A lock or gate is installed on the frame. For these purposes, any design intended for external doors is suitable. There are special locks for professional tubes.
- The whole structure is painted with one layer of paint.
Advice:
With a skew of the frame of the gate, the corners are fastened, welding additional stiffener ribs.
Installation of a profiled sheet

- The profile is cut off by the size of the frame. This is usually done with a grinder, but it leaves burrs and chips on the material. When using a hacksaw on metal, the edge of the cut is even.
- After aligning the sheet, it is attached in opposite corners into two self -tapping screws.
- The gate is checked and if there are no distortions, then all other roofing screws are screwed - from 6 pcs. per square meter. Aluminum rivets are also used for fastening the sheet.
- Additional elements are installed: locks for the lock, the outer handle.
- The supports and frame are stained again.

The designs of the wings from the corrugated board are not limited to a simple rectangular shape, but the installation of figure products is much more complicated. In this case, it is easier to order and buy a gate for a fence in a finished form.

Often a stone or brick is used in the supporting column device. In this case, the cladding is laid out around the base - a metal pipe.
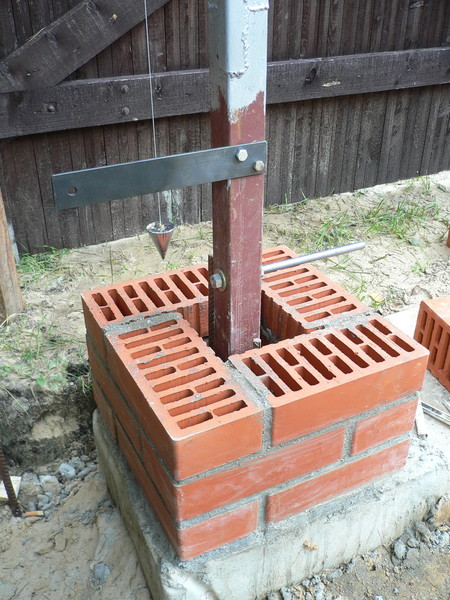
The mortgage plates are welded to it in advance and produced on the outer surface, on which the loops are then attached.

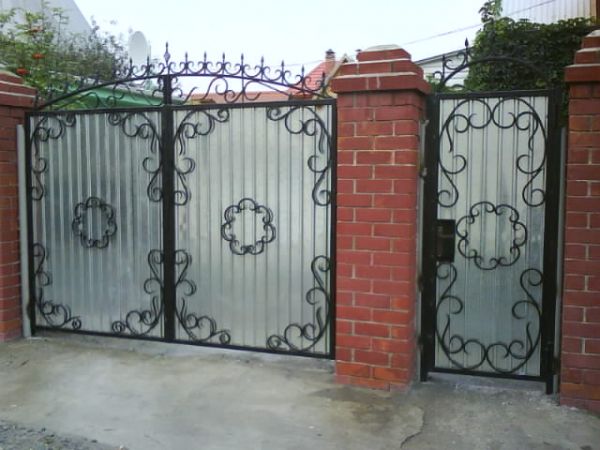
Installation of the gate and gates without the use of a welding machine, video:
