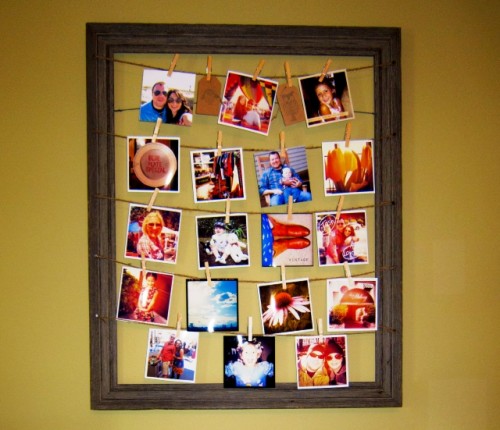
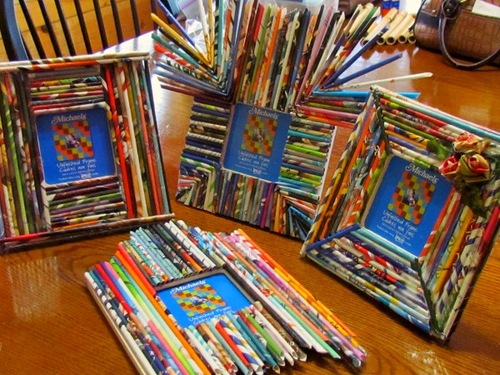
Each time, decorating this or that part of the house with a family photo, you perpetuate a particle of life in the interior. The moments of receiving a university’s diploma, a son’s wedding, a trip to the sea - from a short gallery on the walls will always believe the experienced emotions. Therefore, it is customary to hang funny and memorable photos at home.
Content
Firstly, they personify pleasant memories that are easy to refresh. One has only to glance at the image in the frame.
Secondly, they will become the pride of the family. Once again, retelling the story of a certain photograph of the appearance of a certain photograph, you will survive happy moments.
Design options
1. Instead of hanging images throughout the apartment, select a certain zone. Take the main criteria with attention:
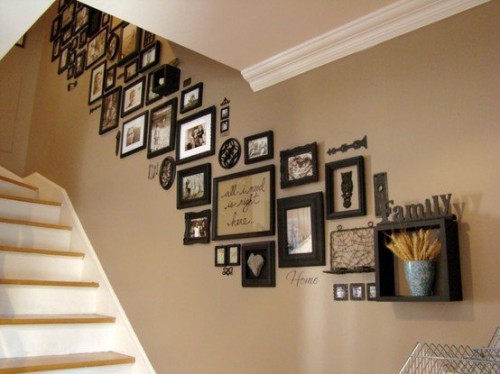
- the place should be crowded, passable. As an option, a staircase in a two-story house or a living room in a studio apartment;
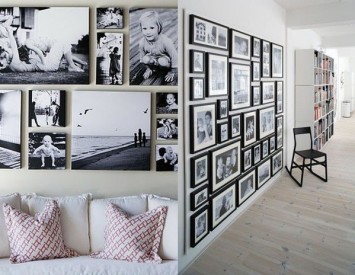
- if you plan to place a photo of a photo in the living room above the sofa, there is no need to install it at a considerable height. For comfortable contemplation, photographs should be at the eye level.
2. Regardless of the number of photo frames, your main goal is a balanced wall design with photos:
- print images in different format. So the images emphasize the thin nature of the owner of the composition;
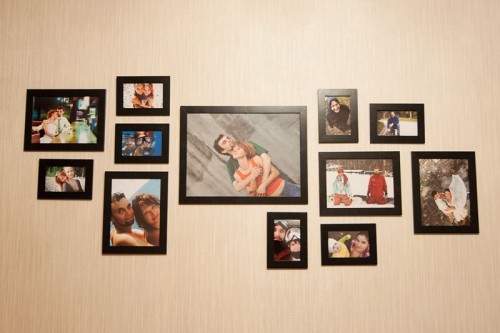
- aesthetically decompose photos on topics. For example, around one large image a scattering smaller size;
- place the images strictly according to a fictional diagonal if you stopped your choice on the stairs;
- lay out the invented composition on the floor and take a closer look before drilling the walls. So you can experiment over the distance, size, and forms.
Posters from photos
Buy or make your own original vintage frames with your own hands. The main thing is not to overdo it, otherwise more attention will be focused on the form than on the content. The symbiosis of the framework made of various materials looks interesting:
- metal;
- glass;
- wood.
- If the wall panel is decorated with bright decorative elements or a combination of several colors, the monophonic framework of cold shades will be preferable.
- If the interior is neutral, it can be decorated with color frames for photos on the wall.
- In no case do not place dark images in a light tone framework.
- Do not purchase a massive frame for small pictures. Otherwise, you will think more than once how to post photos on the wall.
The unconditional advantage of family photographs is universality. Designed with presentable frames, such images can be used on "hanging" and desktop compositions. Shots from the family archive also look successful in large format. Increase and print the photo, hang in the living room.
As for traditional images on shelves and chests of drawers, you can achieve a presentable effect by placing them in the framework of the same color and design. Moreover, this can be different sizes, which is an unconditional advantage.
Non -traditional methods of posting photos
- Photo images can be placed on top of the lampshade. The main condition is that they cannot be glued. In this case, you will get a parody of albums from the Soviet past. It is recommended to slightly sew the pictures with imperceptible screeds. In the future, you can easily replace them.
- The composition of restrained photographs on the shelf will serve as a traditional decoration of the office. Nothing superfluous, only a demonstration of your business victories. The frames must be of different sizes, otherwise the pictures will not take the proper effect. They, in turn, can also be decorated in a wide range of colors. To such a collection of photos, add additional decorative elements like desktop watches, souvenirs, valuable gifts. This will complement the overall picture.
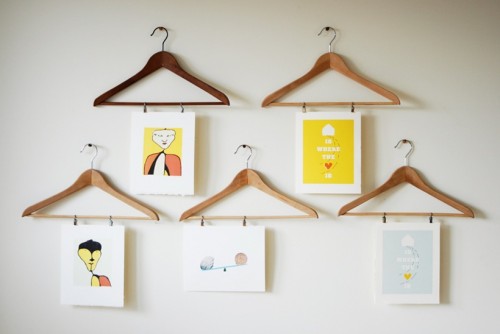
- An original solution is a combination of large pictures with small ones in the general compositional frame.
- Designers often use painting in symbiosis with photos. Such a combination of a priori is attractive, since guests examine pictures in the aspect of art. Also, photographs successfully fit into the room with lamps, flowerpots, statues.
- The framework with monograms will help to achieve a traditional English style. They will complement the boring classic interior aristocratic features.
Do not forget that the style of the framework should correspond to the mood of the entire room. So in the room made according to the direction of Hi-Tech, glass or chrome frames with modern motives will organically look organically. And in the room of a teenager or student, a wall hung with bright pictures without a framework, will not lose in anything at effect.
There is no need to look for enthusiasm in the cardinal update of the interior. Sometimes it is enough to hang beautiful photos with taste on the walls, as a lost sense of the interior of the “posture” era will return to you.
How to decorate the frames
Surely you have accumulated a large number of old, unnecessary framework from photographs, paintings. Select the most noticeable that could be used in the gallery. Take a closer look at the combination. Having decided on the overall color design, proceed to restoration. Specialists are working on this in the following order:
- When staining, the frame is cleaned with sandpaper.
- Then a special wood putty is applied.
- Zazubrins are polished.
- A soil layer of paint is applied.
- The frame is covered with one or two layers of acrylic.
You can create frames for photos on the wall on your own. This will need:
- sackcloth;
- ribbon;
- glue;
- wire;
- dense cardboard;
- hand blanks for needlework.
So, we proceed to the design of the first frame:
- A cut form for a frame is cut out of dense cardboard.
- The workpiece is covered with glue.
- The base is neatly glued by burlap.
- A hand-made handle can supplement a bag of burlap, or a ribbon flowing into the material around the perimeter of the frame.
The second frame option is created as follows:
- A frame of any shape is made from thick wire.
- The frame is wrapped in jute.
- It is decorated with blanks for needlework and burlap.
The third option is similar to the previous ones:
- Glue is applied to the frame of cardboard.
- The adhesive base is covered with burlap.
- The composition is decorated with workpieces for needlework like roses made of linen fabric, beads and other decorative elements.
DIY frames
With a fair amount of free time and enthusiasm, it is really possible to independently collect beautiful frames for photos. The most affordable material is wood. The simplest frames from narrow stacks can be assembled in a couple of minutes. What do we need:
- To mark and prepare the stacking stacks necessary in length and width, the rear panel of plywood or cardboard.
- Attach stacks with shoemes.
- Glue cardboard.
- Attach the overhanx cable using the glue "moment".
- Decorate with textiles or other means of decoration.
As an option, you can use the baguette to create a framework. The material is easily cut, glued, but does not withstand falls. The markets are presented on the market. There are expansions for selection. The frames are done like this:
- The baguette is cut at an angle of 45 ° using a hacksaw for metal.
- All parts are glued gluing for ceiling skirting boards.
- The cracks are masked with a white sealant.
- The frame is covered with acrylic paint.
- Cardboard is fixed from the back side with glue.
- A cable for an overhang is provided.
Such frames do not include glass inserts, so the photos are attached using invisible hairpins. In principle, there are many methods of attachment: from glue to double -sided tape. Everyone himself can easily determine how to strengthen and hang a photo on the wall.
