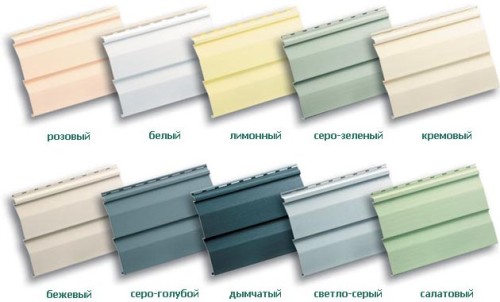
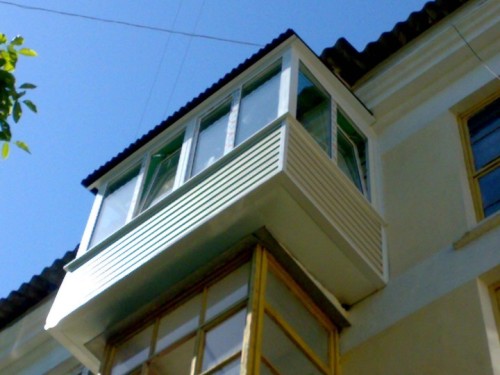
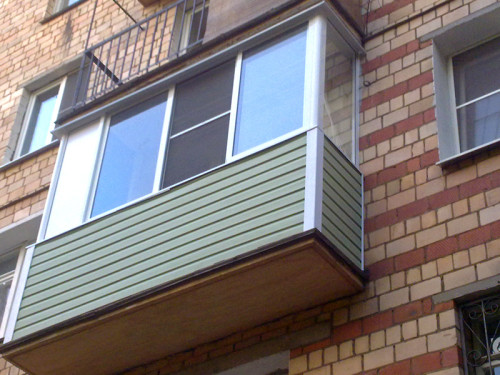
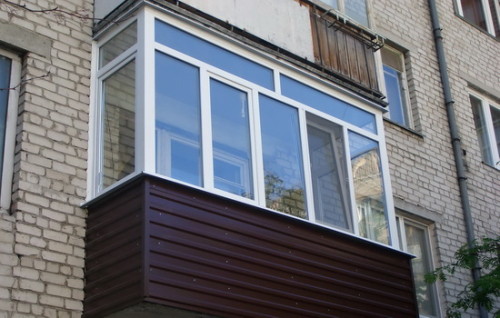
Vinyl siding is one of the most popular materials for the exterior decoration of the facades of any buildings. Due to the excellent moisture insulation properties, it can be used to install ventilated facades with insulation from mineral wool. About how to sheathe the balcony with siding with your own hands - further.
Content
Siding characteristics
Compared to other materials for this work, siding has several advantages:
- Great performance. Thanks to the use of polymeric materials in its production, this material is quite durable, resistant to moisture, sunlight and temperature fluctuations. This fact makes it one of the most popular solutions in the decoration of facades. Siding does not lose its original appearance for a long time, and caring for it comes down to a banal sink from dust and dirt.
- Easy installation. Siding is quite simply mounted. The process of facing the outer walls or a balcony with this material is no different from the cladding with plastic. Continuous structural elements will make the appearance of the facade finished and attractive. Unlike plaster and painting, for which experience is required, newcomers can also master siding. Independent installation of this material will be able to significantly reduce the estimate of the repair.
- Siding is applicable to the decoration of any structural elements of the building, including the frame of balconies and loggias.
How to sheathe a balcony with siding outside with your own hands
The main points
Usually such work is carried out during glazing the balcony and replacing the frame. It makes sense to conduct external decoration with siding those balconies that have a metal fence. This issue concerns the safety of work. The fact is that with lattice fencing, installation can be carried out from the inside without bending through the railing. With concrete fencing in height, it is better to invite professional installers with high -rise work experience.
The whole process of the exterior decoration of the balcony with siding can be conditionally divided into three main stages:
- Preparation of the frame of the balcony.
- Installation of the crate.
- Installation of siding panels and additional parts.
Preparation of the frame of the balcony
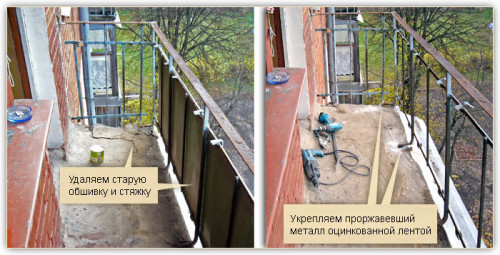
To start working on the installation of crate for installation, it is necessary to prepare the frame of the balcony. All the elements of the previous sheathing are removed from it, in the event that it was, as well as the railing. They are often installed on top of the fence. After that, it is necessary to evaluate the state of the fence. Quite often, in the houses of the old building, supporting elements are destroyed from corrosion over time, which leads to a decrease in their strength. If there are cracks at the places of fastening of the fence, the places of the breaks, if the crate is staggering, its fasteners are loosely adjacent to the structural elements of the building, the fences must be replaced.
The fencing fencing is cleaned from the old paint, primed and painted. It is not worth saving on anti -corrosion treatment, because access to the sewn -up fence will be limited.
It often happens that plants germinate in concrete. Before installing the crate, they must be removed. If the base of the balcony is damaged, it can be strengthened by a steel channel installed in the end of the slab. In this case, you can prevent further destruction of concrete.
Installation of crate for lining the balcony with siding
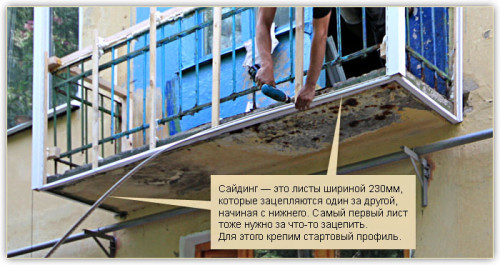
Siding, like plastic, is mounted on a special crate. It is made, as a rule, from a wooden beam. The thickness of the latter should not be more than 20 mm. Otherwise, siding will lag behind the railing and will have to make a wide tint. Although, in some cases, this is done on purpose, and flower baskets are exposed to tide for the spring-summer period.
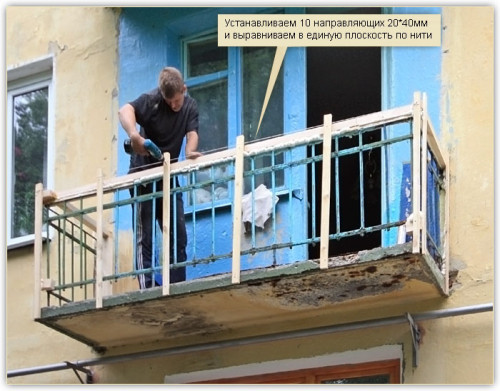
The crate consists of a horizontal bar, which is attached around the perimeter to the upper part of the railing and several vertical strips. The latter are installed with a step of not more than 500 mm and will serve for fastening the siding stripes.
Elements of the crate are attached using screws with an anti -corrosion coating. In the upper part, the vertical bars are attached to horizontal, and in the lower - to the lower elements of the railing. To conduct this operation, it is necessary to put the bar to the railing, drill a through hole from the outside and, using a screwdriver, tighten the screw.
When working on the outside, it is necessary to protect the tool from falling down. It is better to tie a screwdriver to the hand. To screw the screws, bits with a magnet are used, otherwise it is difficult to hold the canopy, and it can fall down. Although self-tapping screws stand inexpensively, if one falls on someone's head or car, there can be a lot of problems.
In the corners of the balcony, where the additional elements will be attached, the lamps of the crate are installed on each side, forming an angle. When installing bars, it is necessary to check their verticality in level, otherwise there will be problems with the installation of siding.
After the installation of the crate is completed, all its elements must be opened with a layer of olifa and painted. This will protect the tree from corrosion.
Installation of additional elements
For a standard P-shaped balcony, three pairs of additional elements are needed:
- J-profile (or starting profile). It is installed in places of adjustment of the balcony to the walls for the lining of the side parts.
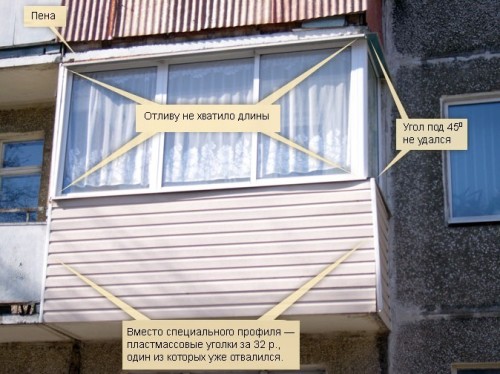
- External corner profile. It is installed in the corners of the railing and connects the siding of the side and front sides.
- Lower closing profile. Serves to enter the bottom of the bottom strip of siding. Another of its function is the protection of wooden parts of the crate from moisture.
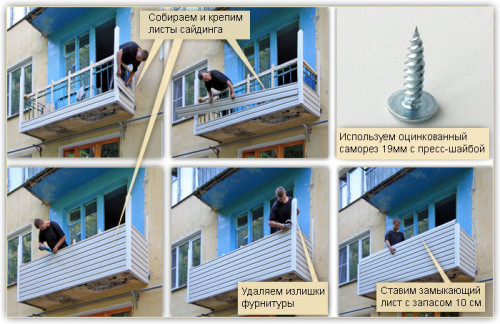
The additional elements are attached to the details of the crate using self-tapping screws with a press shame. When installing them, it is necessary to control even the level.
Installation of siding strips
If all the previous stages of the external casing of the balcony are performed correctly, the installation of the siding strips themselves should not cause difficulties.
They start installing from the sides. The first is the lower bar. It is cut along the length taking into account the entry into the locks of the corner and J-profiles. The first bar falls until it enters the castle of the lower closing profile. After that, it is attached to the crate using self -tapping screws. For this, special holes are provided in the end of the panel. Having fixed the first panel, you can proceed to the installation of the following.
After all the panels are installed, the top is closed with a corner, which is attached to the upper bar of the crate.
Useful recommendations on the external lining of the balcony with siding
- High -rise work above the second floor is better to entrust professional installers.
- Before starting work, it is necessary to enclose the area of \u200b\u200bthe sidewalk under the balcony in red ribbon so that an accidentally break a piece of concrete during the work does not fall on the head to passers -by.
- When performing work, it is necessary to use the mounting belt.
- All measurements must be made as accurately as possible so as not to cut off the largest panel length.
- A few hours before starting the work of the panel, it is necessary to take out the pantle to the street so that they take their natural size. Otherwise, with sharp heating and cooling, it can twist it.
- When lining the balcony in places with strong winds, the step of attaching elements should be no more than 50 mm.
- The distance from the end of the panel to the end of the additional element should be at least 7 mm so that it has enough space for expansion.
- When installing, you can not pull the panel, it can be stored over time.
- You need to start installing panels on the sides. Firstly, the side sides are not so striking as the front, so the roar flaws will not be so visible. Secondly, by installing the side panels, which, as a rule, are smaller, you can fill the hand on a lighter area.
How to sheathe a balcony siding inside with your own hands
Due to its excellent performance, siding is successfully used for interior decoration of balconies. This material is not toxic, so it can be safely installed indoors. In addition, it perfectly withstands mechanical loads, without damaging, which is important for a place like a balcony.
Work order:
- The process of lining the balcony with siding inside does not fundamentally differ from the external finish. However, due to the large number of angles and surface area, it is more time -consuming. Similarly, as in the process of external casing with siding, during internal work on all surfaces of the balcony, a crate from a rail or a beam is installed. Their thickness should be minimal so as not to conceal a large number of area. Along the perimeter of the slope of the window and the balcony door, the leakage rail is also mounted for installing the additional elements of siding.
- After the installation of the crate is completed, the space between the strips is filled with a heater. The most preferred material for insulation is mineral wool. It does not absorb moisture, does not burn, has low thermal conductivity.
- Typically, cotton area is insulated with cotton to reduce heat loss at the bottom of the frame.
- Next, it is necessary to install the additional elements: external and internal angles, starting profiles, J-profiles, corners.
- Siding panels are mounted on top-down into the lock. The rear side is screwed to the elements of the crate using self -tapping screws. Some installers use an industrial stapler for this, however, with a sharp entry of the stapler bracket, the panel can damage, so this must be done carefully.

