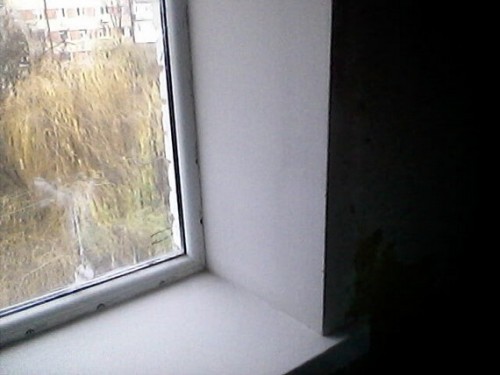
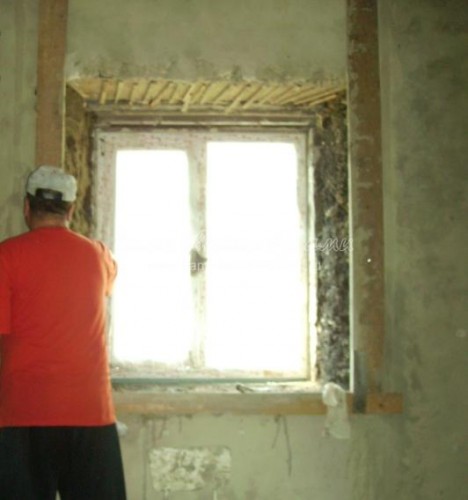
The slopes for window openings are originally set during construction. They can be made at right angles, dawn (diverging at a certain angle), external and internal, and in the geometry of the window - rectangular, arched or any other shape along the contour of the window. The most difficult part of the plaster of the slopes of the windows is the correctly bred angles.
Content
Properly plastered slopes of the windows create a general picture of the facade or inside of the wall. It does not matter whether you have plastic windows or wooden ones. The principle of plaster for all window openings is one.
Preparatory work for sloping plaster
- Work on the plastering of slopes, you need to start after all plastering work on the walls and ceiling is completed.
- In any case, you will need a set of tools. A level not exceeding the width of the window opening.
- Two - three stainless steel spatulas. Narrow about 5 cm, average within 10 -12 cm and wide up to 25 cm.
- Celma (trowel) for cloaking solution, Malka, grater, kirochka or hammer.
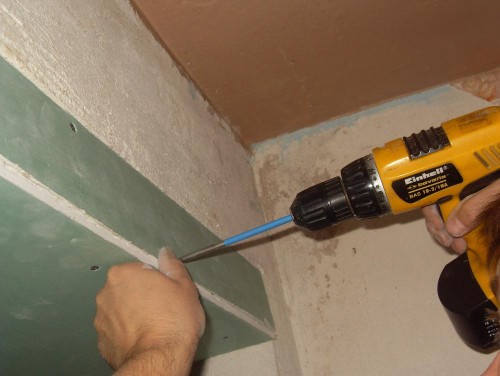
- A screwdriver with a set of bit, screws, (if it is supposed to be finished with drywall).
- Reinforced fiberglass mesh.
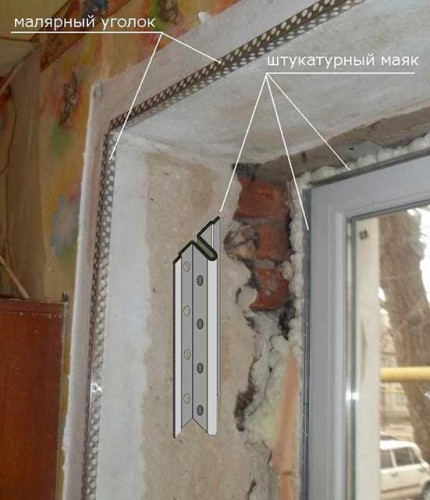
- Aluminum or plastic corner. For arched openings there is a special perforated flexible corner.
- Dry plastering mixture and putty for finish finishing work.
- It is advisable to install the windowsill in advance before the start of work with slopes. Remove with a knife for drywall, the remains of mounting foam around the perimeter of the window frame.
The procedure for performing the slopes plaster
- First of all, trim the window opening with Kirochka, cut off all the protrusions, remove dust and treat the slopes with a primer. Let it dry and smear the surface with a gypsum. Large cavities can be sealed with gypsum or alabastr. They work with Alabastr very quickly, as it grabs for 5 minutes.
- Sometimes for applying a very thick plaster layer, a reinforced metal mesh is attached. It prevents the slide or collapse of humid plaster, and after drying out the cracking of the surface of the slopes. The ideal option is a reinforced galvanized mesh. It is better to fix it with stainless steel dowels. Rust has an unpleasant feature to appear during plaster and putty.
- The plaster is impressed by a cell in small portions with layered surface smoothing. To create the desired slope angle, use a pantic and grater. With the angles, check with the level.
- The most difficult area is the upper horizontal plane. Most often, the surface using a reinforced mesh is plastered. For ease of processing, it can be sewn with drywall.
- After the plaster completely dried, it is treated with a senacious primer and antiseptics preventing the occurrence of fungus and mold.
- A reinforced glass of fiberglass with a small overlap on the walls is glued along the perimeter of the window slope. For slopes with straight angles, you can use a plastic profile corner. If the plastered angle is less straight, you can fit an aluminum or galvanized corner in size.
- The surface is putty in a 2 to 3 mm layer of coarse -grained putty in 2 - 3 mm. After drying, a second layer of finish small -dispersion putty is applied.
- The dried surface is wiped with fine sandpaper or a special grout with a change of net. It is primed for painting and painted with water -based paint.
- To give the desired color, there is a palette of water -soluble pigments of different colors. Apply paint with a brush or roller, preferably in several layers.
- The decoration of the outer slopes of the windows is no different from the work of the room. Work should be done at a temperature of at least +5 ° C. More detailed instructions on how to independently finish the slopes of the windows on the video at the end of the article.
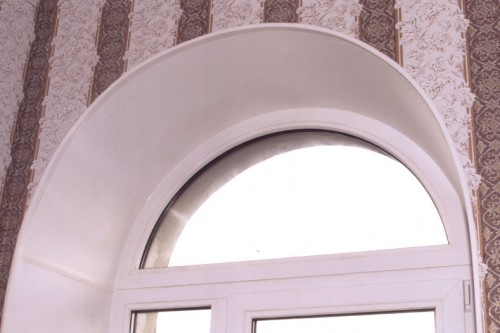
Finishing and plaster slopes in arched window openings
- Side slopes are performed in a traditional way.
- For the upper semicircular part, the pattern of plywood is cut by the size of the opening and attached from the inside to the wall. A reinforced mesh is attached to the pantry, and the surface is plastered with a special half -plane.
- Another option using ceiling drywall. Radially in a step of 15 - 20 cm, embedded. You can use a bar or P - a shaped galvanized profile for drywall. The free space between them is plastered or filled with a filler. To do this, you can use polystyrene foam, mineral wool or mounting foam.
- A ceiling gypsum cardboard curved in the arc is attached to the embedded. Next, the arched plane is treated with primer impregnations, putty and painted as described above.
- Sometimes instead of ceiling drywall, ordinary fiberboard is used. The fiberboard is screwed with the smooth side up. The rough side is processed with a primer and putty.
Dry method of decoration of window openings
- The laying of the window opening is attached to the processed and aligned pantry of the window opening. They can be made from a wooden bar or use a profile fastener for drywall.
- For decoration of window slopes, you can use any finishing material. Plastic, drywall, wooden panels and more. The space between the embedded is filled with a filler.
- You can use insulation for this purpose. Mineral wool, foam, foam or any other suitable filler.

