Carrying out repairs pursues several goals-to update the home, change its appearance and create something new. The best way to achieve the desired is to redevelop the house. In this case, it becomes possible not only aesthetically transforming the home, but also to create an additional room. Sometimes this factor is decisive when deciding on redevelopment. Increasingly, consumers create internal partitions from foam blocks - the material allows you to quickly and efficiently build an interior wall with their own hands.
Content
What is a foam block?
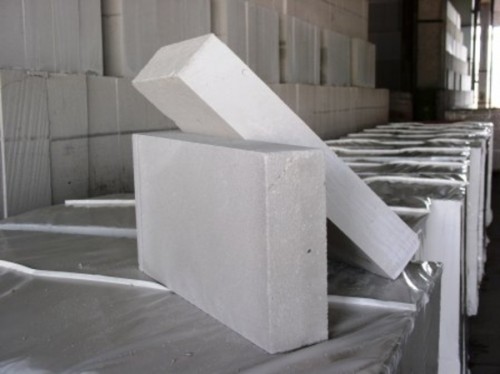
The foam block consists of a mixture of concrete and synthetic or organic foaming agent. With mechanical mixing of the components, air bubbles are evenly distributed in the solution, and after its solidification, a strong, but relatively light building material is obtained. Partition from foam blocks, the price of which depends on the strength of the strength, in any case will cost cheaper than a brick structure.
Penoboton composition:
- cement;
- sand;
- water;
- foaming agent.
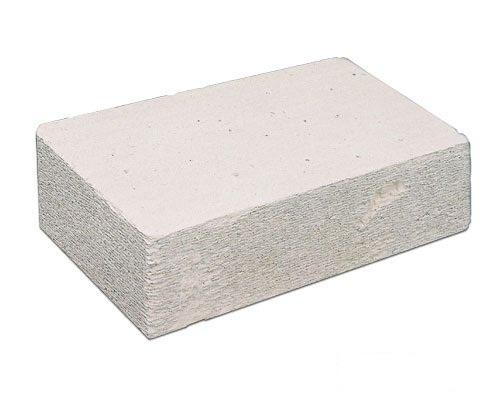
The advantages of foam concrete blocks:
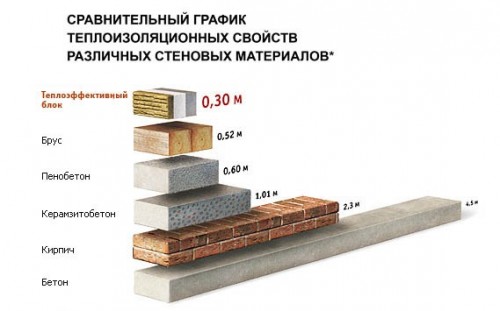
- high sound and thermal insulation properties;
- environmental friendliness;
- fire resistance;
- large size - foam block parameters allow you to quickly lay out the interior wall and reduce the costs of the binding solution;
- small volumetric weight;
- the porous structure of the material - due to this property, the partitions from the foam blocks “breathe” and there is no effect of re -tuck;
- easy in processing - the material is cut with both power tools and a simple hacksaw, which allows you to create partitions of various shapes and without much effort to lay engineering communications;
- simple installation;
- wear resistance;
- available cost.
Penoblock disadvantages:
- the fragility of the material - with improper transportation, it is possible to damage it;
- the need to conduct waterproofing walls - porous concrete has a high degree of vapor permeability and water absorption;
- restrictions on the load of partitions - problems may arise when attaching massive, heavy objects on it.
Preparation for work
Foam blocks for internal partitions - the choice of material
When choosing a material for interior walls, attention should be paid to the following factors:
- penoblock thickness-10-15 cm;
- the density of the material - for internal partitions, the D600 brand is usually used;
- homogeneity of structure;
- the shape of the bubbles - they should be round and small (with a diameter of up to 1 mm);
- lack of differences in the size of foam blocks - it happens that the difference reaches several centimeters;
- packaging of the material - it should be covered with a film for protection against moisture;
- lack of cracks and damage.
Calculation of the number of foam blocks
To calculate the number of foam blocks, the parameters of the future wall are measured. For example:
- its length is 4 m;
- height - 2.5 m;
- thickness - 0.1 m.
In this case, the area of \u200b\u200bwindow or doorways is taken into account - in this case it will be 2.0x0.7 \u003d 1.4 m². The length of the standard blocked foam block is 0.6 m, a height of 0.3 m. Its area is 0.18 m².
Directly the calculation itself:
- the total area of \u200b\u200bthe wall is calculated - 2.5x4 \u003d 10 m²;
- from the resulting result, the area of \u200b\u200bthe doorway is taken-10-1.4 \u003d 8.6 m²;
- the number of foam blocks is calculated: 8.6: 0.18 \u003d 47.8 pcs.
So, for the construction of a partition with an area of \u200b\u200b8.6 m² you will need 48-49 foam blocks.
Tools and materials
For laying a wall of foam blocks, two types of mixture are used:
1. A classic solution - a mixture of sand and cement in a 1/4 proportion. The disadvantages of this method of masonry include the thickness of the seam and, as a result, an increase in the "cold bridges." To the pluses - the low cost of such a solution.
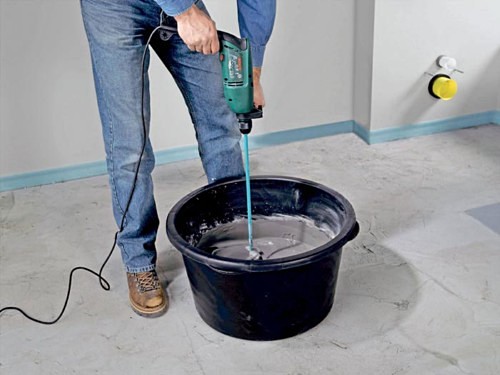
2. Special glue - optimal material for laying the wall. Its advantages:
- thin seams;
- ease of cooking;
- excellent clutching properties;
- a smooth, smooth surface of the wall.
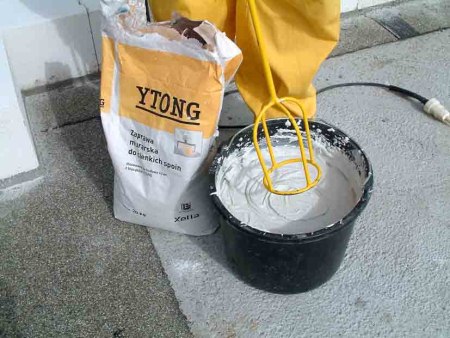
For attaching to the wall, embedded pins are used - steel plates with welded reinforcement. On the floor, the partition is fixed with the help of pins.
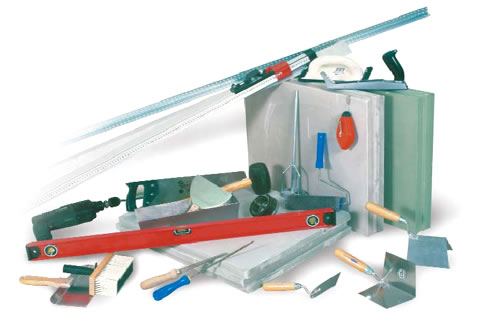
The following tools will be needed to work with a foam block:
- hacksaw, shirts and graters;
- drill with nozzles for kneading the solution and creating holes under the outlet;
- rubber hammer;
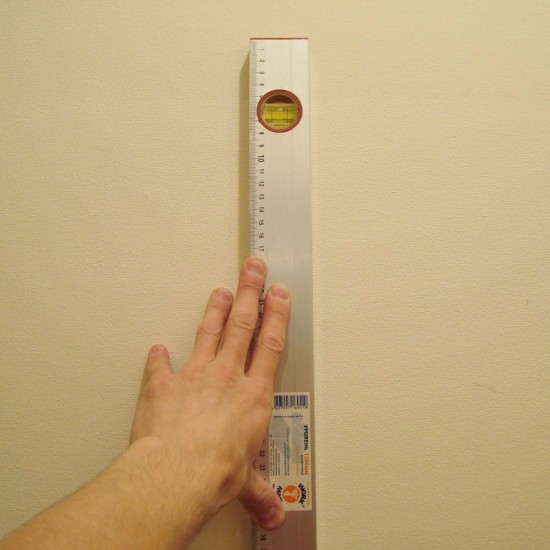
- level;
- a container for a solution or glue;
- trowel or spatula;
- sensor tools: laser level, cord, marker or pencil.
Do -it -yourself foam blocks - installation
- The surfaces adjacent to the mounted structure are cleaned of dust and primed.
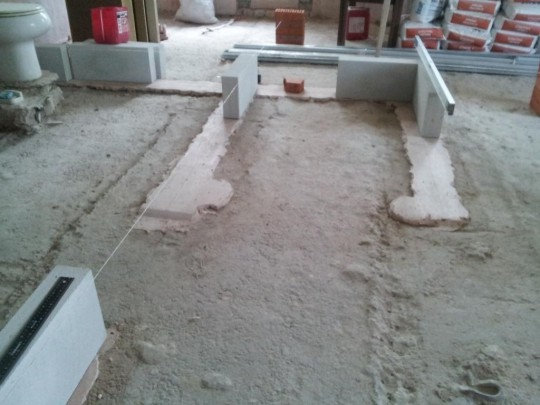
- With the help of a laser level, a recitting cord and a marker on the floor, ceiling and walls, marking the boundaries of the future partition is carried out.
- To prevent displacement of the first row of foam blocks, a metal profile is attached to the floor. It is used as a limiter and facilitates the accuracy of styling.
- Boys-samers are screwed into the floor. It is possible to lay the first layer per solution - in this case, the fasteners are not needed.
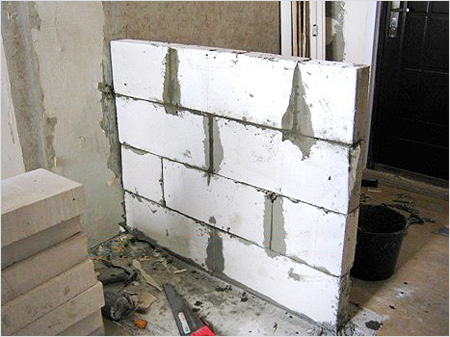
- Sloppers are attached to the load -bearing walls or segments of a reinforcing rod are clogged. The fasteners should be included in horizontal masonry seams every 2-3 rows.
- The first row of foam blocks is stacked strictly in level. If necessary, the size of the material is reduced using a hacksaw. Since the foam block is quite fragile, the wall should be aligned carefully using a rubber or wooden hammer.

- The masonry of the second and subsequent rows of foam block is carried out “Routing” - vertical joints should not be located over the other. The masonry will be denser if foam blocks are moistened with water.
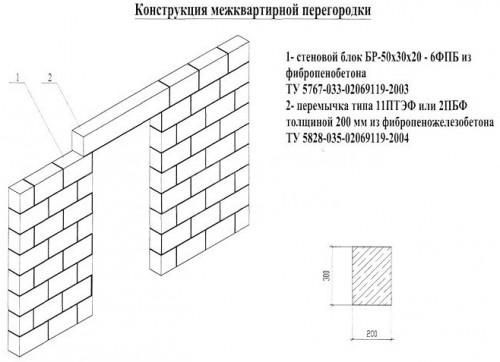
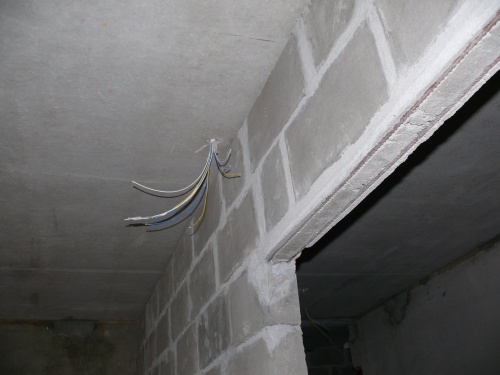
- In the process of erecting the wall, a doorway is formed. To strengthen the structure in its upper part, the reinforcement is laid and fixed with spacer wedges. It is installed in the grooves pre -carved in foam blocks.
- After raising the partition, the resulting gap between the masonry and the ceiling is filled with mounting foam.
- Partitions interior of foam blocks in several layers are processed with a primer and then plastered under wallpaper or other finishing materials. The wall cladding with tiles is carried out directly on the wall. In this case, plaster is not required.
