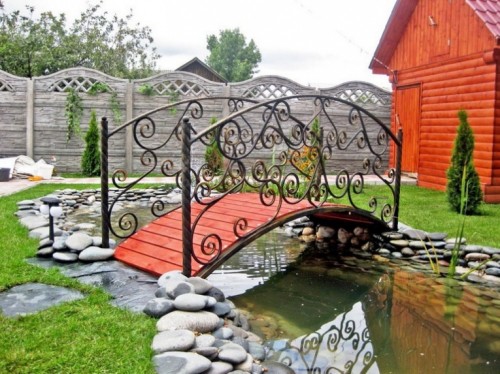
If you choose decorative bridges through a pond in stores, then they will cost you a tidy sum. But this is not a reason to abandon such beauty in your country house or in the garden. If desired, you can build a bridge through a pond with your own hands.
Content
The main criteria for the bridge
Sometimes it is difficult to choose the type of bridge that you will build, based only on the photo on the Internet, because they are all beautiful in their own way. Here you will have to focus on your own skills, how the bridge will fit into the overall design, and, of course, to the budget. But in any case, there are certain criteria to which the constructed design must meet:
- Reliability and strength - these two qualities are important to each summer resident, because it is known that a strong thing will last longer. So that the garden bridge does not deteriorate ahead of time, it is necessary to process it with special means to protect against external pests.
- Safety - if a person crosses the stream through the bridge, then he should be completely sure that nothing will happen to him. In addition, the design should be so strong and reliable that several people can withstand at the same time.
- Decorative - in most cases, bridges in the garden are installed to make the landscape even more advantageous. There is no doubt that it is impossible to make a beautiful bridge with your own hands, the main thing is to choose the right shape, combination and material.
Form of the bridge
It would seem that such a simple design as a bridge cannot have many forms. But this is not so. Bridges through the pond are very diverse:
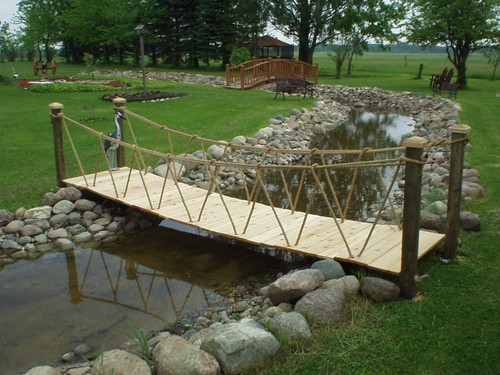
- Direct is the simplest design form. Typically, the material for them is wood, stone or concrete. If necessary, then the railing is also installed on such a bridge.
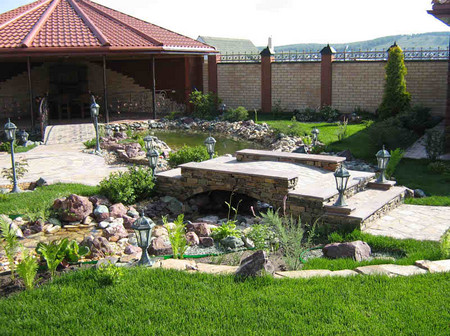
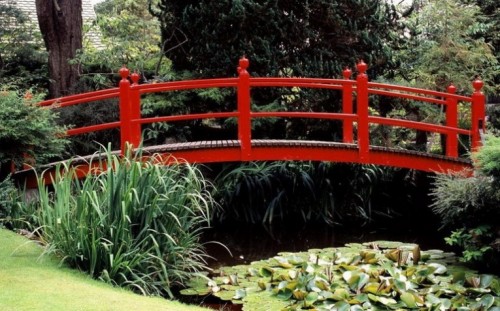
- Humpbacked or arched - these bridges are very popular. The ideal design is considered bridges with a 2-meter width and a 20 degree bend.
- Stepped - this bridge consists of two stairs, in the middle of which is a platform. It is necessary to provide a small slope in such structures on the steps so that the rainwater does not accumulate, but drains. In size, they should not violate the rule of the average step.
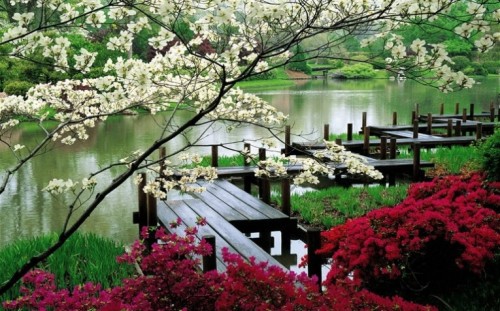
- Step by step - such bridges are built if the pond is small. To build them, just put large stones with a short distance from each other so that it is convenient to walk. Instead of stones, you can use slabs.
- In order - so that such a design is safe, you need to make a reliable foundation and take strong cables.
- Zigzag - these bridges are not only beautiful and unusual, but also, according to the inhabitants of the country of the rising sun, protect against evil spirits that can only move along direct lines.
Material for the bridge
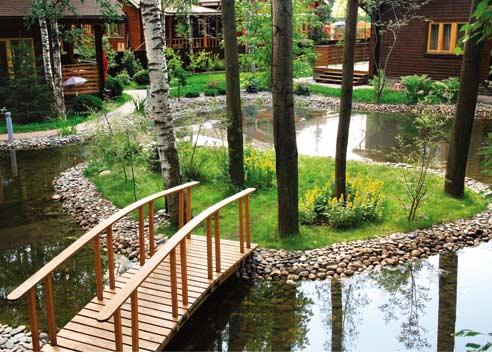
- Wooden bridges are the most popular both in sales and for those who try to build this design with their own hands. Probably all this from the fact that the tree is suppressive, affordable and it is used a lot in construction in areas, so almost any product from it harmoniously fits into the garden design. The main thing when building a wooden bridge is to choose good material. And adhere to the recommendations for construction, then a small design can be built yourself and literally in a day.
- Metal bridges - the whole bridge will not work out completely yourself, because some details are created on machines. This applies to the base of the bridge. All other work can be done independently. In terms of design, such a bridge will look advantageous if you add the railing and lanterns to it.
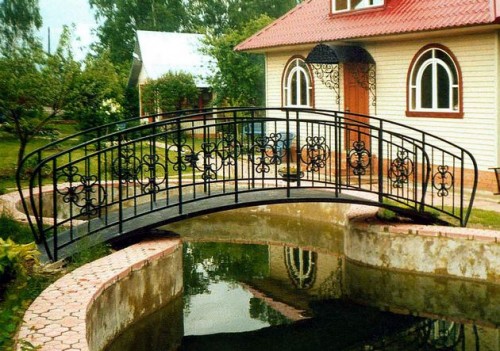
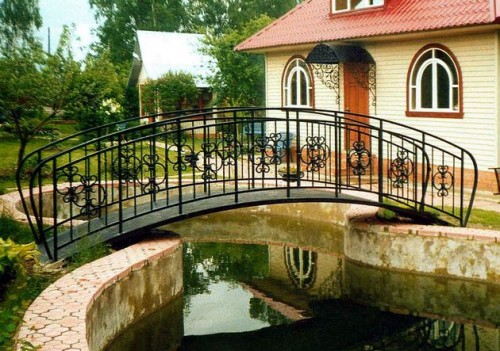
- Forged bridges - this product is collected from ready -made parts, and even then experts do not advise doing this. Because, if you decide to spend money on expensive forging, then let the masters do work from beginning to end. At the expense of how the forging fit into the garden design does not even need to worry, it is considered a classic and looks great along with other elements, such as pergola, benches and forged gazebos.
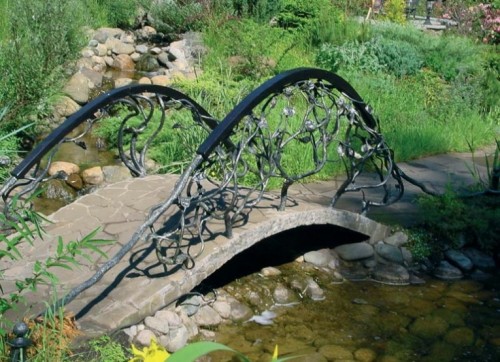
- Combined bridges - such garden bridges call structures that have collected the best elements from forged bridges and wood. Usually the railing and base of the bridge are made of forged metal, but the flooring is already wooden. Sometimes a burned board with engraving and drawings applied on it is used.
DIY Garden Bridge
Below are three ways how to make a bridge, they are quite simple, and any person who once held carpentry tools can perform them.
Direct bridge made of wood
The bridge over the pond will turn out about 2.5 meters. To build it, you need to do the following work:
- Before making a bridge, you need to build support sites from two shores of the pond. To do this, put a gravel or broken brick on the soil, and compact well.
- On top of the gravel, put the bars, the length of which is 100 cm, and the cross section is 150x150 mm and a couple of thick logs with the same dimensions. Before laying it, they need to be either sampled or an antiseptic is applied to them.
- Cover the bars on top with roofing material.
- To fix the bridge at the location, you need to drive metal pipes or corners on the sides of the supports.
- Between the two supports, put two timber, connect them to the supports of the bridge with nails. The size of the span bars should be 1x1 m.
- For the flooring, you need to take boards of 1x0.4 m and lay them next to each other, making a clearance of several millimeters so that rain water flows into it and there is a small ventilation for wood. Make sure that the edges of the boards go 10 cm beyond the supporting bars on both sides. Next, connect the boards and bars with nails.
- Now the turn has come to equip the railing on the bridge. To do this, you need to put supports on the outside of the beam. The handrails will continue to be fixed on them. For this type of bridge, it is quite enough to make 3 racks. At an altitude of 70 cm, you need to fix the handrails with self -tapping screws or nails.
"Humpbacked" wooden bridge
The “hunchbacked” bridge has the most basic one is to make a bracket. For its manufacture, you need to take wide boards, the length of which is 2.5 m, and then do the following work:
- Find the center at the board and outline it with a pencil, this place will be the height of Kosoura. Next, it should be marked on both sides of the edge of 40 cm and connect these points with the center.
- Now you need to find the middle between the center point and the extreme, outline with a pencil. And the third points need to be outlined by retreating from the very center of the beam of 5 cm on each side. And from these points, also backwards vertically 2 cm, and connect all points with a curve.
- Using an electrician, cut a beam along the intended lines. Put the curved part on top of the cut.
- Four bolts need to be connected by two parts of the beam. In the same way, to make the second Kosour. Now you can collect the whole bridge.
- Make support sites from gravel. Connect two braids below with metal rods with threads. The length of these rods coincides with the width of the bridge. Kosuurs must be combined and drilled through, retreating 5 cm from the edge below and 10 cm from the side.
- Combine two braids with metal rods. You can replace the rods with wooden bars, which will connect the braids with fixing corners and self -tapping screws.
- For flooring, you need to take boards of 1x0.4 m and lay them next to each other, leaving small cracks.
- Set racks for railings and railings, treat the tree with an antiseptic, open with varnish or paint.
Eco-shade
If your garden serves as an island of wildlife with meadow multi-grass, with small ponds-bribeans, then a bridge that is made as if casually, as if mother nature itself, has folded the logs in such an uncomplicated way, will look very organic. So, for the manufacture of such a transitional bridge through the pond you will need:
- Make the foundation from gravel and put a couple of thick logs on top of it, they will serve the bridge with the base.
- On top of these logs, put two more logs, but already thinner and connect them with nails.
- The flooring of the bridge will be made of poles from birch. There is a small trick, if you put wide poles in the center, and then they will gradually decrease to the edges, it will visually seem that this is a “humpbacked” bridge.
- For the railing, you also need to take uneven thin logs.
When the work on the construction of a bridge through a pond with your own hands will be completed, you can start decorating it. Some bridges, such as IVF, do not require any decoration, they themselves are a strong element of the garden. But forged bridges can be supplemented with lanterns with lanterns, they will look very advantageous in the evenings when the light in the water of the pond will be reflected in the semi -patch.

Wooden bridges look wonderful along with flowers in pots or wild -growing weaving plants. The earth around the bridge should also be ennobled, you can pour sand or pebbles. And near the pond, put shops made in the same style with the bridge. As a result, you will get a wonderful vacation spot that will be doubly, because you made it with your own hands.

