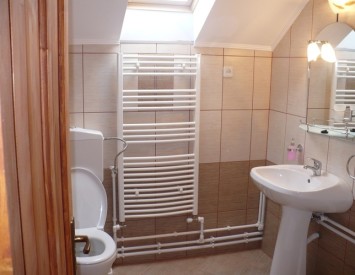
Several cubic meters of water every day pass through pipeline systems. Pipes in the bathroom and toilet are unusable and need to be replaced. It is not difficult to change the pipes in the apartment with your own hands. Any person who knows how to tighten the nut with a divorce key is affordable.
Content
- Choosing pipes to replace internal wiring in the apartment
- Tools for replacing pipes in the bathroom and toilet
- Materials necessary for work
- Dismantling the old pipeline in the bathroom and toilet
- The installation procedure for internal wiring of the water supply
- Verification of internal wiring after pipe replacement
- Video replacement of pipes
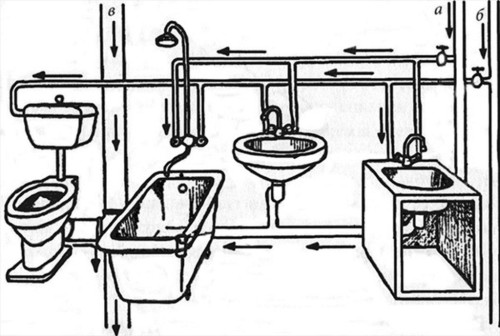
Having decided to replace the internal wiring of the pipes in the entire apartment, pay attention to the condition of the risers. Perhaps you will need not only the replacement of pipes in the toilet and the bathroom, but there is also the need to change the riser.
Choosing pipes to replace internal wiring in the apartment
- Steel pipes were previously universally used to install internal wiring. A steel pipe withstands high temperatures and pressure. But such wiring has a number of disadvantages. Steel is subject to corrosion, condensate falls on the outer surface, and the inside rust and lime. There are difficulties in installing metal pipes. It will require skills in cutting threads or the ability to make welded hermetic seams. An important drawback of steel pipes is electrical conductivity.
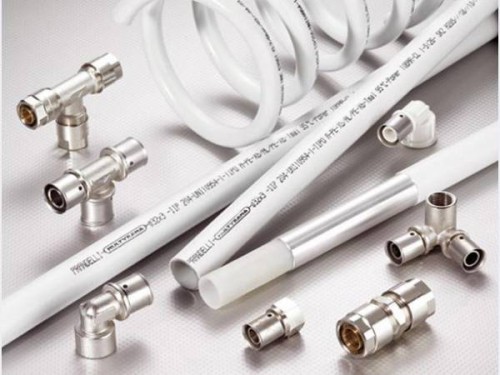
- Metal -plastic pipes are much lighter than metal pipes and are easier to mount. They are easy to bend with your hands using a special steel spring. This is important for laying the internal wiring of pipes in the bathroom or toilet in hard -to -reach places. Metal -plastic pipes have high throughput, are not lime and do not rust. For installation, it will require fittings that are collected using a divorce key. Pipes easily withstand hydraulic boards and are divided into two types: for hot and cold water. Warranty life of 35 years.
- Plastic water pipes have all of the above positive qualities. For the installation of pipes, a special glue or soldering iron and fittings will be required. Such a system is durable, has a low weight and is not comprehensible of corrosion. Its fearlessly can be walled into the wall or hid under the floor. Plastic pipes differ by type:
- polyethylene pipes - the connection at the joints is produced by a soldering iron. For a pipeline for hot water, pipes made of stitched polyethylene are purchased;
- pVC pipes - are used not only for internal wiring of water supply, but also for heating systems. The connection of pipes with threaded fittings is carried out using special glue;
- polypropylene pipes are most often used to replace pipes in the apartment. The low price and universal characteristics for cold and hot water make this type of pipes the most popular. The connection at the joints is carried out by soldering.
Tools for replacing pipes in the bathroom and toilet
- A turbocharging machine (a grinder) with a cutting metal disk is useful for dismantling old metal pipes.
- Pipe electric soldering iron or special glue for plastic pipes depending on the installation method.
- Carzac for plastic pipes and scanning (for pipes made of metal -plastic).
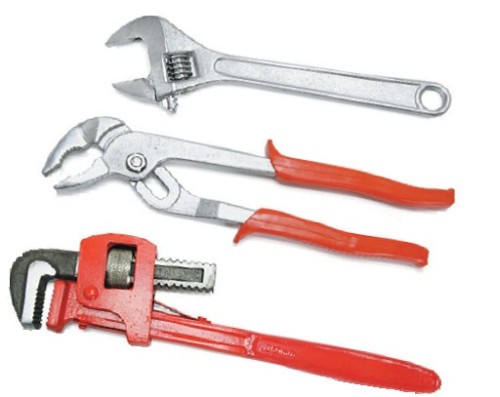
- Divorce pipe keys No. 1 and No. 2, Swedish key, a set of rock keys from 18 to 36 mm.
- A drill with a shock mechanism and a drill with a titanium nozzle.
For pipes from metal, a lick is required to cut threads and a vice.
Materials necessary for work
- For internal wiring, pipes with a diameter of ½ and ¾ inch are steel or 16 - 20 mm plastic are used.
- Fitings in the required amount (end, angular and intermediate tees).
- Cutting valves for each wiring.
- Flax Pacli (winding).
- Pipe mounts - 1 pc for 0.5 meters.
- Technical petroleum jelly for threaded connections.
Dismantling the old pipeline in the bathroom and toilet
First of all, the pressure of water in the riser is overlapped. The cutting valve is usually in the basement. Make sure that the cutting valve reliably holds water, and it is absent in the internal wiring system.
- All connected objects are disconnected: mixers on the bathroom, toilet tank, washbasin, etc. Pipe key No. 2 is clamped by a dismantled pipe. The key is taken in the left hand, and the clamping cheeks of the key are directed towards the wall. The second key No. 1 is taken by the connecting coupling, the cheeks are directed in the opposite direction. Holding one key to the pipe with the second key with effort, but without jerking, promote the connecting coupling.
- In those places where the connections are finally thicket or rotate, and it is impossible to promote them, the pipes are cut by a turbine with a cutting disk for metal. When working, keep caution and protective equipment. Especially take care of your eyes, do not work without goggles.
If the wiring is done without replacing the common riser, then a new thread is cut for the issues, and shut -off taps are installed. By closing the shut -off taps, you can open the water in the riser and continue the installation of internal wiring.
The installation procedure for internal wiring of the water supply
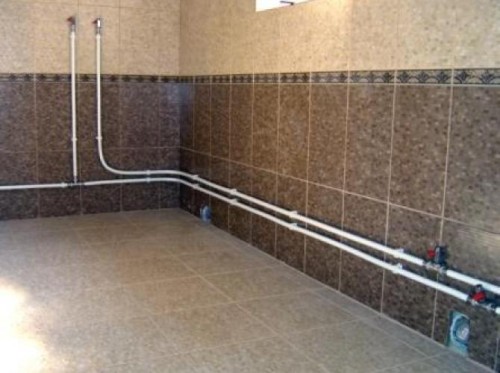
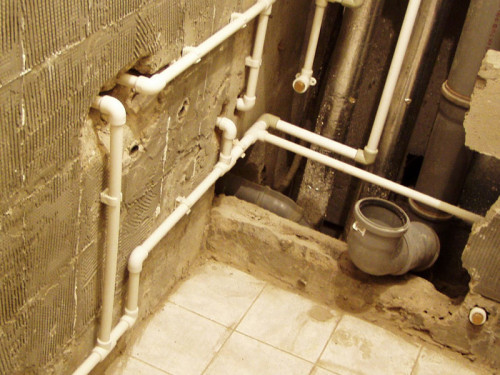
The walls are prepared and the marking of the future water supply route is made. For hidden installation of wiring in the walls, grooves are stroked, and for the outer, holes for the dowel are drilled in the places of fastening.
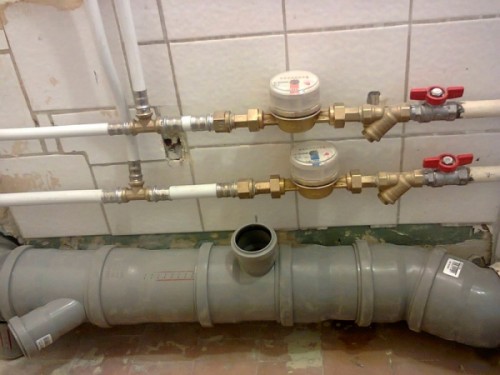
- The installation of internal wiring pipes begins with connecting the filter of rough cleaning after cutting off the valve on the entries of hot and cold water. On the filter case there is an arrow indicating the direction of water movement. A pinch of linen paclies is taken, small SOR is combed with fingers and twisted into a thin twine with a thickness of about 1 mm.
- From the edge of the thread clockwise, Packl is tightly wound to the base of the release. A little technical petroleum jelly is applied to the pac from the beginning of the threaded connection. The filter is connected to the release and twisted. At first manually, and then tightened by the key. For a high -quality connection, it is necessary to make at least 4.5 - 5.5 full revolutions of the part of the part.
- After the rough cleaning filter, a water meter and check valve are installed. All parts are equipped with indicative arrows of the direction of the water flow, and the counter itself is attached with the help of united nuts (Americans) with rubber gaskets. When installing a meter to enter hot water, the gaskets change to paronite. The counter is installed immediately after entering in an accessible place. The direction and position of the dial does not matter.
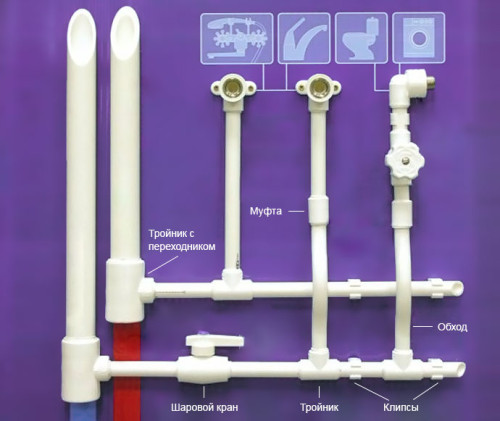
- A plastic pipe is installed from the counter to the nearest plumbing object. The cutting for plastic pipes is cut off by size. On the one hand, the end fitting is attached, and on the other passing tee with a threaded issue. The connection is made using a soldering iron or on glue, depending on the type of plastic pipes. On sale there are passing and end knees with an angle of 45 ° and 90 °.
- A cutting ball valve is installed on each plumbing object at the connection site. Thus, in the event of a malfunction for repairs, it is not necessary to block water in the entire apartment, it is enough to turn off only one object. From the release of the cutting crane, connecting hoses are installed to the faucets, the toilet tank, etc.
Verification of internal wiring after pipe replacement
Smoothly, starting from weak pressure, water is supplied to the internal wiring system. Having waited 10 minutes, all joints and places of threaded joints are checked. If leak is detected, it is eliminated. In the threaded connections, it is enough to tighten or reap the knot. Takes on adhesive or steamed compounds are eliminated by the complete replacement of the node.
