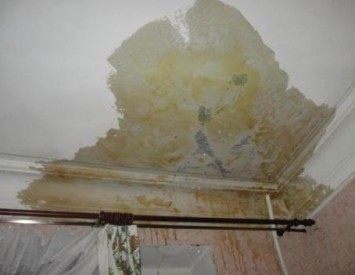
Most residents of multi -apartment and private houses are thinking about waterproofing the ceiling too late, that is, in fact - flooding by neighbors from above or the flow of the roof. To avoid these troubles will allow a small range of work, which can be entered into planned repairs. Today we will discuss what materials are used to waterproof the ceilings, and how can you do it with your own hands, saving on hiring a construction team.
Content
Why is this necessary?
It is easy to guess that waterproofing of the ceiling is needed so that water does not penetrate from above into the house. This can happen for various reasons - the aquarium burst from the neighbors from above, they forgot to close the crane, or just broke through the pipes. For owners of private houses, waterproofing is more important than ever, since in the case of leaks it will have to be only on their own improvisability.
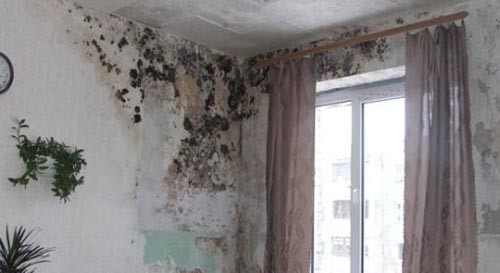
In addition, waterproofing avoids the occurrence of mold and fungus due to excessive fumes in the room, for example, in the bathroom or kitchen. It protects a layer of insulation, which, when wet, ceases to perform its protective functions. Thus, waterproofing not only does not allow water to spoil the interior items and the finish, but also extends the term of the insulating materials of the ceiling.
It is important not to forget that flooding by neighbors on top is fraught not only with damage to property, but can cause much more damage. Water can wet the wiring and provoke a short circuit with fire as a result. Particular attention should be paid to the waterproofing of the ceiling in the bathroom, the kitchen and other rooms with a high level of humidity. Since all the time or very often there are evaporations, which, as you know, strive up, the interior decoration of the ceiling is in an extremely vulnerable position and requires protection.
But here is the paradox - to perform the waterproofing of the ceiling from the inside, in principle, it is wrong. Since the main threat is flooding from above, the water with its weight will press on the protective layer and can tear it off. It is much more reasonable to isolate the outer surface of the ceiling, but by coincidence, this outside is the floor in a neighboring apartment. And it is unlikely that the neighbors will be delighted if you come to them with this idea and demand to remove the floor or at least linoleum to cover the floor with mastic for the safety of their own housing. So you have to be wise and select materials that would be convenient, and most importantly, effectively protect against random flood.
Materials for waterproofing
There are a lot of waterproofing materials, but the ceiling is quite specific, and working with it is not so simple. However, resourceful masters still manage to select effective ways to protect the ceiling with a variety of materials. Consider each of them in more detail.
Motorproofing waterproofing
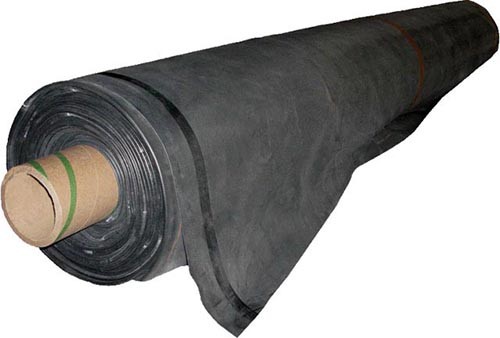
This is a whole section of waterproofing materials, the most striking representative of which is roofing material. Bruthing is called any waterproofing that needs to be glued or melted on a prepared surface. Usually sold in rolls, such as a plastic film, fiberglass, polypropylene synthetic canvases and other functional analogues.
However, a significant drawback of this type of materials is just in their method of applying to the surface. If you at least once tried to glue the wallpaper on the ceiling, you will immediately understand what is meant. The roofing material, even the cheapest and most common, is much heavier than the wallpaper, and therefore it is even more difficult to cope with it, and not the fact that it will stay tight. And at the first high -quality flood from neighbors from above, such waterproofing can successfully fall off with a decorative coating. Such a perspective will please, so the glow waterproofing for ceilings is used infrequently.
Stretch ceilings
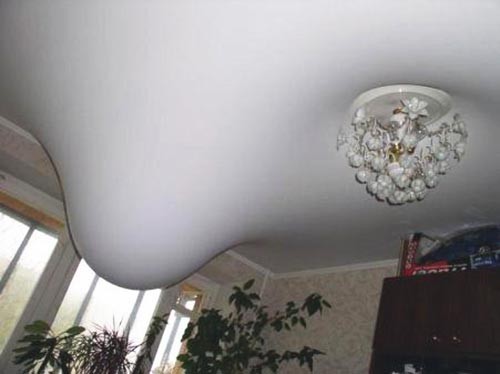
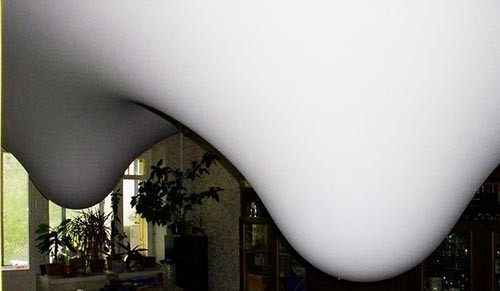
This method is much more popular than gluing the ceiling with polyethylene, but it costs much more. Stretch ceilings earned recognition not only with an interesting appearance and high aesthetics, but also by the ability to reliably protect the dwelling from encroachments of uncontrolled neighboring water. In the case of the flood, the liquid simply accumulates under the ceiling and cannot seep through its canvas. If there are quite a lot of water, the ceiling will turn into an interesting sight more reminiscent of an avant-garde art object, as, for example, in the image below.
But even if the canvas sags already to the floor, it will not miss a drop of moisture. Then the liquid is released through the openings for the lamps, safely generating in the container. The film structure is able to withstand up to 100 liters of water per 1 m² of area - no waterproofing can boast of such indicators.
In addition to their cost, the disadvantages of suspended ceilings include the fact that during installation they significantly reduce the height of the room, so they are not suitable for all apartments. If such a ceiling safely saved you from flooding from above, and you have scored water from under it, the work is not finished yet-the space between the concrete ceiling and the panel must be dried. Moreover, to do this very high quality, otherwise there is a risk of getting a mushroom or molded plantation hidden from the eyes. To do this, most likely, you will have to shoot the entire film, dry it, and then install it in place.
But still, there are much more advantages, and therefore the installation quite justifies any sacrifice. Such a coating not only reliably protects from moisture from the outside, but also creates a perfectly even and smooth surface - you will not achieve this with a single whitewash and plaster. The installation of a stretch ceiling, although specific, is fast and does not leave dust and dirt. This is an ideal solution for the aforementioned rooms with high humidity - the film does not miss evaporation and retains concrete overlap with dry.
Crystal waterproofing
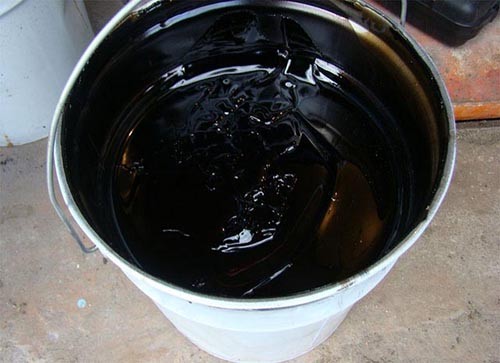
With coating waterproofing, everything is much easier than with bog. It includes a number of liquid mixtures that are applied to the surface with a roller or brush. Mastics usually have a bituminous or polymer base, so they create a fairly reliable and strong waterproof film.
In order for the composition to hold well on the ceiling and does not exfoliate under the pressure of water from above, the surface must be carefully prepared. Often, preparatory work takes much more time than applying the defense itself. This is the lack of these materials. The ceiling first needs to be cleaned of the old coating and primed several times. The primer should be chosen not by any kind of, but deep penetration - such compounds penetrate inside the concrete slab, brick or other porous material, where they are safely freezed, increasing the strength and waterproofness of the overlap. Outside, the primer leaves an adhesive film, to which any coating waterproofing sticks well.
An important point: since organic solvents are present in almost all waterproofing mastics, in the process of working with them it is necessary to open all windows and doors to ensure high -quality ventilation of the room. Based on this requirement, we can conclude that the ceiling processing cold winter will not be the best idea.
Liquid rubber coating waterproofing materials, which relatively recently appeared in the construction market. This substance is based on two -component bitumen mastic. It does not have a single toxic substance, and the drying time is practically instant compared to one -component compounds. However, if you do not want liquid rubber to fall off the ceiling in six months, you need to choose the products of a high -quality proven manufacturer, most likely paying a round sum.
Penetrating waterproofing
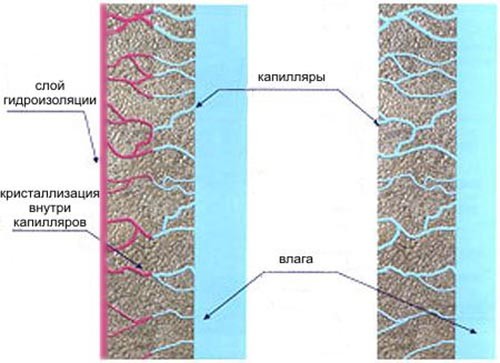
This method is the most common, and not only because the cheapest, but also thanks to good quality indicators. The principle of action of penetrating waterproofing is somewhat reminiscent of a primer of deep penetration: the substance seeps through the pores of concrete to the maximum possible depth, where it crystallizes and is firmly fixed. Thus, microcracks and holes in the ceiling are clogged, preventing moisture from leaking inward.
An important point: often the depth of the composition of the composition into concrete depends not only on its quality and the manufacturer, but also on the temperature at which the work is carried out and the degree of surface humidity - the warmer and wet concrete, the deeper the waterproofing will penetrate. There are compositions that can impregnate concrete by 60-80 cm. They are quite expensive, but, fortunately, they will not need concrete floors in apartment buildings-cheap compositions that penetrate only 15-20 cm are quite suitable.
The waterproofing of the ceiling from the inside in most cases is carried out by the Tron-1 CT-1, popular in the domestic market. We offer to consider in stages how to handle it:
- The surface of the concrete overlap should be soaked properly. To do this, it is enough to wipe it with a damp rag several times, sprinkle with water from a spray gun or walk with a wet brush.
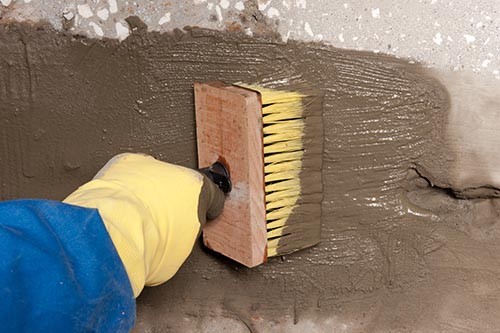
- When the water soaks concrete, you can apply a penetrating composition. This is best done with a wide construction brush with synthetic bristles.
- The movement of the brush should be carried out in one direction - do not carry several times in the same place.
- It is better to apply waterproofing with a thin layer. When the first layer grabs a little, but does not freeze completely, you can start applying the next. In total, 2-3 layers are enough. Before spreading the ceiling again, it must be moistened again - water is a transportation tool for microparticles of the composition inside the ceiling.
- Each subsequent layer must be applied perpendicular to the previous one.
For 1 m², covered in 2 layers, it will take about 0.8 kg of Tron-1, provided that the surface is smooth. About 1 kg/m² will go to the rough ceiling.
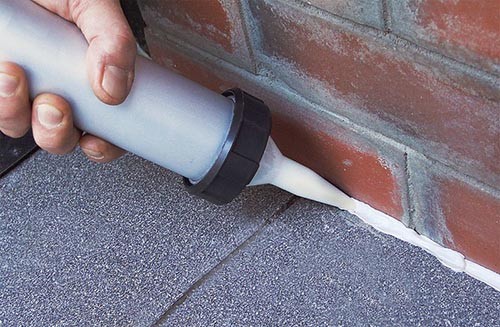
During work, pay special attention to places of the joints of the walls and ceiling, since these are the most vulnerable points. During the construction of apartment buildings, the walls and ceilings are often connected by ordinary concrete, which over time gives a strong shrinkage, is drying out and begins to crumble. It is easier to leak into water through such a place, and in order to prevent it, all the corners and joints need to be carefully missed by penetrating waterproofing or even sealant, even if you are going to install a stretch ceiling.
An important point: after you have done waterproofing the ceiling in the house with several layers of the penetrating mixture, maintain the relative moisture of the surface for 3 days. This will allow the composition to penetrate as deep as possible into concrete.
Waterproofing wooden ceiling
If you have a wooden private house or cottage in which heating was carried out, and you are going to use this good civilization in winter, insulation and waterproofing of the ceiling are required. In summer, the evaporation of moisture occurs by itself, however, in the winter the fumes are much larger, and they delay the inside longer, since the temperature is lower, and the windows and doors are constantly closed. In addition, if you plan to live in a wooden house in the cold season, an uninsulated ceiling will give you constant coolness and huge heating bills. As you know, the heated air actively strives upward, and if you do not create a barrier in the form of protective layers of the ceiling, nothing will prevent him from leaving the room that you are so diligent to sharpen.
If we warm the ceiling with mineral wool (the most popular and inexpensive material), then evaporation from below, passing through it, will create condensate, the insulation will be fed and cease to maintain heat. If you simply attach a waterproofing film to the ceiling, heat will also leave, because the film, unfortunately, protects only from moisture. Thus, insulation work with the ceiling in a wooden house needs to be done in combination with insulation, hydro- and vapor barrier. The latter serves not only a barrier for vapors, but also protection against dust and small litter, which can shower through wooden elements of the ceiling when walking on the top floor.
The simplest and most inexpensive vapor barrier is considered to be a plastic film, for the fastening of which you can use a conventional stapler. In this case, the material should be attached to a 15 cm overlap and fasten the stripes between themselves with wide tape. The vapor barrier is laid on the insulation, and it is on top of waterproofing.
How to make a waterproofing ceiling:
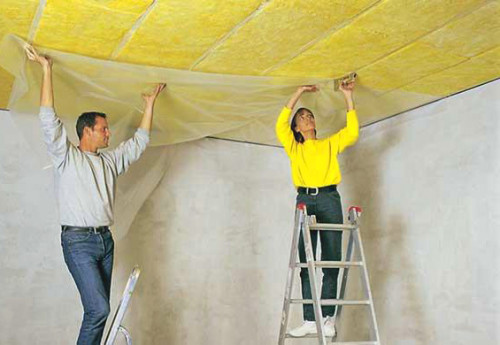
- Attach the waterproofing film to the wooden ceiling overlap - construction polyethylene with a thickness of 200 μm, polypropylene canvas or other. To fix the wooden surfaces, use the stapler, and connect the cuts of the material with wide tape. Lay waterproofing over 20 cm.
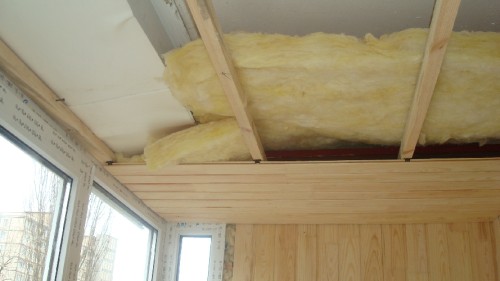
- At the waterproofing film, attach the insulation. It can be mineral wool in rolls or slabs, polystyrene or other non -puff material. By the way, if you are waterproofing the ceiling of the bath, then the insulation should choose non -combustible and most immune to high humidity. In this case, Minvata loses - since having saturated with moisture, he completely loses his protective abilities. But since it is dry in dry form perfectly, many continue to use it, adding an additional layer of waterproofing - on both sides of the insulation.
- Put a vapor barrier membrane on the insulation, which will not allow condensate to penetrate inside. In the case of waterproofing the ceiling with your own hands in the bathroom, bath or in the kitchen, instead of vapor barrier (or with it), you can lay another layer of moisture -proof film. The membrane cuts should also be overlapped, attaching a stapler to the tree, and with a wide tape to each other.
- On top of the vapor barrier or additional waterproofing, you need to nail wooden rails - a kind of crate to fix the finishing material. Reiki not only hold the ceiling finish tightly, but also leave a ventilation gap that is necessary to evaporate condensate.
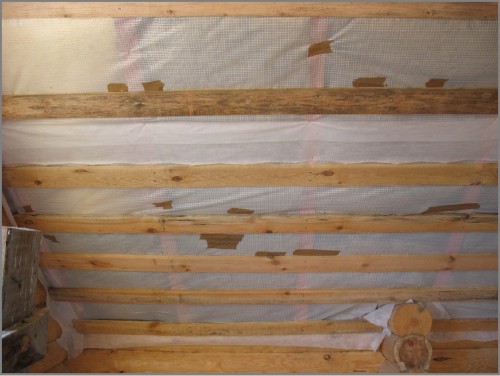
It is useful to know: in wet rooms, the use of vapor barrier is mandatory. Members are different: one -sided and bilateral. If you bought one -sided, you need to lay it with a rough side down, and smoothly up (to thermal insulation), the bilateral can be fixed as you like. Bilateral vapor barrier is more expensive, but allows you to not leave the ventilation gap. In the bath above the steam room, many experienced owners put vapor barrier from craft-paper with foil coating-it evaporates condensate and reflects heat back into the room.
If there is a black floor on the top floor, it is best to lay waterproofing on it - it is easier, faster and more reliable. As for the waterproofing of the ceiling on the balcony in a wooden house, it is also best performed outside, attaching an additional insulation and vapor barrier on the back.
We hope that the above information will help you take care of protecting your own housing in time and avoid troubles with leaks and floods.
