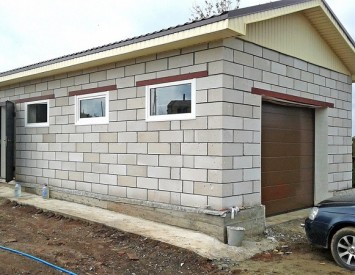
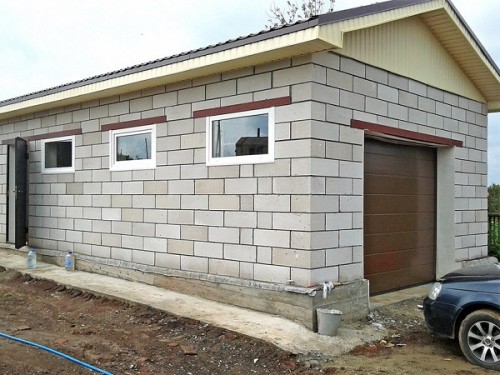
Garages from a cinder block began to build back in the 70s of the last century and so far this technology remains relevant. Because it allows you to build a solid “house” for a car in a short time and at a short material cost.
Content
Building material
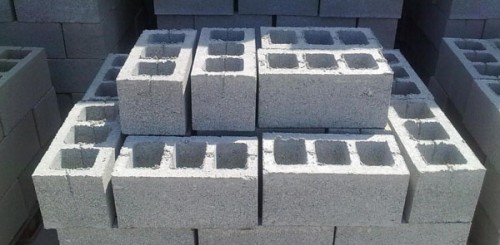
The slag block is made of ash and slag by pressing concrete. Less commonly there are not expensive components in the form of a brick, sand, or sowing gravel. To increase thermal conductivity, part of expanded clay, perlite or polystyrene is present in the building materials.
In the structure, slag blocks are porous, they resemble a brick in shape, only with holes inside, their weight is not large, and the dimensions are large, together these qualities make a slag block by almost ideal building material. There are two options for slag blocks:
- Hollow, their weight ranges from 15-21 kg.
- Full -bodied, the weight of which reaches 27 kg.
For construction, they most often use a blasting slag block, consisting of particles-grabbed, the more these particles, the easier the material and below its thermal conductivity.
Many people, knowing what the price category of cinder block, is in absentia to consider this material not reliable, but this is not so. Garages from a cinder block are durable, not susceptible to fire and they will last at least half a century for sure.
Pros and cons of the garage from slag blocks
This type of construction of the garage has a number of advantages and disadvantages:
The advantages include:
- Low cost of material.
- Small cement consumption when laying the material.
- The simplicity of laying and the speed of the construction of the object.
- A simple foundation thanks to the light weight of a cinder block.
- A wide area of \u200b\u200bapplication.
The disadvantages include:
- Low sound insulation.
- Relatively low strength.
- Inclusion in the composition of toxic substances.
The pluses still turn out more, but, of course, to solve the builder.
There is one slag block from 25 to 45 rubles, thanks to the porous structure, cement is consumed less than for example, when laying bricks. And if you are building a garage from a cinder block with your own hands, then with also save about 20 r per 1 piece. So that such a garage will turn out to be very budgetary.
Start of construction
Typically, the construction of garages from a cinder block begins with viewing photos of finished structures, then there is a draft, estimates, purchases and construction.
Before starting construction work, you need to do the following:
- To look around on the ground where the construction of the garage will take place, to find out about the composition of the soil, how much it freezes in winter, and where underground waters pass.
- Determine at what distance are communications, water and light.
- To outline the project of a garage from a cinder block.
- Make a calculation of materials.
To evaluate the scale of construction, you need to draw up a project. Many inexperienced builders of this word are scared, imagining a heap of drawings. In fact, it is enough to sketch at hand everything that you plan to build. The project will greatly accelerate the construction process.
What should be in the project:
- The purpose of the building: to determine whether the machine will only be stored in the garage, or it can be repaired there.
- The dimensions of the garage.
- The presence of an observation pit or cellar.
- The amount of consumables.
A well -thought -out project will not miss all the important points and nuances in construction.
Now it is necessary to decide how much cinder block is needed for the construction of the garage. The block in the standard has dimensions of 30x19x19 cm. 13 slag blocks are placed in a square meter. Now you need to calculate the area of \u200b\u200bthe garage, take the size of the gate, and multiply the area of \u200b\u200bthe building by 13, and you get the number of slag block, which will be needed for the garage.
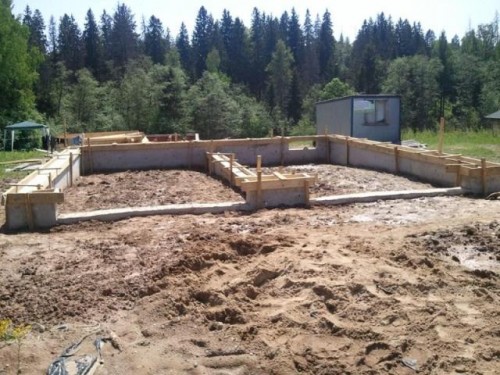
The foundation for the garage
After you have received permission to build a garage, you can start work:
- Mark on the basis with a rope and pegs.
- Dig a trench for the foundation (width 40 cm, depth 1 m).
- Turn the walls so that they are even.
- Remove the soil from the bottom of the trench so that it is not loose.
- Pour in layers with a trench: a layer of sand, a layer of sand with beaten bricks or stone. Each layer should be 15 cm and tamped well, the last layer should be 10 cm from the ground.
- In order for the foundation to be more durable, it is recommended to pour it with a solution with cement.
- Make a blind area, so that meltwater does not accumulate after the rain.
Construction of a basement, gate and walls
To build a basement, it is necessary to set the formwork with a width of 10 cm. If the place under the garage is not perfectly even, then you need to find the highest point and add 10 cm to it, mark the horizon from this distance. Further, the basement must be given waterproofing, for this two layers of roofing material are suitable. Thus, the walls will not absorb moisture from the ground.
Before you build the walls, you need to put the gate, so they will be better fixed with masonry. In order for to have additional strength, it is necessary to weld 12 cm rods to the frame in diameter, then they will hide behind the masonry seams. Before installing the gate, they need to be painted in two layers. They are installed strictly vertically using the level. Fixed with wooden braces.
There are no special rules on how to build walls of a cinder block garage. Everything is carried out according to the same principles as in brickwork. You can put a slag block in a shelter, in a stone - in one and a half or two stones. As practice shows, if you put a slag block in 1 stone, then such a garage freely withstands a temperature of -20 degrees and gusts of wind 18 m/s.
Do not forget to make supply ventilation in the wall, since the garage should be well ventilated so that the carbon monoxide does not accumulate, there is no fumes from the oil that was sticking to the wheels of snow.
As for wall insulation, the event is not compulsory, but desirable. The humidity in the insulated garage will be increased, and perhaps in cold weather the walls will be drew. Why then warm the garage? The answer is simple - so that there are no sharp temperature changes in the garage, which extremely negatively affects the condition of the car. Yes, and repair in a warm garage is more comfortable than in the cold. You can warm with foam or fiberglass, you can attach polyethylene on top, which will protect against dirt, and already last to sew GKL.
Construction of ceiling and roof
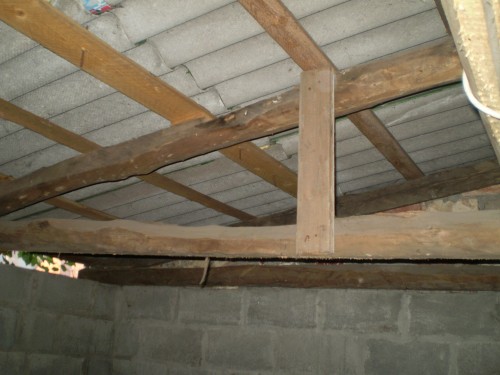
To build an overlap, you need to buy double -barrel beams, 120 mm high, and 250 mm widen more than the room itself. And then perform the following actions:
- Put the beams with a step of 80 cm so that they repeat the slope of the longest wall, across the garage.
- Laying the bars, the thickness of which is 40 mm, below, if possible, denser.
- Lay the roofing material on top of the bars.
- On top of the roofing material, put slag or expanded clay.
- Make sure that the roof is 20 cm in front and behind. It will be a kind of visors that protect the walls from the rain.
- On top of the slag, you need to make a 20 mm screed.
- The roof can be protected from humidity using a rubber. Before applying it, the screed must be treated with a primer.
Construction of a blind area, sexes
The garage floor is built on a par with the basement. The concrete screed should be in thickness from 10 cm.
- Clean and align the soil, if there are great bumps, then it is covered with small gravel or sand. The concrete of brand 200 is well suited for these purposes.
- The concrete mixture is poured continuously and layers. When meeting beacons, you need to carefully circumvent them and put concrete between them.
- When the concrete grabs, the floor needs to be wiped.
- A strip of 50 cm wide is made by a similar method. In this case, a layer of concrete can be about 5 cm. So that melt water and after rain drains, the blind area is made with a slope.
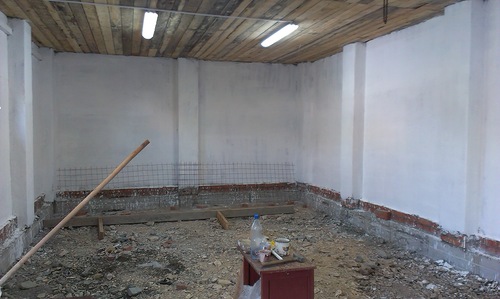
The finish of the garage is the simplest. You can finish the walls with cement mortar, then plastered and whitewashed. And you can sheathe lining.
Here is the garage and ready, it remains only to arrange all the things inside it in places, determine the place for tools and lovely to the heart of things. If you still doubt whether you can cope with the construction of a garage from slag blocks, you can watch a video that demonstrates all the technology of building a building.
