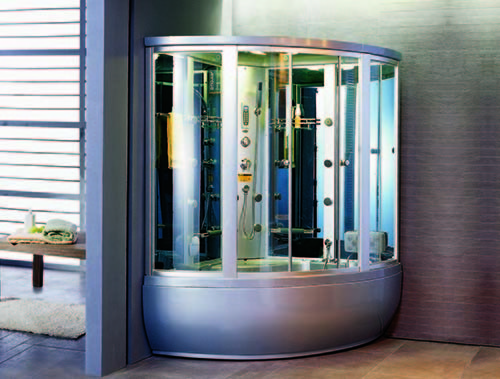
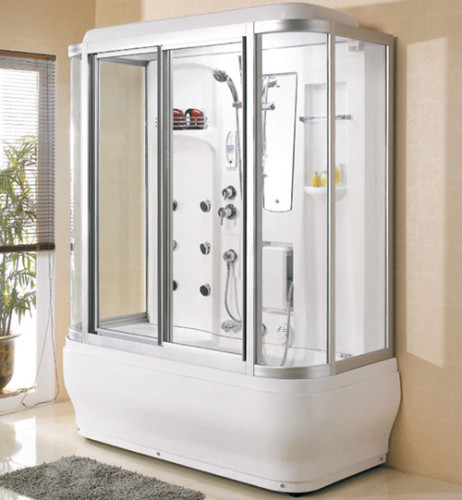
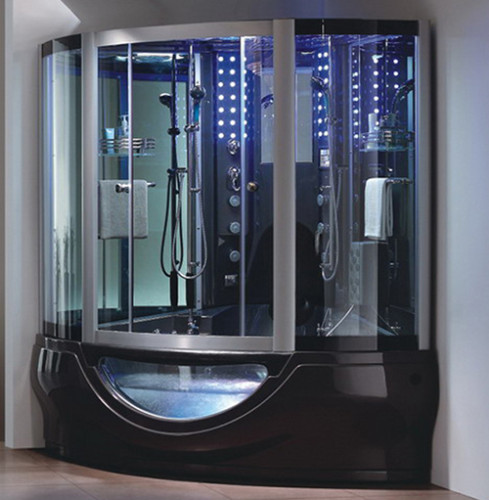
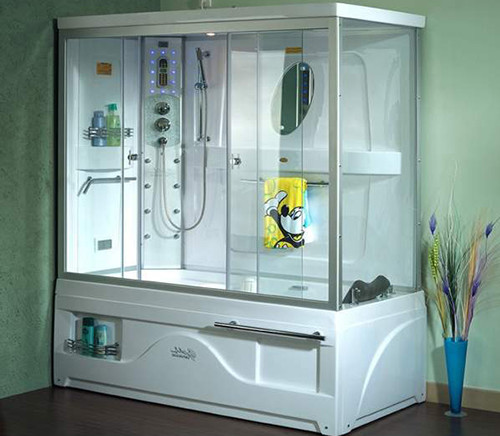
The advantages of shower boxing with the bathroom are obvious - you can soak in it, lying in hot water, make hydromassage or swim quickly. Hydrobox is an excellent solution for a small bathroom, so recently more and more citizens prefer to change old cast -iron baths to modern showers with high sides. This article will help you choose the best option for a shower box with a bathroom for your apartment.
Content
Bathroom or shower cabin: two in one
What to give preference - a classic bath or shower with various hydromassage nozzles? This question is quite scrupulous, and sooner or later it arises in the head of every owner who planned overhaul.
Today, shower boxes have about 30-40% of the country's population in apartments, but this is not due to low popularity, but by the fact that this plumbing invention appeared on the domestic market relatively recently. On the contrary, the demand for such products is growing every year. There are several reasons for this - convenience, diversity, fashion, good quality and durability.
But the fundamental factor in the choice of psychologists is an accelerated pace of life of modern people-rarely when an extra hour and a half is issued to soak in the bathroom with foam. Acceleration of the rhythm of life can be observed in the usual household appliances - the microwave allows you to quickly cook or warm up food, the coffee maker makes a fragrant espresso in a minute, new generation freezers cool products and drinks almost instantly. Progress reached the bathroom, equipping it with various modern water supply devices so that you can quickly refresh before work or relax after a hard day.
The bath-Dusheva boxing wins not only in terms of saving time, but also in relation to comfort. If a large family lives in the house, then each of its members has its own preferences of both habits, and shower boxing with the bathroom is able to satisfy any of them. The beautiful half of humanity loves to lie in the bathroom more, and men are more convenient to quickly wash in their souls.
In order not to go into unnecessary details, we note the main advantages of showers with the bathroom:
- saving space in the bathroom;
- an abundance of built -in additional functions (bidet, hydromassage, etc.);
- water is consumed more economically than in a regular bath;
- personal time savings;
- ease of use.
Types of structures
Shower cabins with baths differ not only in the presence of certain functions, but also in size, design features, forms, etc. We decided to identify the most popular options used recently.
Shower box
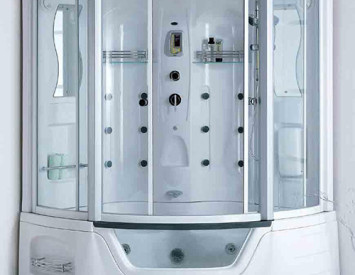
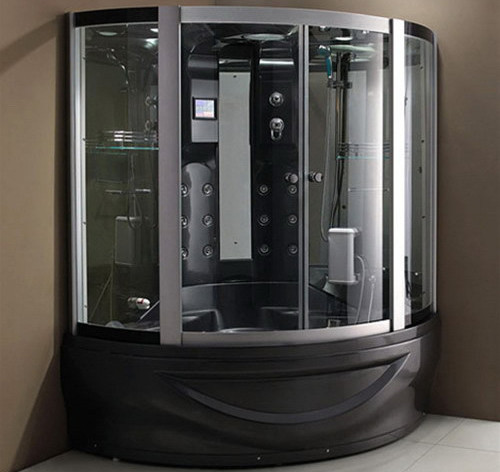
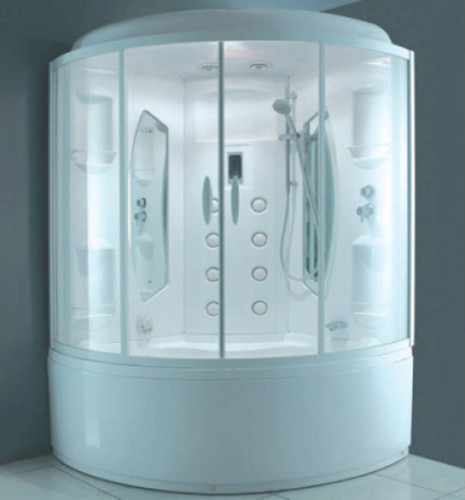
We are not talking about a compact “standing” design where you can hardly turn around, not to feel comfortable, but about rather large boxes that combine the shower cabin itself, a sitting bath and many additional functions. To save space, such a solution is best, and even though the bathtub is inferior, but in it you can relax with comfort, bathe your child, wash things, etc.
In such showers, the following functions are usually installed:
- tropical shower;
- built -in dispenser for shampoo, shower gel or liquid soap;
- turkish bath;
- mixer with different operating modes;
- hydromassage nozzles;
- mirror;
- shelves for bathrooms;
- automatic siphon;
- in some modern showers, there is even a built -in waterproof phone and radio.
Combined bath
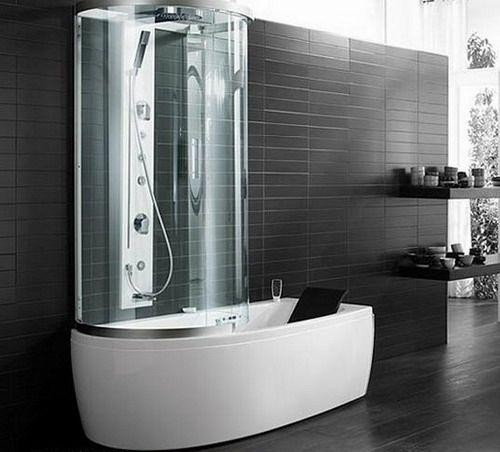
This miracle of the plumbing industry is a combined option - a spacious bathroom in which you can lie, and a shower cabin located in the corner part (adjacent to the walls). Thus, if necessary, you can close the cabin door and take a shower or dial a bath and relax.
This is a simplified aesthetic version of the merger of the two most common designs - baths and cabs. At the same time, you save free space in the bathroom. Even an ordinary old bath can be improved and turned into a kind of combined one. To do this, plastic "curtains" or glass panels are attached to the corner. Of course, such a corner shower box with the bathroom will not have all the functions inherent in a full -fledged design, but if we are talking about saving and comfort, this is the right solution.
For those who long more comfortable, there are all kinds of removable installations - stands, nozzles for the mixer, seats, head restraints, etc. They can be purchased separately and installed in your home -made bath with the cab.
Choice recommendations
The price of shower boxing with the bathroom should not be the main criterion for choosing plumbing. There are cases when even the most expensive designs were sent for repairs under the guarantee in six months a year. To prevent this from happening, you need to know what to pay attention to when choosing a shower cabin with a bathroom.
If you are planning to buy a shower box with a bathroom, pay attention to the following details:
- The tropical shower in many boxes is quickly clogged, especially if the water is too hard. Buy a cabin with rubberized holes in the shower. And if the shower box itself with a bathroom is 150x70, then the “sunflower”, from where the water should be as much as possible to cover the maximum area.
- Choose models with a hydraulic minister for legs - this function will allow you to quickly remove the load and relax tired legs after work or training. The hydraulic complex restores blood circulation in the legs and prevents the occurrence of varicose veins. In Chinese ancient medicine, the impact on the points of the feet corresponding to one or another organs of the body has long been practiced. The general massage of the legs will favorably affect the well -being, strengthen immunity and even improve the mental state.
- Check the strength and stability of the shower tray. Its strength depends on the thickness of the acrylic layer and the method of reinforcement (the quality of the legs under boxing). Also, strength must be chosen based on the weight and complexion of the residents of the apartment.
- The bottom of the bath must be relief so that it is accidentally not to slip during the bathing time.
- Feel free to test the height and position of the seats for convenience - sit down and lie in the bath as if you were at home.
- The height of the pallet (walls of the bathroom) also plays a large role. In order for the adoption of the bath in the hydabox to be pleasant and convenient, the height of the walls should be at least 35-37 cm. If you choose the structure in the apartment where the elderly people live, the shower-box with a high pallet may not be very convenient, so it makes sense to look for options lower .
- Find out if there are spare parts for sale to the selected model in case you need to replace or repair something. The “risk group” includes models that have appeared on the market recently (on sale less than 2 years), and models that have long been removed from production.
- The appearance of the fittings is a matter of the taste of each, but the handle of the shower cabin is better to take 2 holes than one (this is more convenient and practical).
- The upper rollers on which sliding doors glide should be double - this will allow the load more evenly and extend the life of the cab. The doors will open smoothly and with a minimum noise.
- Do not choose a bathtub box with a monolithic switch of a hydraulic machine panel-it must understand that you can replace the cartridge if necessary. The back side of the switch should look like brass (necessarily brass) tubes with a forking and cold water connected to each other.
- If you have chosen a hydraulic tox with a bright colored sheathing, it is better that it is satin and rough, and not glossy, then there will be no noticeable scratches, scuffs and other defects that inevitably appear during use. In addition, satin does not crack and does not peel off, unlike dyeing pigments. He feels great in an atmosphere of high humidity and is ideal for the bathroom.
- Be sure to find out the duration of the warranty period provided by the manufacturer and the distributor. It should be applied not only to electronics, but also to the pallet and other details.
Installation of shower boxing
It is not so difficult to install a hydromassage cabin with your own hands if you clearly follow the step -by -step instructions and carefully read the connection scheme. If you are not confident in your capabilities or do not have the necessary tools, it is better to use the services of professionals, especially since they are often provided when buying hydropoxes.
The installation of a shower box with the bathroom in the place of the previous bath will not require any resolution, since you do not make significant changes to the BTI plan. Since in most cases the layout of apartments forces to buy and install corner cabs, we will describe the installation of this design.
All models have the same set of details:
- pallet;
- lid;
- walls;
- doors;
- vertical racks;
- apron or screen that covers the legs and bottom of the tray.
For work, you will need the following tools:
- screwdrivers;
- divorce key;
- construction level and plumb line;
- drill;
- tow;
- silicone sealant;
- corrugated hoses.
Useful advice: very often, when assembling shower boxing, it is found that there are not enough fasteners - nuts, bolts, screws, etc. It is better to take care of this in advance and buy all the necessary fasteners.
All installation work can be divided into two parts - the assembly of the cab and its connection to the tap system.
The course of work:
- The shower box is better to collect in open free space. Make preliminary full assembly without the use of sealant. So you will get an idea of \u200b\u200bthe installation technology and remember the sequence of attaching parts, find out what is missing, you can check the integrity of the structure.
- Install the system of drain/draining the water using corrugated hoses. Ideally, the drain of the pallet should be located directly by access to the sewer, but it is rarely possible to achieve this.
- Disassemble the cab and collect again at the site of the subsequent operation. First set the pallet on the stands (legs).
- Comers the position of the pallet using a plumb line and the construction level, pulling up the adjusting locking screws.
- If the pallet is not equipped with stands, it should be installed on a cement screed and leveled until it froze. The screed is faced with ceramic floor tiles.
- To install acrylic pallets, you should use a cross on the back and a center leg. If such a design is not provided, it should be created independently or put the cab on the concrete pillow.
- Pour all the compounds with a silicone sealant and wait for its solidification.
- Before turning on the water, check the tightness of the joints. To do this, close the lid the drain hole in the pallet and fill it with water.
- Check that the hose takes out to the sewage system and is located under a slope of 150 to 200 mm per 1 square. m.
- Install the fence by putting it on glue or rollers. Carefully monitor where the sliding doors are the top, and where there is a bottom (at the upper part there are more fasteners).
- Determine the upper and lower guides: the upper ones are usually wide, and the lower ones are much thinner and with curly cuts.
- Insert the glass along the guides, having previously smashed all the joints with silicone. Tighten the screw on the clamping paw.
- With self -tapping screws, fasten the guides with the stand in the upper and lower parts and fix the seal on the glass so that water does not flow under them.
- In the last turn, the rear panel is attached, after which all joints are covered with silicone.
Useful advice: when applying a sealant, it is important to prevent the filling of the recesses intended for draining water.
Do not twist all the screws at once and “tightly” - it often happens that the holes for fasteners do not coincide, so you need to leave small gaps so that the structure can be adjusted. You do not need to tighten too much - the metal parts of the cabin are quite soft and fragile.
After installation, be sure to check the performance of all electrical functions - radio, phone, backlight, etc. With the test of the new thing you will have to wait - the sealant will dry from 24 to 48 hours.
Shower boxes with the bathroom, photo:
