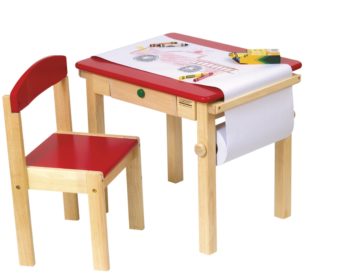
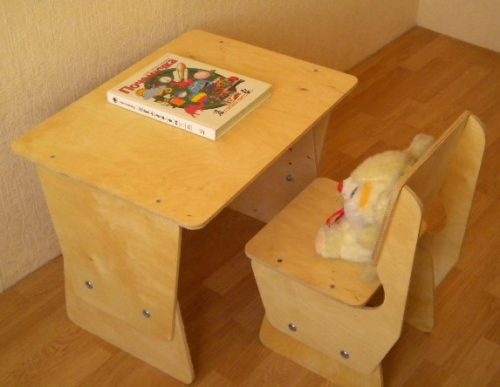
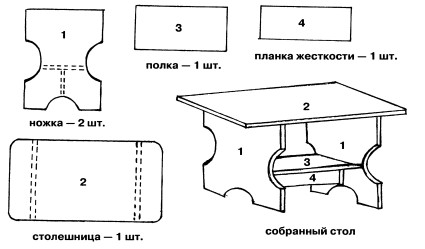
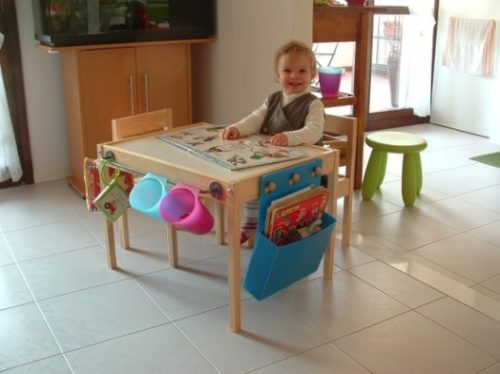
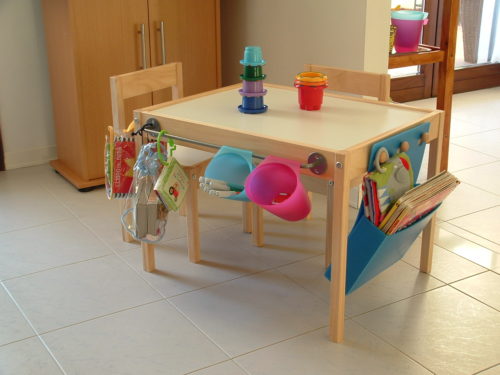
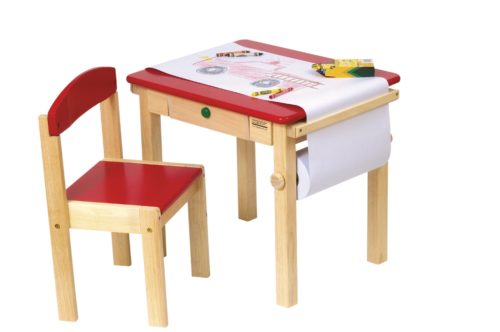
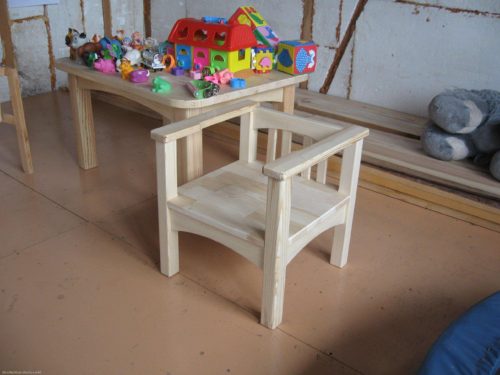
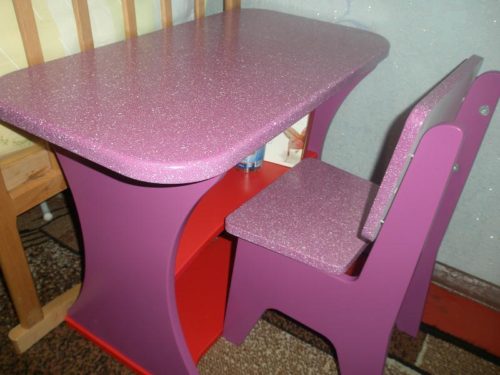
As the child develops, there is a need to acquire additional furniture, such as a children's written table. Here the kid of preschool age can be mastered, drawing, and a schoolboy to make homework. Given the fact that the child from an early age is necessary to develop the right posture, then a written table, intended "for adults" for child needs no longer suitable. Today, many models of children's tables can be found in the furniture store. But if you wish to get a fully appropriate option for your child, taking into account the specifics of his children's room, then it is better to make it personally. Moreover, the manufacture and assembly of children's furniture with their own hands is not a challenging task, which is not even for those who do not have carpentry skills.
Content
Children's furniture with her own hands: Simple table design
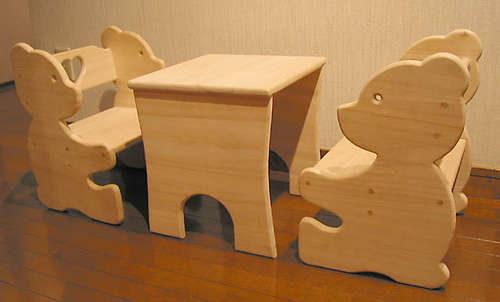
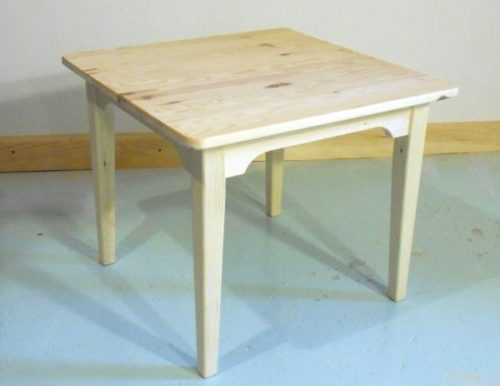
Consider further how to make children's furniture with your own hands. As an example, a variant of manufacturing a children's table of simple design was proposed. It will suit both preschool children and schoolchildren. Such tables are often included in the package of children's furniture for a kindergarten made with their own hands.
For work we need the following tools and materials:
- Sheet from a solid wood array (for mounting table top).
- Wooden bars 60 by 60 mm for the construction of the reference frame.
- Wooden boards 40 by 40 mm.
- Electric drill.
- Hacksaw.
- Tripod (for fixing wooden structures during their processing).
- Grinding machine.
- Sandpaper.
- Construction knife.
- Roulette.
- Wooden products lacquer.
- Pins for furniture.
The order of installation work on the manufacture of a simple design of the table:
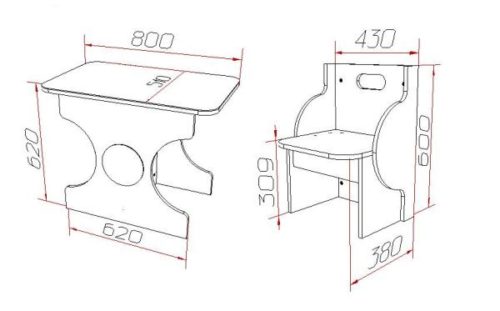
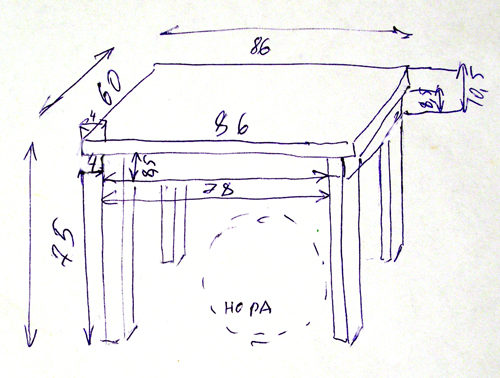
- At the first stage, drawings and diagrams for children's furniture made with their own hands should be made. Here are the dimensions of the future design, the most basic of which is the height of the product. It should be such that the child in a sitting position remained smooth back. In addition, the growth of the child should be taken into account, as the table is not manufactured for one year.
- Focusing on the conceptual drawings of the product, the legs of the design are peeling. It is better to drink them from a wooden bar in such a way that they do not narrow the book, but remained smooth. Otherwise, the design of the table may turn out to be unstable.
- The legs are grouped by sandpaper. With the help of end cutters, they join the frame of the table.
- Collecting the frame of children's furniture with their own hands from plywood, it is necessary to place points in which the elements of the design will be bonded with each other. In this case, the method of fastening "spike-groove" will be used. For this, the openings of the desired diameter "under the groove" are drilled in the noted points. Hole dimensions must correspond to the magnitude of the future groove.
- Fix legs in a tripod and cut into them the grooves. It should turn out 2 grooves on each leg.
- Location on the framework of places where the spikes should be placed. During the measurements, be extremely attentive so that the "grooves" on the legs and the "spikes" on the frame were located at the same distance, otherwise the design will be unstable and curve. With the help of a joinery knife on the frame cut out parts of the wood, thereby forming the "groove" in the middle.
- We carry out the preliminary measurements of the whole design, so that during the assembly it has the right form. If necessary, adjust the dimensions of the wooden elements.
- Next, perform a test assembly of the design. At the same time, make sure that the legs made are firmly attached to the "Schip-groove" technology to the frame. After the correctness and stability of the collected furniture is tested, we again disassemble it for individual details. Then we carry out a finite assembly of the product, while leaving the place of attachment of the wooden elements with construction glue. For stability, the design is additionally bonded by self-draws.
- The wooden table in finished form is carefully polished with the help of sandpaper, then treated with protective mixtures and varnished. For similar technology, children's furniture for the garden are manufactured with their own hands.
Folding children's table attached to the wall
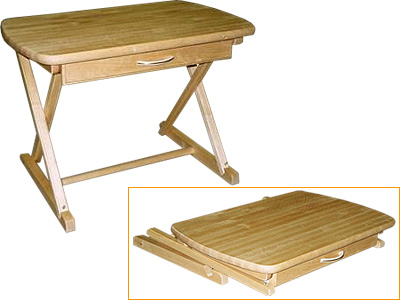
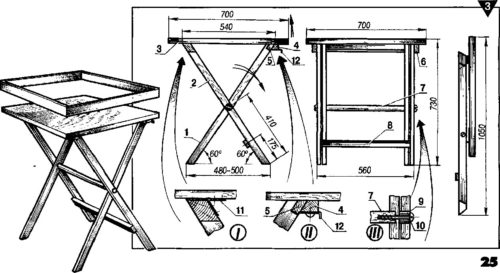
We now consider the method of manufacturing another design, namely, the folding children's table attached to the wall. This option can be used when creating a set of children's furniture for the kitchen with your own hands.
For work, there will be some tools and materials:
- Wooden bars 60x20 mm (length 75 cm) - 4 pcs.
- Wooden bars 60x20 mm (length 35 cm) - 4 pcs.
- A sheet of durable plywood for the manufacture of table tops.
- Electric drill.
- Grinding machine.
- Sandpaper.
- Construction knife.
- Roulette.
- Carpentry glue.
- Wooden products lacquer.
- Pins for furniture.
- Dowel.
The order of installation work on the manufacture of folding design of the table:
- First of all, you should draw up drawings for children's furniture made with your own hands. At this stage, the dimensions of the future table are determined. It is worth saying that this design will be very convenient for rooms that have a small area.
- From wooden bars drink 2 folding legs in the form of a frame for a children's table. In the end parts we do the holes for fastening the structure. They pour glue and fasten the elements of the frame between themselves, additionally tightening it with loops.
- With the help of electric drills in the wall we do holes. Dowels will then be inserted into them.
- Since the folding design is manufactured, the countertop should be made of two parts. The first part should be no more than 27 cm, and the second - depending on the required size of the table (usually its length is up to 50 cm). Elements of countertops are bonded with loops.
- The first (the smallest) part of the countertop is attached to the wall on the previously installed dowels.
- After the hinges were fastened with two parts of the table top, it is attached to wooden supporting legs. As a result, we received a folding structure, which, if necessary, can be carefully removed, and release the useful area of \u200b\u200bthe room.
Children's table-party do it yourself
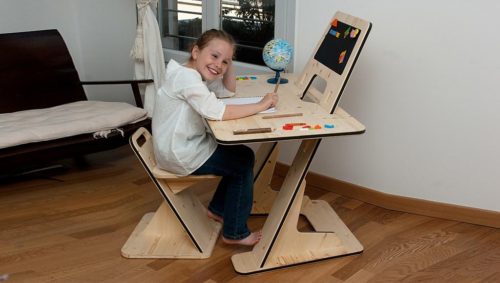
The design of the children's desks (sizes and materials from which the structural elements of the table for schoolchildren are manufactured):
- Countertop Party. Made from MDF sheet. Its dimensions are 50 by 70 cm.
- Shelf (located under the tabletop). It is manufactured as the table top, from the MDF sheet. Its dimensions are 20 by 70 cm.
- Control party. Its side walls must be located under a slight inclination. Their sizes are 40 per 90 cm. The front and rear part of the box is manufactured by 15 by 65 cm.
- Wooden feet of desks. They must expand a little down a little (manufactured in the form of a trapezium). The size of the upper part of the legs is 40 cm, and the bottom is 60 cm.
- Wooden plank for which the child will put legs while working at the table. The elements of the design of the structures between themselves are connected.
Procedure for performing work:
- At the first stage, it is necessary to draw the drawings of the children's desk. Here there are dimensions and shape of the product in the finished form. In addition, at the planning stage, an approximate estimate of costs for carpentry work and the purchase of materials is determined.
- We make wooden legs design. They make holes using a 8 mm drill.
- In the finished holes insert the confirmates. They will be attached to the lower leg plan. The legs and the bottom crossbar of the desks are well processing sandpaper so that their surface is smooth.
- Next, we make the part of the party. On the surface of the front and rear parts of the box, we do the holes for the confirm. Holes are made with an indent of 8 mm from the edge of the planks.
- We collect all parts of the box and fasten with each other. To cover the bottom of the design, use a sheet of plywood.
- The legs are fixed with the allen at 10 cm. All elements of the design are tightened with screeds.
- We connect the side parts, the box and the base of the structure using screws. For attachment of the countertops, it should be pre-done 10 holes for configmatics. For the reliability of the joints of the product, treat with construction glue, and reinforce the box with metal corners. Then carefully check the stability of the design in the assembled form.
- All wooden structural elements are grouped, processed by protective compositions and are covered with varnish.
Under the desk, it is necessary to make a chair, because not each of them is suitable in design. The procedure for the work is as follows:
- We make feet of design. To do this, we use wooden bars 20 by 25 cm. In each of them, we do the holes for connecting to the screeds.
- The seat and the back of the chair is made of a durable sheet of MDF. Approximate dimensions of these structural elements are the following - the depth of the seat - 27 cm, the backrest width is 15 cm and the seat - 35 cm.
- Attach the legs of the chair to the seat. For reliability, reinforce metal corners.
- The side parts of the back can be made of wooden bars or from segments of the profile pipe. Confirm them to the seat with bolts.
- Bottom, wooden legs are connected to a small wooden plank.
- All wooden parts of the product are grouped by sandpaper, processed by protective compositions and varnished.
In order for the children's table to have an attractive appearance, it can be decorated with decoupage technique. For this purpose, any bright pictures are used, which are pasted on the tabletop or side parts of the structure, are then covered with primer and varnish.
