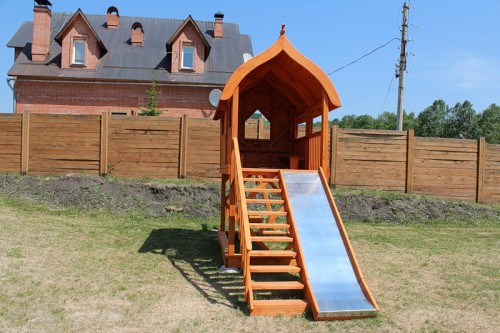
Children's slide is perhaps the central object of any playground. This is not only an interesting design on which you can have fun, the slide also develops important physical skills in the child. The slides are different, but almost all of them can be built with your own hands. If you want to build a playground, you need to start with a hill, gradually completing other elements: swing, horizontal bars, sandbox, etc. In this article you will learn how to make a baby slide with your own hands.
Content
General requirements for baby slides
All children without exception (and even some adults) love to ride a hill. This entertainment allows you to release the accumulated energy as much as possible and at the same time get useful skills. In addition, skating on the hill gives elementary ideas about certain physical phenomena, for example, gravity and speed.
In itself, the children's slide is a rather complicated design, which turns out only if it is built on its own. And the most important thing when assembling is to observe safety precautions and build the most strong and reliable base. Do not think that since only small children will climb the hill, so it will not be subjected to serious loads. On the contrary, during the game, children jump, shake and loosen the structure, and it should withstand all this.
The following recommendations will help you build a safe and strong slide for the playground:
- Do not install the design near street lamps, trees, any buildings or greenhouses. The hill should be at a distance, and it is best to fence the playground with a low fence.
- Make so that in the hottest hours of the day a shadow falls on the hill. It is very harmful for children to be in the sun for a long time, and in order not to drive them home, equip an awning or build a slide in such a place that a shadow from home or trees falls on it.
- Pay special attention to fasteners of supports and handrails.
- A couple more words about the place where the hill should stand. It is best to build it on the site, which will be well visible from the house or from the shops where parents will sit.
- As for the landscape, it is advisable to build a playground on an elevated area so that rain and meltwater quickly drain from it, and the children do not play puddles.
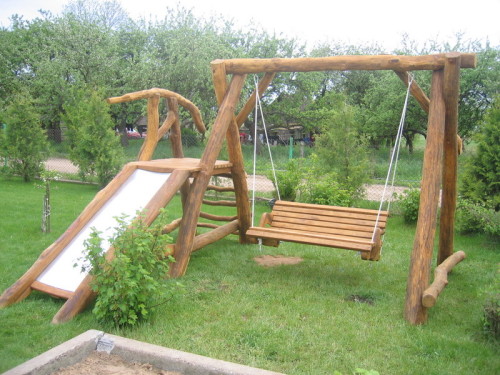
Before you go for materials and tools to the store, carefully plan and think through the smallest design features. So, you can build an ordinary wooden slide, or you can children's slide and a swing combined into a complex. It all depends, by and large, on your skills. Also for construction as the main material, you can use metal. Such work will be more difficult and for it you will need special welding equipment. Next, you will learn how to build a baby slide for a dacha made of wood and metal.
DIY Wooden Children
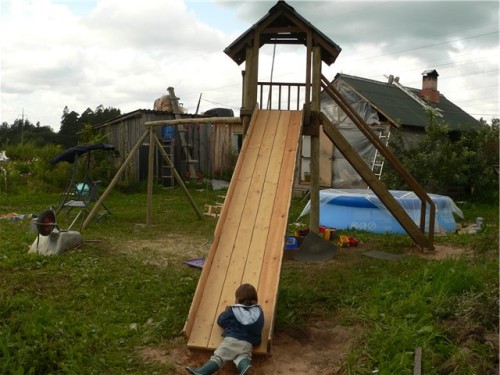
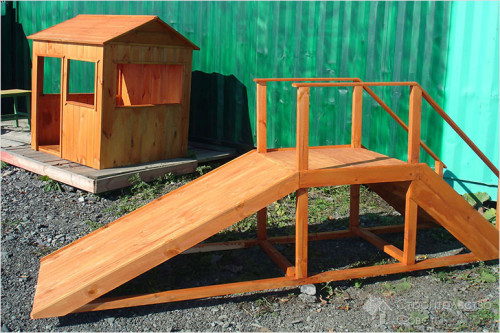
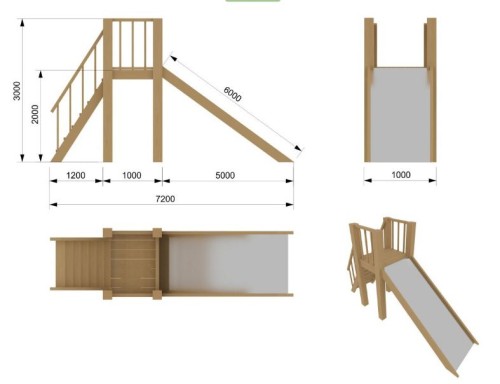
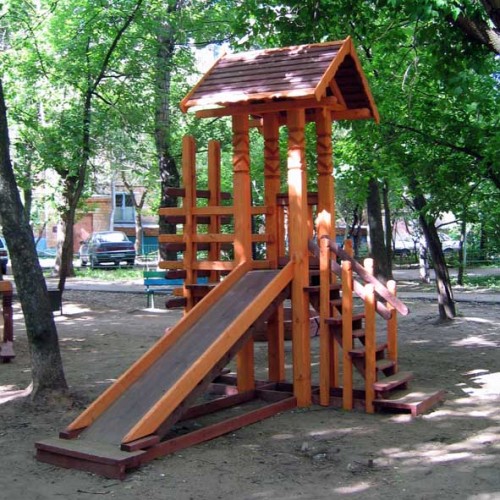
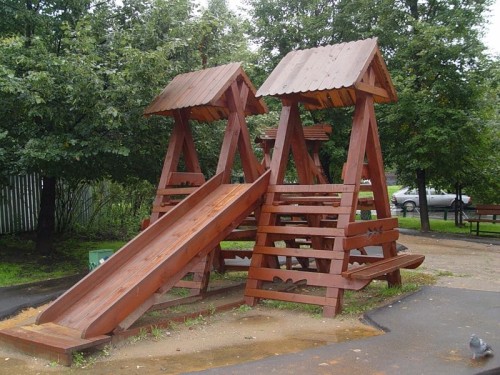
Wooden slides are considered the most simple to execute, so they can most often be found in summer cottages and in private courtyards. The designs can be very different, which you will see when viewing the photo selection at the end of the article. We offer to start with the simplest. When creating the scheme, take into account not only the location of the elements, but also the age of the children for whom you build a hill. So, for children of primary school age, the height of the children's slide should not exceed 3.5 m.
For construction, prepare the following:
- wooden pine beam 50x50 mm long 80 cm - 1 pc;
- bay of 100x100 mm long 60 cm - 4 pcs;
- floorboard 40x130 mm length 60 cm - 3 pcs;
- board of a chipper 40x130 length 60 cm - 5 pcs;
- round rail 30x120 mm - 2 pcs;
- Fiberboard or wooden lining - 2 sheets;
- anchor bolts, screws;
- galvanized nails.
From the tool you will need a hammer, a hacksaw, an electric steamer, a drill with a set is ruined, roulette. It would be nice to have a machine for cutting wood at an angle. If there are no tools for processing wood on the farm, you can attribute the raw materials and the scheme to the locksmith workshop and ask to cut the details there, then it remains only to collect and paint the hill in place.
We make a baby slide with our own hands:
- Sprinkle wooden bars in accordance with the compiled scheme. To make it easier, you can take a ready -made scheme as a basis, only fit into the desired dimensions. All wooden elements must be treated with a shirt, sandpaper and smooth all the corners. During the construction of anything for children, always try to avoid creating corners - the child will certainly find a way to hit. Therefore, remove the chamfers by mating the edges of the angles of parts, and round the ends a little.
- Now you can proceed to work "in the field". In the selected area, make markings. The area of \u200b\u200bthe territory under the hill should be about 2x2 m. To make the design stable, it must be built on the foundation. It is easiest and fastest to fulfill the columnar foundation, but there is one nuance here - it is advisable to find out the level of freezing of the soil in winter. So, if you lay the pillars to a depth of less than this level, in the spring of the tuning force can push the foundation, and the whole structure will glance. But if the soil is stable, 40-50 cm of depth will be enough. Just in case, we choose a value of 60 cm. Using a garden drill, outplay the pits of the corresponding depth. The ends of the bars of 100x100 mm, which will be immersed in the ground, treat with an antiseptic, wrap the roofing material or lubricate with bitumen mastic for waterproofing.
- Insert the bars into the ground and select a 20 mm deep with a milling cutter in the racks.
- Fix the supports of the board, insert into the grooves and pull them out with anchor bolts. As a result, you should form a strong and stable frame.
- In a pair of wooden racks at the end, select grooves of 20x40 mm and fasten them to the frame.
- Now you can start the installation of the floor. The boards for it must first be treated with an antiseptic and painted (covered with varnish). Flow the boards to the base, leaving small gaps between them 5-7 mm so that water and sand can go through them, and the surface remains clean. Those boards that will be connected to the sexual beam must be fastened with steel corners for reliability.
- Now the most important thing is to make a descent. There are standards that say that the width of the slope should be no more than 80 cm, otherwise the child can turn over and “land” upside down in the process of descent from the hill. In the case of a wooden slide, the descent is simple - you need to attach the boards so that they close the entire space from the upper to the lower part. Then on the sides you need to build sides about 30 cm high.
- In many cases, a plastic sheet, galvanized plaque or ordinary linoleum, so that children can slide, are used to finish such wooden slopes. But the materials have their own characteristics. So, plastic is not subject to corrosion and does not bend, which can not be said about the galvanized sheet, but it costs more. Linoleum will cost the cheaper, but its service life will be limited to several seasons. You can leave a wooden surface, but then it is necessary to skip the boards properly so that they are smooth and even, and then cover with several layers of atmospheric paint or varnish.
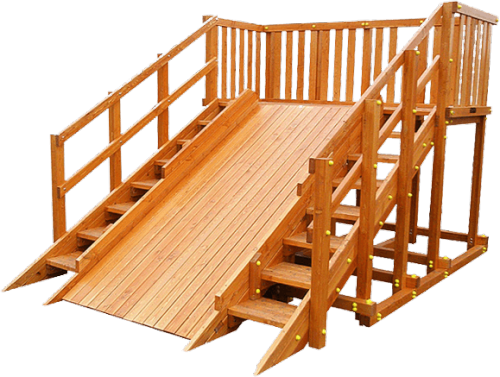
- When the children's slide is strengthened, it remains to build a staircase. It must be remembered that small children will climb through the ladder, and therefore the distance between the steps should be appropriate. To build, take boards of 50 mm. To make a bracket, put two boards with a layer and fasten them with self -tapping screws.
- Install the side part by attaching a board cut at 45 ° to the racks. For fixation, use screws or anchor bolts. Fix the bars at an equal distance, then put the steps on them and screw them with self -tapping screws.
- Set the baluster 50 cm high and fasten the railing. Wrap the upper parts of the railing to wooden racks.
- In the sidewall of the racks, make the grooves 20x12, measuring from the floor no more than 20 cm. Cut the walls of fiberboard or moisture -resistant plywood and insert them into the grooves. Then put round rails in the middle of the floor and walls and fasten the plywood shield to the rear.
- From the heaps of 20 and 80 cm, make the parapet and attach it to the side bars. For greater safety, it can be sheathed with fiberboard or plywood.
- The final stage of the work will be a disguise of all fasteners, grinding and coating with a paint and varnish layer. Turn all the hats of nails and screws into the wood and smear with putty, remove all the protruding corners and burn the irregularities, if any. After grinding, cover all the boards (even the back sides) with an antiseptic, stain and atmosphere varnish. You can paint the hill with paints and introduce children to this occupation.
Useful advice: so that the painting is preserved for a long time, apply it to a primed surface. If children will be decorated, it is safer to use acrylic paints, and when they dry, cover the surface with a transparent atmospheric varnish.
DIY Metal Children
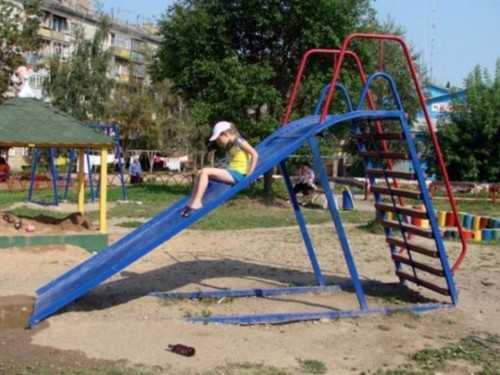
There are no significant differences between the wooden and the metal slides, except for the latter you need to fill in a light slab foundation. In some cases, you can put a hill on a columnar base of 4 support pipes flooded with cement. To such a foundation, a staircase with railings is welded to two pillars, and the descent is attached to the opposite side. From above, all 4 pipes are fixed with a metal platform, which combines the stairs and descent. The site should be equipped with railings and a canopy.
In the case of metal slides, it is important to work out the design features of the descent. As a rule, it is made of two round pipes with bends, which evenly fall down to the base and go shallow underground. A peculiar groove from a durable steel sheet is attached to the pipes, which plays the role of descent. The process of building a metal slide itself is quite simple, but here the main thing is to correctly distribute the load. Also, all welding seams must be thoroughly sanded, smooth in a grinder and covered with anti -corrosion paint.
To simplify the task for yourself and reduce the costs of materials (wood is cheaper than metal), the entire structure can be made of wood, and the descent is made of thick galvanized metal sheet. It will slide well and will last much longer than wooden.
Useful advice: every spring update the protective paintwork, preventing the beginning of corrosion or decay.
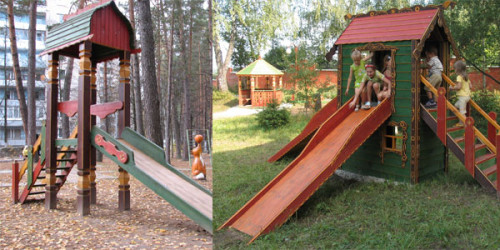
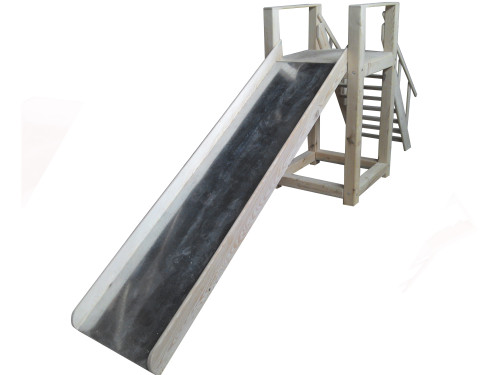
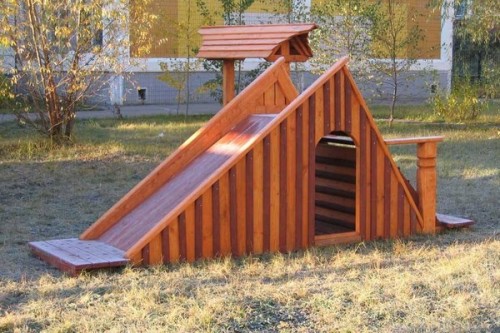
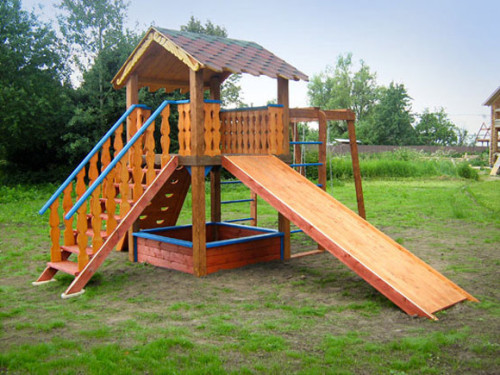
Cork for playgrounds can be very different, and if you have the opportunity to work with your own hands, you can make them as convenient as possible. So, for example, the design can be collapsible in order to hide it in the barn for the winter, thereby protecting it from destruction. You can make a children's pool with a hill that will be attached to the side. There are many options and finally suggest you familiarize yourself with a small photo selection, in which various designs of wooden and metal slides are presented.

