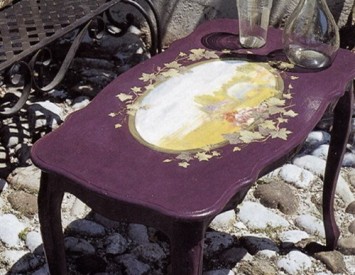
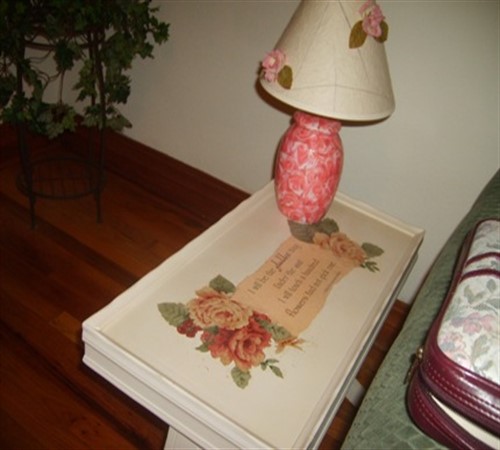
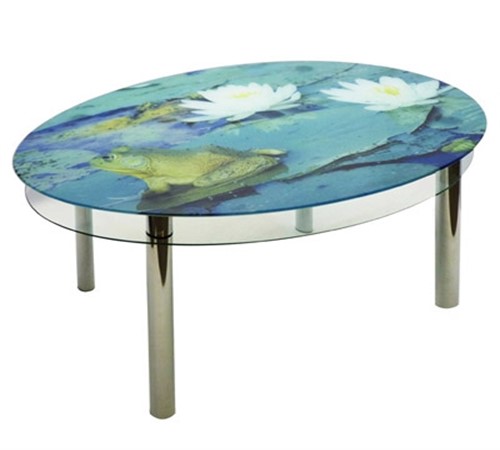
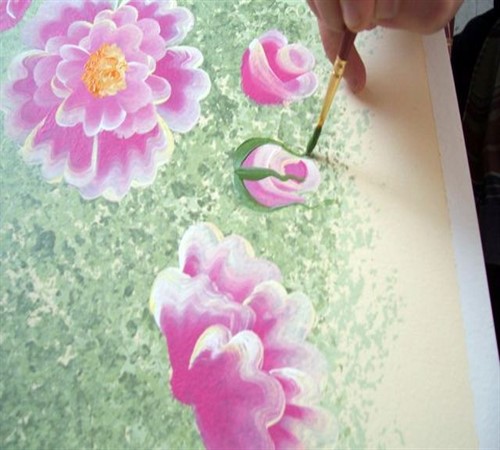
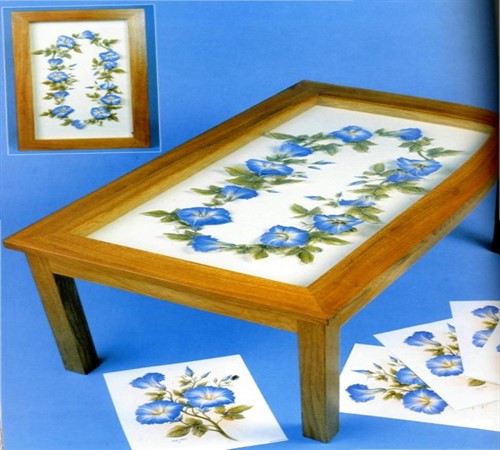
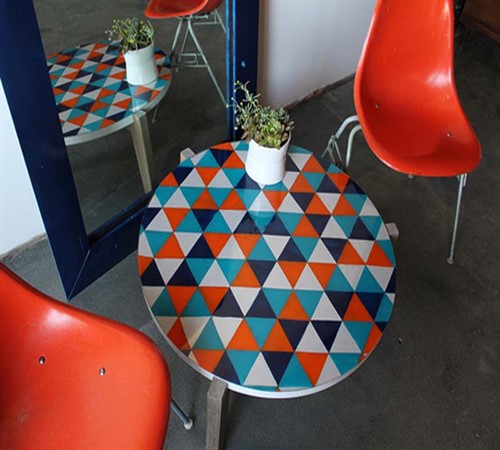
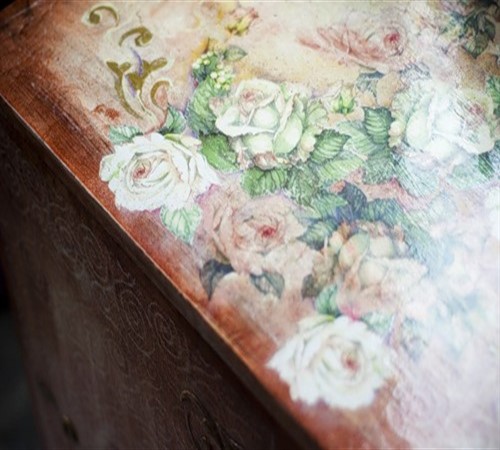
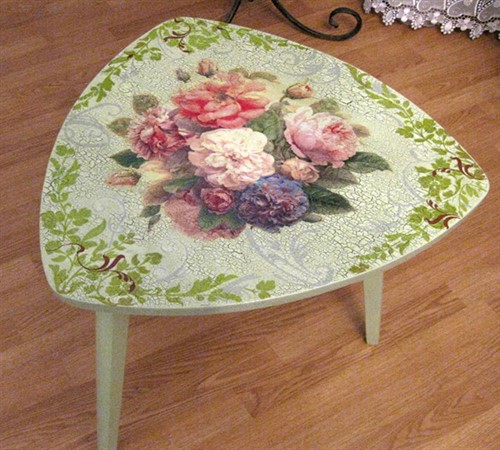
The modern market is flooded with a huge variety of materials for decorating the room, furniture, which allows you to easily update the old coffee table without resorting to the services of professionals. In addition, various types, special effects used in decoupage allow you to achieve a harmonious entry of an updated table into any interior style of the room.
Content
How to update a coffee table?
Quite often in life, there are situations when you get a table, and after a short time, it begins to annoy with a fed design. However, you should not rush, because today there are so many goods that allow you to easily change the style of ready to eject the coffee table. Moreover, among the most common decoration methods, it is worth highlighting:
- decoupage - occupies a leading position regarding other means, since it opens up the opportunity to show unlimited fantasy punctasis in the complete absence of experience in this case;
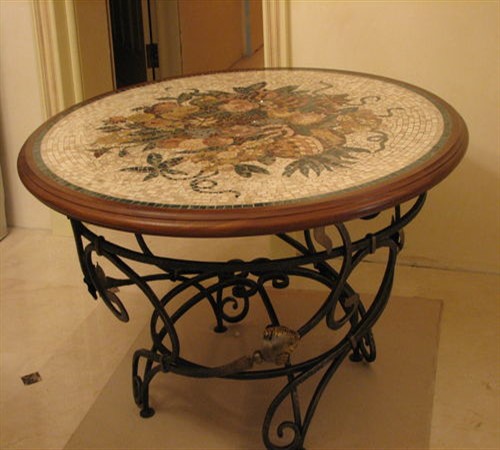
- mosaic is a fairly small range of variable images, but the combination of various shades sometimes affects the uniqueness of the design;
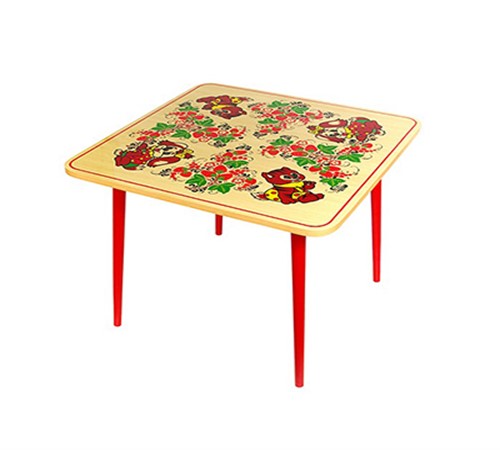
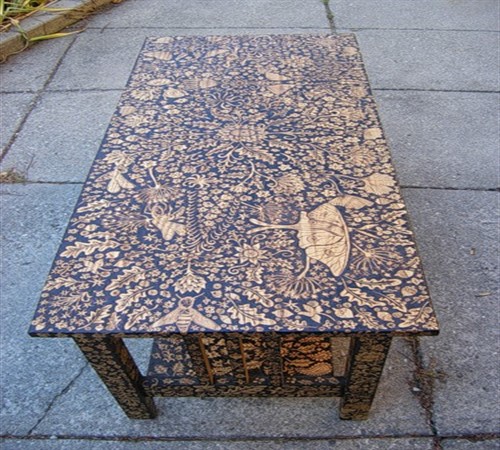
- painting is an interesting direction, although requiring certain skills.
Perhaps you should try to make the decoupage of the old coffee table, instead of purchasing a new table for a considerable amount of money.
Types of decoupage
Based on the surface intended for the decor and the finished product obtained in the finished form, 5 types of decoupage are distinguished:
- direct decoupage - consists in gluing the decorative element on the pre -prepared front side of the surface, followed by varnish;
- the reverse decoupage is used in decorating surfaces from transparent material (for example, glass). In this case, the picture is glued not from the front, but from the wrong side, after which the application of paint, varnish and other layers follows, i.e. The priority of work relatively direct decoupage is carried out in the reverse order;
- smoky decoupage is characterized by erasing the boundaries between the main background and the decorative element. This type of decoupage reliably models artistic painting by combining various techniques, effects;
- volumetric decoupage is often connected to other types of decoupage. The volume of the decorated surface is given by means of eggshell, special pasta, thermal male, fabric and other materials. In addition, the visual volume of the image is achieved by applying a pattern of pattern in each layer, which decreases in size to the finish coating;
- the decopate in a finished form is associated with a patchwork blanket, only a similar decoupage made of fabric is performed quite rarely. The most common material for this type is special paper imitating fur, skin, fabric. At the same time, the decorated base is completely covered, and not separately located motives.
Despite the similarity of the technique, all types of decoupage are significantly different from each other.
Effects used in decoupage
To achieve the style of the decorated item, as close as possible to the general design of the interior, the effects made using certain materials and decoupage techniques are significantly helped.
The main decorative effects include:
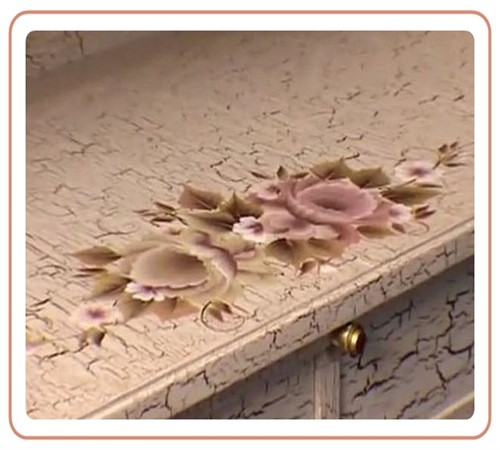
- krakenur is a crack artificially formed in the texture that simulate an old thing. The craquelure effect is created by applying a special varnish on top of the paint of the main background. To achieve the best effect on the surface, you can act with hot air from the hair dryer, since cracks are obtained as a result of shrinkage of binding elements and uneven drying of the upper layer of varnish. In this case, the size of the cracks largely depends on the technique of applying strokes and the thickness of the varnish layer;
- bravity imitates the constantly used item for a long time, as a result of which some places turn out to be pierced. To obtain the effect, the necessary places of the surface are rubbed with wax, after the drying of which they are rubbed with fine -grained sandpaper;
- the patination is manifested in the dimming of the surface in order to aging a thing, as a result of which the effect of frequent touching is created to the subject with hands;
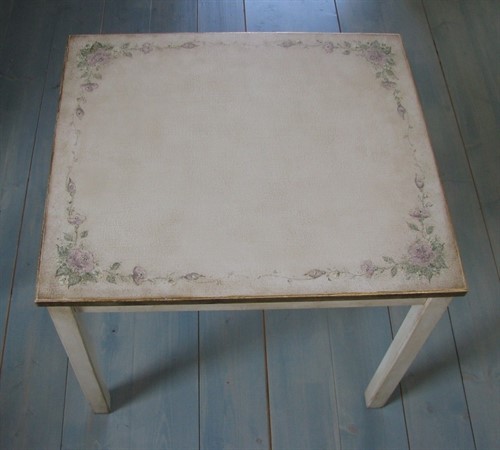
- potal - the use of gold or silver colors in the decoupage when outline the contour of the applied image, or as an independent pattern. In this case, instead of paints, special sheets are often used, outwardly reminiscent of gold gold;
- shade is often used in reverse decoupage and consists in achieving a smooth transition from the pattern applied to the main background. The creation of the effect is reduced to applying paints with a dry brush in the boundaries of the drawing, followed by shading of a foam sponge or tank;
- toning is included in the final stage of decoupage, when the updated surface is coloring by adding small sparkles to varnish or applying archaic spots as designed to plan. The tinting effect allows you to add the deciped surface of additional picturesqueness.
With decoupage of the surface, it is quite possible to combine several decorative effects (for example, craquelure and revelry in volumetric decoupage).
Materials for decoupage
For a decoupage of the coffee table with your own hands, you will need:
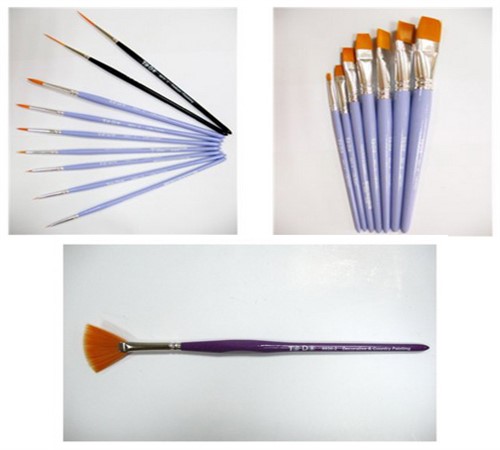
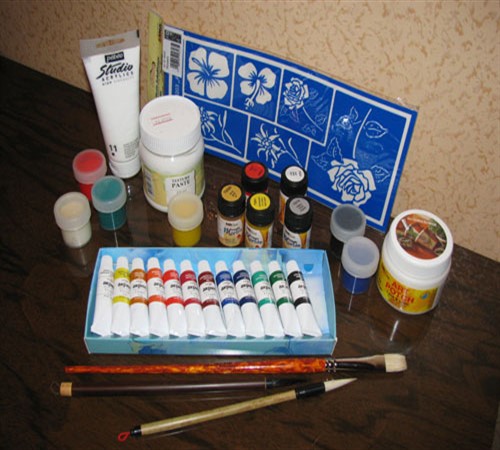
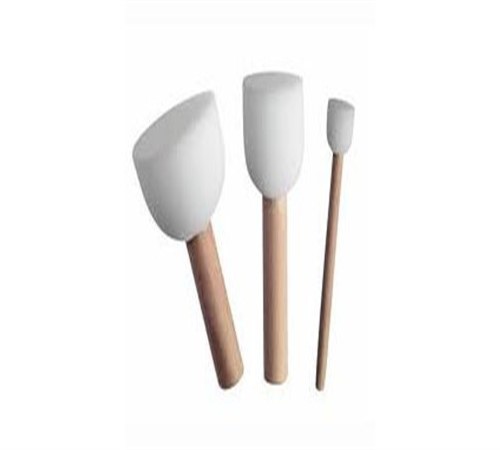
- brushes with a synthetic pile for drawing a contour or any elements, applying paint, varnish, glue, as well as a fan-type brush for gluing elements from a napkin;
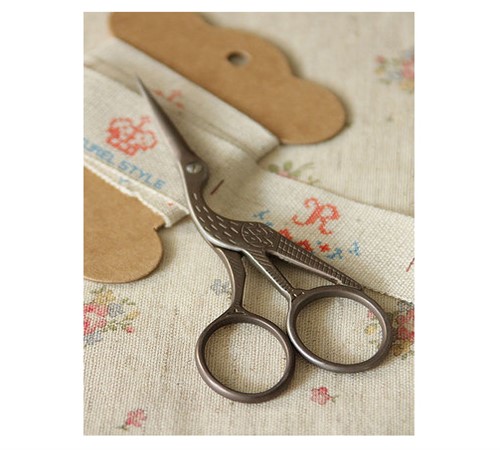
- sharp scissors - you can use manicure, stationery, special;
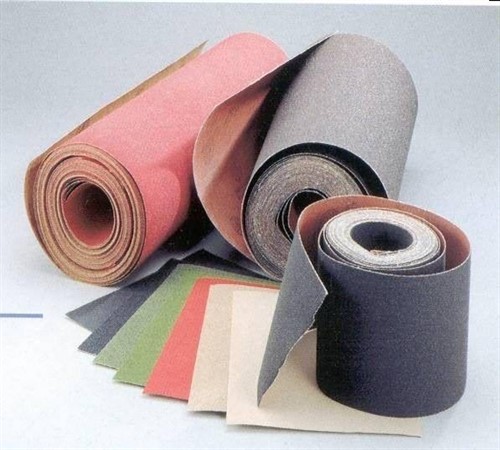
- large, fine-grained sandpaper;
- paints - watercolor, honey or professional;
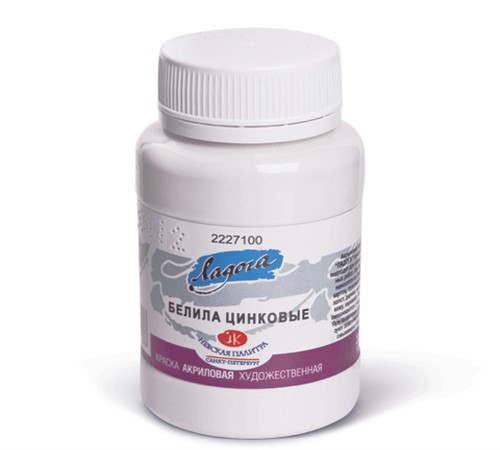
- titanium or zinc white;
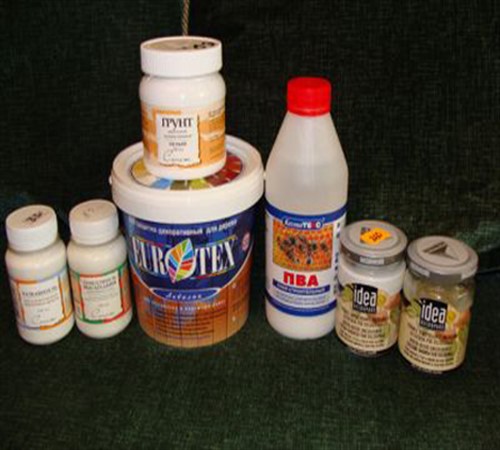
- pVA glue;
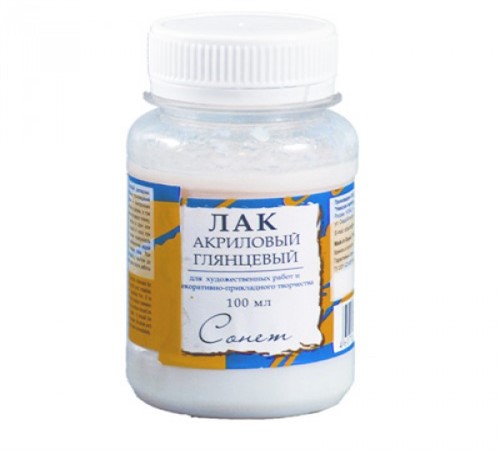
- acrylic varnish;
- foamy sponge or tolling;
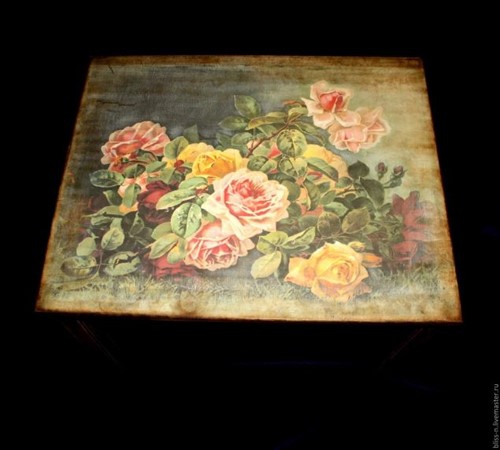
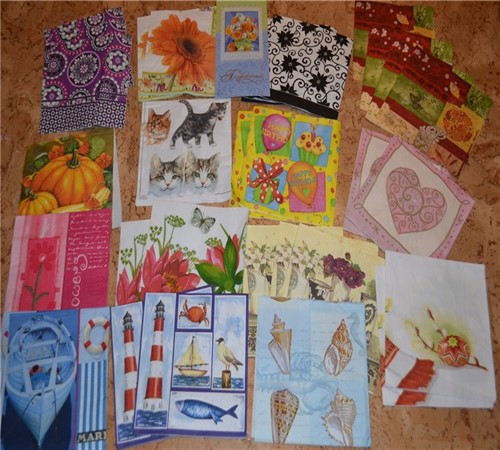
- motives - napkins, freedecorus, printouts, decoupage cards, etc.
This list can be replenished or reduced relative to the updated surface, the selected type and complexity of decoupage, special effects.
Decoupage technology of the coffee table
Before updating the old coffee table, it is necessary to carry out a number of preparatory measures, the thoroughness of which will affect the finished product.
Preparation of the table
When preparing the table, the volume of preparatory work directly depends on the material from which it is produced.
- If the table is plastic, then its entire surface is well degrred well.
- If the table is wooden, then:
- if possible, to disassemble the table into the components of the elements;
- using first large and then small sandpaper, thoroughly get rid of the layer of old paint or varnish, from all components and collect the table again;
- throwing irregularities, deep cracks, joints and let their putty dry;
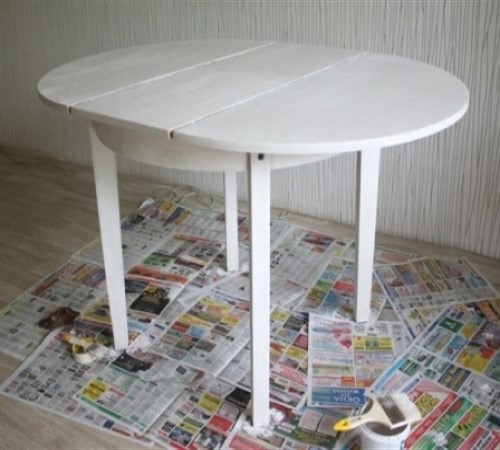
- apply a primer layer to the surface of the table using a wide brush;
- after drying the primer, apply 2-3 layers of paint, drying each layer well to avoid cracking or formation of spots;
- to create artificial cracking, craquelure varnish can be applied to the paint and, without waiting for complete drying, cover the table with white acrylic;
- after drying the acrylic layer, you should proceed to gluing the motive;
- if the effect of craquelure is not used, then the paint is covered with varnish. Moreover, using aerosol varnish, the surface is covered with a more even layer;
- after drying, walk along the surface of the table with a small sandpaper for better adhesion of the decoupage material with the base.
Preparation of decoupage motifs
When conducting decoupage or the design of the coffee table, you can use not only professional napkins, films, but also clippings from ordinary magazines, newspapers, and photos from the album. Moreover, the process of preparing motives for gluing is far from the same, therefore:
1. If a multi -layer napkin is used, then only the upper layer must be separated. When using a certain motive for the napkin, it can be cut or pulled out when drawing the picture after gluing.
2. If a photo is used, then the material requires thinning by:
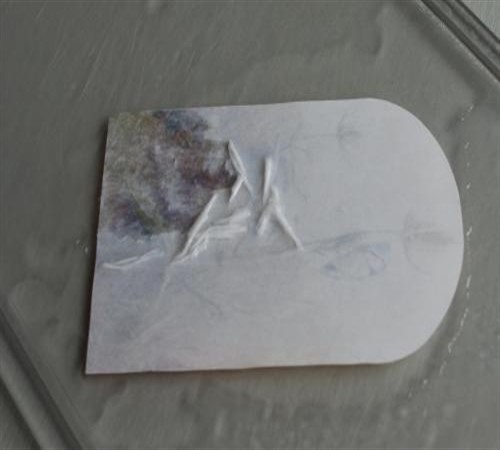
- rolling the wrong layer. It is preliminarily applied to the front side to avoid the spread of the image, after which the photo is laid down on the file, and a little water is poured on top. As soon as the lower layer is saturated, you can proceed to rolling out of unnecessary thickness without damaging the image. Upon completion of the work, thoroughly clean the surface of the remaining rollers;
- sticking on the wrong side of the tape followed by its removal along with the lower layer of paper. If necessary, it is worth repeating the procedure until the color layer appears.
3. When using decoupage cards, the motive is simply cut strictly along the contour. Before direct gluing, the motive is soaked in water for 10-15 minutes, after which it is dried from excess water on the napkin.
4. Preparation of the Friedecor film is similar to the preparation of decoupage cards, with the only difference being that the film is equipped with an adhesive layer, so after soaking it is immediately glued to the base.
Options for gluing motives to the base
Currently, there are 3 ways to glue the motive to the surface:
1. The hot method is based on the use of an iron, therefore it is suitable for perfectly even surfaces:
- apply a thin layer of glue on the basis and leave until the upper layer dries so that it does not stick. In this case, the middle of the adhesive layer should be wet;
- put the motive to dried glue and smooth it thoroughly with your hands;
- carefully lay out the parchment on top;
- warm up the iron to the maximum, while the pair function should be turned off;
- iron, slightly pressing, a workpiece with the image, especially the edges;
- remove parchment;
- if the edges are poorly glued, then the procedure should be repeated.
2. The dry method requires extreme caution. The procedure for gluing the motive with a dry method is as follows:
- the image is imposed on the base, straighten;
- diping the brush into the glue, glue the motive to the base, moving from the center to the edges;
- the glue protruding at the edges of the image must be immediately removed with a cotton pad moistened in water.
3. The wet method is the use of a stationery file:
- put the motive with the front side to the file;
- dilute glue or acrylic varnish in water in a ratio of 10: 1;
- pour the prepared mixture onto the file and wait until the motive is soaked well;
- the folds that appear in the process of getting wet must be smoothed out, and the air is carefully removed to the edges;
- drain the excessive liquid;
- gently attach the file with the motive to the base, slightly leaving with your hands;
- if the motive does not peel off, then you can pick up the edges and again attach the file to the base;
- if a gap was formed when deleting a file on a motive, then adding a little water, you need to correct the situation with your hands.
Thus, when gluing a motive on the countertop, you can use any, most acceptable, method.
Final decoupage work
- If necessary, make a outline of the contour of the glued motive or supplement the image with an artistic painting, apply the effect of creating a shadow, tinting, revelry and others.
- Let dry.
- Apply 2-3 layers of the finish coating varnish through the intervals of the time necessary for drying each layer.
The following method will help to make the finish coating more smooth: pour water into a small bowl and, dipping your finger into it, smooth the strips left by the pile of the brush. Such a procedure is carried out immediately after applying the varnish until it grabbed.
Thus, in order to make the decoupage of the coffee table, the master class is not at all required, because having become acquainted with the main types and effects of decoupage, as well as the technology of work, you can easily create your own unique masterpiece, while realizing all your fantasies.
