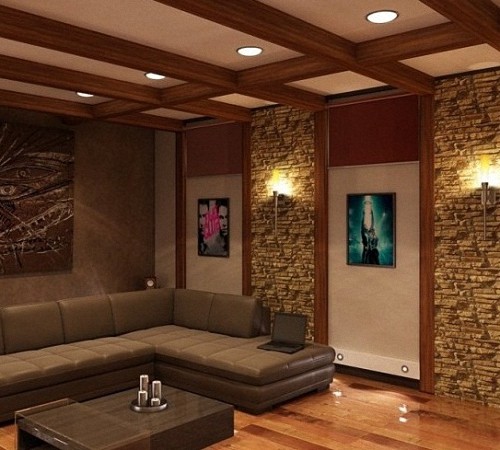
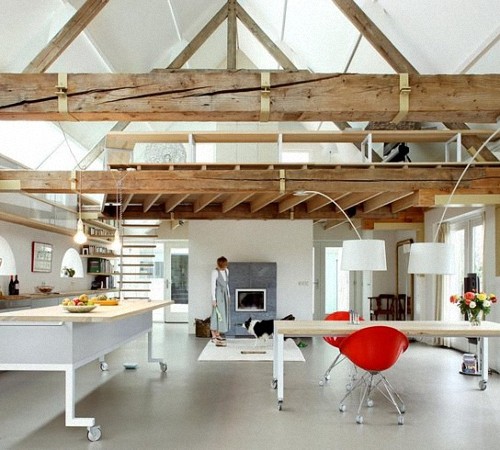
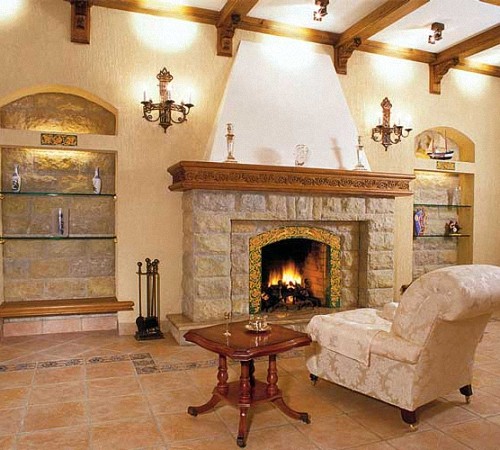
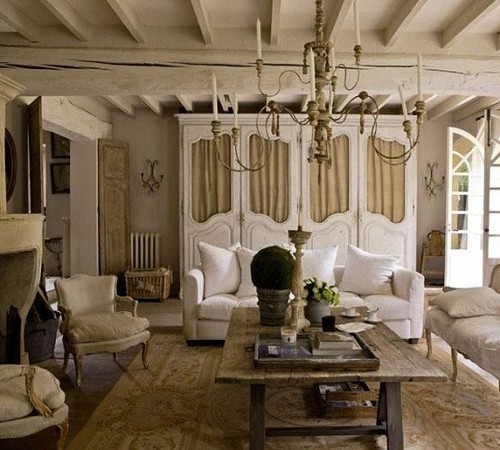
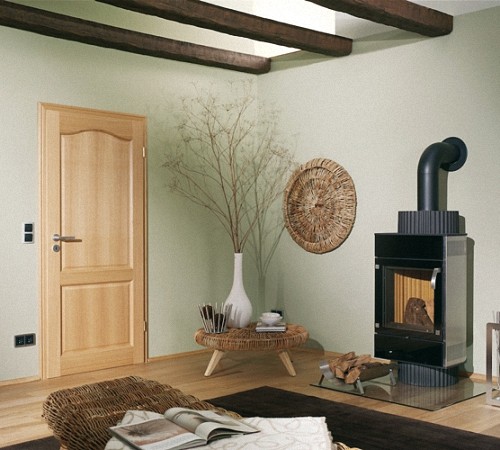
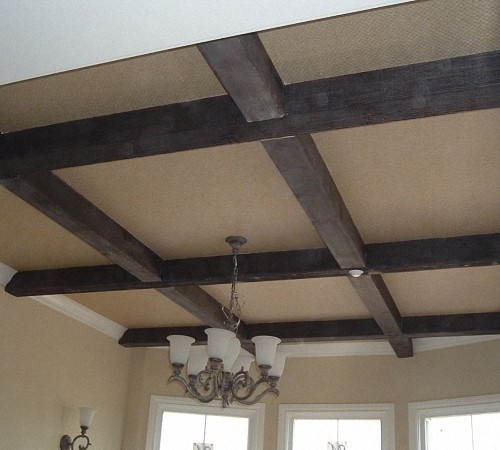
The use of decorative polyurethane beams allows you to hide small defects in the walls or ceiling and at the same time make the interior of the room exquisite and original. We will consider the features of the use and manufacture of polyurethane beams further.
Content
Polyurethane beams: advantages and use in the interior
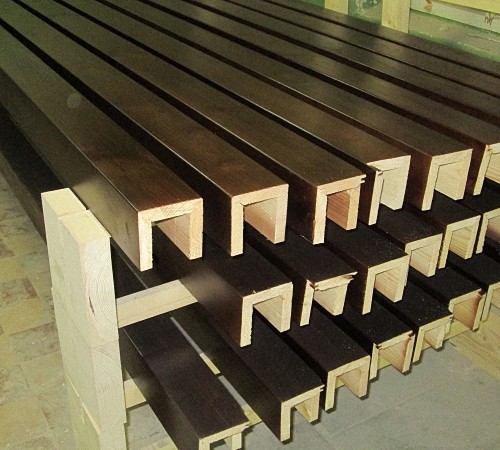
Polyurethane beams made under wood, in appearance, are no different from ordinary wooden beams, although in a practical sense, have a number of advantages in front of them:
- lightness of weight - polyurethane is a lighter material than a tree, so such beams do not load the structure, they easily mount and hold well on the ceiling and walls;
- the presence of empty space inside the polyurethane beams allows you to hide the small irregularities of the surfaces on which they are installed, communication pipes and wires are well placed in such beams;
- installation of a polyurethane beam does not require special knowledge and a special tool;
- polyurethane beams are stable before moisture, temperature changes, ultraviolet light;
- these beams are absolutely unshakable, therefore they provide complete fire safety and involve the installation of electrical wiring in them.
The installation of several decorative beams of consoles and fastening them with belts will create an excellent interior in the style of country. This type of decorative decoration fills the room with comfort, style and romance. A special fastening of the beams on the ceiling and walls, visually increases and expands them.
Polyurethane Polyurethane beams:
The installation of decorative beams will decorate almost any style of the room. They are mounted both on the ceiling and on the walls. With a competent approach to the choice of coloring and the structure of the beams, the room will become gorgeous and festive.
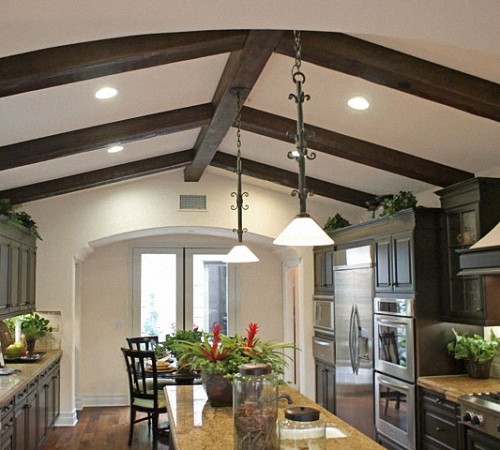
The classic style of the room, which implies the presence of straight angles and lines, goes well with beams of moderate color scheme in the form of black or brown. The texture on them is absent or imitates a tree.
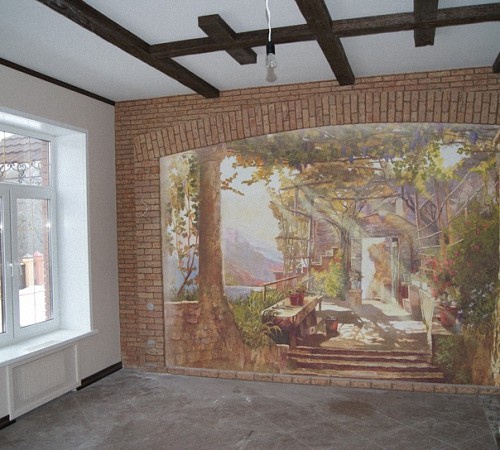
If there are openwork decorative elements in the classic interior, it is recommended to install beams trimmed with artistic painting or carvings. In addition, their decoration with paint or decorative plaster will not be superfluous.
In modern stylistic directions, such as modern or hi-TEK, decorative beams with a smooth surface, made in bright colors are used. With the help of beams, it is possible to dilute and revive the plain interior.
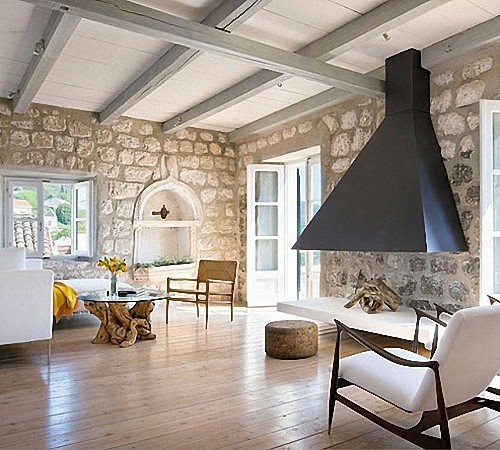
The style of country or Provence involves the installation of dark or light polyurethane beams that imitate a tree very well.
In addition to the above advantages of the beams of their polyurethane, it should be noted:
- lower cost compared to natural wood beams;
- the ability to attach such beams on a design made of drywall and fragile walls, since the weight of this design is lighter;
- such beams, unlike wooden, are not exposed to fungus or mold, they are more durable and easy to care;
- polyurethane beams are characterized by a large amount of color and texture gamut.
Functional purpose of beams from polyurethane under wood
Polyurethane beams are also called false banks, as they are able to fully simulate the necessary texture. Functionally, this material has several appointments. It hides small surfaces well, in addition, it serves as a place for installing communications in the form of electrical wiring, air conditioning systems, etc.
Country style implies the use of false boots. These materials are able to decorate not only a dwelling, but also look great in public institutions, such as a cafe, bars, restaurants.
Polyurethane under a tree is able to imitate oak, spruce, pine, beech and other breeds of trees. With the help of such beams, imitation of an old castle, rural life or taverns becomes possible.
As additional elements located on the surface of the beams are belts, forged stripes on which rivets are located. The room with beams looks more comfortable and soundly.
Polyurethane falsebells - installation features
The installation of false boobs from polyurethane begins with a mark of the marking, the surface to which they will be attached. It is necessary to designate the wedges that ensure the fixation of the beams.
For attaching beams, the Brusye Brusy is used. For their manufacture, a tree is required, which exactly copies the cavity of the beam. This cavity has a trapezoidal cavity and is similar to the shape of the beam. Its fixation requires the presence of dowels and screws. They fix the wedge of the beam in the central and lateral parts.
Clinics are installed with an interval of one meter, so when marking, draw not only the place of installation of bars, but also the installation of the beam.
In the process of installing the beam on the surface of the wall or ceiling, it is necessary to first apply glue for working with polyurethane materials. This procedure will ensure not so much fixation, but the absence of cracks between the beam and the wall.
Next, there is an installation of a false beam on the wedge and their fastening using self -tapping screws. At this moment, you will need to apply marks on the side parts of the wedges. Decorative bracket or belt will help close the location of the beam with a bar. If necessary, several beams are collected in one hinged structure in this way.
When the false beams are assembled, proceed to install the consoles, these elements are optional and perform a decorative function and simulate the backstings.
Pay attention to the presence of proper lighting, since polyurethane beams inside are empty, they involve the installation of wiring and built -in lamps. As mentioned earlier, polyurethane is a fireproof material, although it has a certain temperature regime from -55 to +75 degrees. Therefore, the power of the fixtures that are installed in a polyurethane decorative beam should not exceed 0.5 kW so as not to provoke melting and crystallization of the material.
When installing the wiring inside the beams, it is recommended to use a protective shell such as a corrugated hose. Keep in mind that if necessary, in the installation of wires or other communications, holes are pre-made in the wedge-bruces.
The diameter of the thinnest corrugated cable of the channel is one centimeter, so the minimum hole in the wedge-bruce was 1.2-1.5 cm. To install the lamps of the holes with a knife, in the relationship with the diameter of the console cartridge.
Tip: When a work of wiring electric wires in a polyurethane beam, use metal corrugated cable channels. Since from the plastic cable of the channels, in the case of a short circuit, the inner surface of the beam will be melted.
In order to carry out a parallel connection of point type lamps, special loops are made, their construction is possible in combination with a corrugated hose. When cutting the loop, the extra sections of the corrugation are cut off.
DIY Polyurethane decorative beams
The independent manufacture of polyurethane decorative beams implies the preliminary preparation of a mixture of polyurethane. This material is characterized by high strength and duration of operation, so the beams from it will last more than a dozen years.
In order to produce polyurethane at the house, it is required to have a polymer with a sig - PFL label - 100. The main difference from alternative polymers is the lack of foaming in contact with oxygen.
This material is sold in packaging in kilograms in the form of a hardener of kuraton or kuramin. In addition, you will need the presence of adhesive lubrication, which will prevent the adhesion of polyurethane to the form.
After buying the necessary materials, you will need to prepare a tool in the form:
- weights with weights;
- set of empty jars made of metal;
- construction or household hair dryer.
The surface for work should be even and clean. When working with polymers, keep in mind that they are unstable before moisture, so it is stored for no more than 30 days in a dry room and hermetically closed containers. With prolonged storage, it is necessary to periodically dry the polymer mixture.
Start work with the preparation of the form. To do this, first determine the type of beam that will be made. In the manufacture of a semicircular beam from polyurethane with your own hands, it will require the presence of a plastic pipe of such a diameter as two beams. This pipe is cut in half with a hacksaw, and its edges are cleaned with sandpaper. The resulting segment will serve as a beam. At the same time, if it is planned to re -use, then it is required to lubricate the surface with the help of an anti -adhesive tape.
Before the main preparation of the solution, it is better to practice several times on small portions, make, for example, decorative elements to the beams, and then the beams themselves. Warm up the jar and clean it from moisture, if it is available. Pour a polymer mixture into it and calculate its weight without taking into account the jar. For example, the weight of the polymer will be 1 kg, then this amount of material will require seventeen percent of the hardener, that is, 170 grams.
Add the polymer to one jar, and the hardener to the other, and then warm both banks using a hairdryer. Their temperature should be at 125 degrees. To determine the desired heating temperature, look at the hardener and polymer, if they have a liquid transparent consistency, then it is time to stop heating. Hold them at such a temperature for about 30 minutes, and then reduce it to sixty degrees. The polymer at this temperature is quite viscous, but when touching is barely hot. It is recommended to take a rag for mixing the mixture, as in the heated state it sticks quite to the hands. Gradually heat the hardener and add it in small portions to the jar with the polymer, while using a wooden stick to mix them. In this case, small bubbles should form, so do not rush to mix the polymer with hardener.
When the mass turns out to be homogeneous, leave it for a few seconds and proceed to pouring it in the form. Keep in mind that at the same time it is necessary to constantly heat the finished mixture.
After the spill, wait for about 30 minutes, and then heat the finished mixture to a temperature of 100 degrees and this temperature must be maintained within two to six hours. Cool the material up to fifty degrees and remove the finished beam from the mold. Leave the parts in the warmth for several days, and preferably for a week. To increase the life of the beams, cover their outer part using liquid polyurethane.
In addition, it is possible to use an oven instead of a hairdryer, since it is very easy to heat the material to the desired temperature. For the constant manufacture of polyurethane products, it is recommended to manufacture a vacuum mixer, which will help accelerate the procedure for connecting the polymer with the hardener.
Carry out the procedure in the absence of outsiders, if you do polyurethane beams in the room, then take care of the presence of hoods or good natural ventilation.
Beams are fastened with each other with glue for polyurethane products. Make a few incisions on the surface that will help imitate wood beams. The surface painting option is possible.
Imitation of polyurethane beams involves the manufacture of foam beams. To do this, you will need a foam used in the insulation of the house, a thickness of 5 cm. Cut it in such a way that the beams of the required size and shape are obtained. Using liquid nails or glue, connect the chopped areas among themselves. Make a few dents on the surface, cuts, by a slic, thus it will be possible to simulate the surface of a real beam. With the help of putty, put the surface, attach to place and paint in the desired color.
Decorative beam from polyurethane - features
Polyurethane is a universal material that acquires any shape, size and texture. Therefore, manufacturers produce beams differing not only in thickness and size, but also in density.
Polyuretan is able to imitate wood, metal, while imitation of wood allows you to make polyurethane beams for any variety of wood, such as cherries, beech, oak, plum, etc.
Each type of polyurethane beam under the tree differs in shade and saturation. The most common beam sizes are the models of 9x6, 6x12, 12x12, 19x17, 20x13. The length of the beams is from two to five meters. The option of ordering polyurethane beams on order is also possible.
Keep in mind that unpainted polyurethane beams are two times cheaper than painted.

