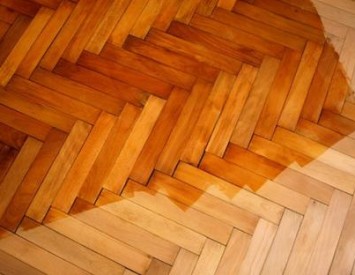
There is nothing more beautiful and natural than natural wood floors. Even the most expensive tile or bulk floor will not be able to compete in quality and aesthetics with the most ordinary tree.
Content
The tree gives warmth, reliability and comfort, but over time, even the most reliable wooden floors become unusable, and then the time comes for their overhaul. No, we will not talk about the replacement of the sexes. Why spend time and money, when you can simply galvanize the old wood and give the floor a fresh and updated look!
What is a cycling
With regular use, the cycle of wooden floors must be carried out every 6-7 years. During this time, the varnish is usually erased, small cracks or ugly scratches appear on the floor, which spoil the appearance. And if you live in a wooden house, then the walls can be easily skipped and lightly covered with varnish, but what to do with the floor? For these purposes, wise humanity has invented a special machine that acts on the principle of a grinding mechanism, only on a more serious scale.
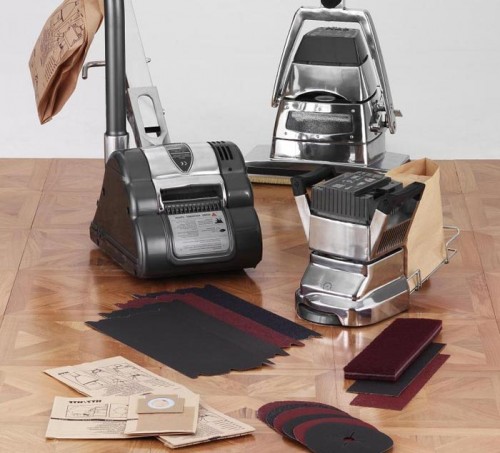
For the floor cycles you will need the following tools and materials:
- rittle machine;
- wire pile to remove the old coating;
- screwdriver;
- a drum grinder;
- abrasive materials (multi -caliber sandpaper);
- grinding machine;
- cycling machine for borders;
- polyethylene film;
- mineral alcohol;
- varnish or paint.
Preparatory work
Before proceeding to the cycle, it is necessary to perform certain preparatory work:
- Take all the furniture out of the room, remove the picture and decor elements from the walls, it is better to remove the chandelier, otherwise then it will have to be washed from dust. It is not necessary to remove the shelves from the walls - you can simply cover them with a film or a rag, fixing the edges of the material with tape.
- Remove the front door to the room, because the floor under it will also need to be repaired. Cumble the doorway with a plastic film so as not to clog funny rooms or corridor. Open the windows to ensure proper ventilation.
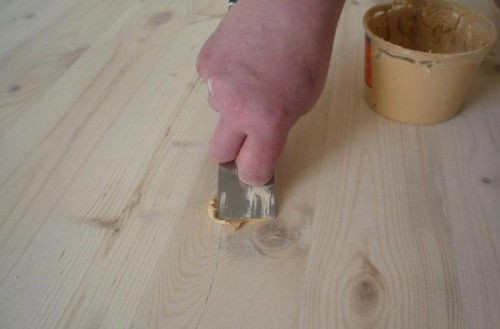
- Inspect the surface of the floor for the presence of cracks, deep scratches or chips. They must be covered with putty. If some floor boards are rotten or greatly twisted from moisture or old age, replace them with new ones. Cut the hats of nails or screws as deeply as possible so that they do not stick out under the surface. Otherwise, you can damage the cycle machine. The gap between the floorboards can be covered with putty or plug with sawdust.
- Remove the old paint or varnish using a wire brush. Fasten the effect of mineral alcohol or peeling machine. The peeling machine effectively copes with the remnants of the old paint.
- Wash the floors thoroughly with an alcohol solution or ordinary water to remove the remaining dust and debris. Do not spare water and leave the floor to dry for a day or two.
It is very important to provide good individual protection before starting work. The cycle machine produces an extremely loud sound, so get high -quality construction headphones. To protect the lungs from dust (and there will be a lot of it), buy or rent a respirator. Conventional "petals" in this case will not save. You will also need goggles and gloves that can extinguish the effect of the vibration of the machine. If there is no way to buy such gloves, you can use thick mittens.
How to cycle the floor
DIY wooden flooring with your own hands is a fairly simple task if all the conditions are correctly observed. The most difficult thing in this work is to “curb” the cycle machine, because its power is so strong that the device will constantly try to break out of the hands.
Useful tips:
- the cost of cycling of a wooden floor is unreasonably high, and do not be afraid to do it yourself. So you can save not only on the call of the master, but also on finishing materials;
- you need to start the cycle with coarse -grained ribbons, reducing granularity with each new layer. Large grains remove the remains of the paint and smooth out irregularities, small - polish the surface to shine;
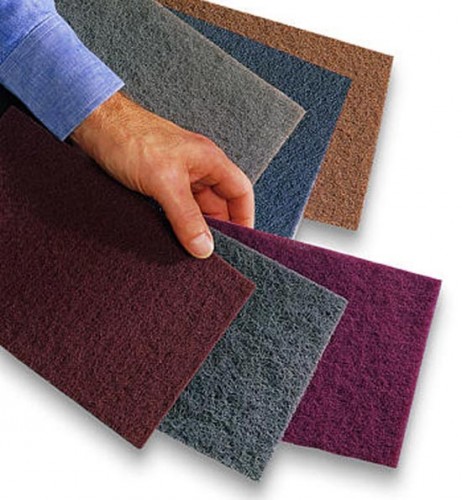
- when you begin to cycle, put the wire from the machine on your shoulder and make sure that it is always there - so you can avoid the launch of the cord under the machine;
- when you rent a cycle machine, read the features and nuances of work specifically on this device. Find out from the owner how to replace abrasive material.
The course of work:
- Insert sandpaper with large grains into the drum of the cycle machine and start the device. It is necessary to start the cycle from the corner, moving in a straight line to the opposite wall.
- Having reached the wall, turn the car and move back in the direction, shifting a little to the side and capturing the unprocessed area of \u200b\u200bthe floor. In general, the movement will occur according to the type of "snake".
- Come through each new path a little overlap on the previous one. If the floor area is quite large, then monitor how the abrasive grows quickly - it may be necessary to replace it several times.
- Also, sandpaper must be cleaned from dust during operation. You can just brush it with a rag or broom. Do not forget to clean the vacuum cleaner.
Useful advice:
Before starting the machine, turn it on the side slightly, turn it on and slowly put in a normal position. This is necessary so that she does not immediately break out of the hands, and you are used to her power gradually. In the course of work, in no case do not let the machine out of your hands!
Features of the cycle
Swimed boards
Not all boards must be cycle the same. The wood varies in the degree of softness, so certain breeds need its approach.
So, when cyclipping of stirred boards, you need to move diagonally - from one corner to the opposite. On one cleaned path, you need to go two to three times in one and another direction. This is necessary to achieve the most smooth surface.
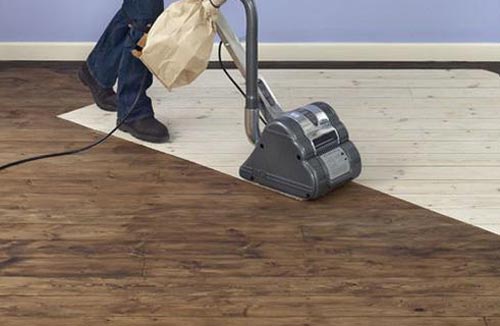
When you finished with the initial processing of the boards, replace the large abrasive with the middle one and direct the machine parallel to the floor boards. If the floor is initially not very damaged, you can skip the stage with a coarse -grained sandpaper and start with a parallel cycle. This method is also good for updating parquet or mosaic coating.
Finally, treat the floor surface with fine sandpaper to give a half shine and smoothness.
Cycs in hard -to -reach places
The cycles at the walls can cause a lot of trouble, if you do not know some techniques for processing the floor. For cycles of hard -to -reach areas, it is necessary to use a special machine for processing borders. Start working with medium -grained sandpaper, moving on to a smaller abrasive. Perform each subsequent approach in the direction opposite to the previous one. Do not forget that for each stage, paper with smaller grainness is used!
Final work
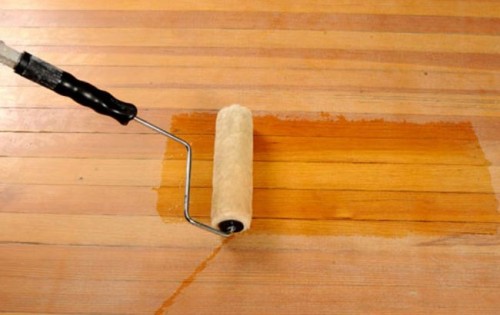
When the floor is galvanized, wipe it with a pure dry rag. Now you can start applying the finish coating. For this purpose, you can use the usual varnish for wooden surfaces, tinted varnish to give a tree noble shades or paint. It is important to use high -quality moisture -proof compositions so that the floor serves as long as possible.
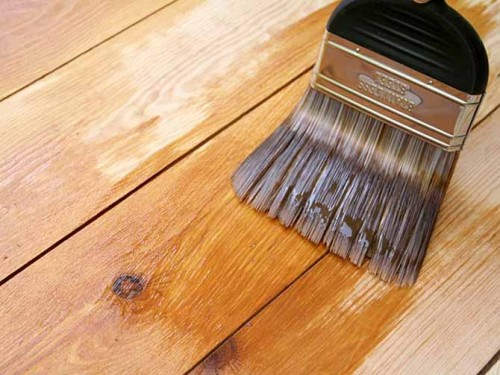
Choose water -based varnishes made of acrylic or polyurethane resins. After solidification, they form the strongest film, which is able to withstand strong prolonged loads. In addition, such varnishes do not have an aggressive smell and dry quickly. It is advisable to cover half a few layers. The first will dry in about an hour, after which you can immediately apply the next layer. But do not cover the floor more than three layers, otherwise the durability of such a coating will be less long.
