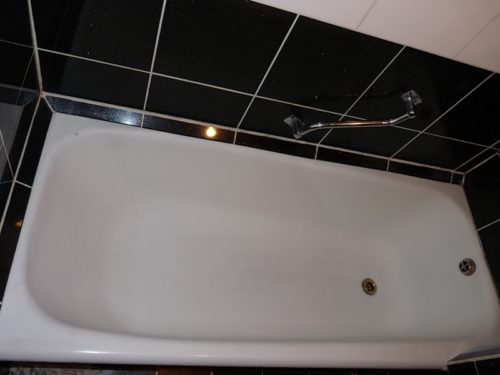
The bathroom is the place where every person comes in more often than in other rooms. In this room there is always an increased humidity, so you need to constantly monitor the cleanliness in the room. Cosmetic or overhaul solves many problems. The bulk of the work is completed, it remains to purchase a border for the bathroom.
Content
Bordeur Types for Bath
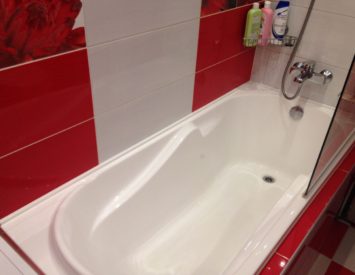
Often repairs in the bathroom so extinguishes that about such trifles, like a border, many forget. And in vain, because the walls in this room, though they will be absolutely even, but after the bath or shower will be installed, then this clearance is needed to close something. If this is not done, then the efforts spent on the repair may not justify expectations, because in this room will constantly be wet, there will be puddles between the wall and the bathroom, which means that mold will appear very soon. To avoid this, you need to purchase and install the border in the bathroom with your own hands.
What are the borders for the bath:
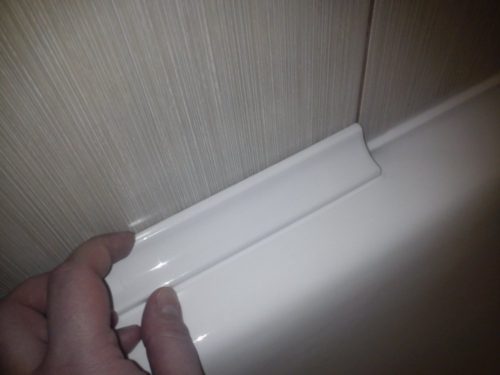
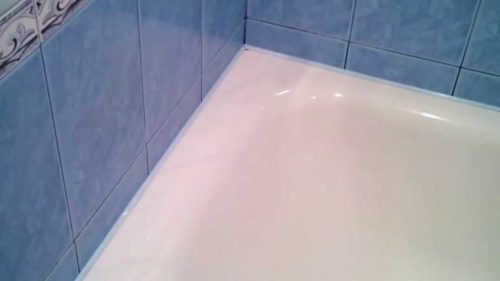
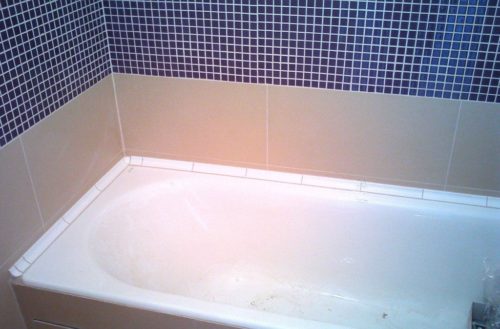
- Plastic borders. The most fiscal option, you can pick up the color of the tile or buy a standard one - white. Very easy to install such a curb. There are 2 methods of fastening: under the tile and on top of the tile. To cope with the work, you will need a special colorless glue-sealant ("liquid nails"), a tape measure and a knife for metal to cut off the excess. You also need to purchase and paint tape, prepare a pencil or marker. The work comes down to the fact that it is necessary to measure with the help of a construction roulette the sizes of the bath, cut off the desired length and glue the glue. The angle of the junction of 2 elements is 45 degrees. Despite the seeming simplicity, there are also their nuances: before sticking the border, it is necessary to see how accurately it fills the space between the bathroom and the wall. If everything suits, then you need to put the plinth to the edge of the bath and fix the painting scotch. First, the bottom of the border is sampled, then the upper one. It is advisable to work carefully so as not to sleep the bath. Just in case, we recommend covering the bath with a construction film.
Bordeur for plastic bath:
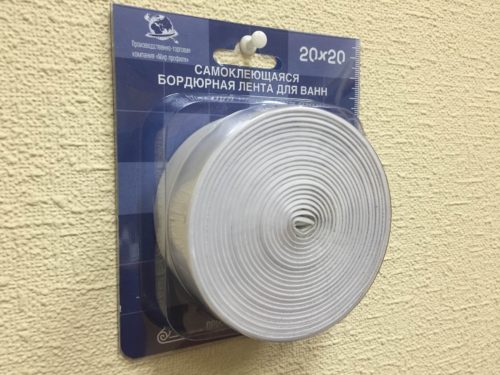
- The ribbon border likes many specialists for installing shower cabins and bathrooms in the bathroom. Material is malleable, falls in exactly, does not require careful surface preparation and consumables. You need to purchase border and sealant itself. On the back of the border, a sticky layer is applied, so you can simply be glued directly on the dry surface (bath and wall) border and grip to your fingers. But such a way of work, experts are considered wrong, because after a few months the border begins to rejoice and moisture falls into the formatives. To avoid this, it is desirable to sewer the place of compound with colorless waterproof sealant.
Bathroom tape plinth:
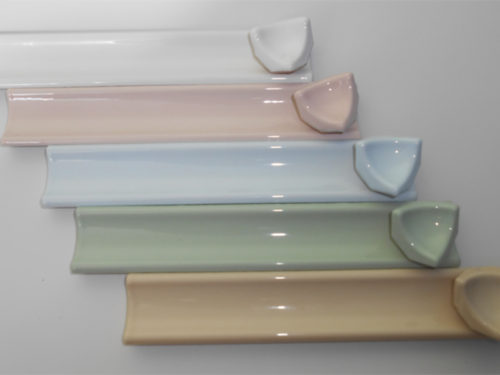
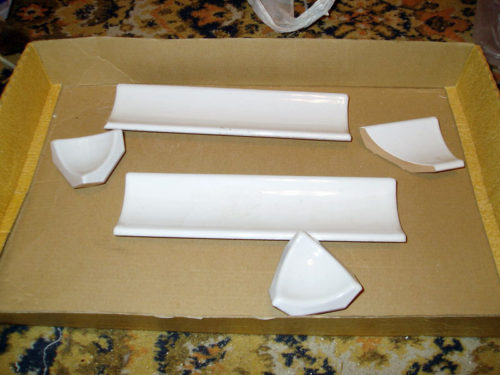
- Plinth from ceramics will serve for a very long time, the cost is several times higher than tape and plastic borders. The material is durable and durable, can serve up to 50 years, but only if it is properly installed. And in order to cope with the installations of such a plinth, you will need to purchase a ready-made mixture for laying ceramic tiles. The principle of installation is the same as the laying of the tile in the bathroom. Perhaps this can be attributed to the disadvantages of this material, because the newcomer will be difficult to cope with the styling of the plinth.
Ceramic Border for Bath:
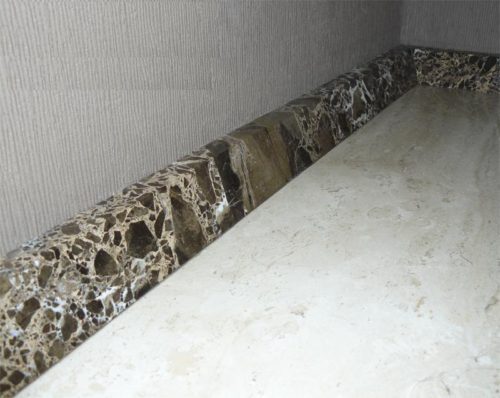
- You can also meet a border made from natural stone: mainly from granite and marble. The best and expensive option is plinths made from travertine. In any case, a border from natural stone looks simply gorgeous. Naturally, the material is expensive, requiring skills in installing and maintaining. The service life of such a material is within 100 years.
Bordeur of natural stone:
Bordeur for the bath do it yourself
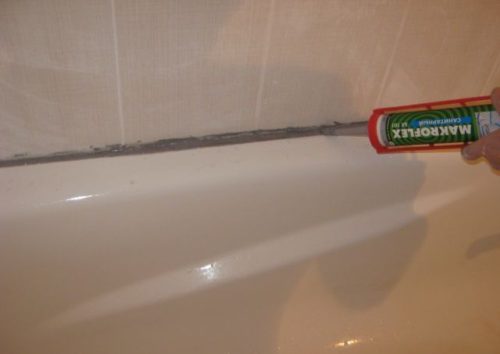
The easiest way to make a border for the bathroom with your own hands is to use a white or colorless sealant and fill the gap between the bathroom and the wall. But such a plinth will last long, he looks unattractive, especially if a major overhaul was made in the bathroom. This option is more suitable for those cases when it does not even go about cosmetic repair, and the slot needs to be closed.
From the remnants of the tile can also be independently made a border, only the work is this complex and there is no guarantee that during operation such a curb will not split. It is also very uncomfortable to cut the tile, the location of the cut remains unprocessed and over time in conditions of high humidity, the tile will collapse. If you still decide to save it, then it is necessary to glue the trimming of the tile not to the concrete solution, but on special glue or best to "plant" on "liquid nails".
The fastest option is to purchase plastic plinth and glue it to the junction between the wall and the bathroom. Quickly, cheap and practical.
Installation of a plastic curb in the bathroom do it yourself. Step-by-step instruction
Before starting the installation of the plinth in the bathroom, it is necessary to prepare the surface. If you replace the old border to a new one, then it needs to be removed, it is necessary to consider the resulting dirt, remove the old glue (or sealant), and then thoroughly clean the surface. You can work with a knife, a narrow spatula. It is important that the place of attaching a new plinth is clean and dry.
The next step is to prepare the surface. We perform after the old curb removed and the remnants of the glue took. Take an old washcloth or a rag, moisten in water (in the water you need to add a bit of a chlorine-containing solution, for example, "whiteness", you can also take the "White Spirit"). It is important to carefully clean the surface from contaminants, wipe it with a dry cloth. To make sure that the surface is completely dry, use the home hairdryer. It will help speed up the drying process.
Next, we take a roulette and a pencil to make measurements and move to the plinth.
How to make and install a border in the bathroom with your own hands:
- Plastic curb need to cut off or sprinkle. To do this, use scissors for metal or hacksaw. The edges of the cut can be cleaned by sandpaper.
- It is very important to make the right corner of the edge cutting to combine the strips in the corner of the bath.
- The inner corner is the easiest to form with the help of a stouch so that the sections of two halves are located at an angle of 45 degrees.
- Once with this part of the work you can handle, you need to try on the plinth, it must completely close the space between the tiles and the bathroom.
- Then must be glued along the length of the bath for 2-3 mm above and below the edge of the Plinth bath. After the border is attached, the scotch must be removed.
- You can stick a plastic border or a sealant or a construction foam that is resistant to high humidity. Apply a thin layer of foam on the strip between the painting scotch, fix the border, press. Wait for the foam to dry, after which it is necessary to remove the extra foam or sealant.
- After 20-25 minutes after gluing the plinth, the foam should finally grab in the places of the fit of the plinth to the bath and the wall, you need to walk with white or colorless sealant again, a slightly spatula of the base of the plinth. Thus, we can talk about the complete sealing of the space between the bathroom and the wall.
- After all the joints are filled with a sealant (do not forget that in the place of the joint in the corner also need to provide additional sealing), the ribbon can be removed.
What you need to consider when laying a border on the bath
When performing work on the installation of a border with their own hands, it is necessary to remember that thorough preparation of surfaces will provide a more dense fitting of the plinth. In the event that you are placing the border not on the ceramic tile, but on the wall, covered with plastic panels, then to avoid entering the moisture, you need to carefully fill the sealant places. The seam needs to be done continuous and thin, point to apply it is undesirable.
Sealant can be replaced by other materials: these are "liquid nails" or mounting foam.
Remember that processing the surface before installing the border, do not forget that acrylic baths do not withstand the effects of aggressive tools, therefore solvents and the "White spirit" is forbidden to use.
Installing a border in the bathroom. Video:
